Some of you may recall back in 2003 or 2004 (somewhere thereabout) New Glasair under the leadership of Mikael Via, did an extreme make-over on EAA’s Young Eagle GlaStar. The plane was beginning to show wear and tear especially on the interior. I remember seeing it at Oshkosh with interior fabric hanging loose as the spray adhesive had softened under summer temps. EAA called us and reported that one of the main gear legs had a slight bend and they asked if we could repair or replace it. We told them it needed to come to Arlington and they obliged.
Without EAA knowing, we undertook a massive makeover and completely disassembled it and tore out the interior. In short, when it left Arlington it looked pretty much the same as a TWTT Sportsman with primer and Zolatone specked interior and a brand new paint job on the exterior. It was unveiled to EAA at that year’s Sun N Fun fly in.
Recently, I worked with a friend from San Diego after he purchased a GlaStar that had briefly flown with a Subaru. The firewall forward components and instrument panel were long gone. The windows were poorly installed and most were crazed or badly scratched. It was hangared idle for 15 or more years and needed some major league attention including recovering aileron and stabilizer skins and replacing the rudder. Craig Gillson decided he wanted the GlaStar to undergo a complete make-over plus some upgrades that included:
- Sportsman flaps
- B.A.S. Tail-Pull handle
- Sportsman doors and latches (retrofit)
- Large aft cargo door
- Right aileron trim servo and tab
- Left aileron servo tab
- Extended, heavy duty landing gear (with cage gear-truss beefed up)
- 29” tires
- T3 tailwheel suspension
- Sportsman wingtips with LED landing lights
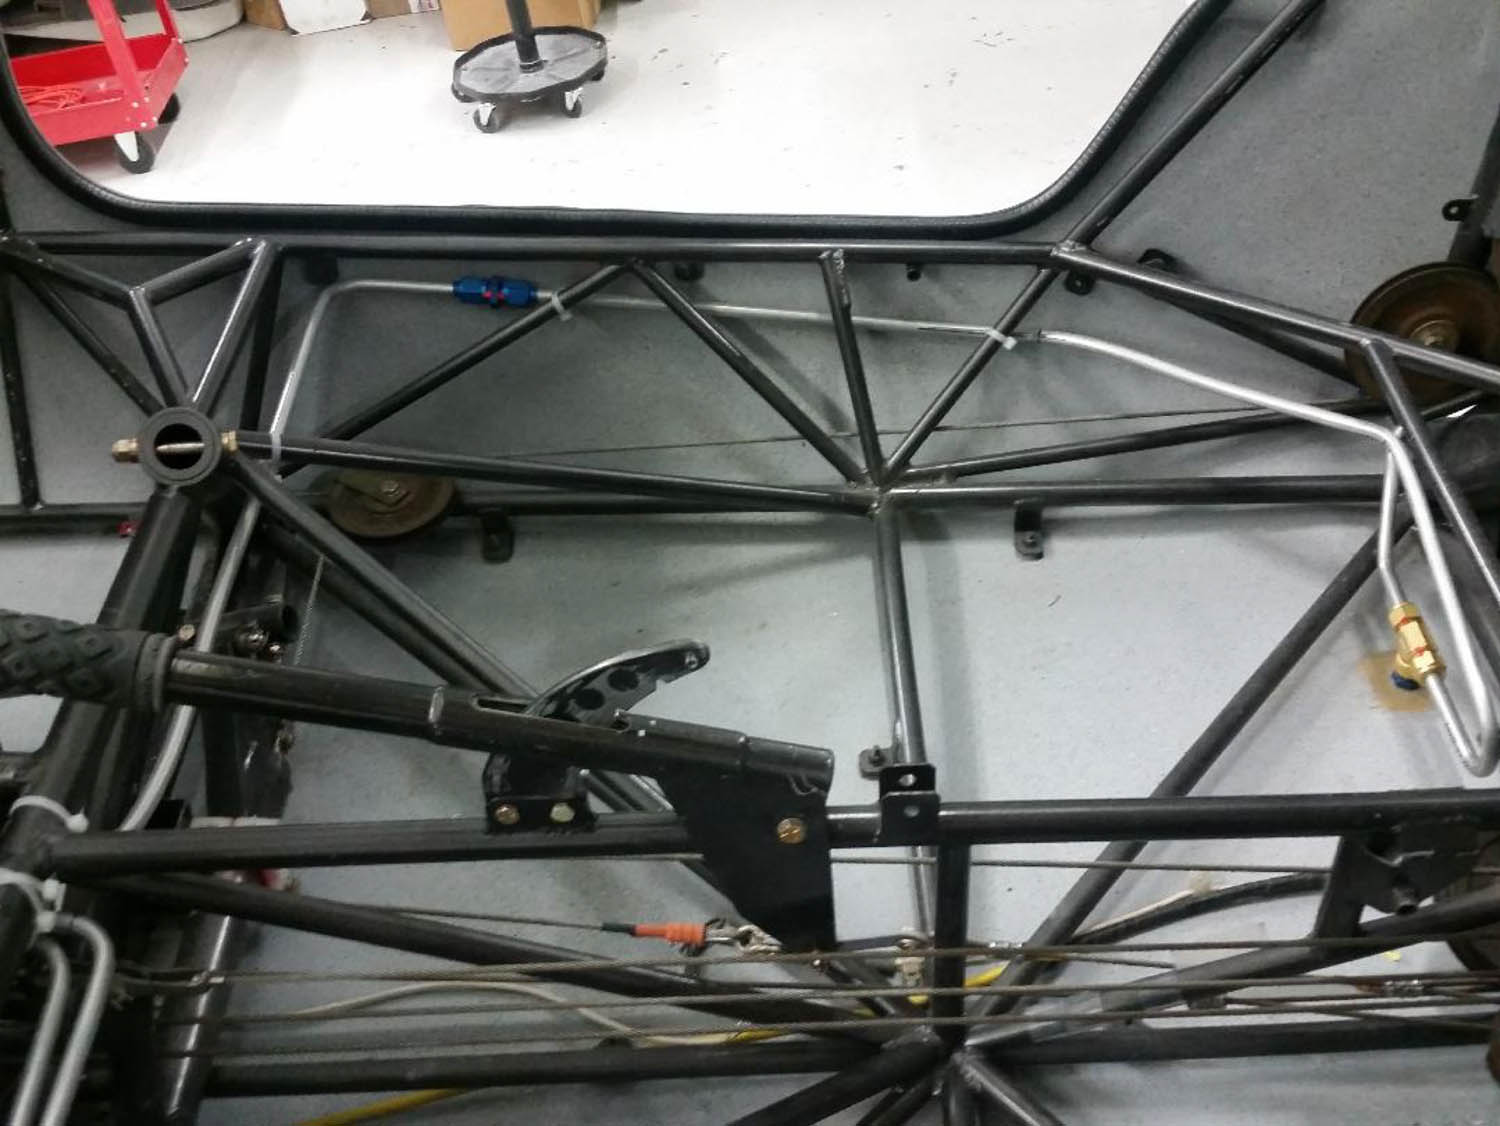
- Additional fuel capacity (30 gallons main tanks plus 20 gallon fuselage aux tank)
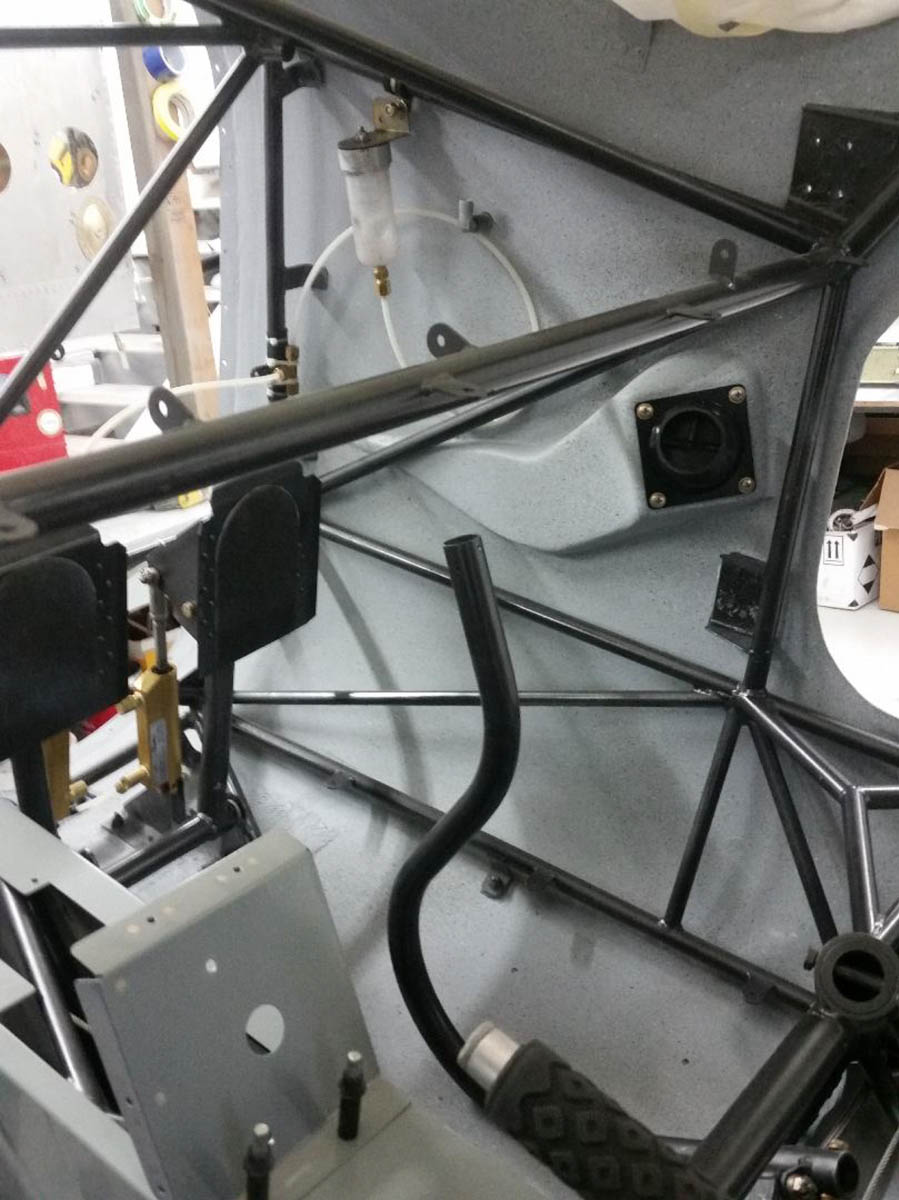
- New fuel system lines and selector valve
- New windows
- New door panels and seat cushions
- Dorsal fin (same as the one on my Sportsman)
- Primer and Zolatone interior
- Re-painted cage (gunmetal grey)
- IO-360 Lycon-built engine
- Catto 3-blade fixed pitch prop
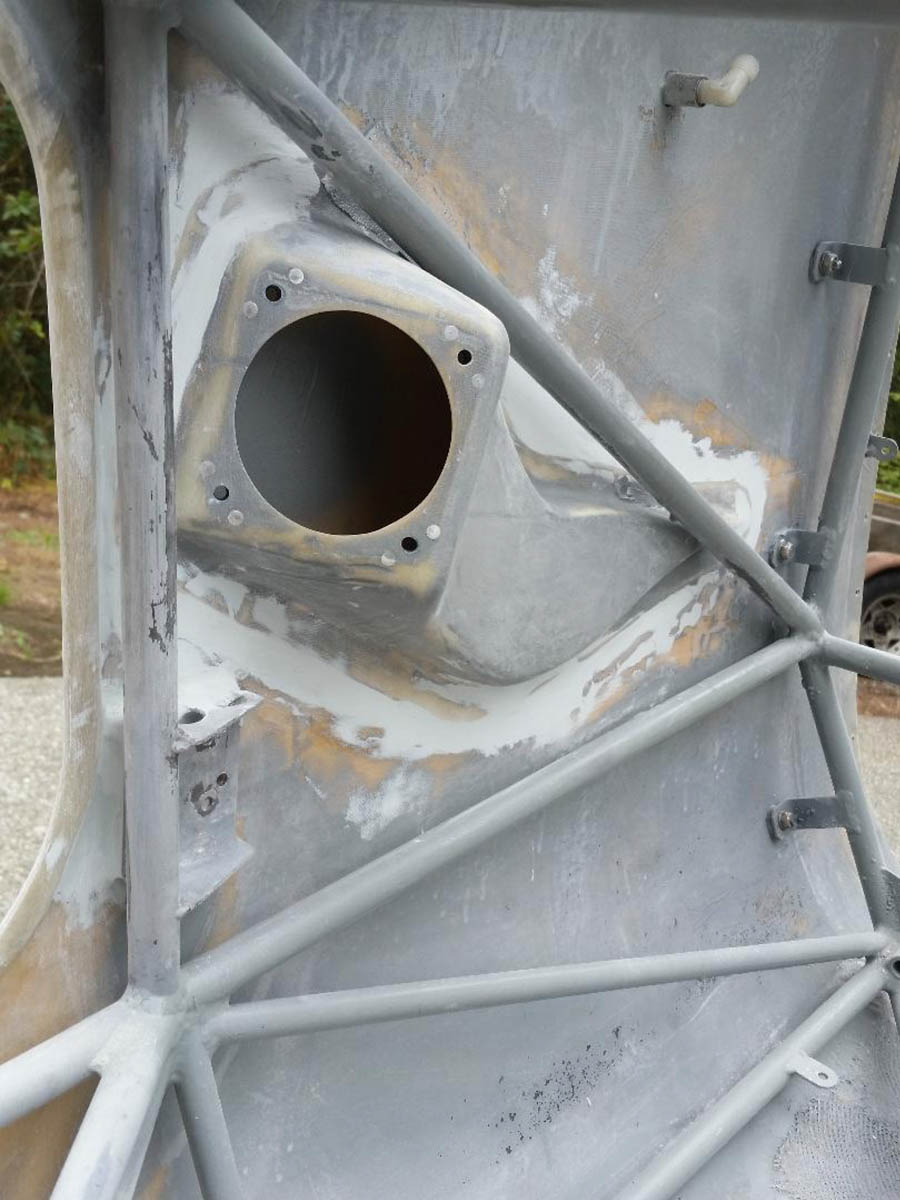
- New firewall
- Sportsman cowling
- New, VFR instrument panel with EFIS
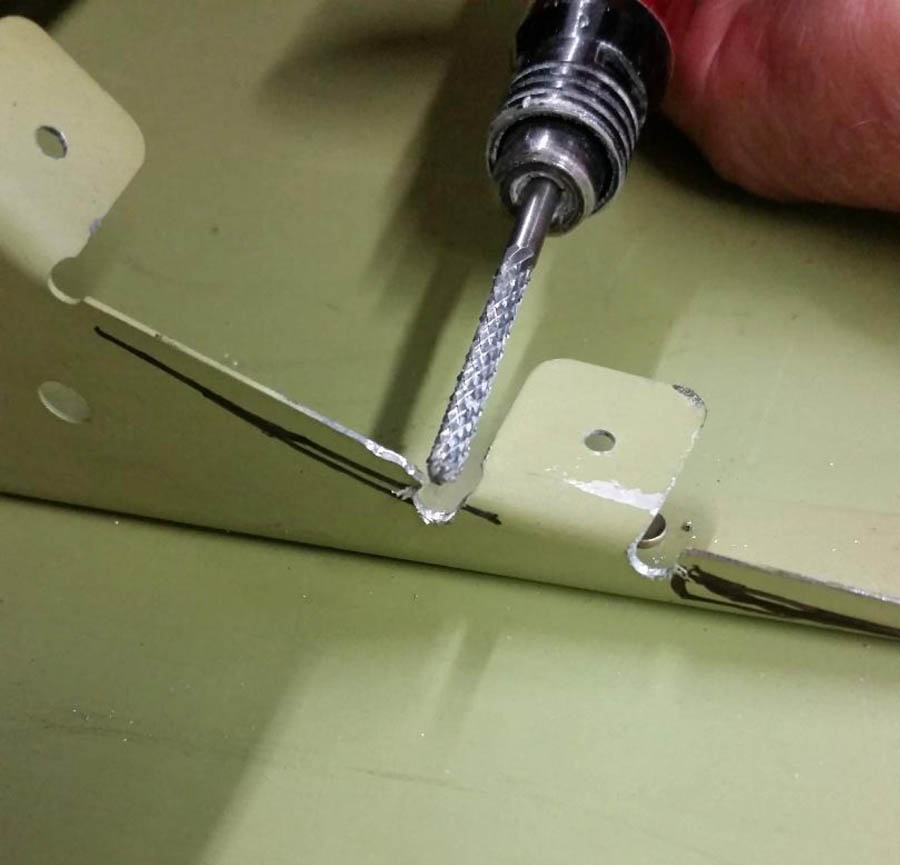
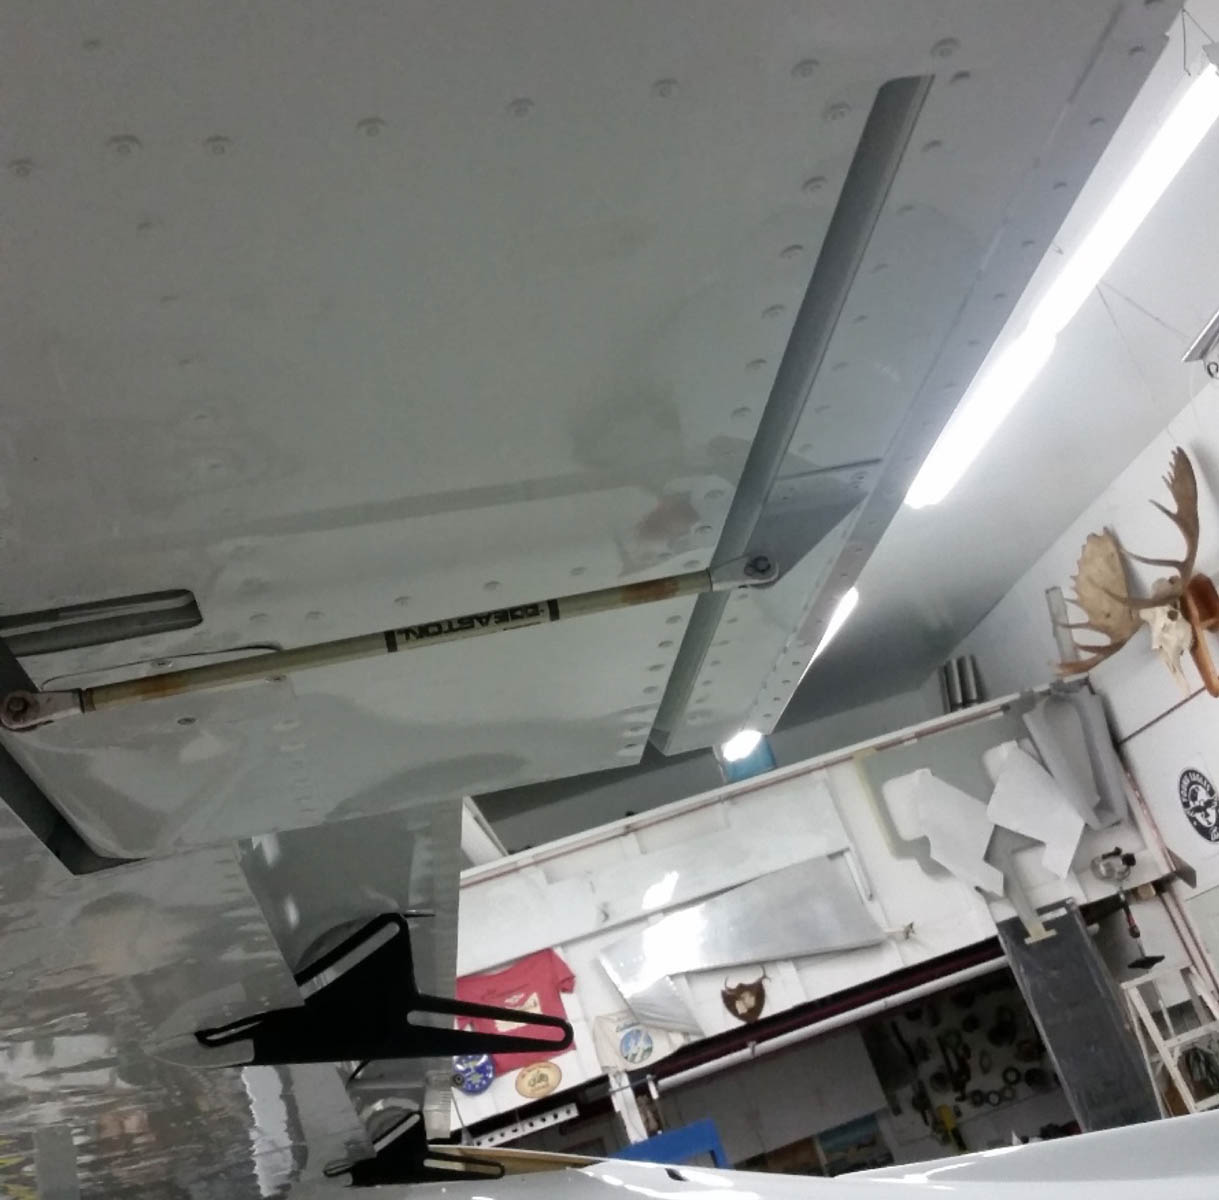
Sportsman flap retrofit
Tom Needham reported finding small cracks in several of his attach angles, so we elected to size them up. One of the more challenging tasks was positioning all four flap tracks at the same angle. Harry DeLong came up with an excellent but simple fixture for this. After we determined the angle of the track (as set by the position of the flaps in the retracted position) Harry fabricated a 1/2” plywood board that was contoured to the shape of the airfoil with contact points at the forward and rear spars. The plywood extended aft so that the flap tracks could be clamped to the plywood all matching the tracing of the track outline.

Once the adhesive cured, we removed the angle and finished with flush rivets. A trick to keep in mind is to squeeze the shop head of the rivet with a universal (rounded) 3/32 rivet set. It rounds off the rivet tail edges so cleaning rags don’t get hung up on them. We were amazed that we were able to use the existing cove skins back in place.
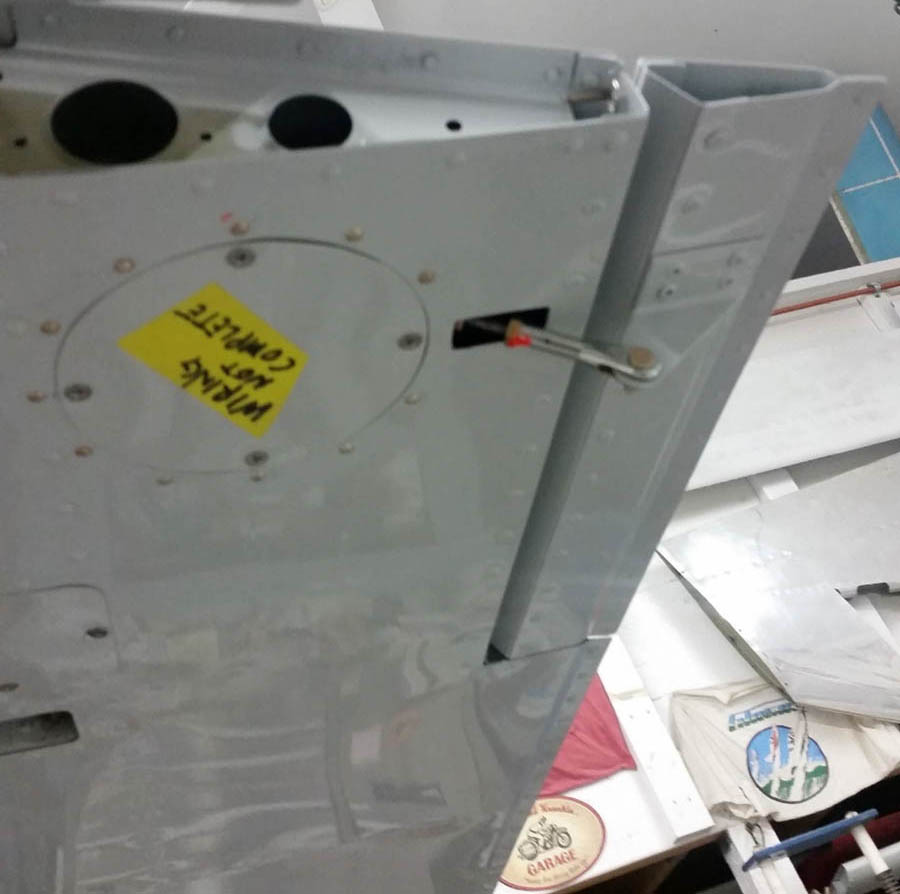
B.A.S. Tail Pull Handle
I wouldn’t have a GlaStar or Sportsman taildragger without one of these. They arrive in bare aluminum (which could be polished) but notice that we had them anodized black with the flap tracks. It required cutting the welded washer off on the inside and welding it back together after anodizing.
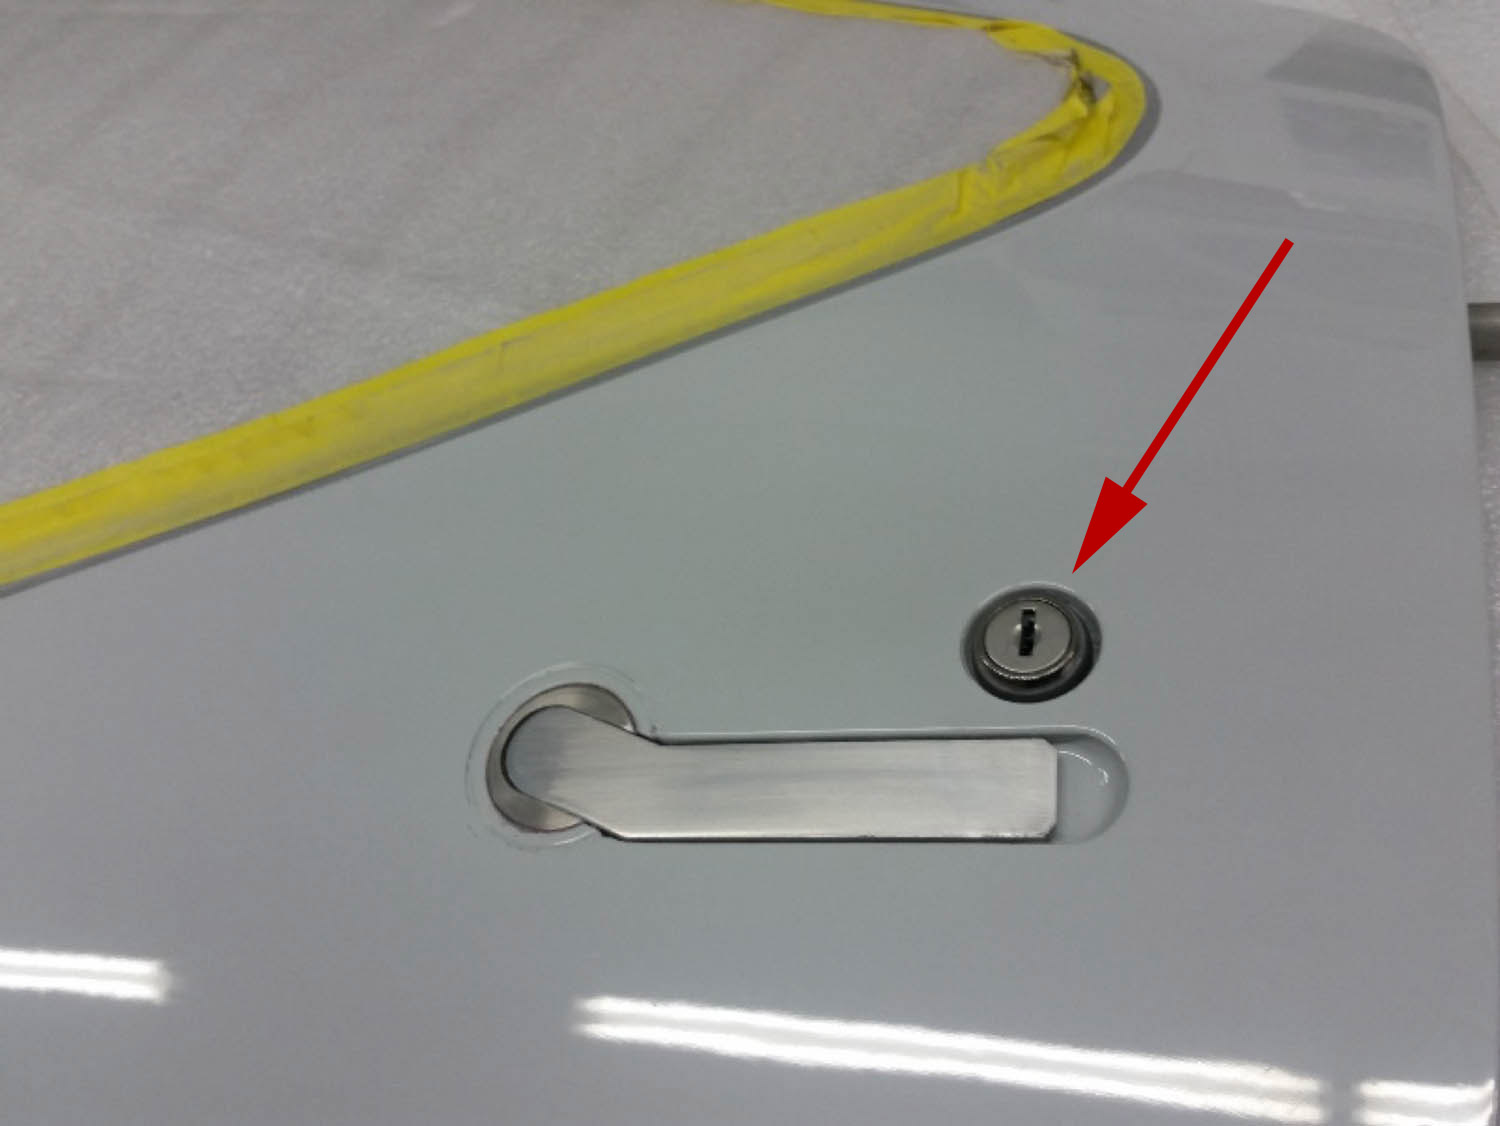
Sportsman doors and latches
The door retrofit requires modifying the seal flanges and installing the plastic bushings. (three places per door)
We installed the hinges on the doors after they had been placed in the openings with latch-pins engaged. Traced the hinge outline on the fuselage exterior and cut away the exterior skin. Scarf sanded the exterior skins approximately 3/4” wide around the hinge recess.
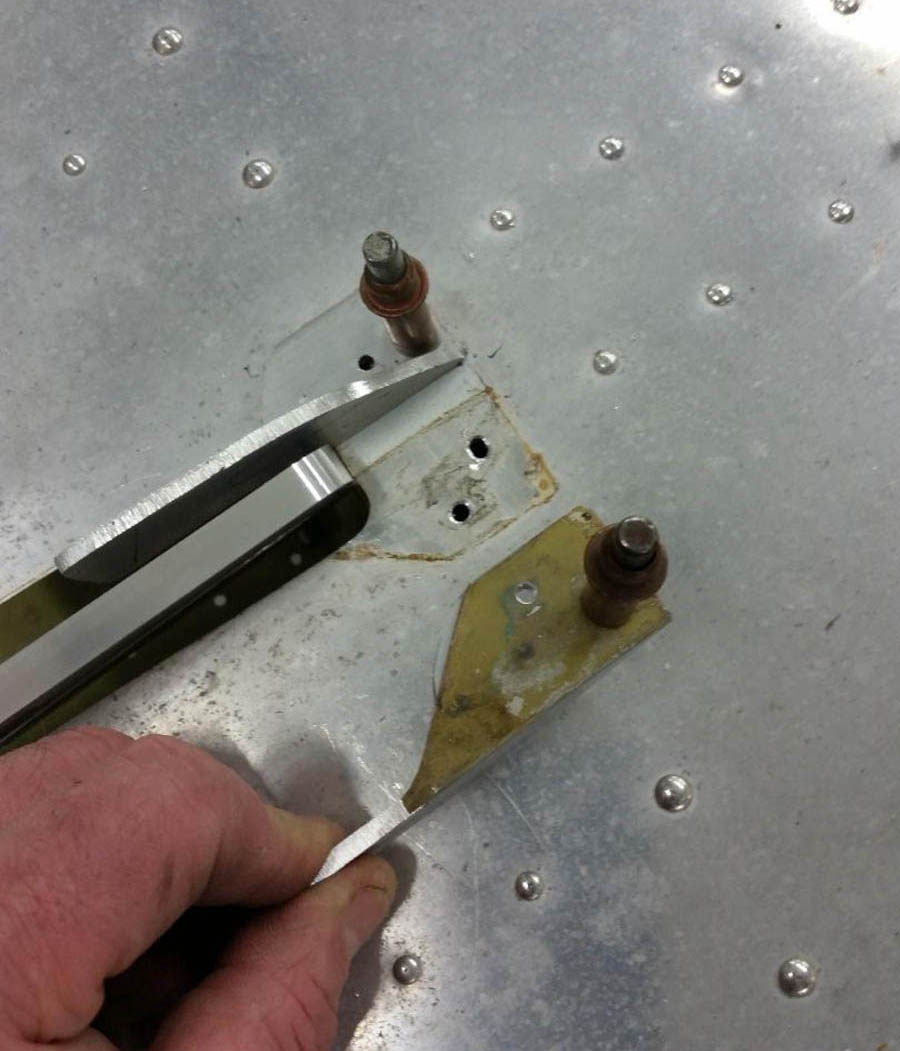
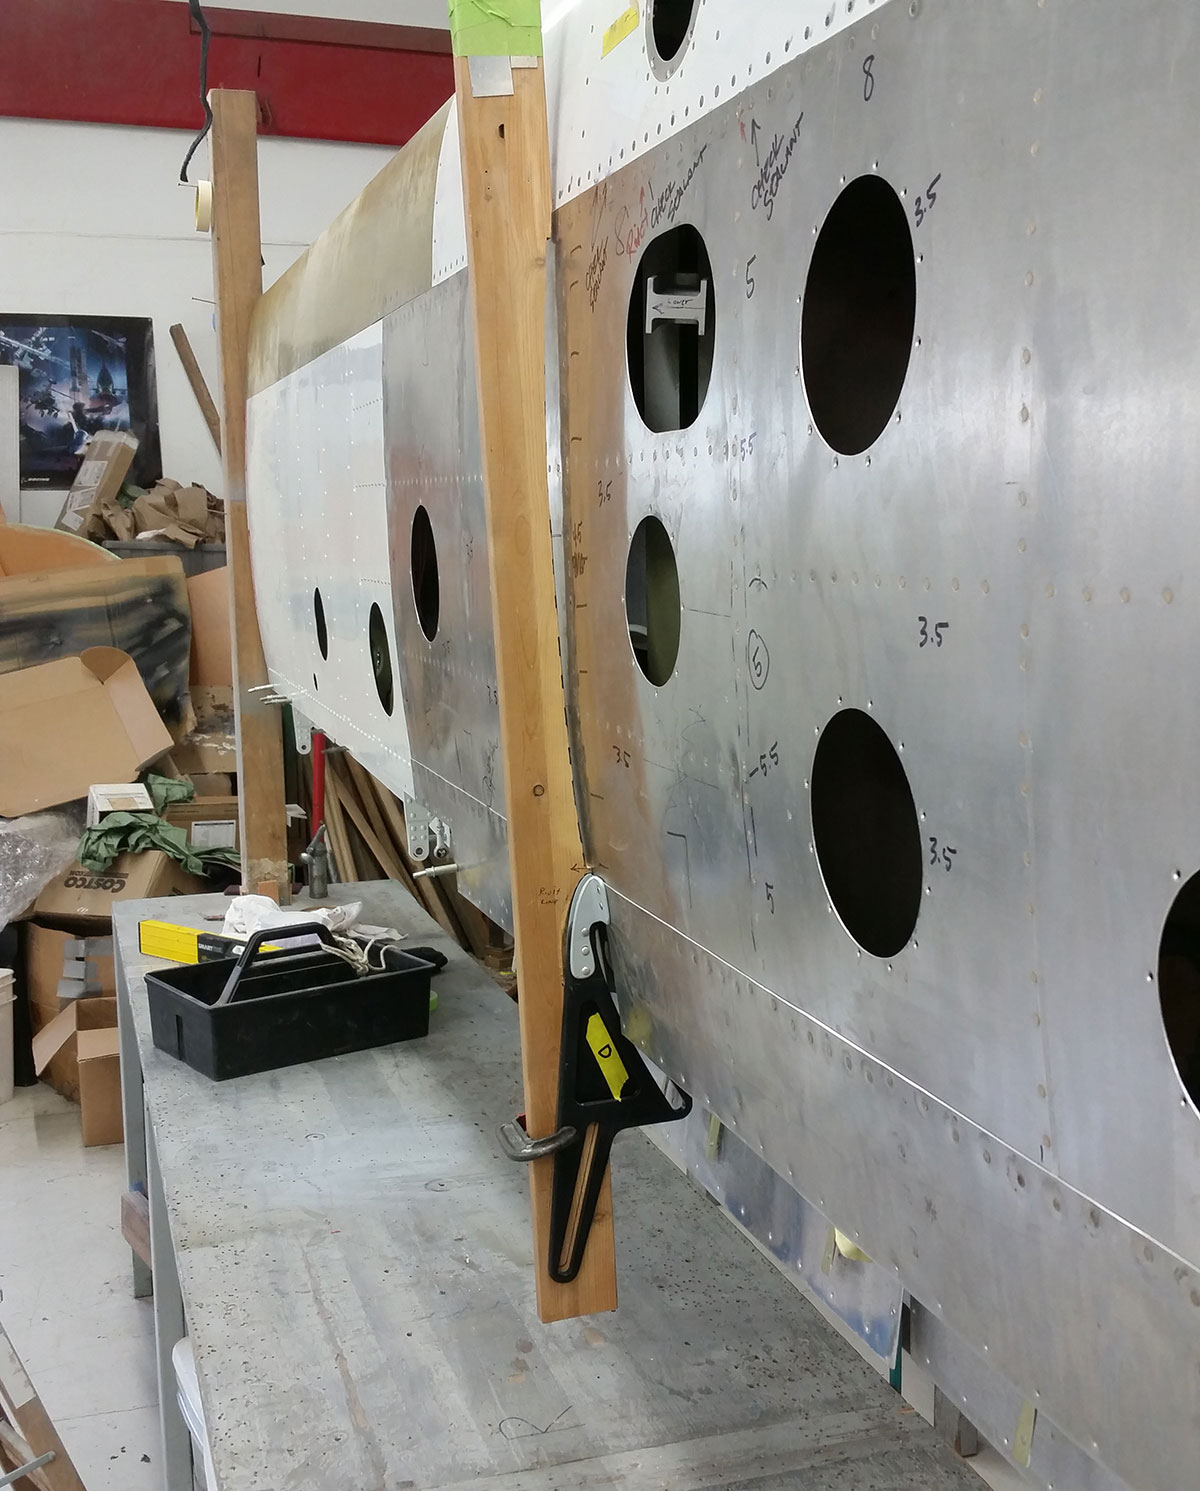
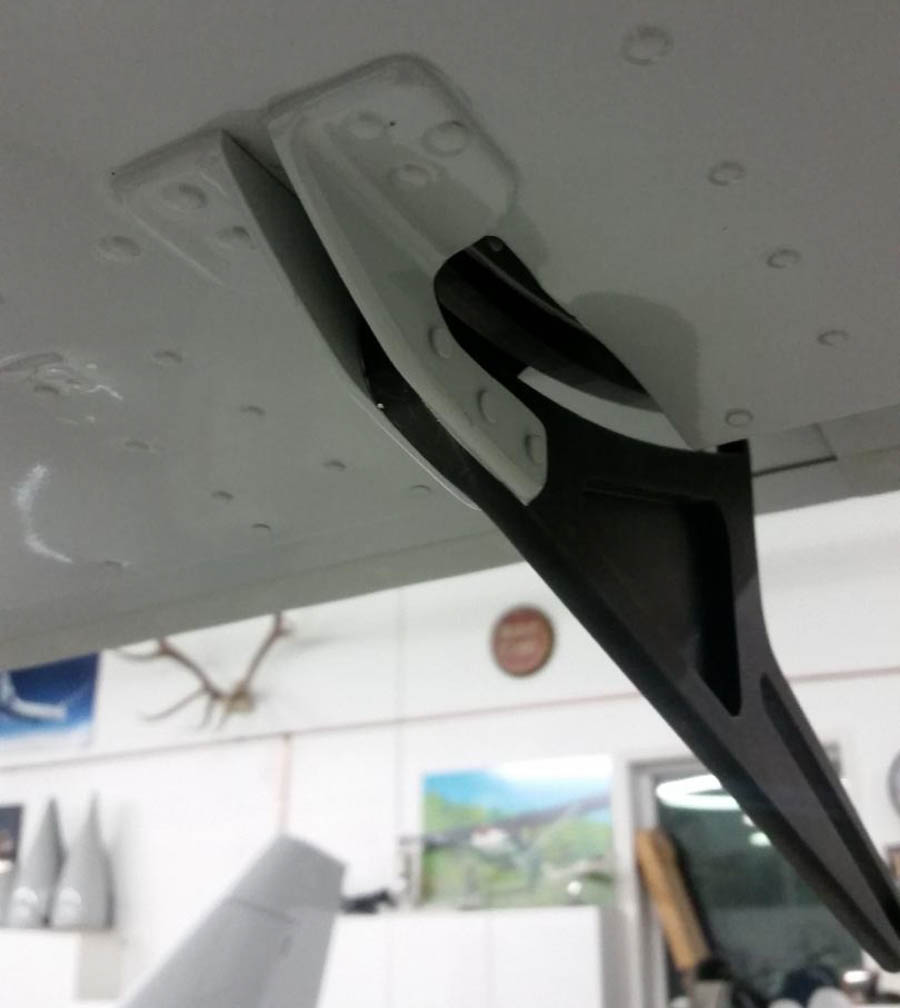
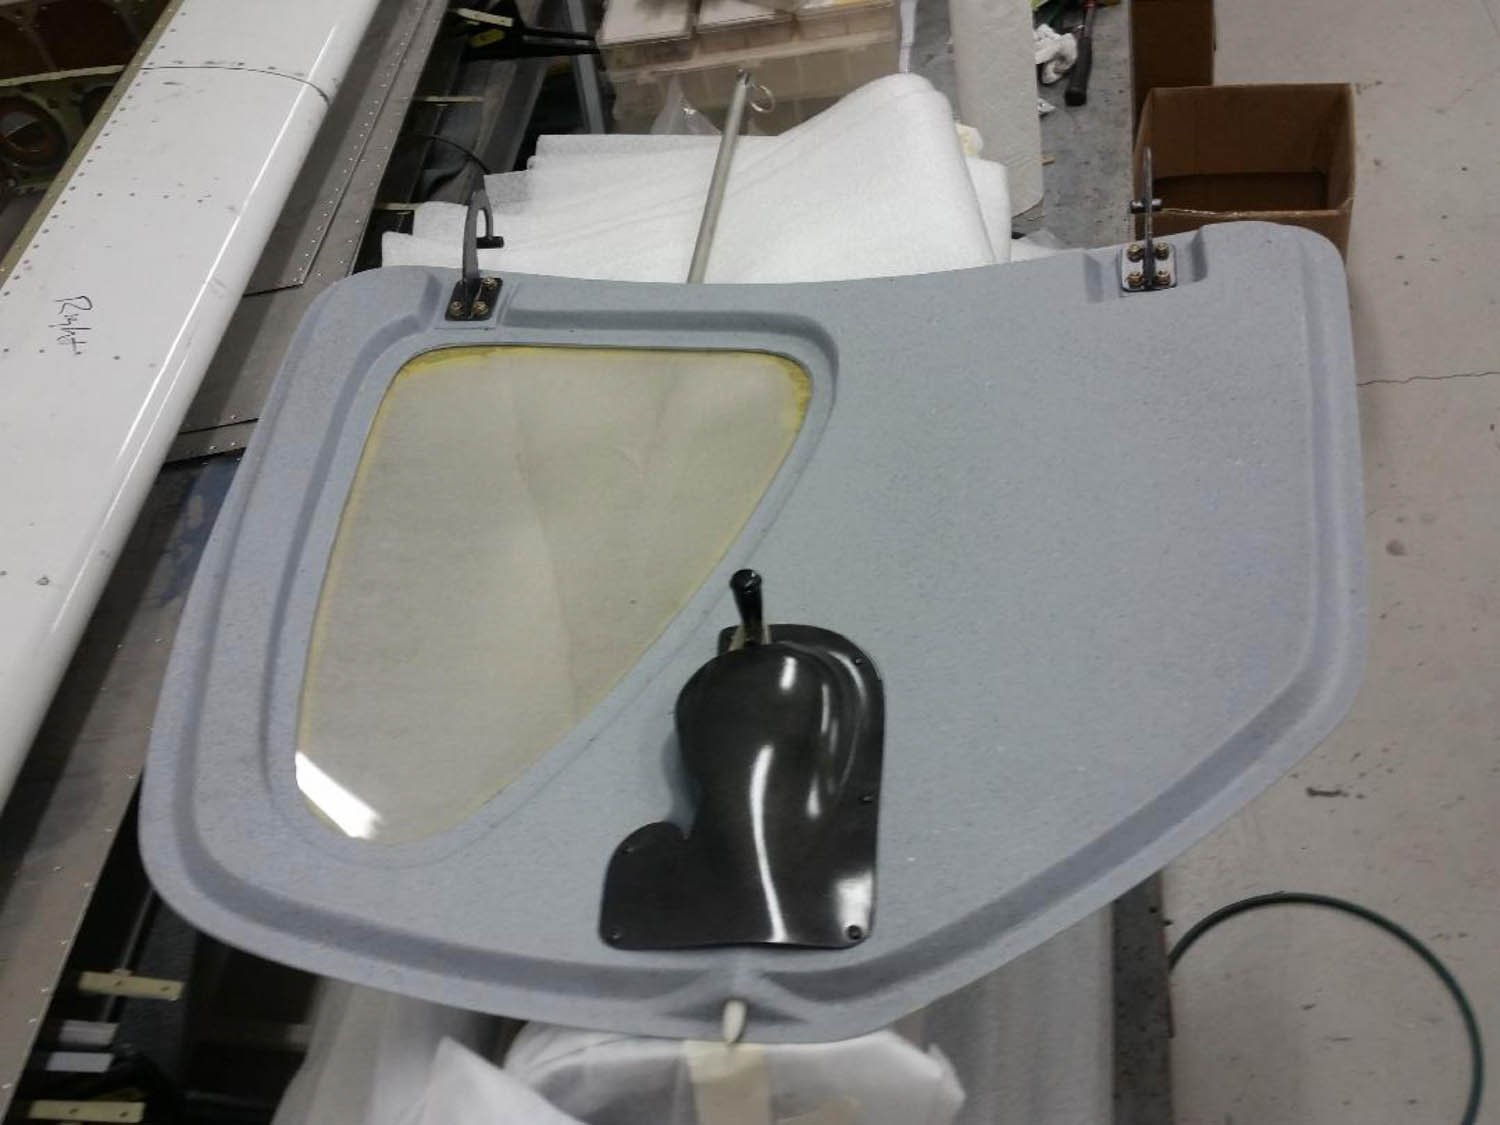
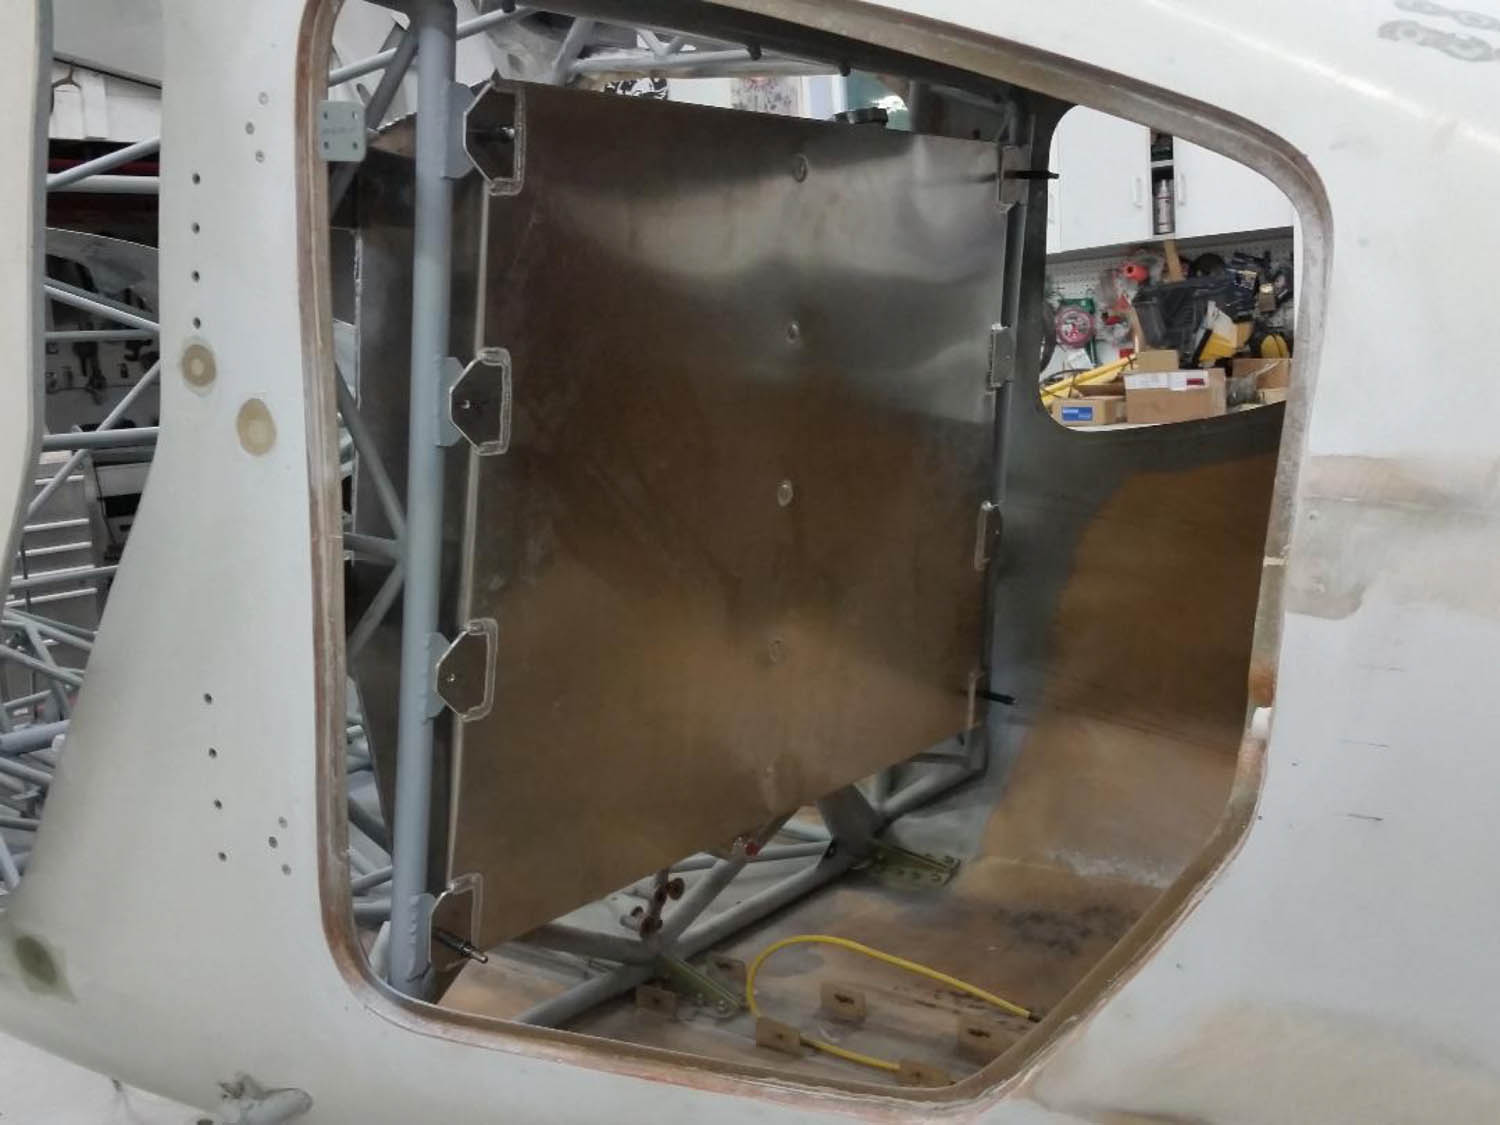
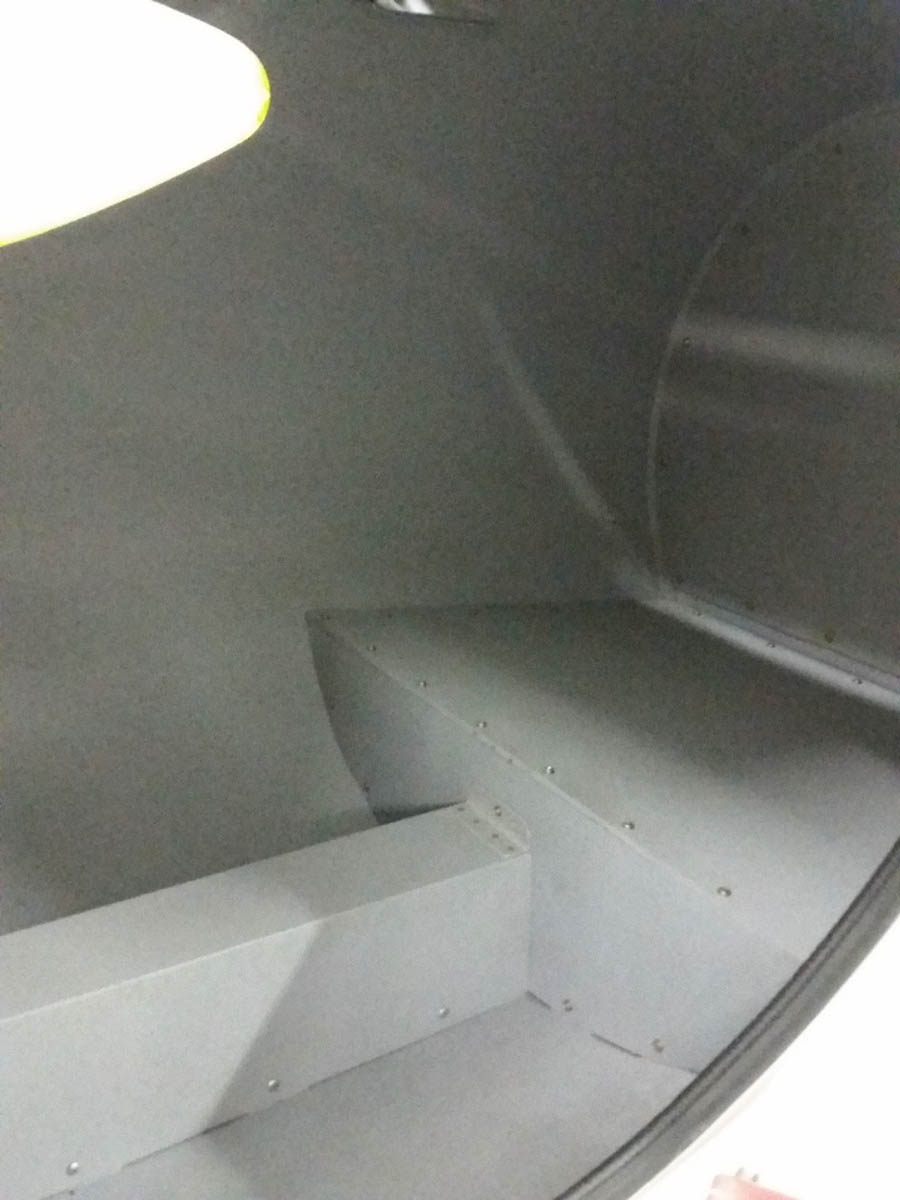
Large Cargo Door
Well, there are instructions for the door installation, so no need to describe it here. This is a photo of the finished product ready to install.
Note: As of December 2018, by popular demand, I am including exterior aluminum hinges in all door kits. The interior door hinges as seen here don’t allow the door to open beyond 90 degrees, but can be obtained on request if desired.
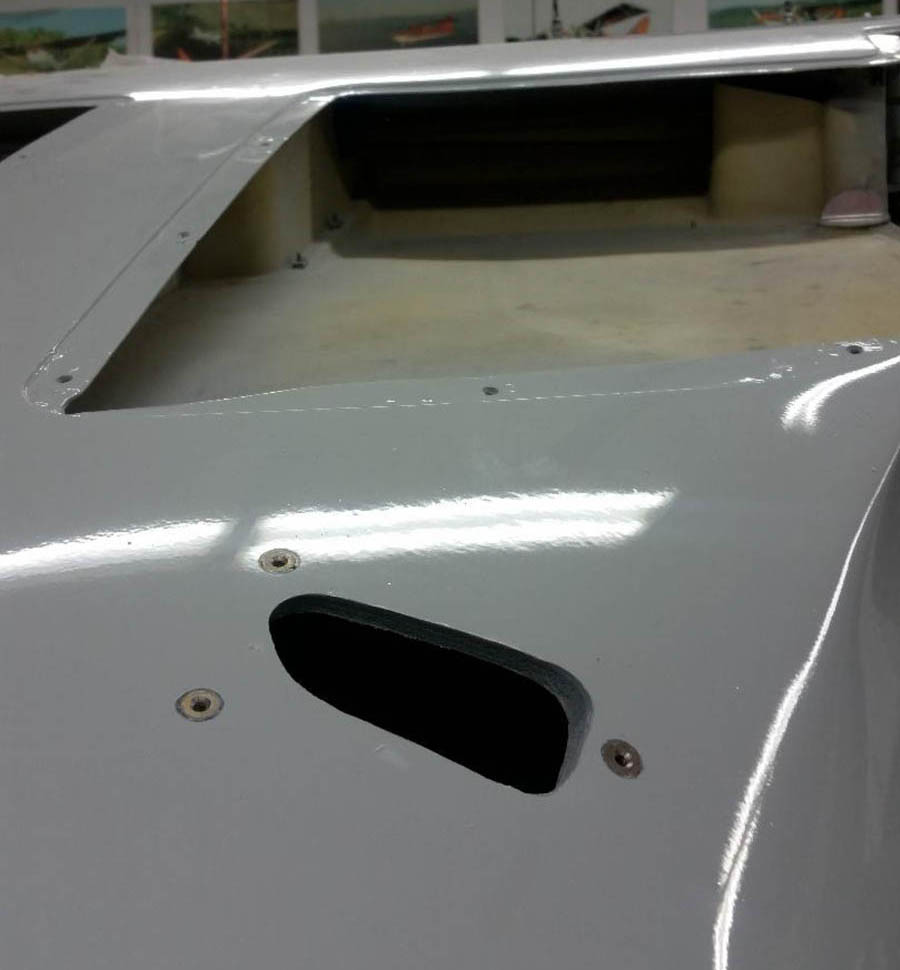
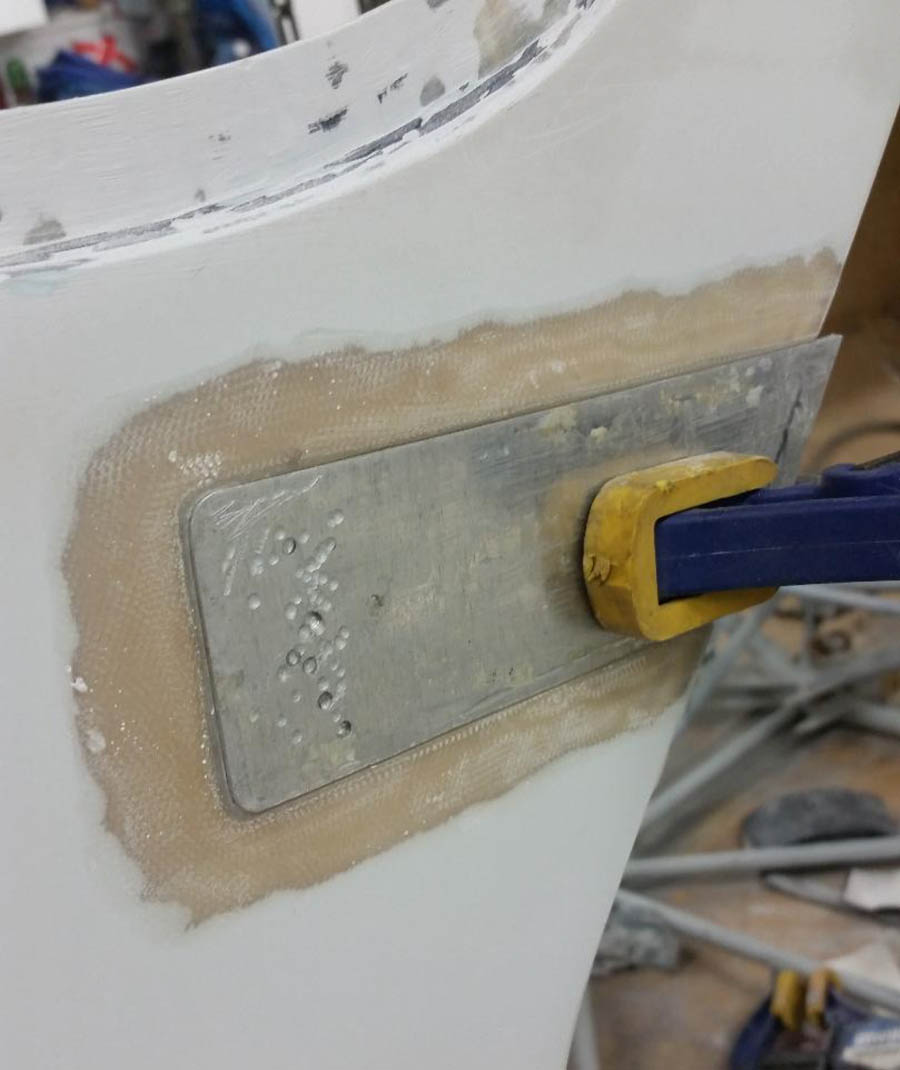
Aileron trim servo and tab
The instructions are very detailed and clear.
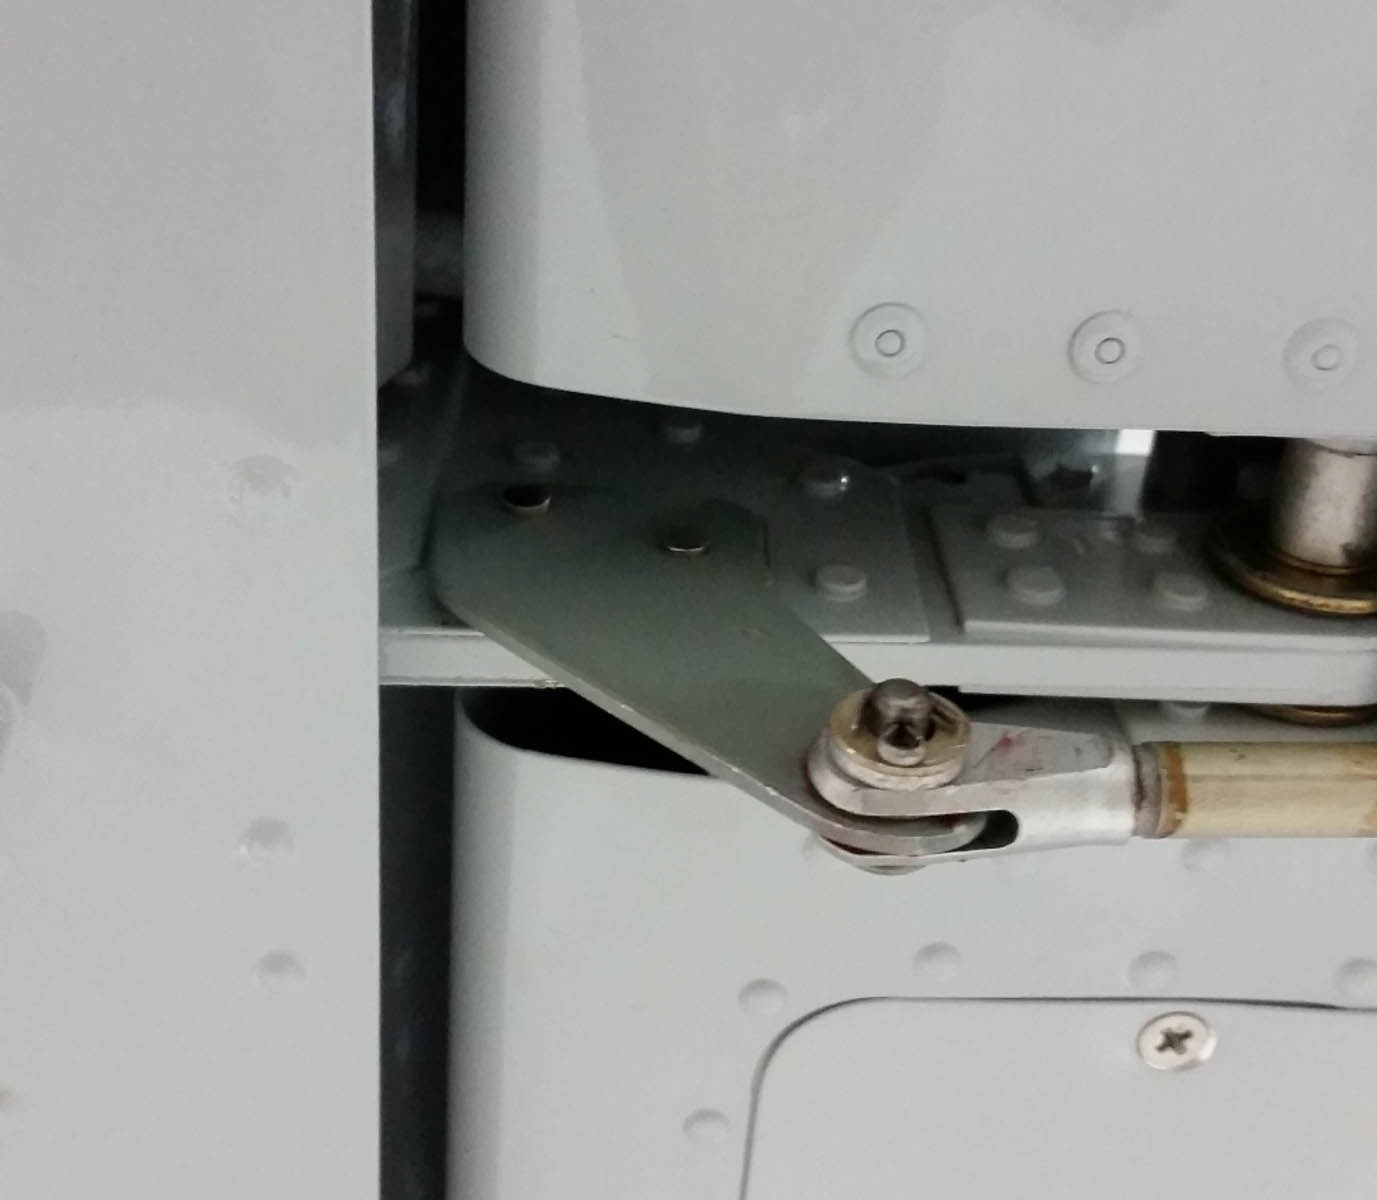
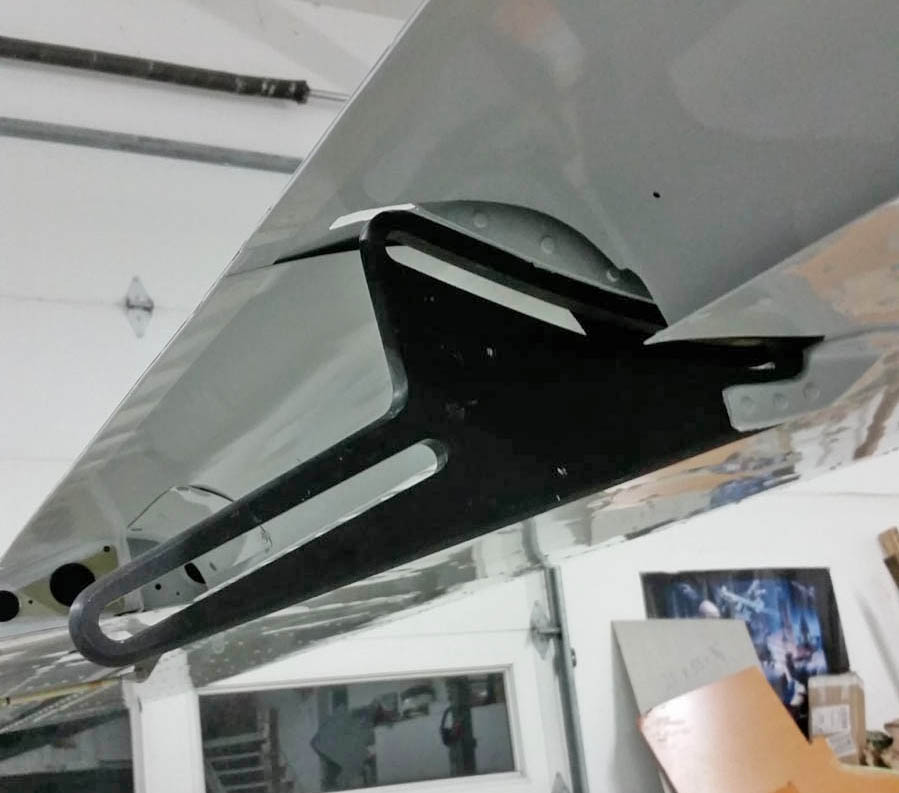
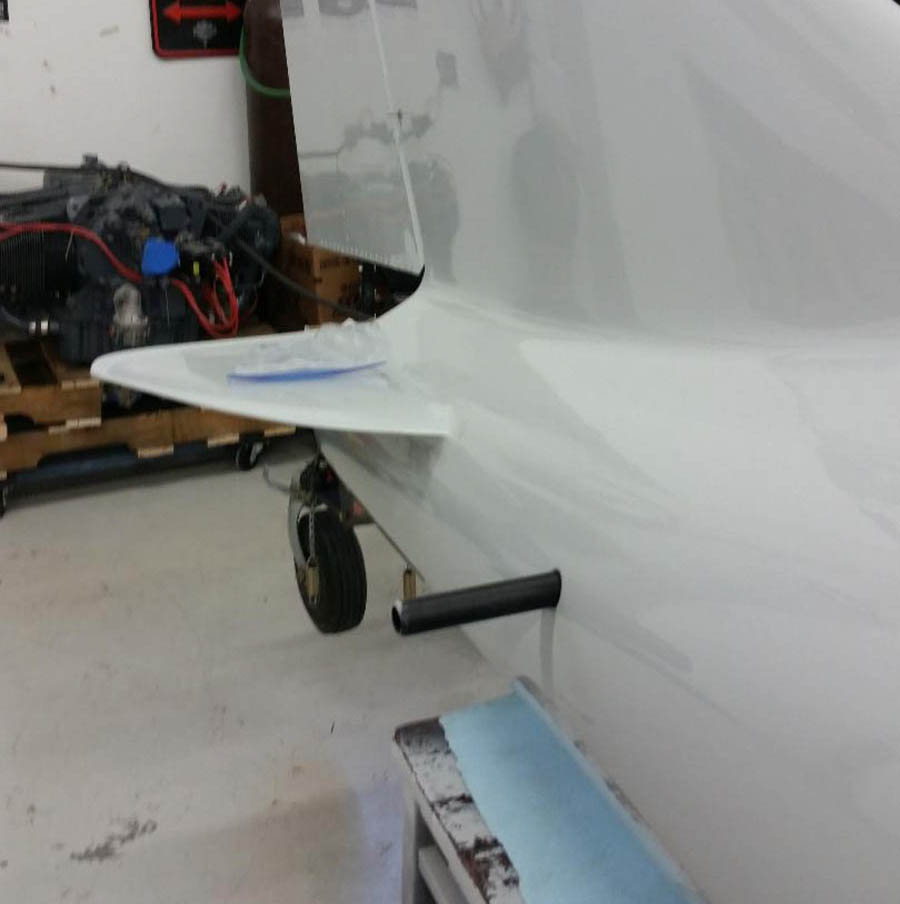
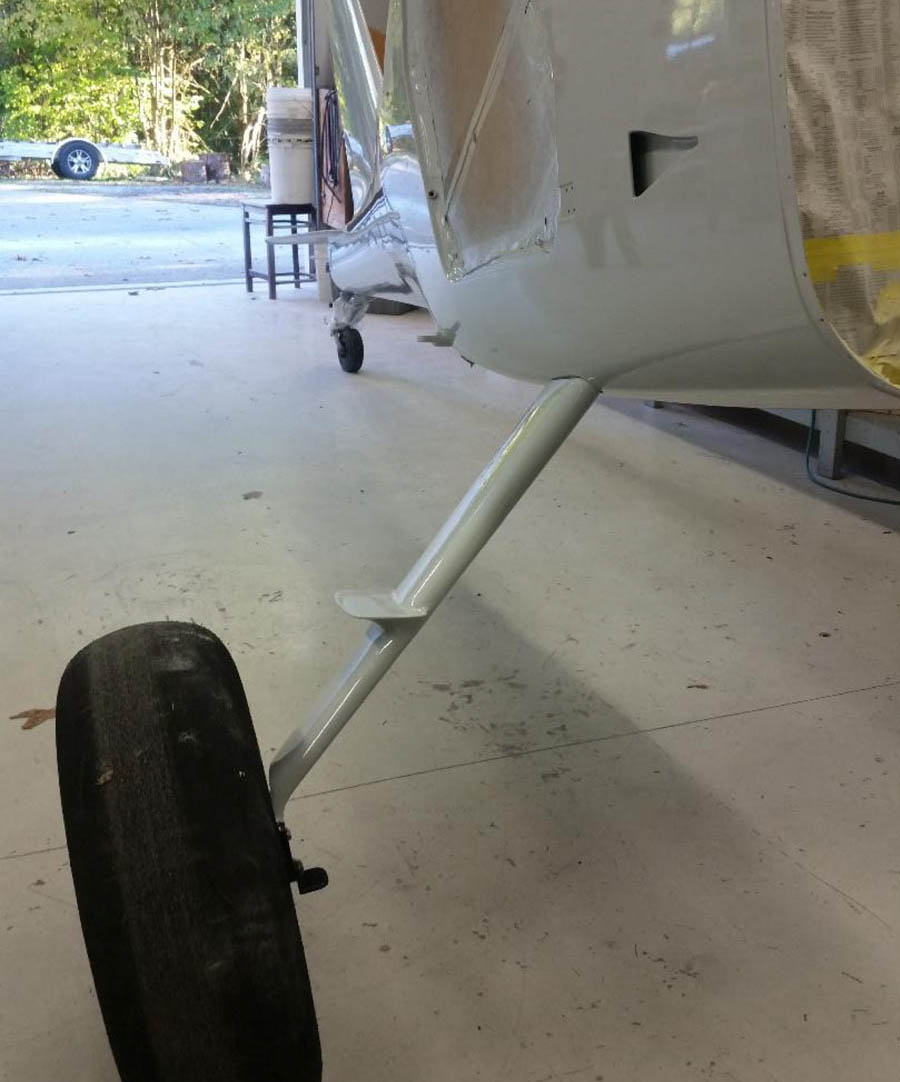
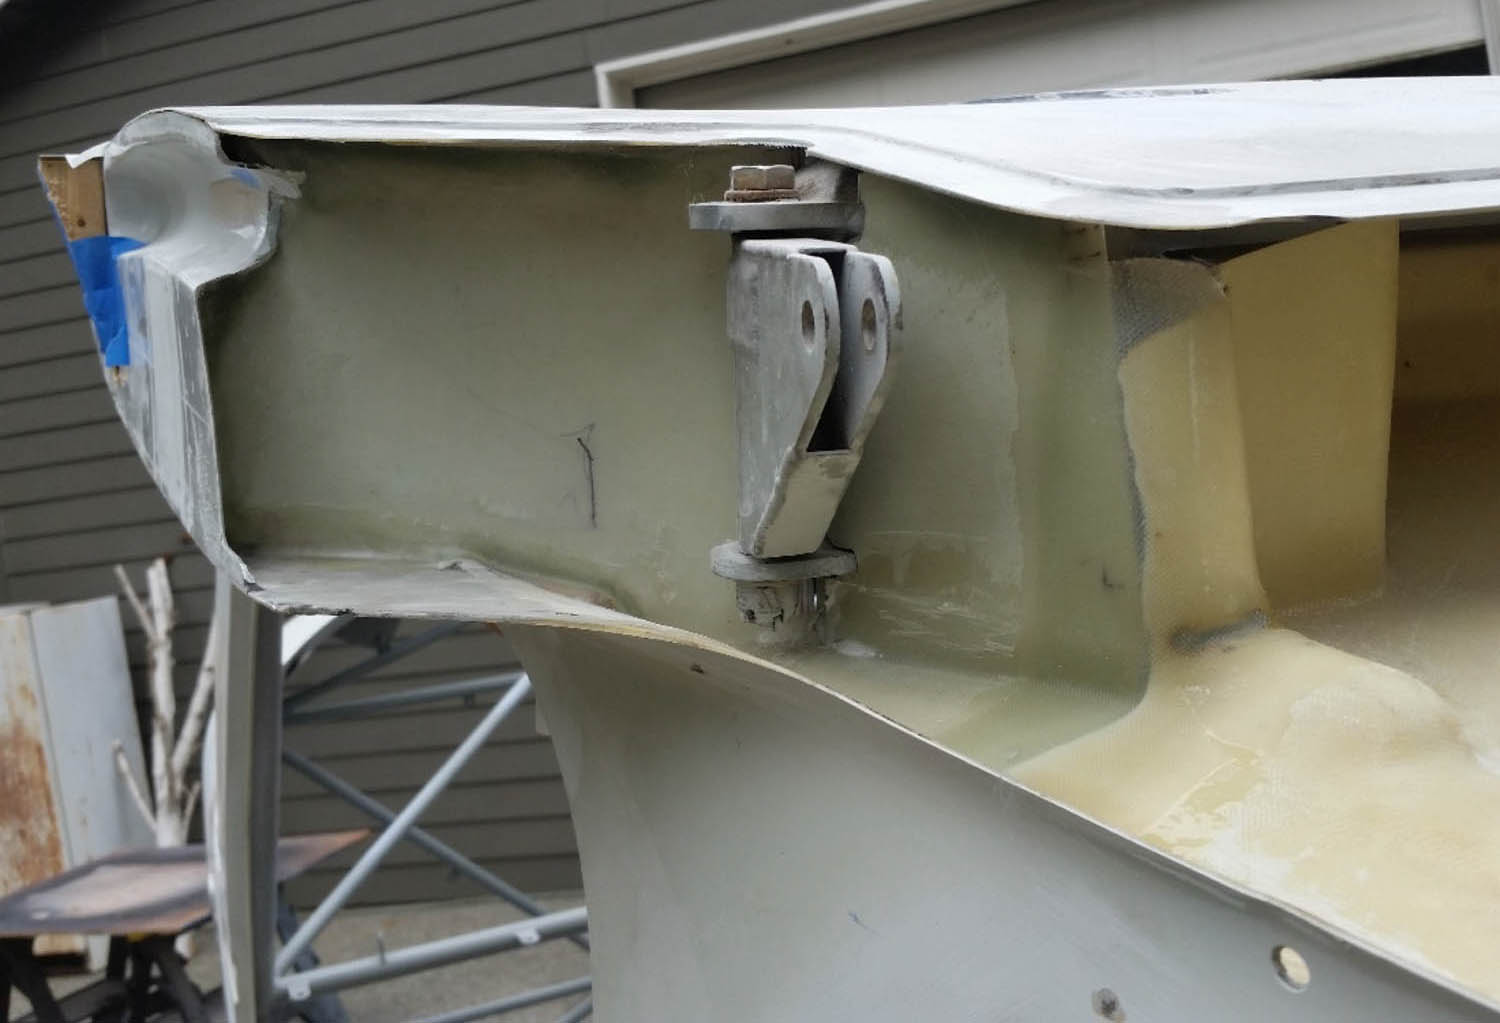
Extended heavy-duty landing gear
After operating on the extended, heavy duty gear now for the past year on my Sportsman, it is definitely the first upgrade I’d recommend to any GlaStar or Sportsman tailwheel owner who likes to fly into rough strips, land and take off short, etc.
Watch for an upcoming article detailing step-by-step instructions for fabricating the fairings and steps.
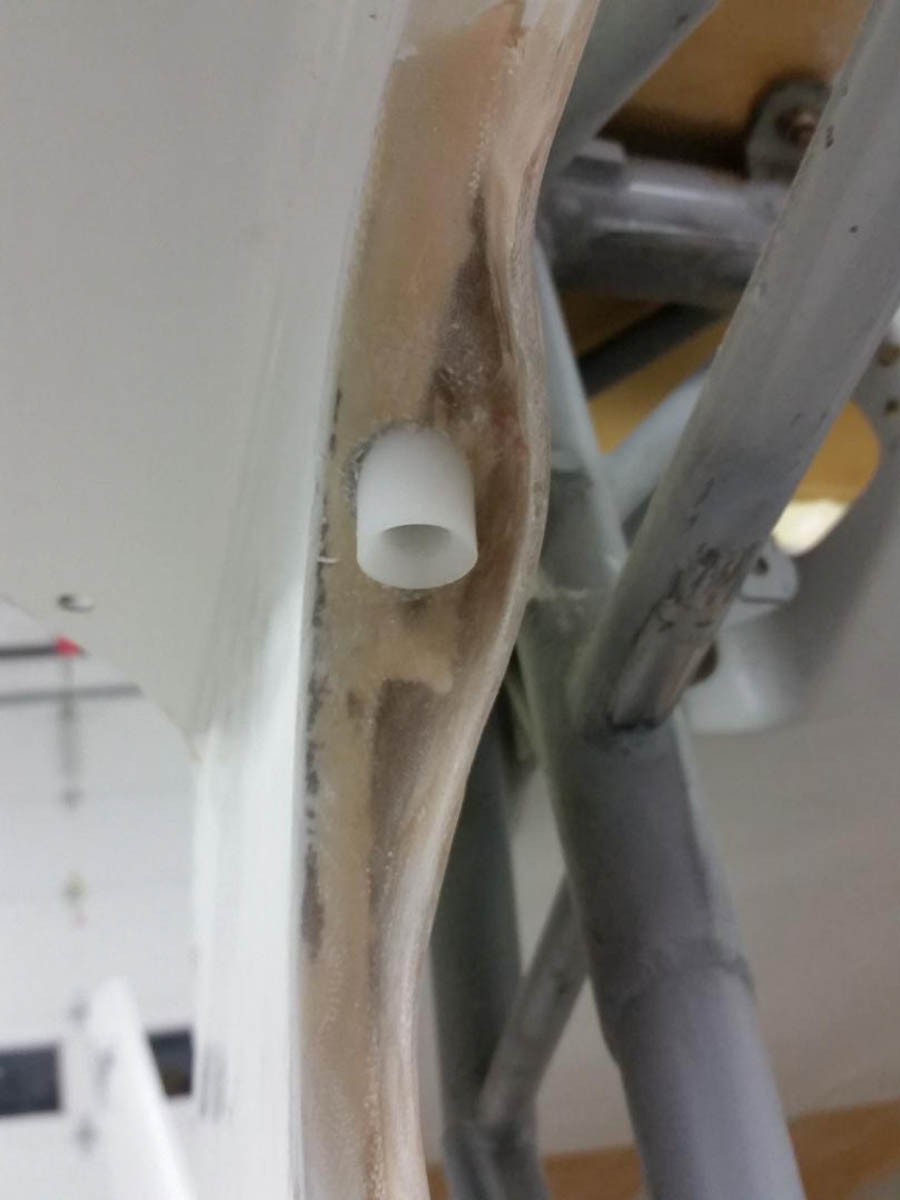
The photo above shows an upper and lower “cap” on the truss tube. I don’t believe the lower cap is necessary and don’t have it on my plane. The upper (half) cap should be made from 1.0” OD x .049” wall 4130 tube. A similar (half) cap is also welded to the lower horizontal truss tube. No reinforcement is necessary on the diagonal tubes. Tom Needham was the first Sportsman customer to install a set of (non-extended) heavy duty gear on his Sportsman in Cameroon, Africa. In a very strong downdraft – possibly a microburst- on the high-altitude Cameroon mountains on a steep one-way strip, Tom impacted the ground hard enough to greatly compress the non-reinforced upper strut tube and sever the lower one. It may never happen to most of us, but if it does… it gets tremendously expensive to repair the cage. It’s just good insurance. Hilder Rosales (weld-shop foreman for Glasair Aviation) has a fabrication shop on the west side of the Arlington airport. He has accomplished major Sportsman cage repairs as well as these truss tube reinforcements that include cage-painting and reassembly.
29″ Tires
Craig Gillson and Dave Rowland are both San Diego GlaStar owners. Dave developed an adaptation of some ATV tires with spun aluminum wheels and beadlocks. They are several pounds lighter than AK Bushwheels and many dollars less. I’m anxious to see how they perform once Craig gets his GlaStar finished. (see photos elsewhere in this article)
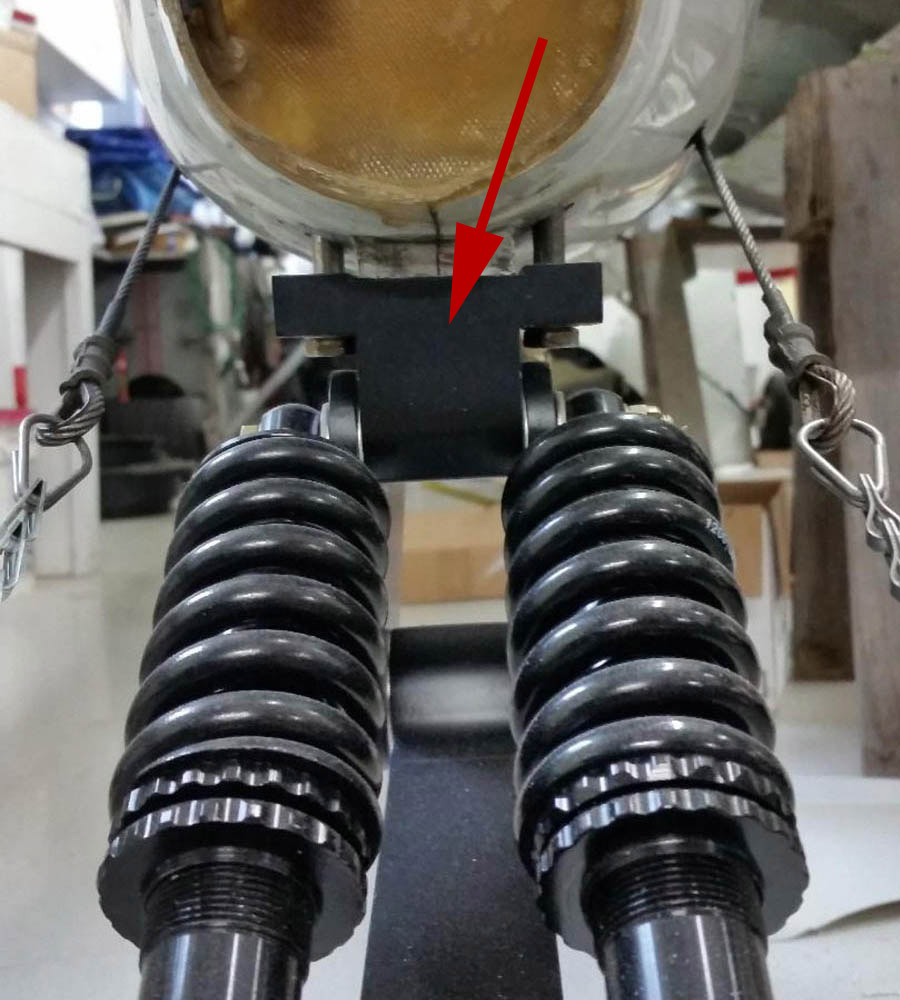
T3 tailwheel suspension
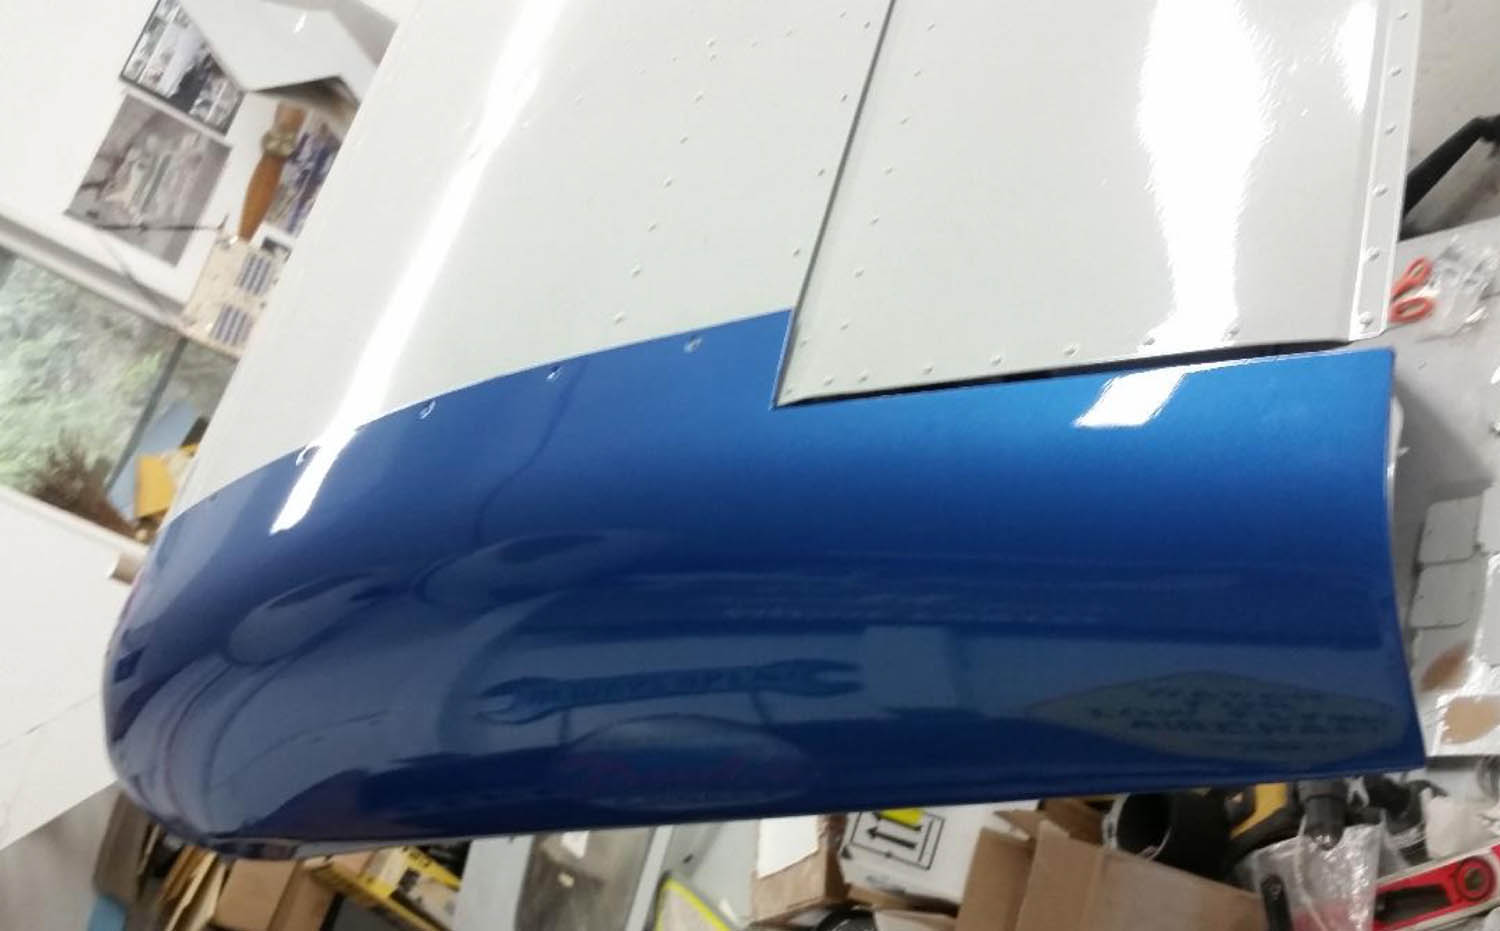
Sportsman wing tips
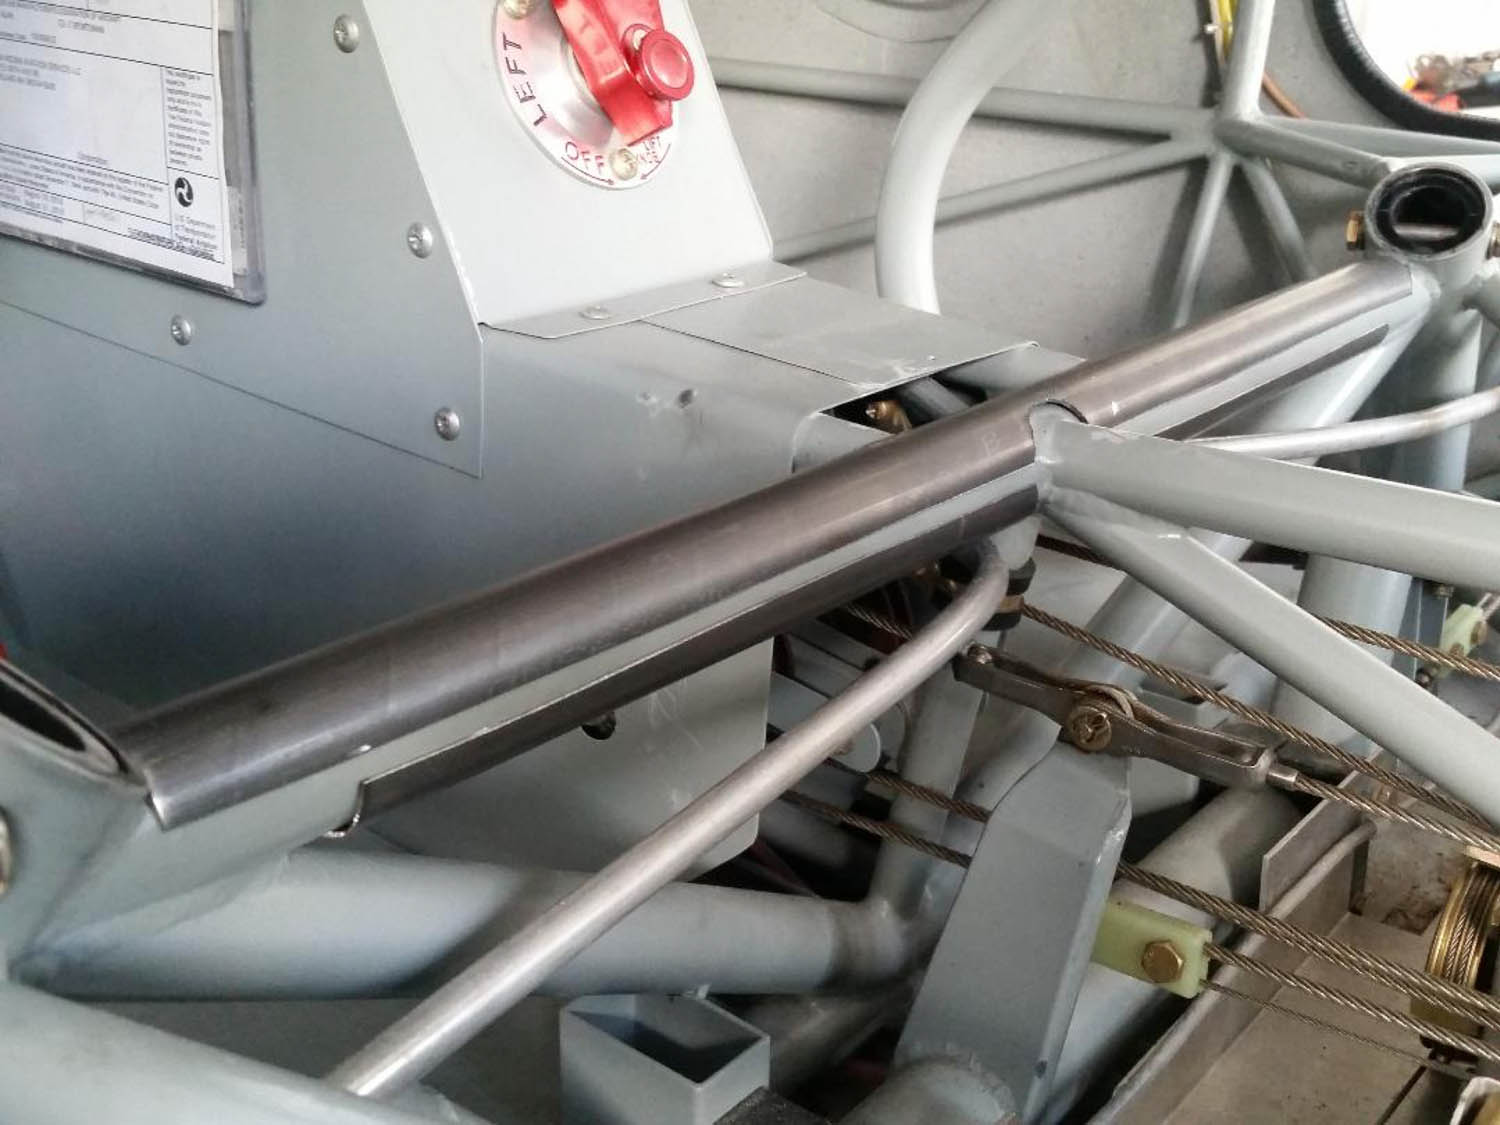
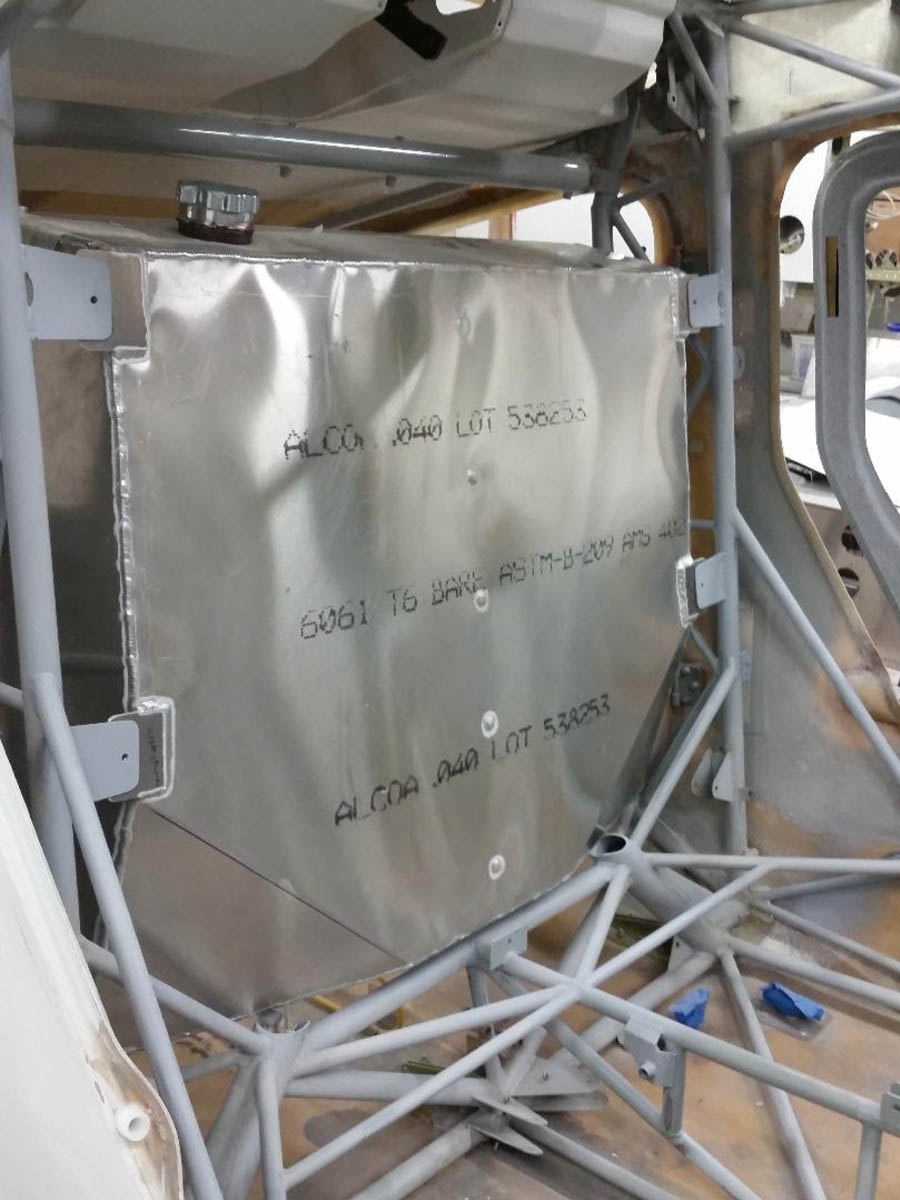
Additional fuel capacity
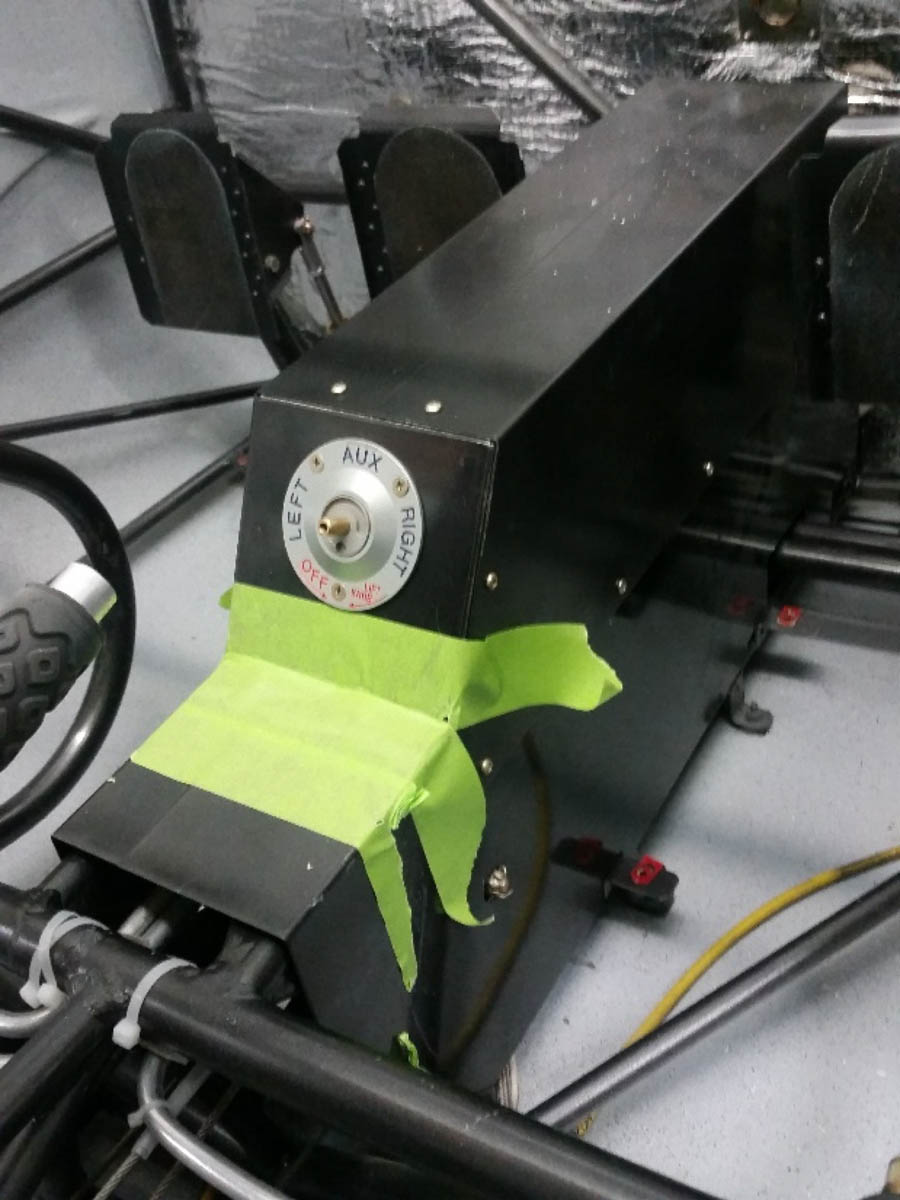
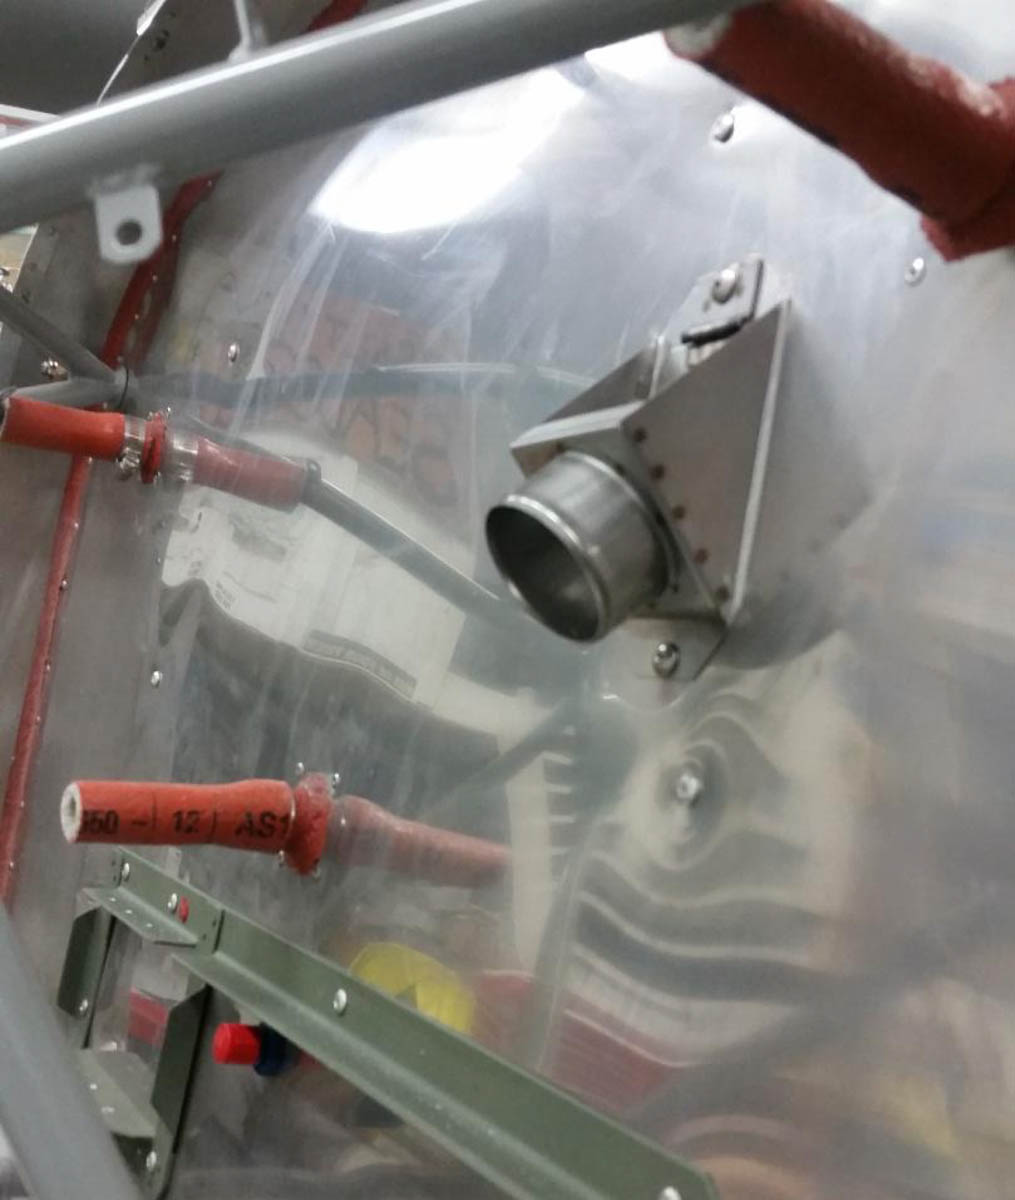
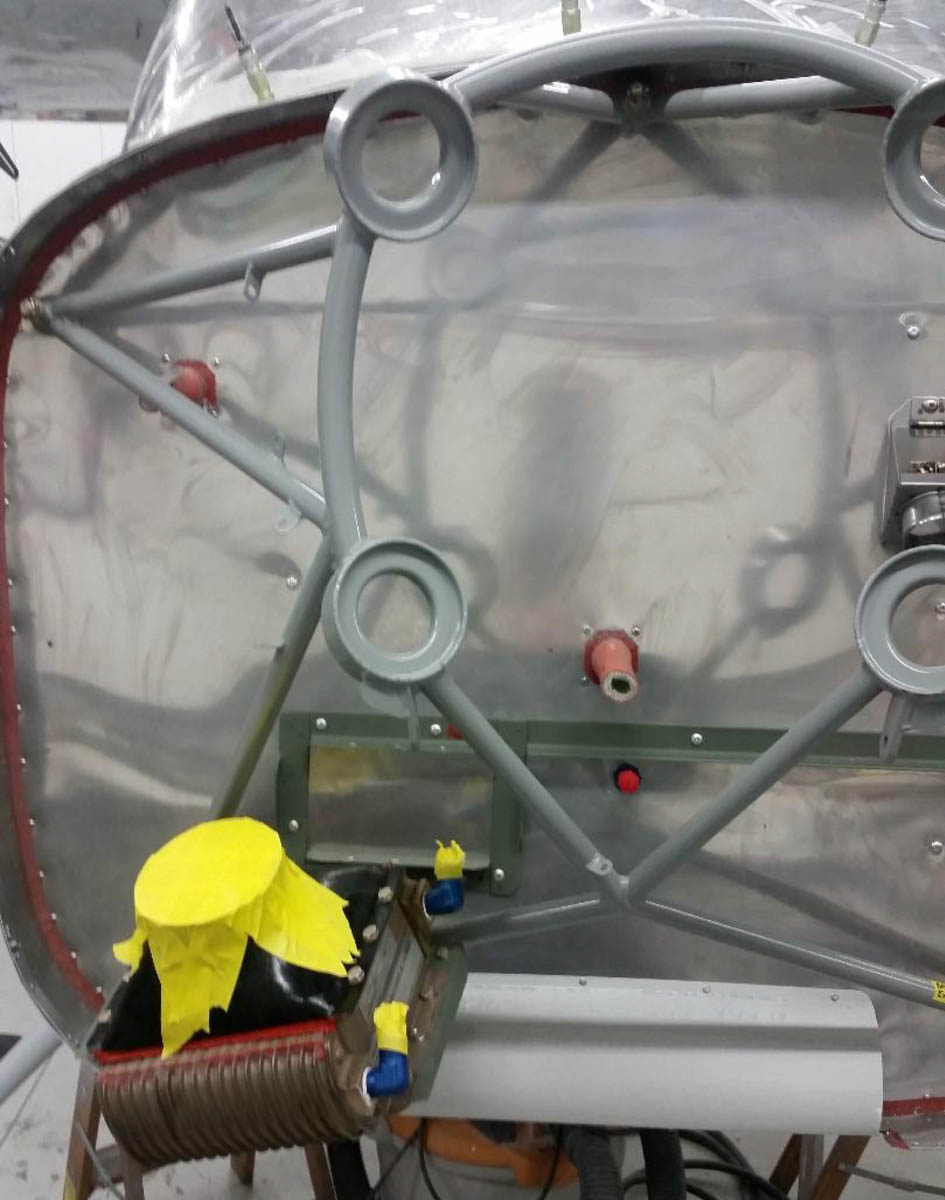
New fuel system lines and selector valve
New Windows
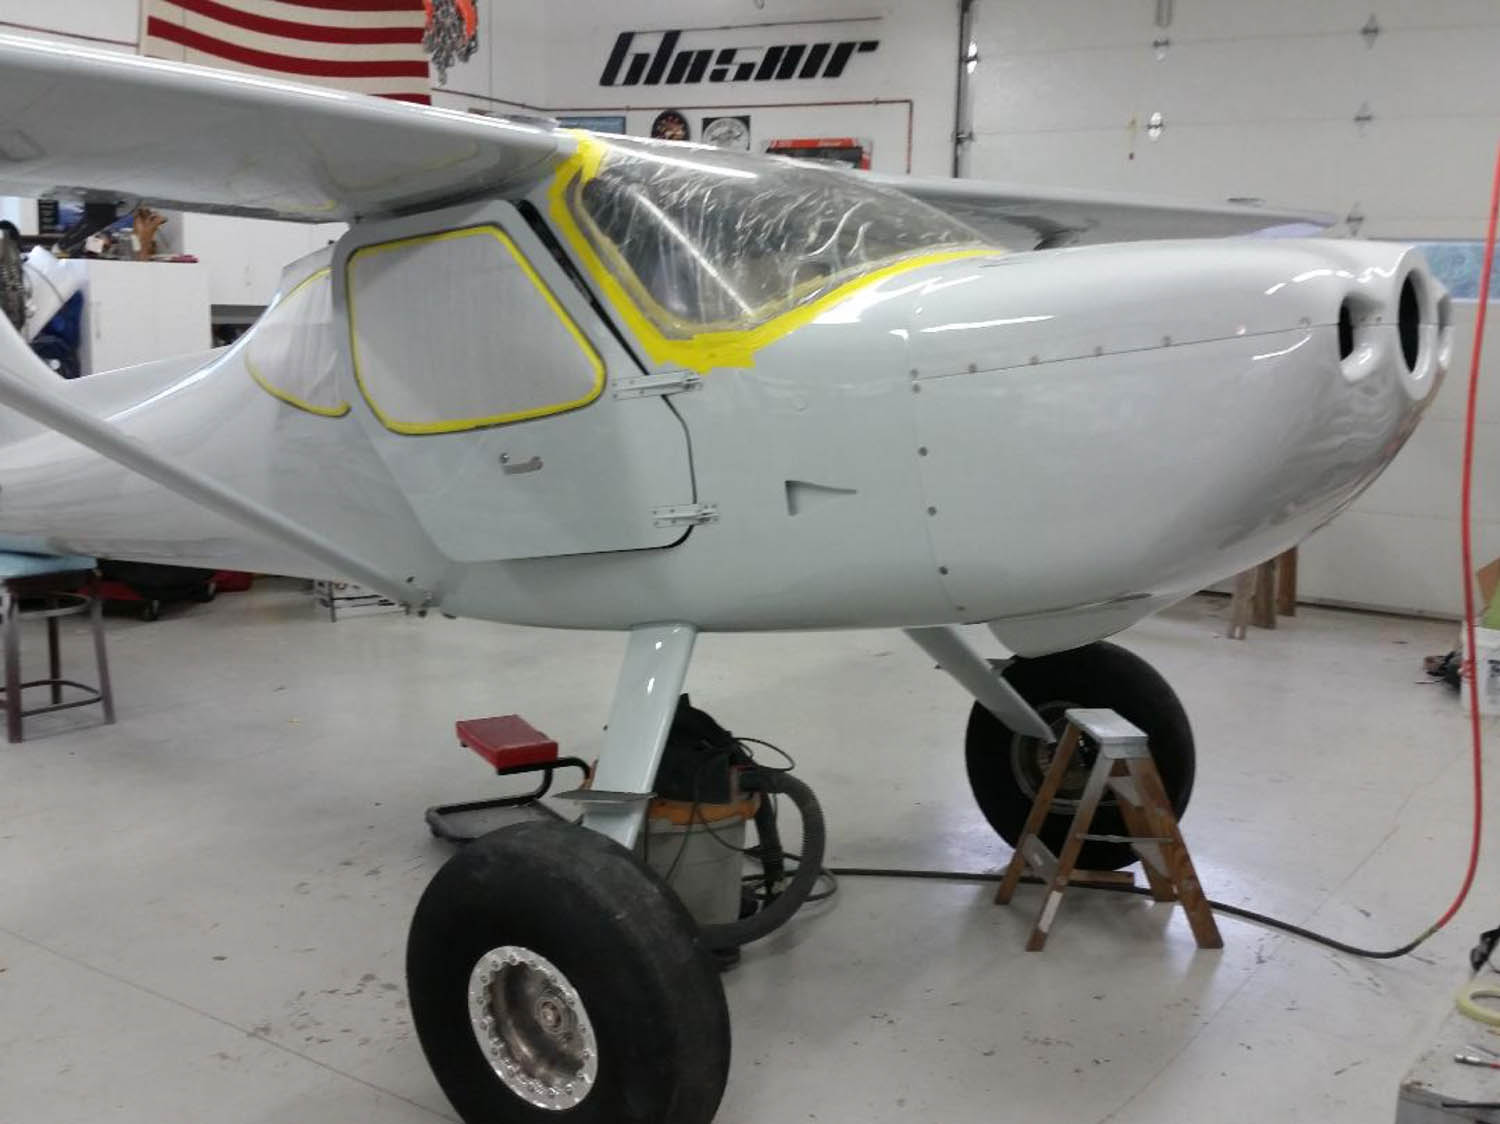
We had to chisel and grind the old windows out to preserve the original window flanges. New windows were put in with Silpruf. My hat is off to Zach Chase for teaching us a long time ago the best method for installing the windows.
Dorsal fin

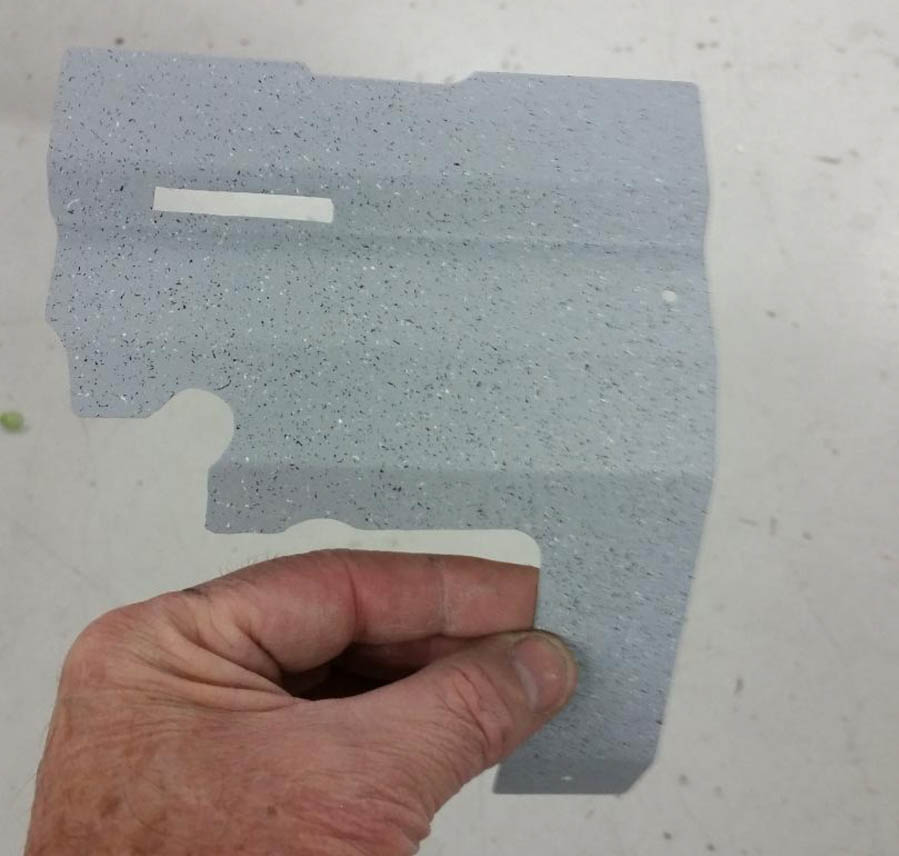
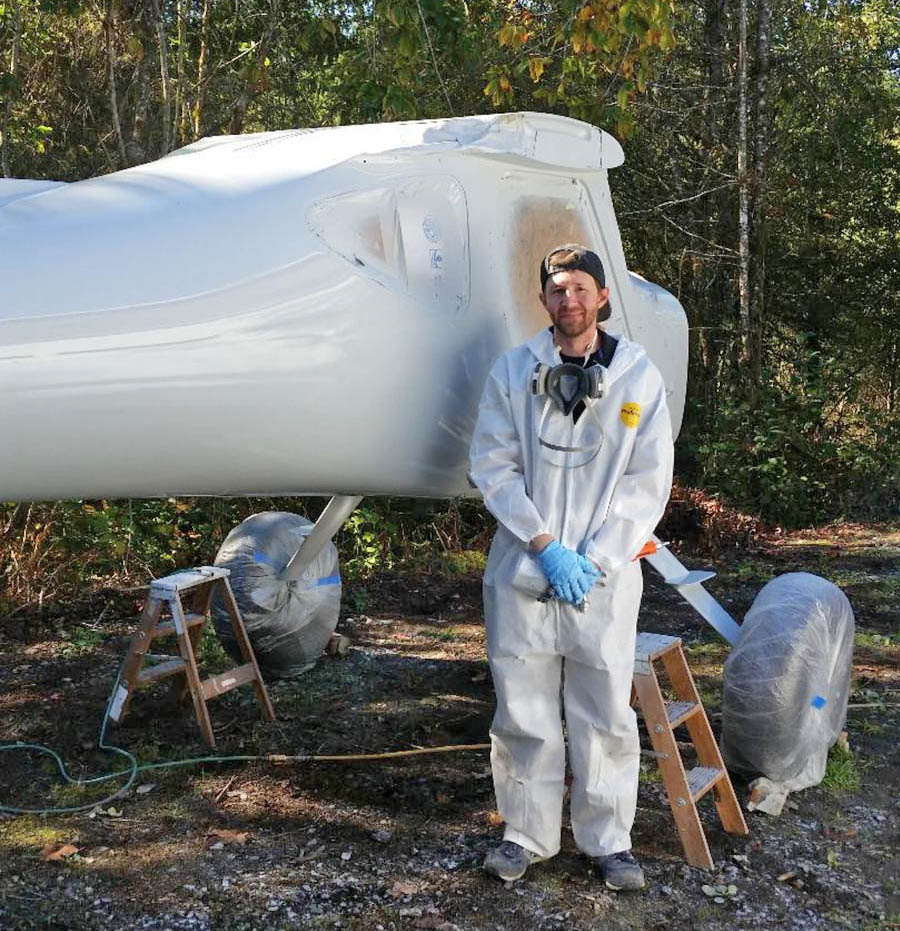
Primer and Zolatone interior
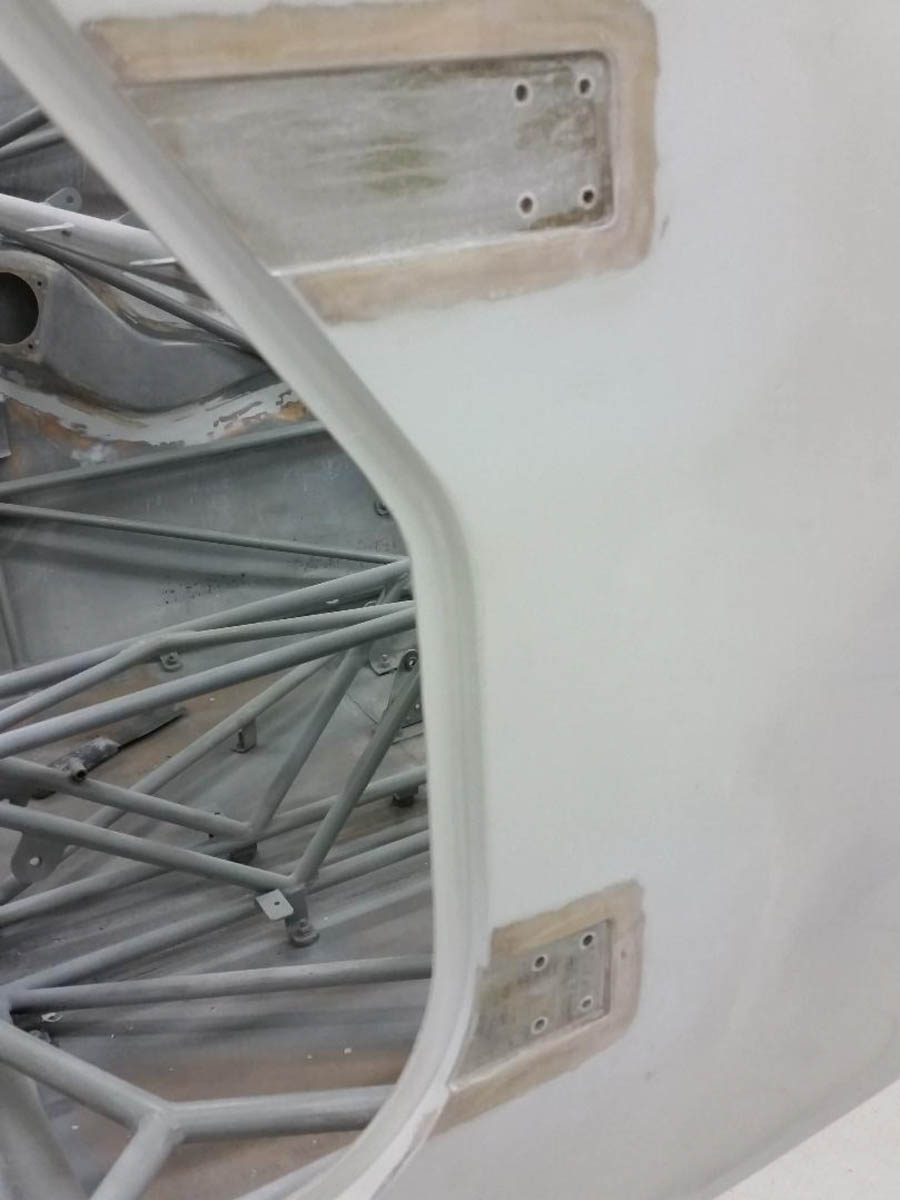
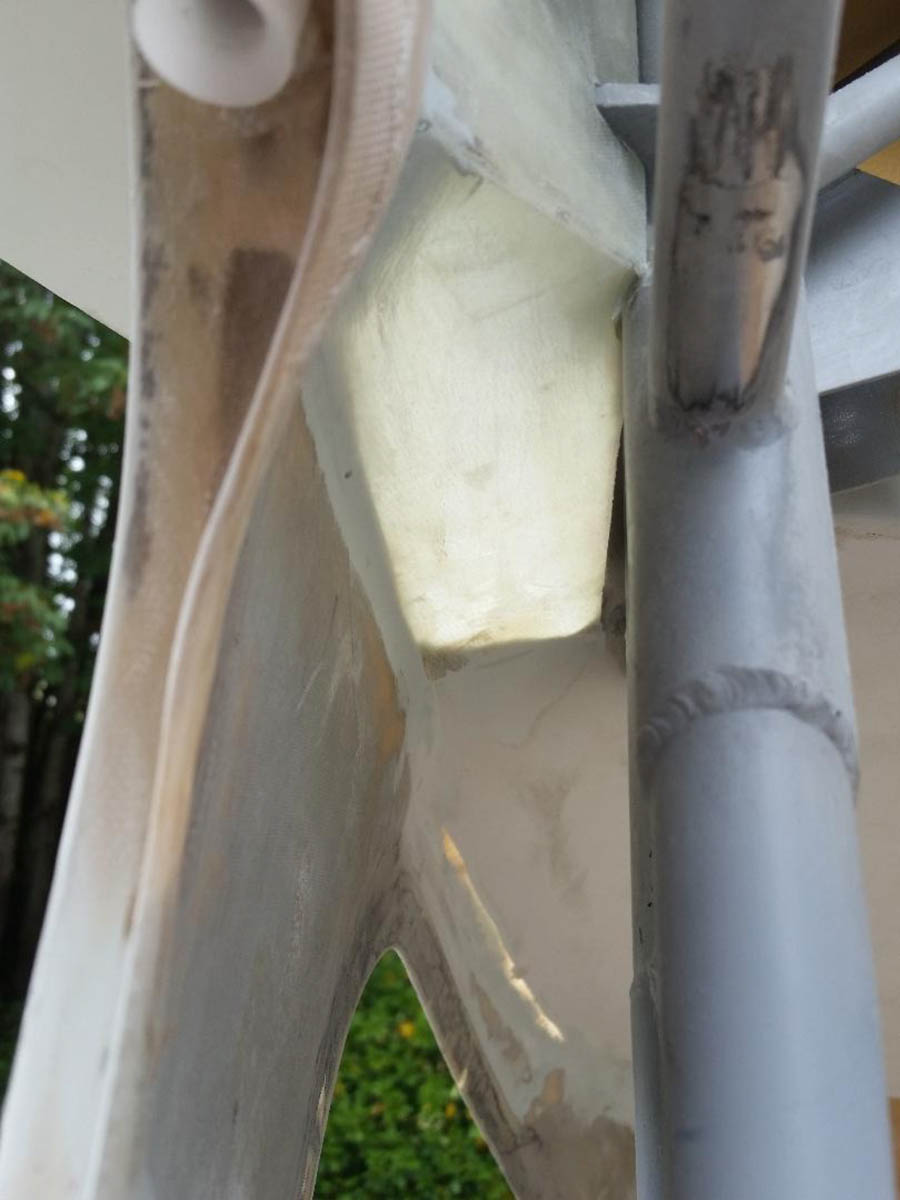
Wing root closeouts
We cut sections from pre-cured laminate sheets and formed interior close-outs of the wing roots and aft spar pivot area similar to the Sportsman.
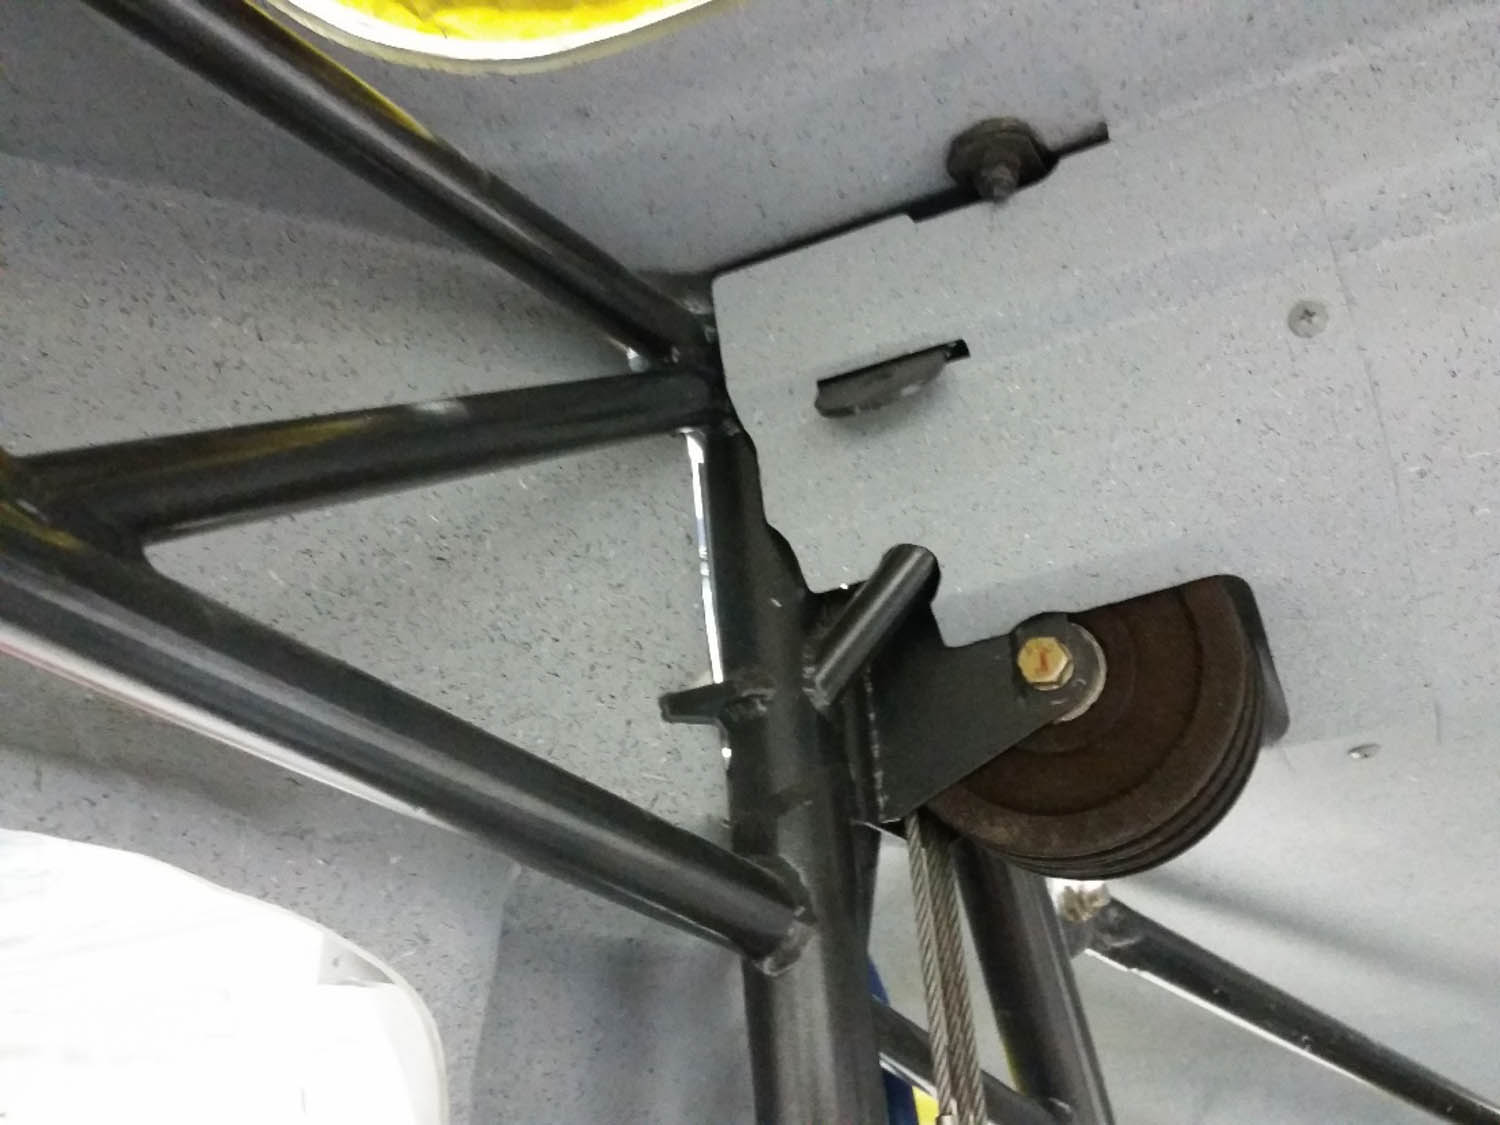
Other details
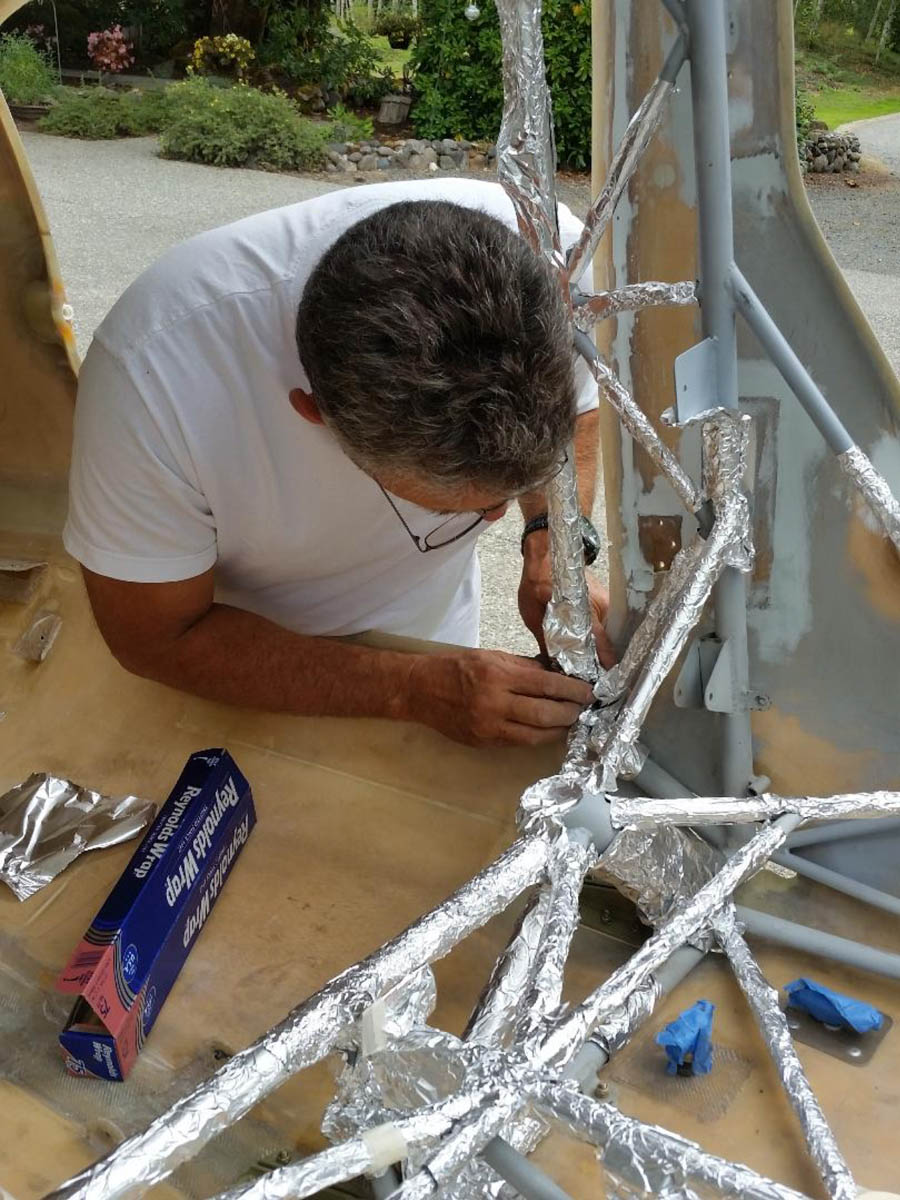
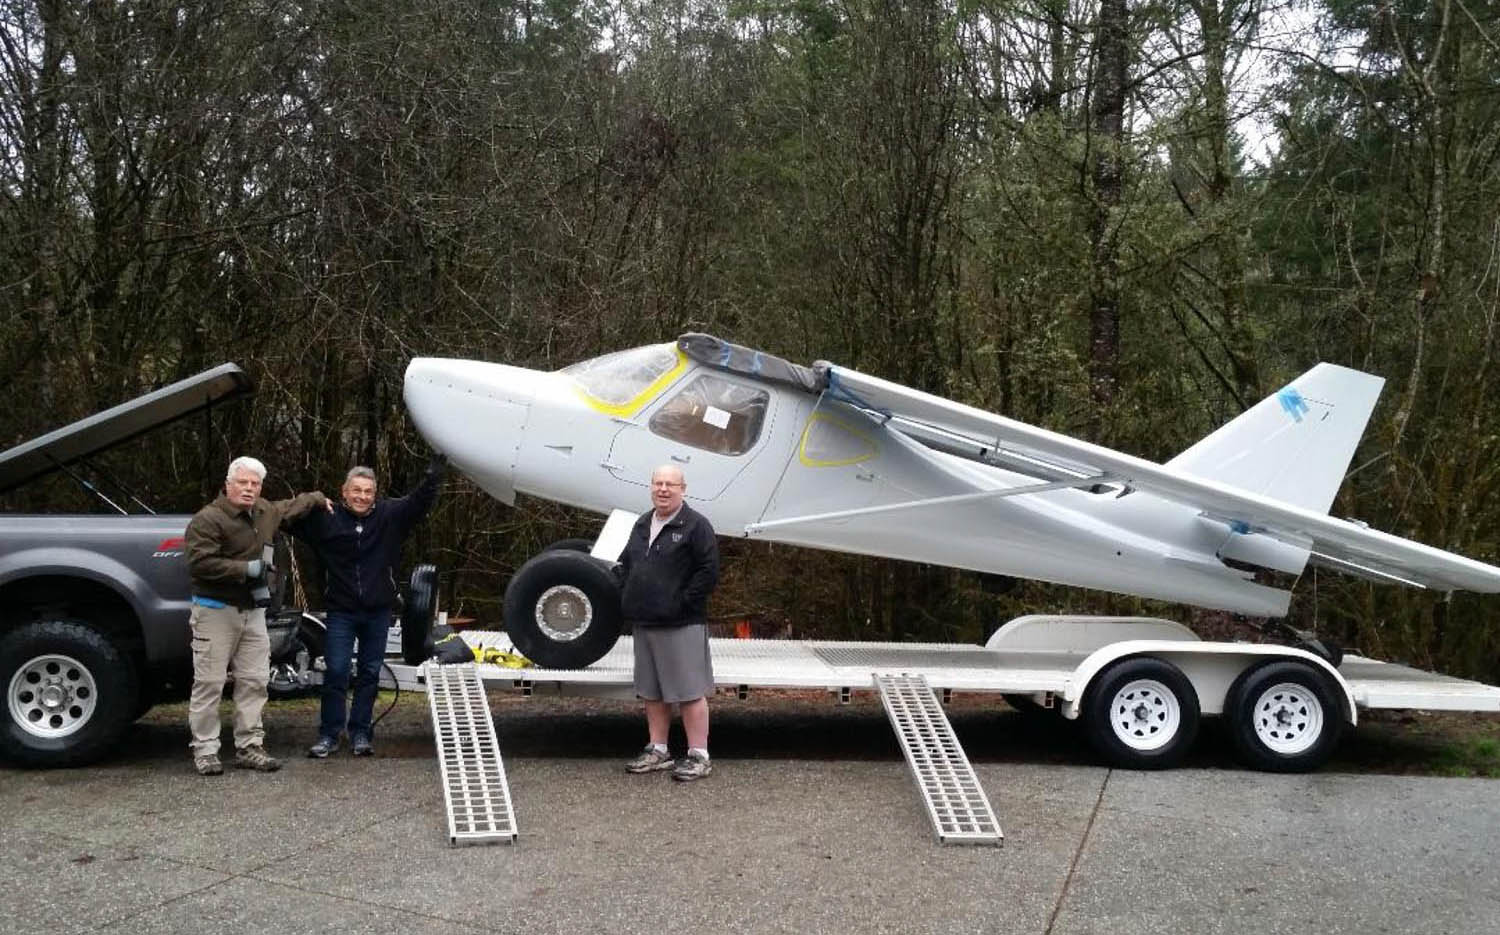
Craig made many trips up to our shop staying for days/weeks at a time at the Setzer B&B and worked with Harry DeLong (right in the photo) and me in our ONE YEAR TO TAXI program. He and his A&P son will finish up all wiring, instrumentation and firewall forward tasks at home in San Diego. You know… the 90% done and 90% to go stage. It was a great pleasure working with him and getting to know him like a brother!
To the left of Craig is Dave Rowland whose OYTT GlaStar project is now in the Setzer shop. Dave’s will be very similar to Craig’s with the exception of a wing fuel tank design with an undisclosed amount of (wet-wing) fuel capacity for back country Alaska adventure flying. With thicker wing skins and removing the Glastar spar doublers and reinforcements and replacing them with Sportsman spar flange doublers, we’ve essentially upgraded Dave’s wings to Sportsman strength.
These may be too extreme of a makeover for many of you, but I hope it gives you some insight into what may be possible given only the limitations of time and finances. The one thing that can be done with elbow grease and without great expense is to makeover the interior as we did with this one and give it that brand-new aircraft appeal.