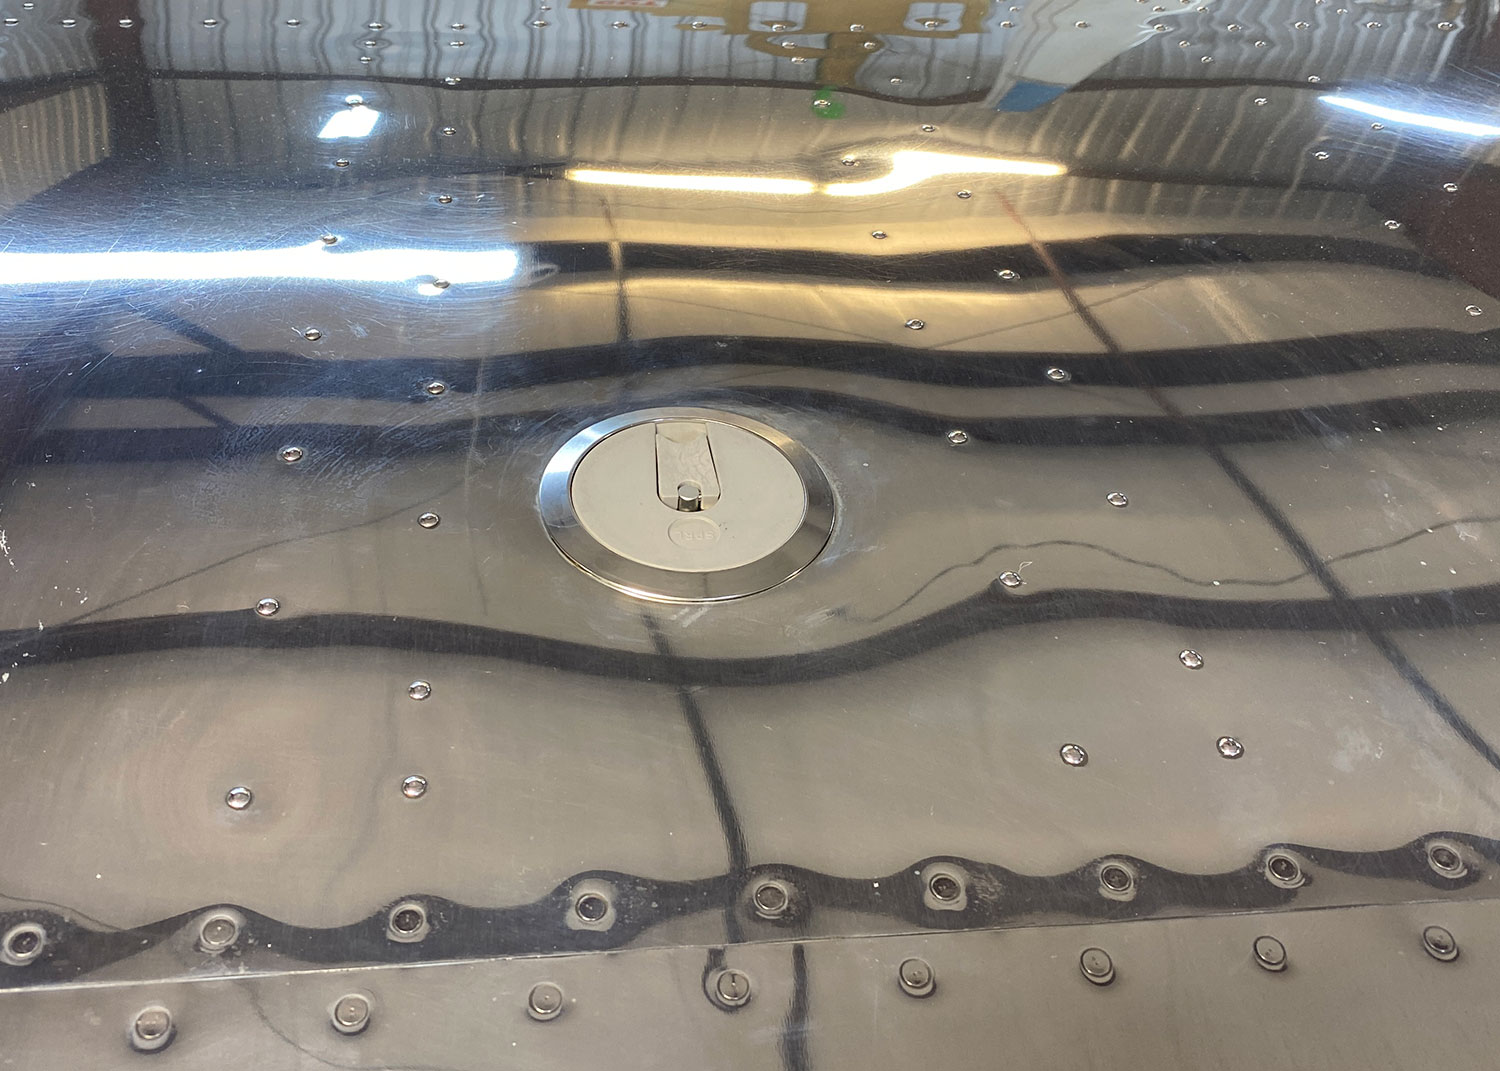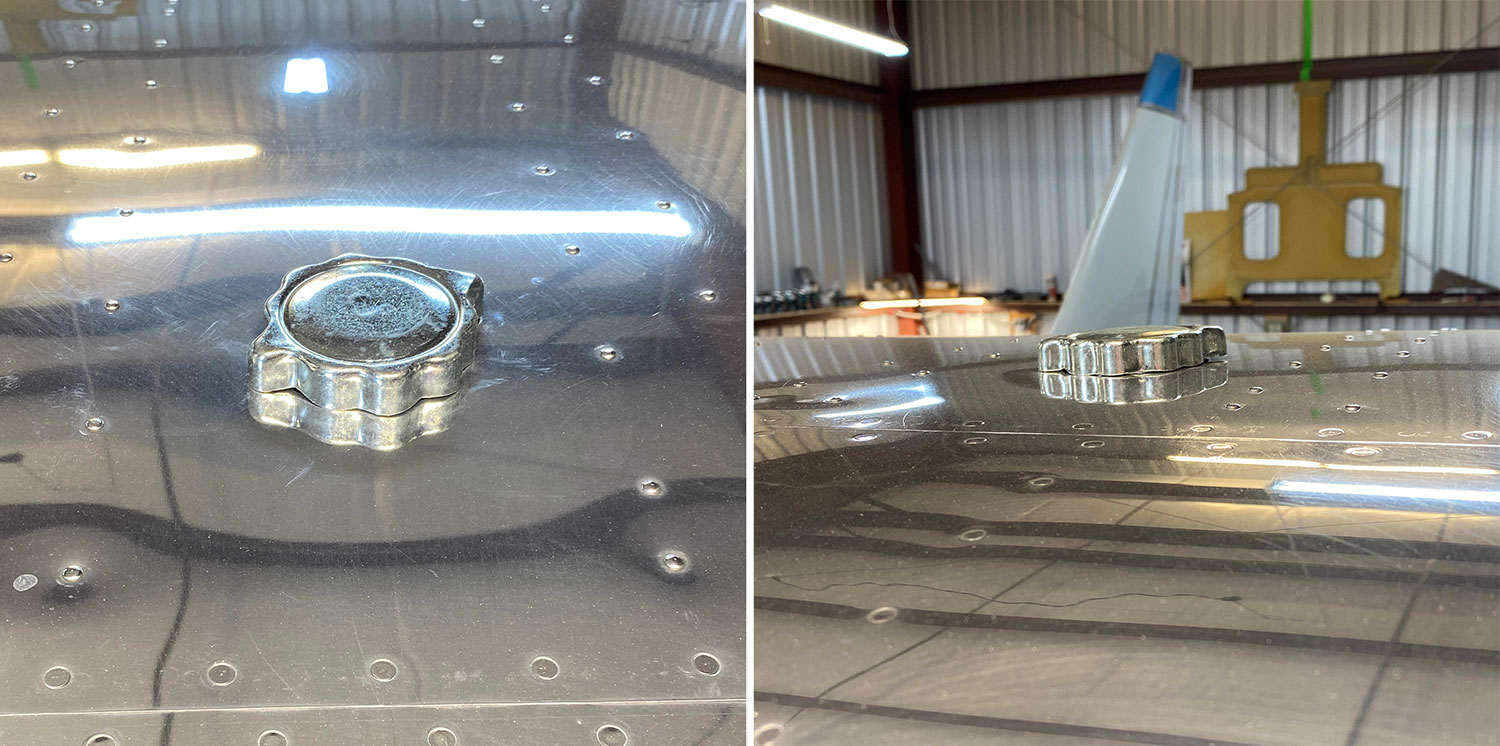
The original fuel filler neck and gas cap are functional, but visually more appropriate to farm equipment than to the sleek lines of the GlaStar. Swapping out existing parts for flush caps is easy. Newton SPRL flush fuel caps and filler neck flanges available from Aircraft Spruce are described in this article, but the method applies to any similar flush caps.
The filler neck holes in the top wing skins will need to be enlarged, but compared to the fiddly locating procedure from the Systems Installation section in the construction manual, this task will be a breeze. You’ll need a piece of cardstock paper or a manilla folder to make a cutout template.
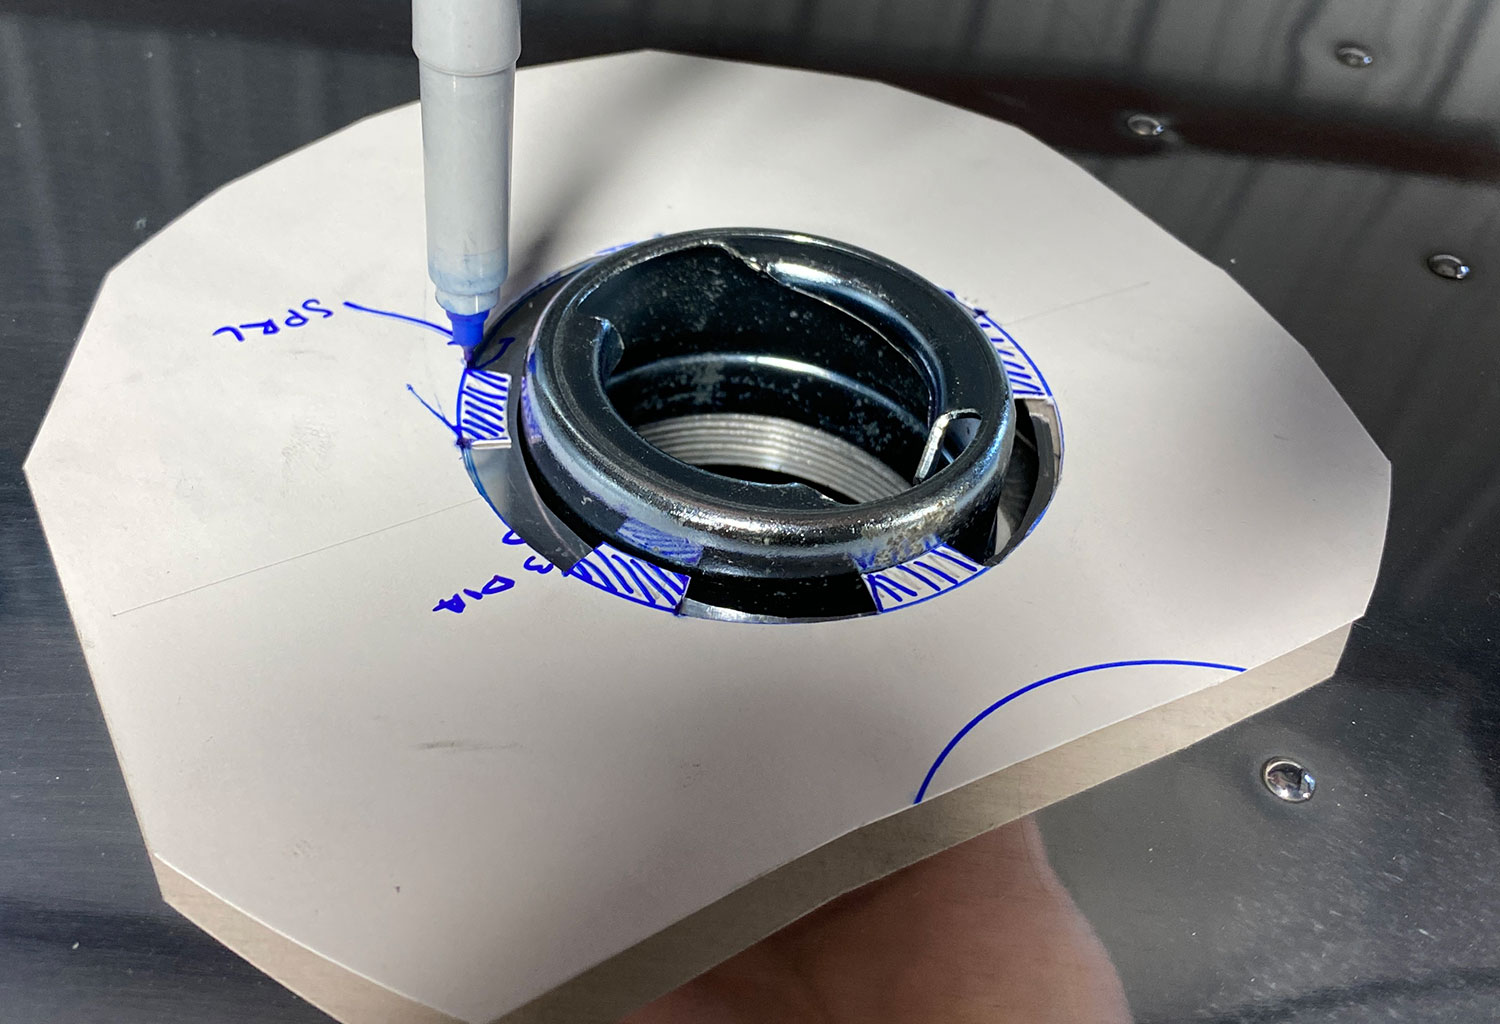 Using a compass, draw two concentric circles – the outer one with a 2.8″ diameter, and the inner 2.3″ dia. Mark five “teeth” evenly spaced between the two circles and using a sharp utility knife cut out the smaller circle completely. Next, cut out the notches to the outer circle leaving the teeth. These teeth will ride on the old filler neck as you scribe a circle onto the wing skin. By doing it this way, your new opening will be perfectly centered on the fuel tank filler opening.
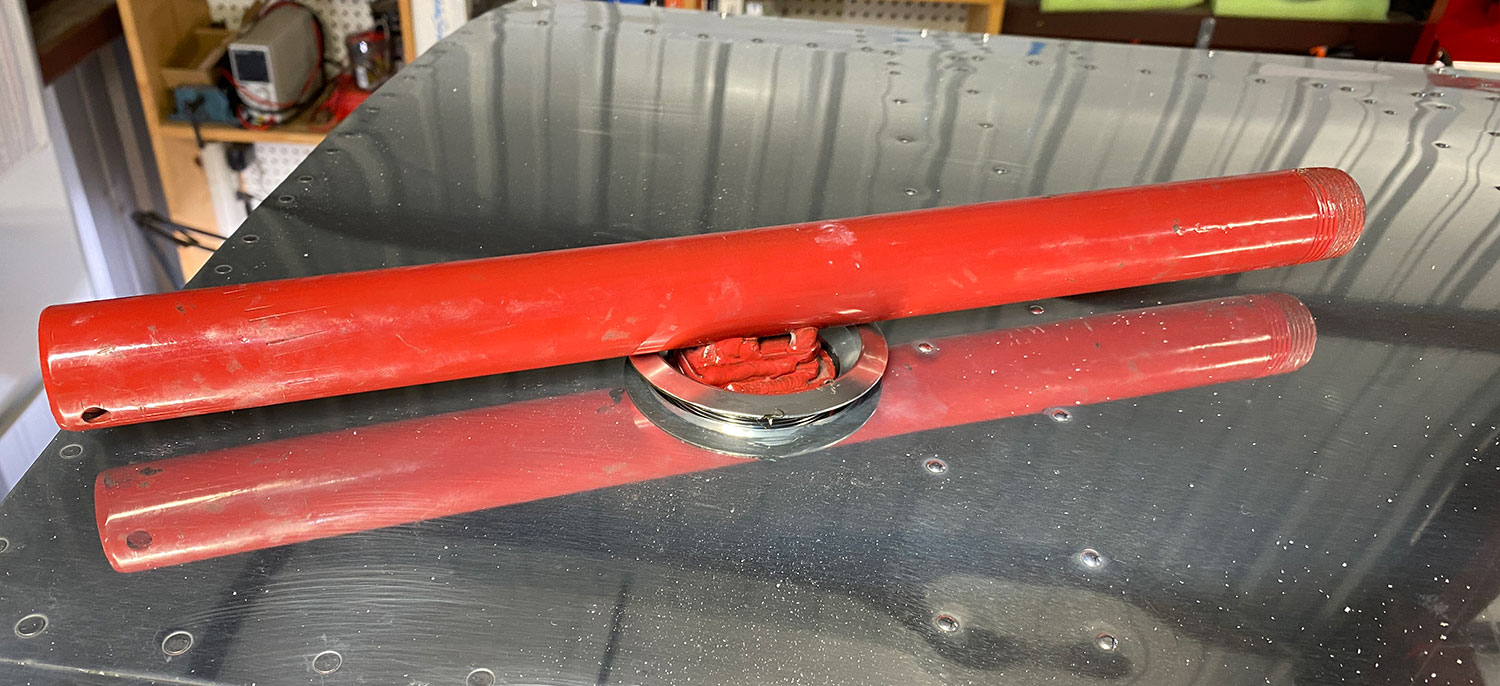
It’s best to do the rest of the work with empty fuel tanks because it’s easier to remove any debris that might fall inside. Remove the old tractor filler neck using a pair of pliers that fit in the slot and another pair of channel-lock pliers to turn everything counterclockwise. Depending on the compound used during original assembly, you may encounter some resistance here and the old compound could crumble into the tank. Clean the threads in the tank and remove any debris that drops down.
If you still have the plastic plugs that were delivered with your fuel tanks, use them to plug the opening, otherwise use wide masking tape to close it completely—you’ll be making aluminum shavings and those should not fall into the tank.
Stuff some paper towels between the tank and wing skin to prevent debris from going into the wing.
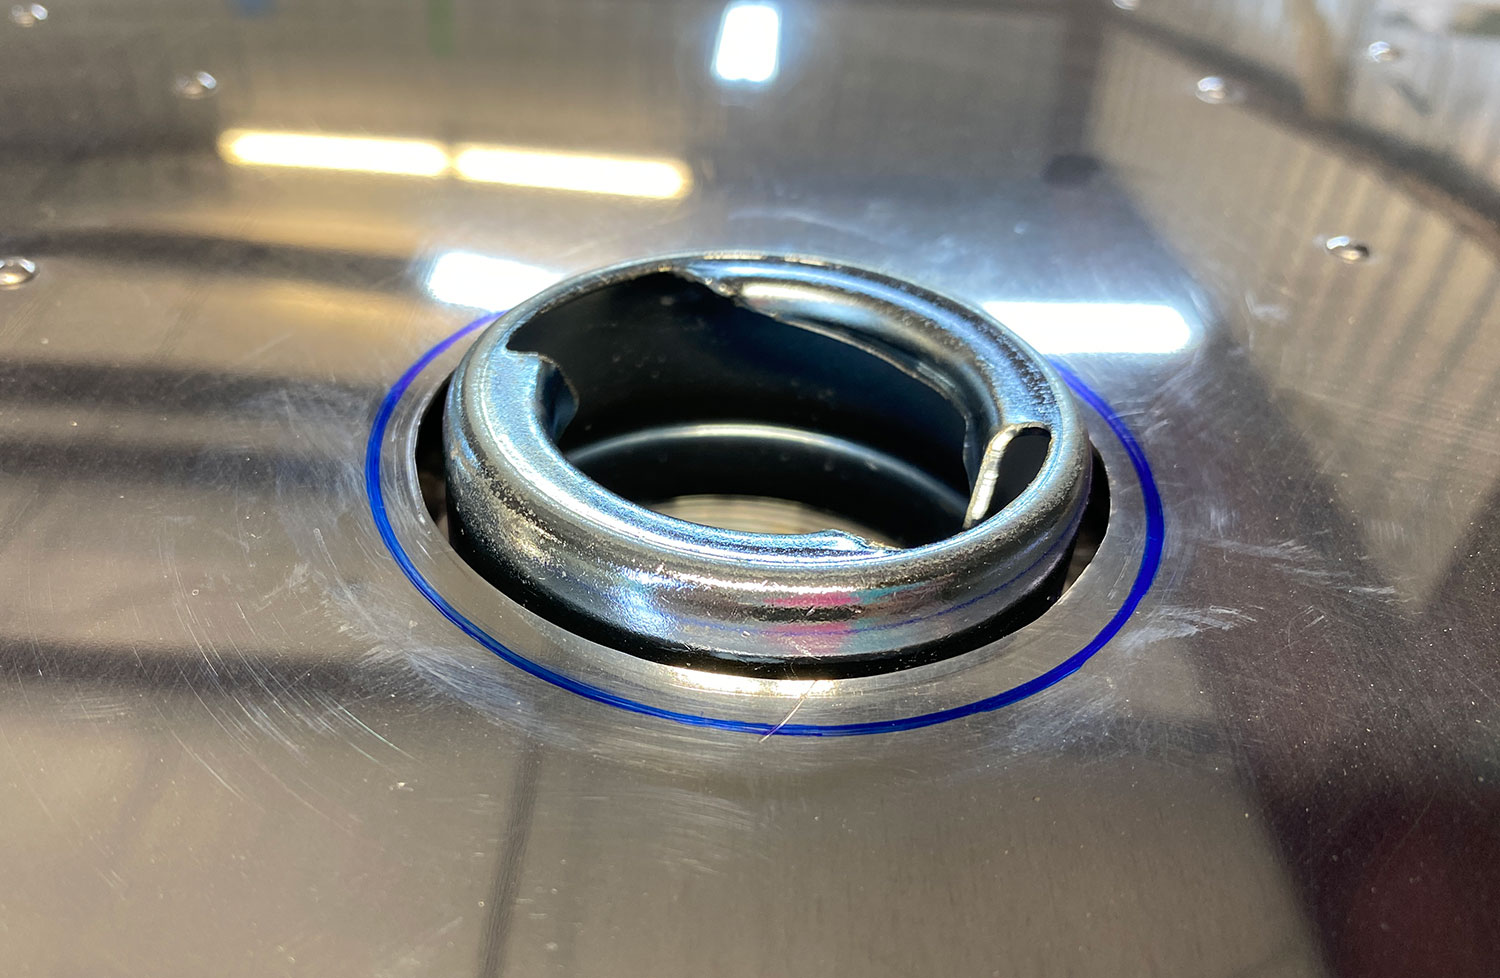
With a rotary file, enlarge the opening to the new size and finish it with a small deburring wheel. Vacuum everything and remove the stuffer paper towels, then vacuum some more. Remove the plug or tape from the tank opening.
The following is best accomplished with Ted Setzer’s filler neck tool (available for loan through GAOA), but you can use any appropriate tool as the lever.
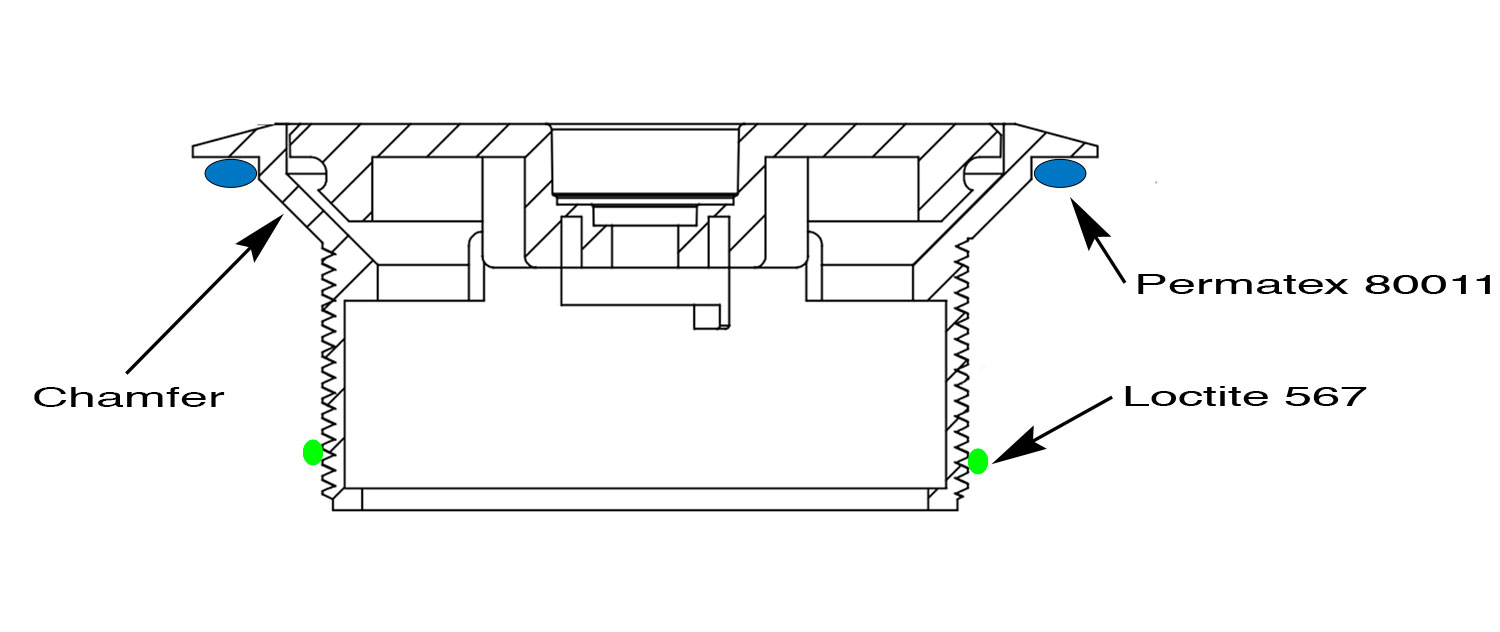
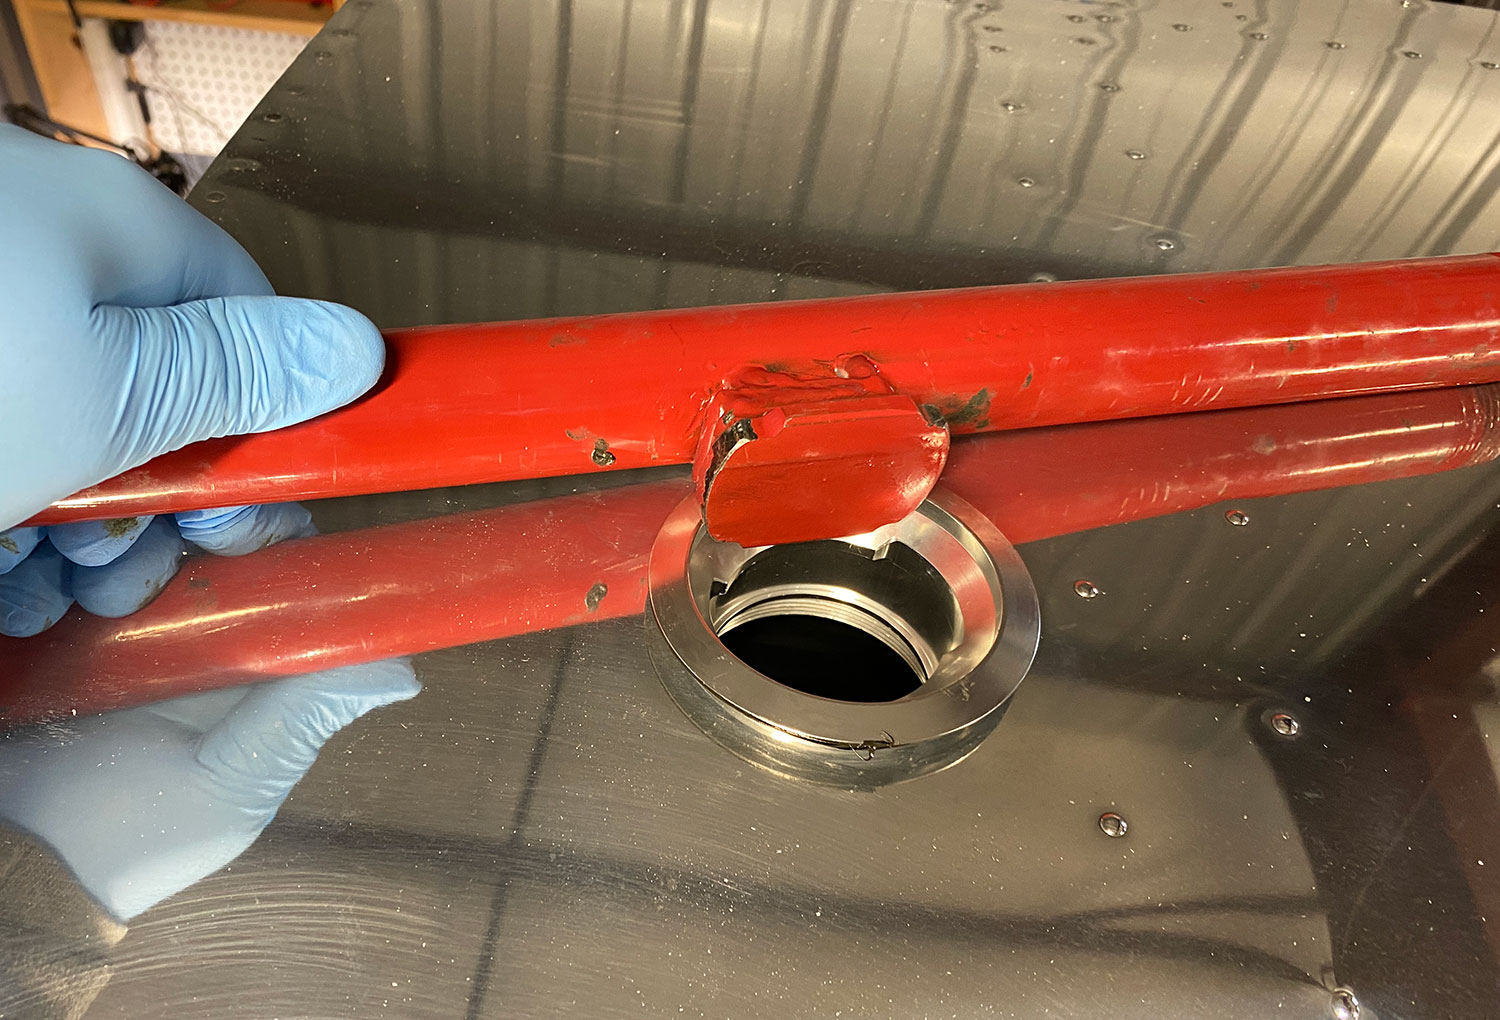
Apply a bead of Loctite 567 to the first thread of the new fland and screw it in until it’s about an 1/8″ above the wing skin, then visually check its parallelism against the wing skin. If it’s leaning one way, the flange won’t contact the skin evenly and could leave a gap. Use Ted’s tool, or a pipe that fits inside the opening to gently lean the filler neck until the bottom of the flange is parallel to the wing. When satisfied, screw the neck in until it contacts the skin all the way around. If you see a gap that you just can’t close, it means your opening in the wing skin is too small. The chamfer on the bottom side of the flange must fit entirely through the wing skin.
Unscrew the filler neck and apply a small bead of Permatex 80011 gasket maker on the bottom of the flange, and finally screw it back into the fuel tank.
Go about one full turn past the contact point and align the notches inside the filler neck with the aircraft’s longitudinal axis so that the locking tab can be in the downwind position. The Permatex sealant will squeeze out as you tighten the neck—clean it up immediately with denatured alcohol. You can use a different sealant for the flange to wing interface, but it should be removable because the filler neck will have to come out if you ever need to remove the fuel tank.
Use a very thin wipe of silicone grease on the fuel cap O-ring before installation to ensure the O-ring doesn’t stick to the new flush-style filler neck.
Download the Newton SPRL 65 Flange and Cap Assembly drawing.