In the first installment of this article, I conveyed information learned about the geometric design as well as the re-design of my floatplane rigging which dramatically improved its performance. In this installment, I’ll relate some of the information that I’ve learned about maintenance of the floats, much of which will be generic, but some items will apply specifically to my Clamar amphibian floats.
The items to be covered include the following:
- Effectiveness of fly wires
- How do you know when your rigging is “square?”
- How tight should fly wires be?
- Orientation of fly wires
- Fly wire pickups
- Rudder springs vs. tail size
- Assembly grease
- Protection of rod end bearings and cables
- Choice of wheel bearing grease
- Nose wheel shimmy
- Front wheel bearing replacement
- Water inside floats
- Float storage tips
- Propeller leading edge protection
- Jacking your floats
- Special issues associated with Clamar brakes
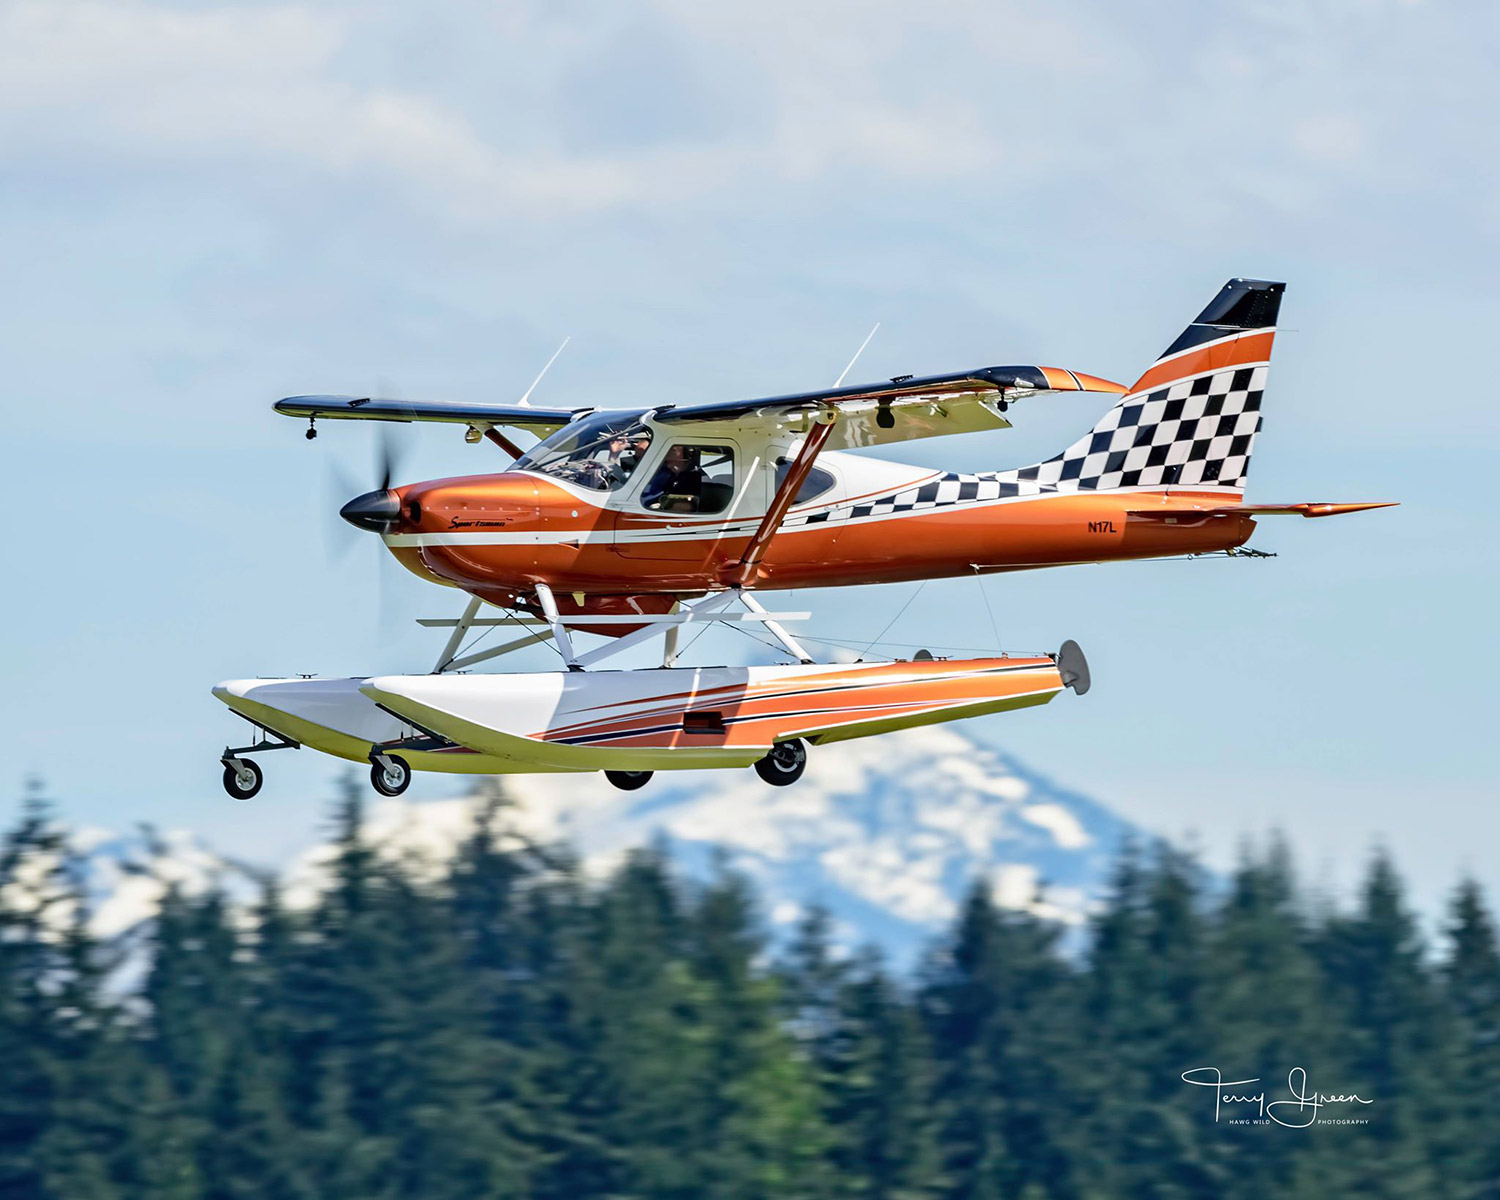
Flying (or fly) wires are essentially turnbuckles which cross from the top of the float on one side of the aircraft to the bottom of the fuselage on the other side. There are two sets, one fore and one aft. On some aircraft, boxing wires are also used and they reside in the geometric plane made by the top of the floats, crossing diagonally and attaching near the strut attach points on top of the floats from left rear to right front and from right rear to left front. Clamar does not generally recommend the use of boxing wires, but all floats use flying wires whether equipped with boxing wires or not. The flying wires are amazingly effective! Mine are stainless steel in the shape of an airfoil, so they need to be kept on knife edge relative to the travel of the aircraft. Turning a fly wire just one half turn has a dramatic effect on the relationship of wing level to float level.
Squaring up the rigging is not difficult, but I did find it difficult to find information about the techniques used to do so. Here’s how I do it. After bolting the struts to the attach points on both the floats and the aircraft, and periodically thereafter, I confirm that the wings are level, (assuming the floats are on level ground from side-to-side). Prior to doing this check, it is very helpful to squat several feet in front of the plane and sight along the top of the front spreader bar, confirming that it is exactly parallel to the rear spreader bar. If the two are not parallel, you will notice that the nose of one float will be higher than the nose of the other. This will also cause your fuselage to not be aligned longitudinally with the floats. This can be adjusted with the fly wires. After confirming that the spreader bars are parallel and then adjusting the fly wires to level the wings, reconfirm that the spreader bars remain parallel to one another.
The last test is to put scales under each of the front tires to confirm that the weight carried by each is nearly identical. The scales provide a more precise measure of what your eyes are attempting to see when checking for parallel and level. Be cautious that you don’t get an inaccurate reading on the scale due to stresses on the rigging caused by putting the scales under the front wheels. I’ve found that a healthy heave-ho on one of the wing struts will rock the plane sufficiently to give an accurate reading on the scales (after the rocking stops, of course).
On my amphibian, when empty, each front wheel carries approximately 182 pounds. If you see a difference of more than five pounds, pick one of the front fly wires to change by one-half turn and take up the resulting slack on the other front fly wire. Unless you picked the wrong one, you should see the weight delta reduced, but it may actually reduce too much, causing the light wheel to become the heavy one, and vice-versa. In that event, put the two front fly wires back to their prior location and try again with the back pair. Done carefully and methodically, I can always get the weight on my front wheels within a pound or two of each other.
The discussion above regarding adjusting fly wires brings up an interesting question: how tight do you want those turn buckles? I searched high and low and couldn’t find anything on the internet that discussed the issue, so I asked Clair Sceli, founder of Clamar. He said that fly wires should only be tight enough to take up the slack (remove their bow) and no tighter. I was very happy to get a definitive answer to that question, as I had previously been tightening them substantially more than that.
Fly wire orientation is an obvious one. Fly wires that are shaped like an airfoil should clearly be aligned to minimize drag. Obvious or not, I can tell you that I once paid no attention to the issue, and it caused me a whopping 7-knot speed penalty. Keep your fly wires on knife edge!
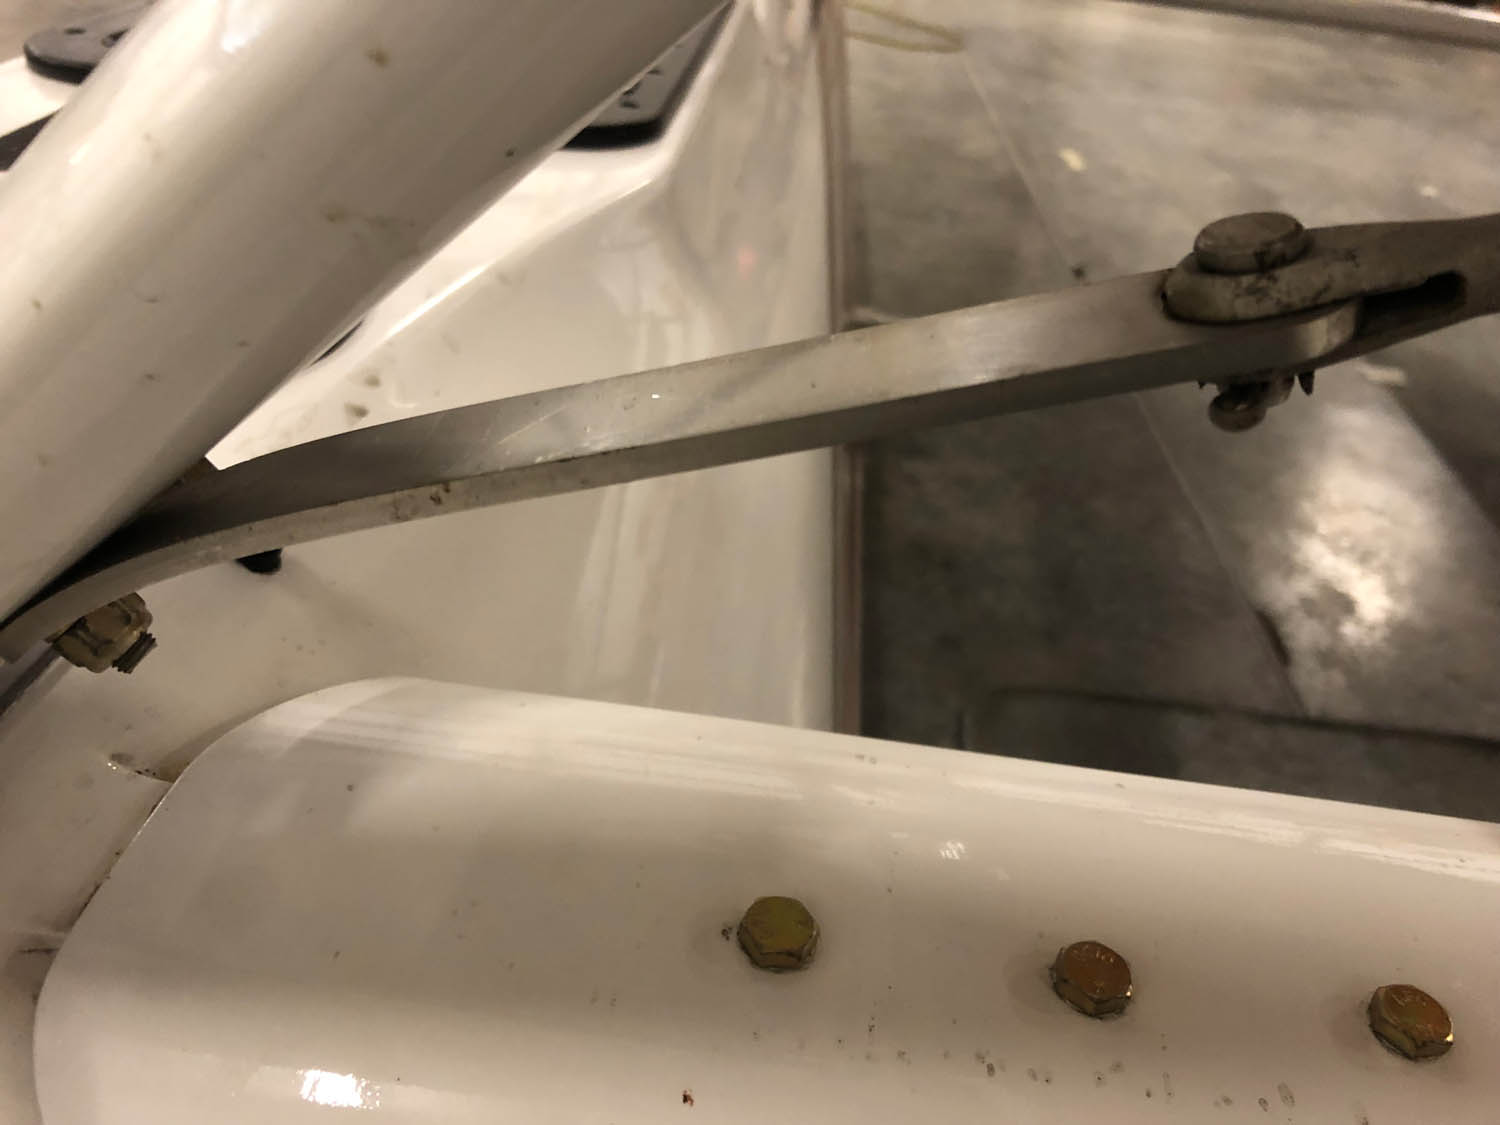
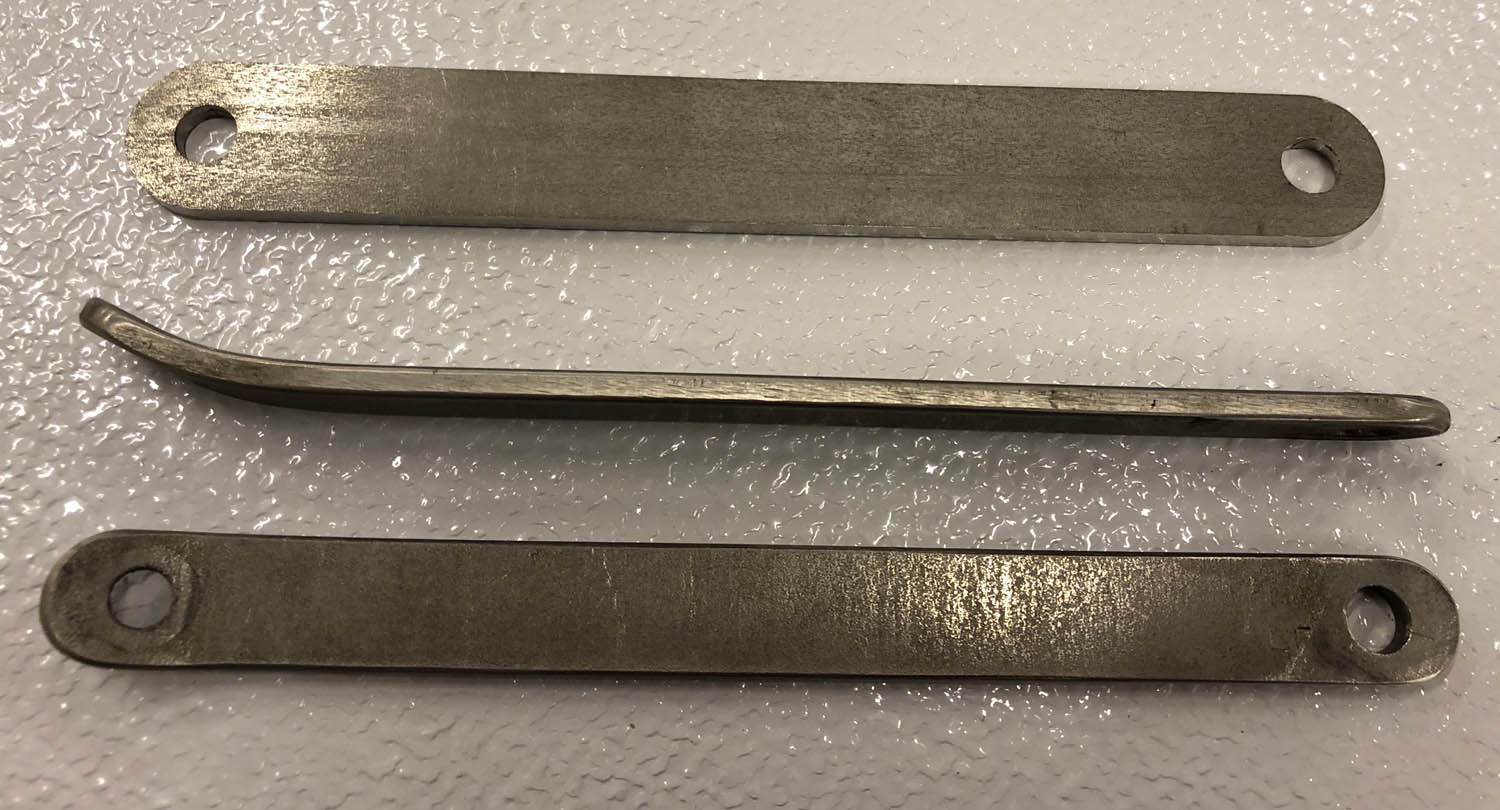
Fly wire pickups on Clamars are short pieces of stainless steel flat bar that bolt to the floats between the floats and the fly wires. Over time, the holes where the clevis pin attaches the fly wire to the pickups will become oblong. At that time, the fly wire pickups need to be replaced; however, if you have enough room on your fly wire, it is possible to cut down the length of the pickup and re-drill the attachment hole in order to extend its life.
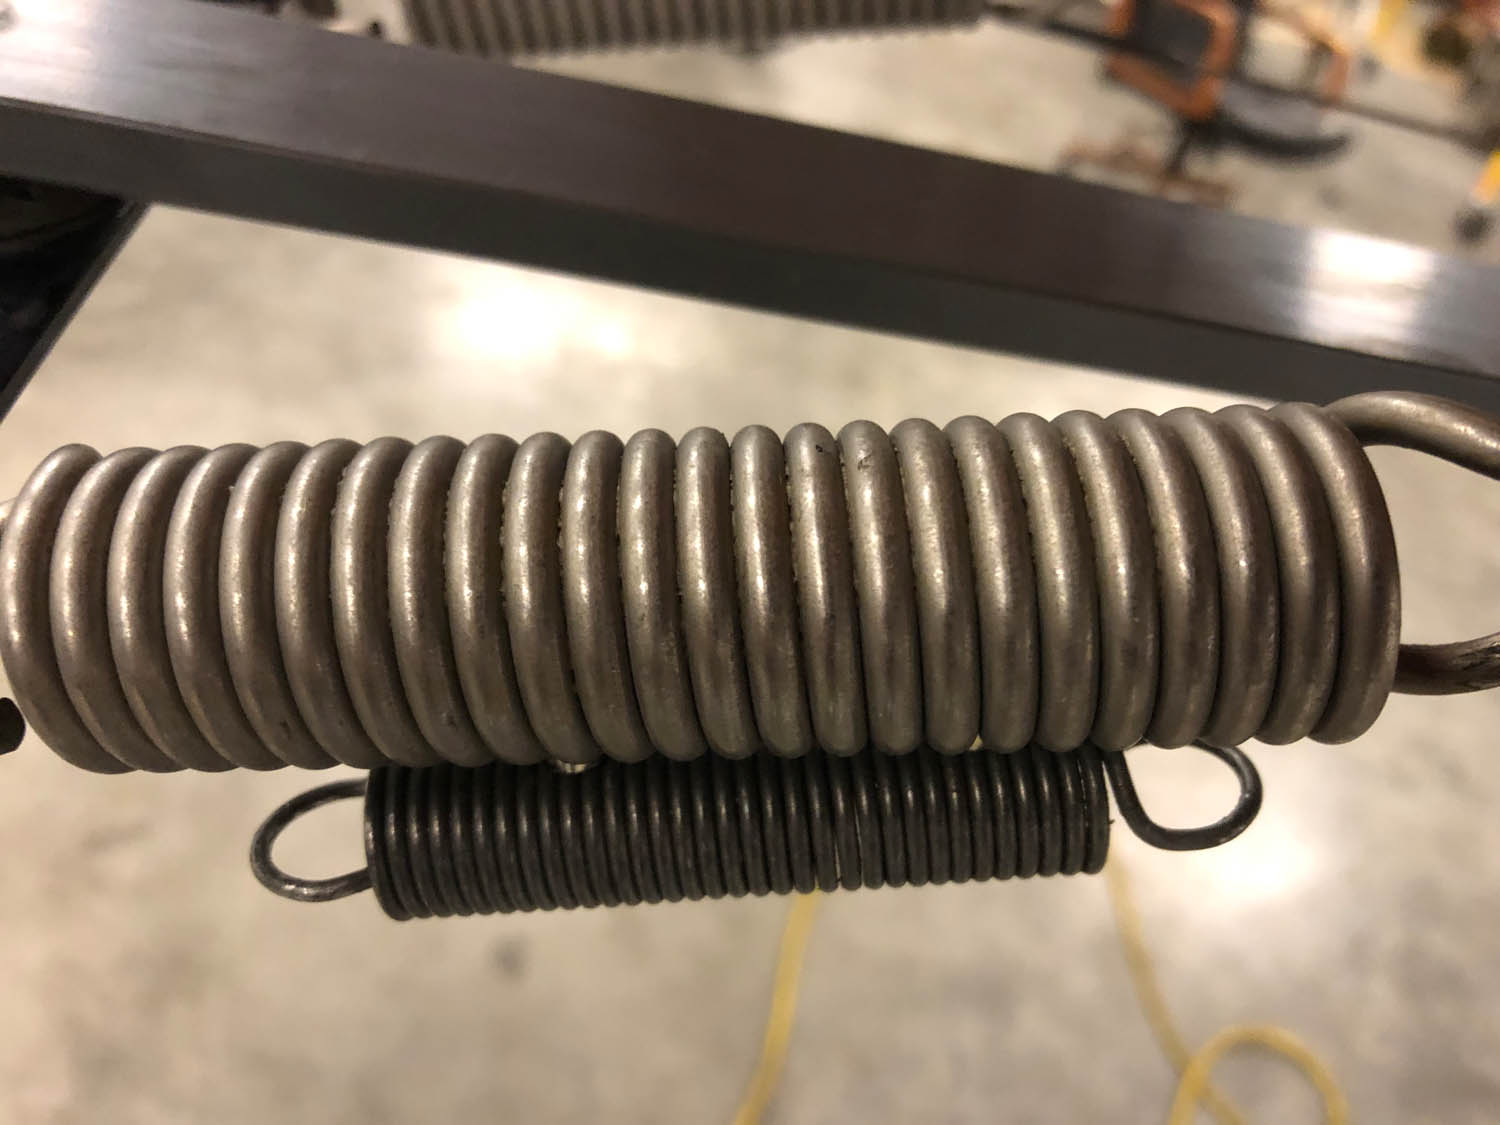
The Sportsman has a huge tail surface which can be much more effective than the water rudders on Clamar floats (wind blowing on the tail will make the airplane turn the wrong direction, even though you’re using water rudders to try to turn in the right direction). Sometimes it’s just easier to go with the wind, turning for example, 270° to the right instead of 90° to the left. I’ve noticed that Montana floats have bigger water rudders, so they may not have as much trouble offsetting the effects of wind on that big tail. In any case, larger springs than what come standard with the Clamars help to make the water rudders more effective. Springs should be inspected periodically to ensure they are retaining their shape, as the smaller ones are particularly prone to being overstretched.
Many floatplane pilots annually remove their floats in favor of wheels, putting the floats back on for the summer flying season. I’ve found several of them who strongly advocate slathering the attachment hardware in grease to protect against corrosion. This is particularly important if flying in salt water.
Speaking of grease, your rod end bearings on the float stinger, as well as all cabling connected to the water rudders are subjected to far harsher conditions than similar hardware contained inside the fuselage and wings. As a result, I find it helps to spray TriLube on the bearings and wipe down the cables with LPS-3 at least twice yearly. Speaking of LPS-3, I found that Chief Aircraft in Oregon sells it very economically by the gallon. It needs to be shaken very well, but after shaking it, then saturating a small portion of a rag, you can apply the LPS-3 by running the rag along the cables and fly wires.
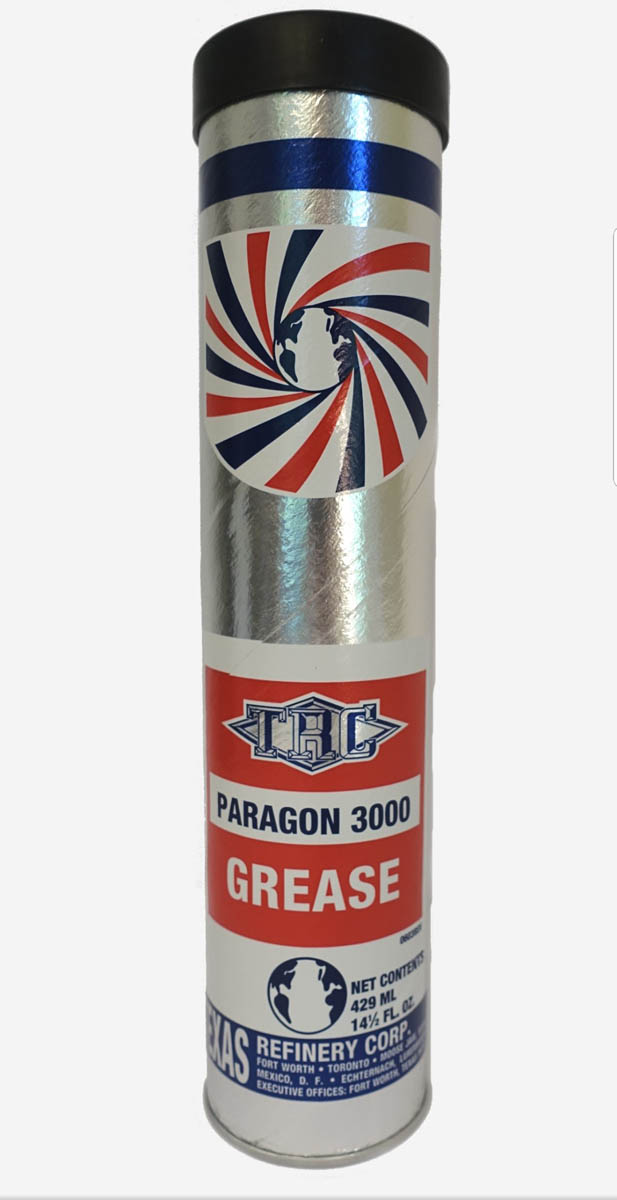
For the main wheel bearings, I originally used Aeroshell 22MS grease, but I spoke to a gentleman named Mac a few years ago who ran a fleet of float planes in Alaskan salt water who said that he only averaged 100 hours on his main bearings using the Aeroshell, but when he switched to “Texas Red Grease” his average went up tenfold to 1000 hours on the bearings. I immediately switched to the Texas Red, but after a discussion by a fellow Sportsman amphib owner with its manufacturer this past year (Texas Refinery Company) I’ve now switched to their newer and more water resistant Paragon 3000. And when I told Mac about the conversation, he made the move to Paragon 3000 also. I grease the mains several times a year.
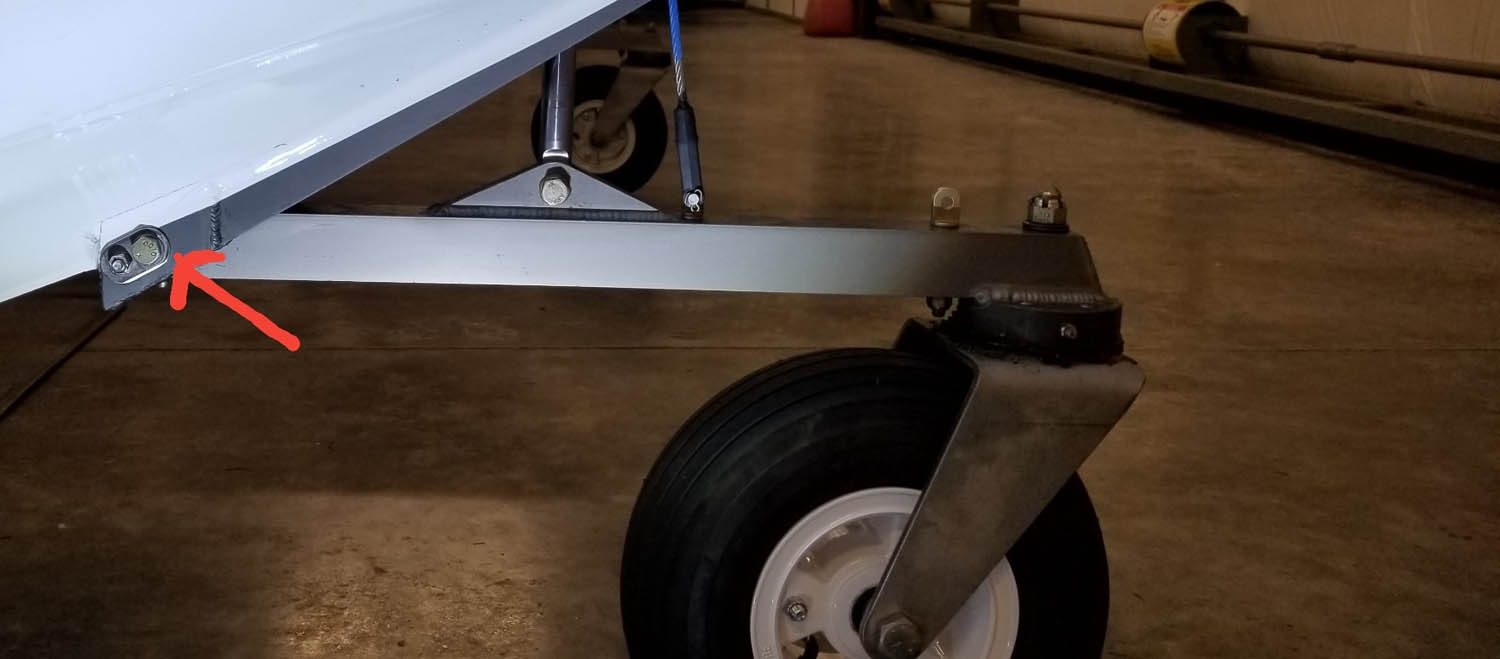
The front wheels on my Clamar amphibs are prone to shimmy unless the horizontal bolt near the pivot point is tighter than one might think required. I once had a shimmy that was so violent it took all the tread off the tire. The bolt had been checked when the floats were installed for the very first time, but this was probably about the 20th landing on pavement since new.
I called Clair Sceli of Clamar Floats and told him that I understood the procedure from his manual but thought the bolt was already very tight. Clair said that 20 landings from new was enough to cause the assembly to loosen even though the bolt was tight and he repeated what the manual says about regularly checking for any looseness of the front arm. He said keep tightening the bolt/nut until no movement could be seen between the arm and the parallel sides in which it resides. If you have Clamars, check the manual and you’ll see what I mean. He said he knows that it will feel like I’m tightening it too much, but keep going regardless until it is held in place with no side to side movement. I did, it worked, no more shimmy! I inspect this issue several times a year. It only takes a couple minutes to do so.
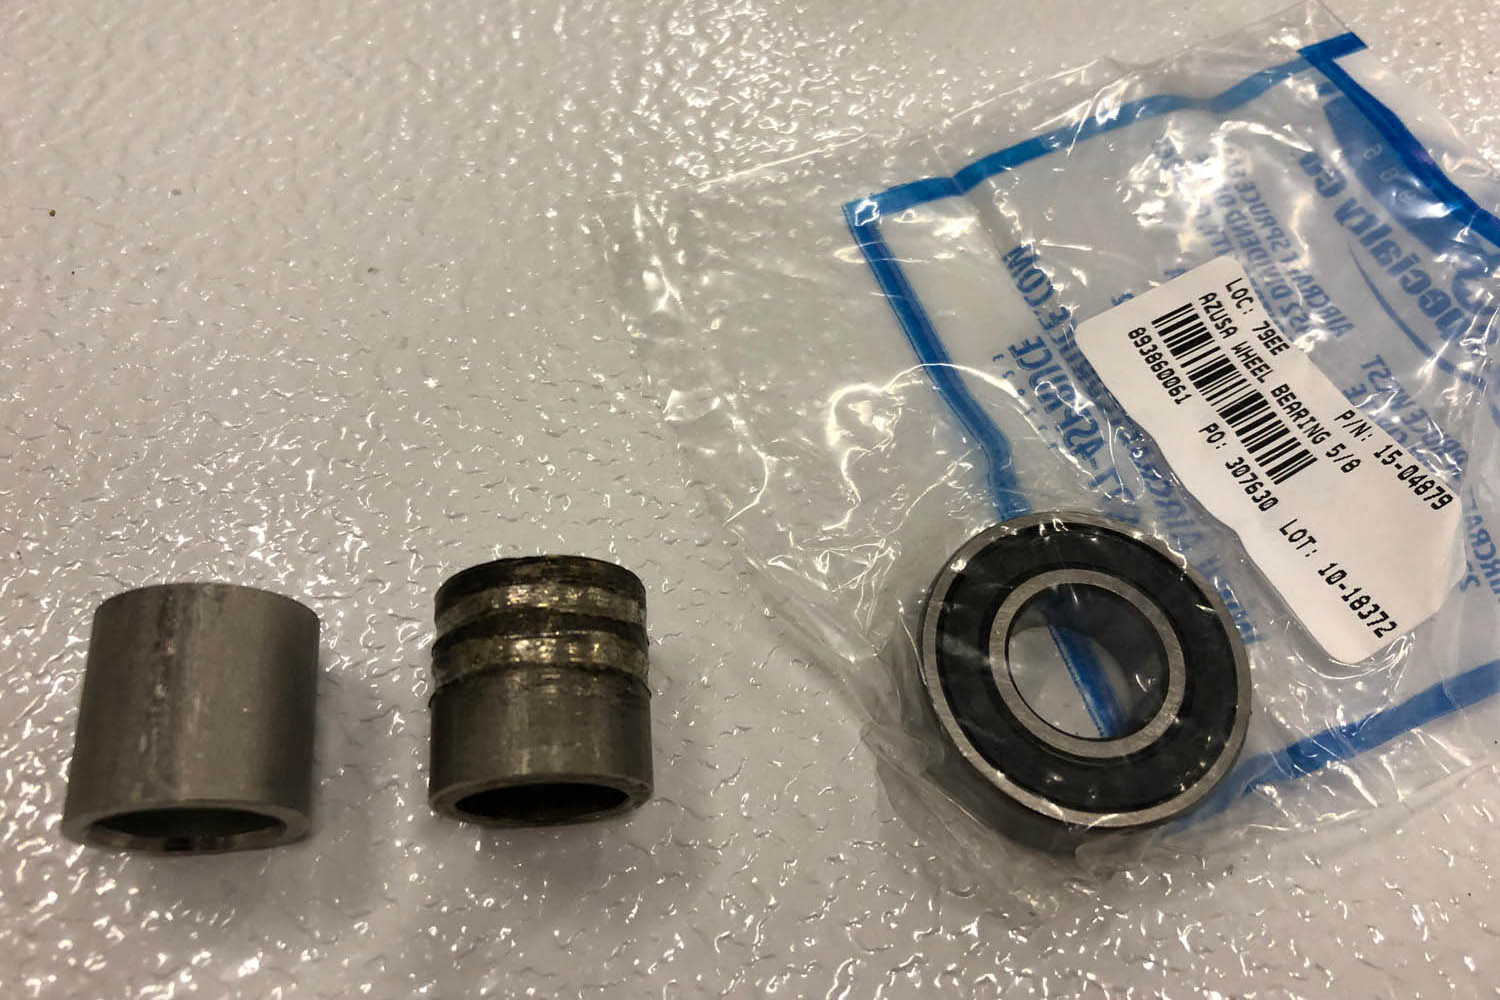
The Clamars use a total of four sealed bearings in the front wheels that cost less than $2 apiece (ACS Part # 15-04879). They can’t be greased and don’t last very long, so I got in the habit of replacing them at every annual. One year, about three months before the annual was due, one of the bearings came apart and damaged the wheel, axle spacer and tire, as well. I now replace those front bearings every 6 months, regardless of condition, more often when needed.
Water readily gets into these “sealed bearings” causing them to corrode on the inside. If you carefully listen when rolling the plane, you can hear the bearings sound like they are full of sand. If you hear that, replace immediately. The other obvious test is to jack up the front of the floats and spin the front wheels, confirming whether the bearings spin freely or not. This can be done when you are checking for loose front gear arms that can lead to nose wheel shimmy. I can change out all four bearings in less than 10 minutes for less than $8 total cost, so I never hesitate to do so.
Aluminum floats are riveted together and it is not uncommon for the rivets and seams to leak water, so they have pump outs which allow the pilot to remove the water before takeoff. The Clamar floats are composite and should not leak, so pump outs are not provided. Nevertheless, water does get into the floats from the top through the hatch covers, either because of rain or because of water splashing on top of the floats or the tails sinking in the water during the landing or takeoff run.

The Clamar hatch covers are plastic disks several inches in diameter which thread into receptacles in the tops of the floats. Some people use Vaseline on the threads and the rubber seal to help keep water out of the compartments. I’ve found that a large car washing sponge is a great tool to carry in order to remove any water from the compartments.
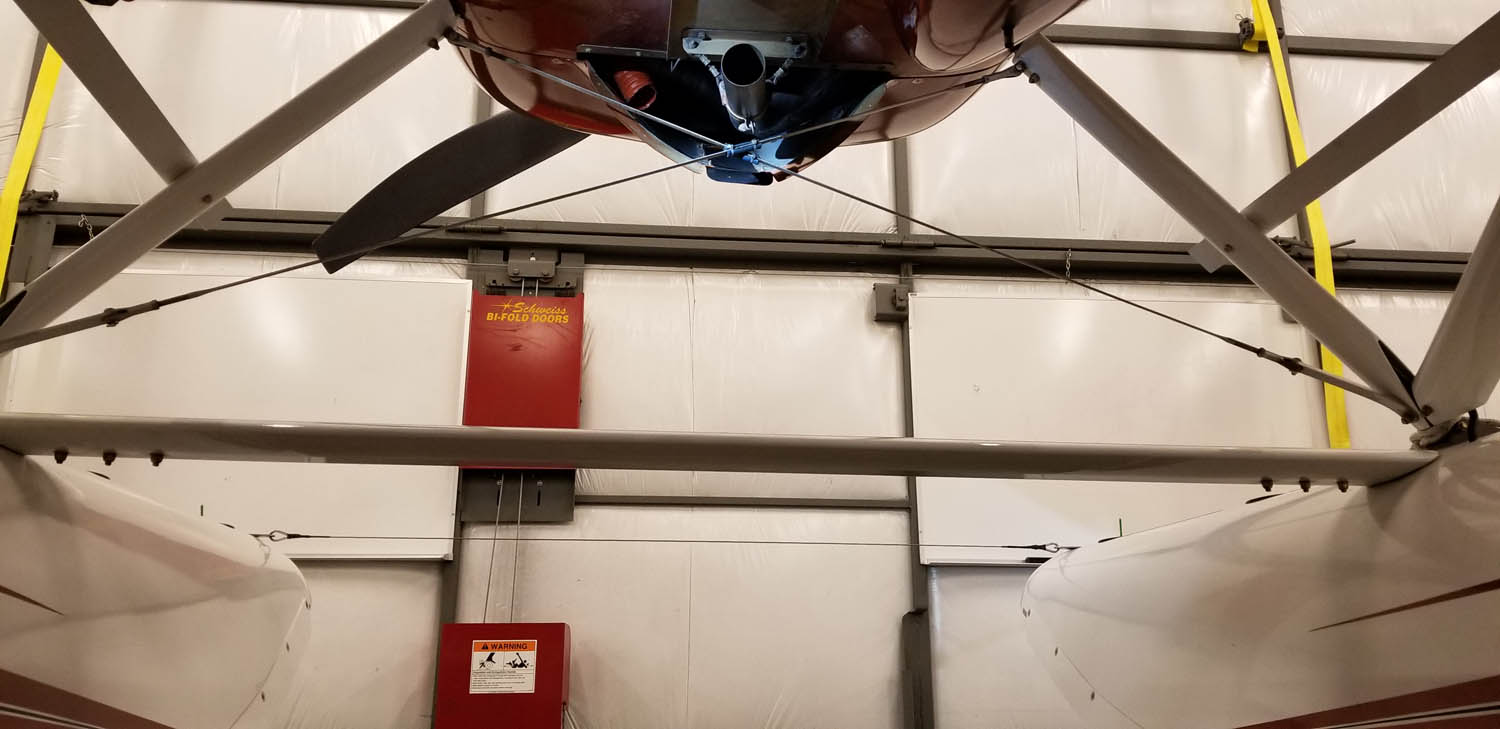
Often floats are removed and stored while the plane is flown on wheels. During storage there are several tips to keep in mind. This section will very specifically be appropriate for Clamar amphibs, but much may be applicable to other floats, as well. The Clamar floats, in particular, should be stored indoors so as to prevent filling the compartments with rain. Additionally, the hatch covers should all be removed in order to prevent condensation inside the compartments. If the spreader bars are to be removed, the required storage space will be substantially less, but you should take care to pay attention to several items before starting to remove the floats.

First, raise the landing gear for just about 1 or 2 seconds which will dump the pressure in the hydraulic lines. Removing hydraulic lines when pressurized to 500 psi can ruin your whole day. Next, place a couple of small blocks of wood (2×4’s) between the front gear legs and the floats, thereby preventing the front gear from collapsing. You don’t need to worry about the mains collapsing, as they are over center and will not retract even though the hydraulic pressure is gone.
Additionally, to remove the spreader bars, you need to detach the hydraulic lines that run through the front spreader bar. Cap the fittings with AN-4 caps and seal off the ends of the hydraulic lines to protect them. A couple pieces of flat metal plate drilled appropriately can be bolted to the spreader bar attachments after removing the spreader bars, allowing them to stand erect on their own, be easily maneuverable and take up much less room than if the spreader bars were still attached. When taking the floats out of storage and reattaching to the aircraft, don’t forget to re-grease the attachment hardware.
The leading edge of floatplane propellers is often abused by smacking water sprayed from floats as the prop turns at several hundred miles per hour. There are two principal methods to help prevent this. One is to install “spray rails” which attach near the front of the floats on the inside edge to cut down on the water sprayed at the prop. Clamar offers the spray rails as an option to their customers and I have them attached to my floats. The other is to attach leading edge protective tape to the prop. 3M makes a number of tapes for aviation leading edge protection. I’m currently using their product # 8671HS, a High Shear 14 mil polyurethane acrylic tape designed specifically for this purpose. It’s easiest to apply using the “wet method” so you can move it around into position before the glue sets.
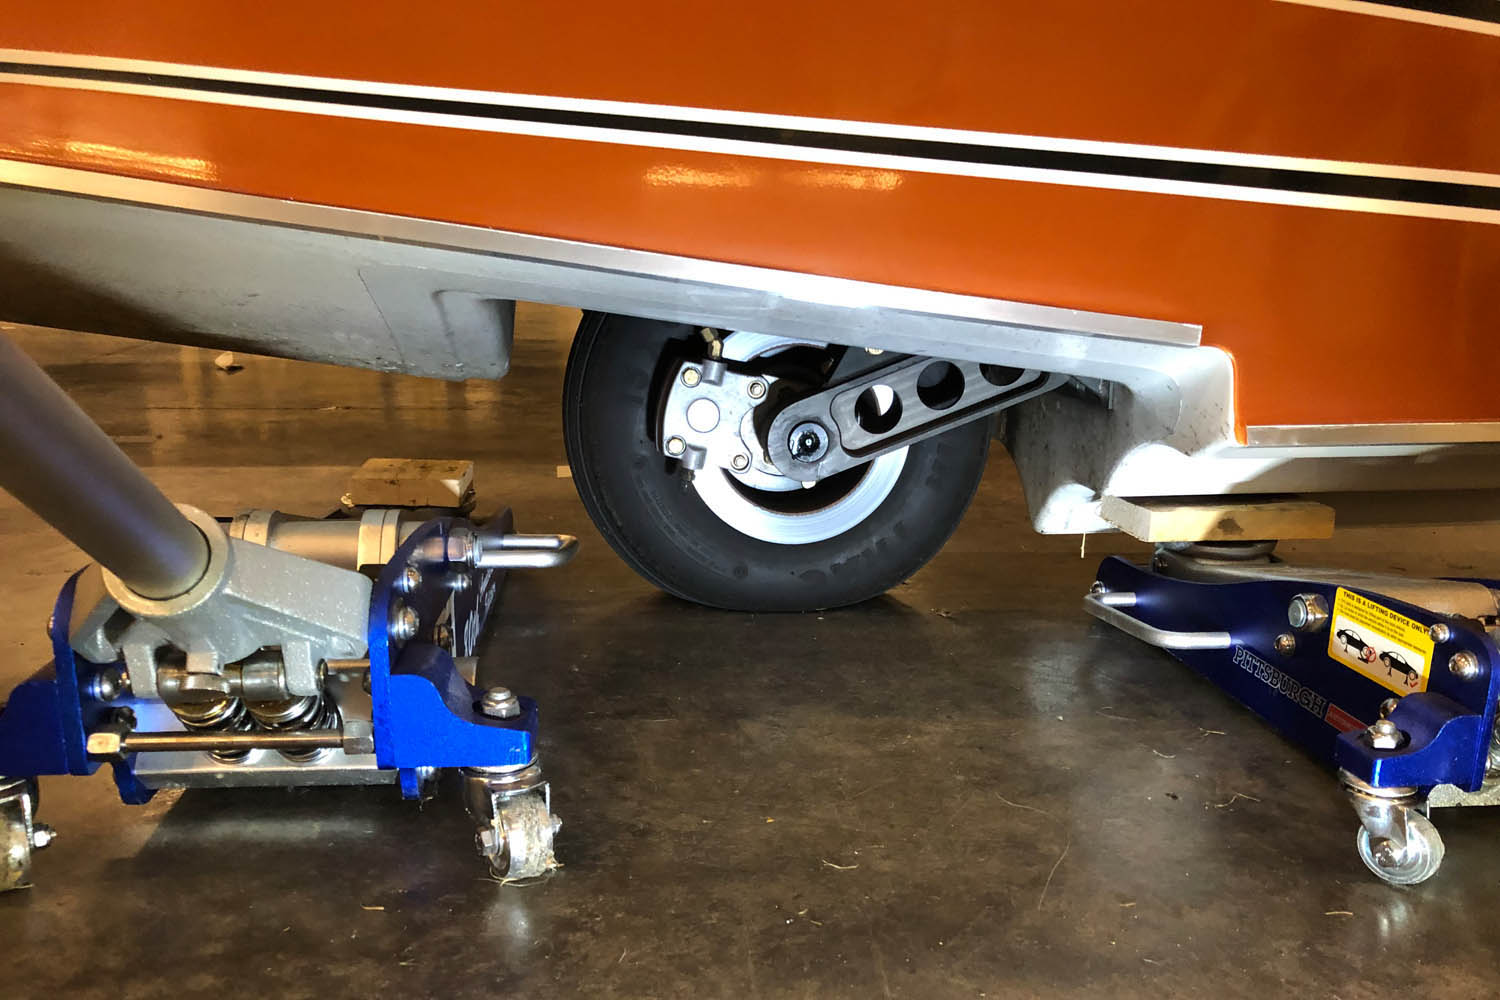
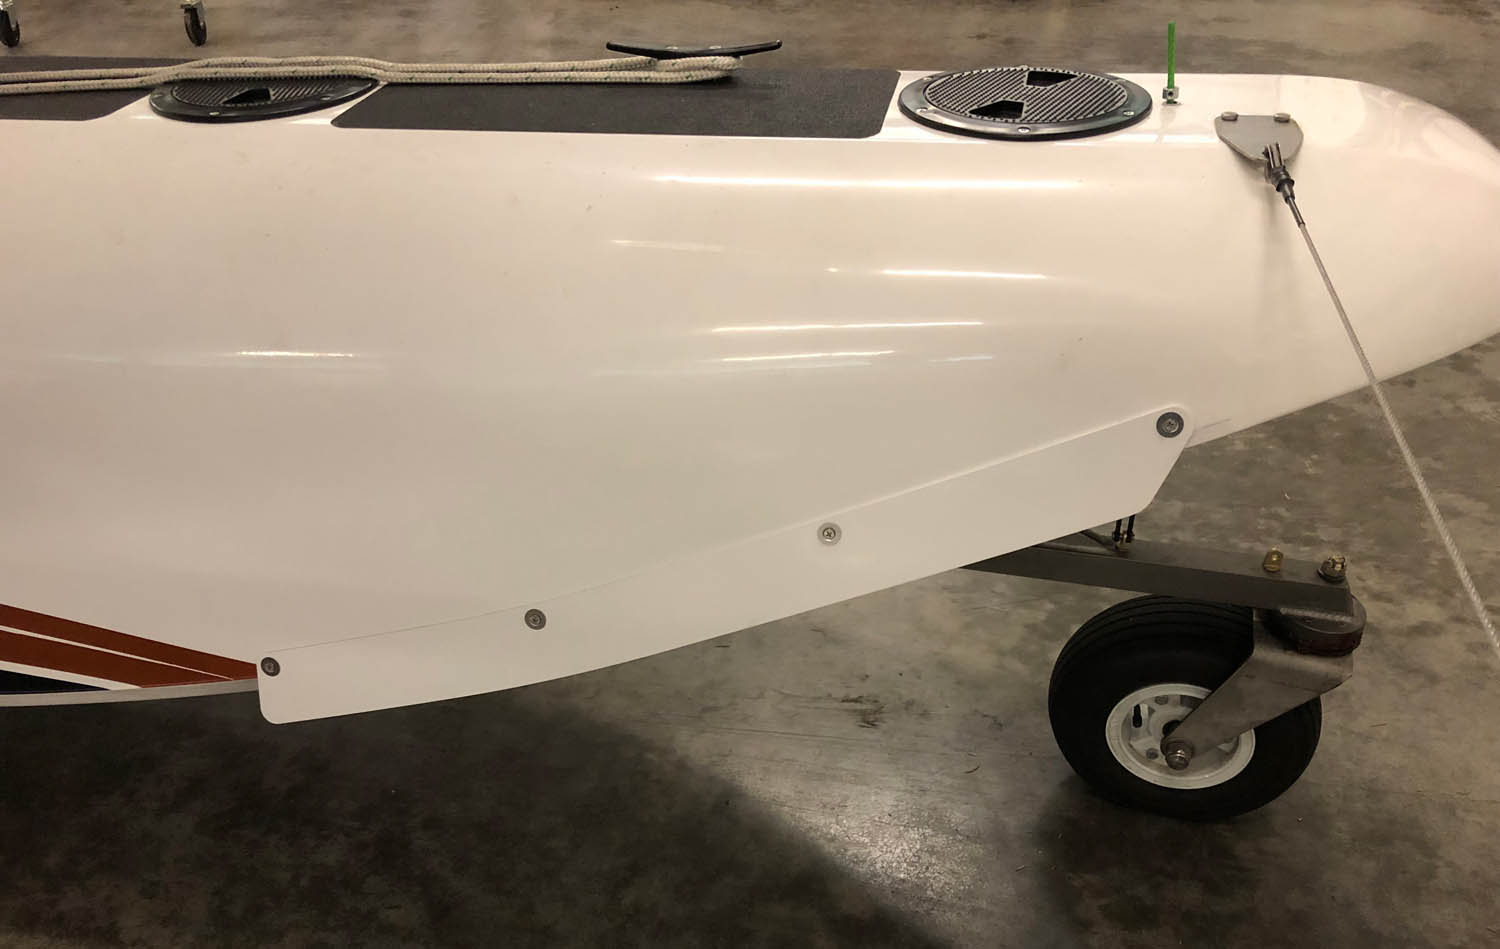
Jacking the Clamar floats presented no issue until I changed to the fluted bottoms. A floor jack would easily slide under the old smooth bottom floats a few inches in front of the main wheel for the purpose of changing tires, repacking wheel bearings, annual gear swings, etc. The keel area is very strong and lends itself very well as a jack point. However, the new fluted bottoms are so close to the ground that a floor jack won’t fit under the floats in the normal place. I spoke to Clamar and they told me to put a floor jack behind the main wheel, jack up the floats just enough to get a second floor jack under the keel in front of the mains and then jack the floats to the required height using the second jack. This method seems to work just fine without putting undue stress on the back part of the floats.
Unlike my Sportsman’s wheel gear, which have stainless steel brake lines, the floats use Nylaflow tubing all the way to the brake calipers. The Nylaflow lines are subject to the harsh realities of nature, where not protected like those inside the fuselage. As a result, replacement of these lines should be done frequently (I replace mine every other year). The task is inexpensive and a simple one, particularly if you are removing the floats annually, since the Nylaflow lines need to be disconnected from the aircraft and later reattached and bled so reattachment is a good time for replacement. There are a number of outfits who supply the Nylaflow line (3/16″ OD, 0.138″ ID). I get mine from Aircraft Spruce whose part number is 05-00110 and it only costs about 50 cents per foot. The trick was finding the proper fittings. There is a brass insert that goes inside the end of the tube which prevents the nylon tube from being crushed when the compression nut is tightened over the compression ferrule.
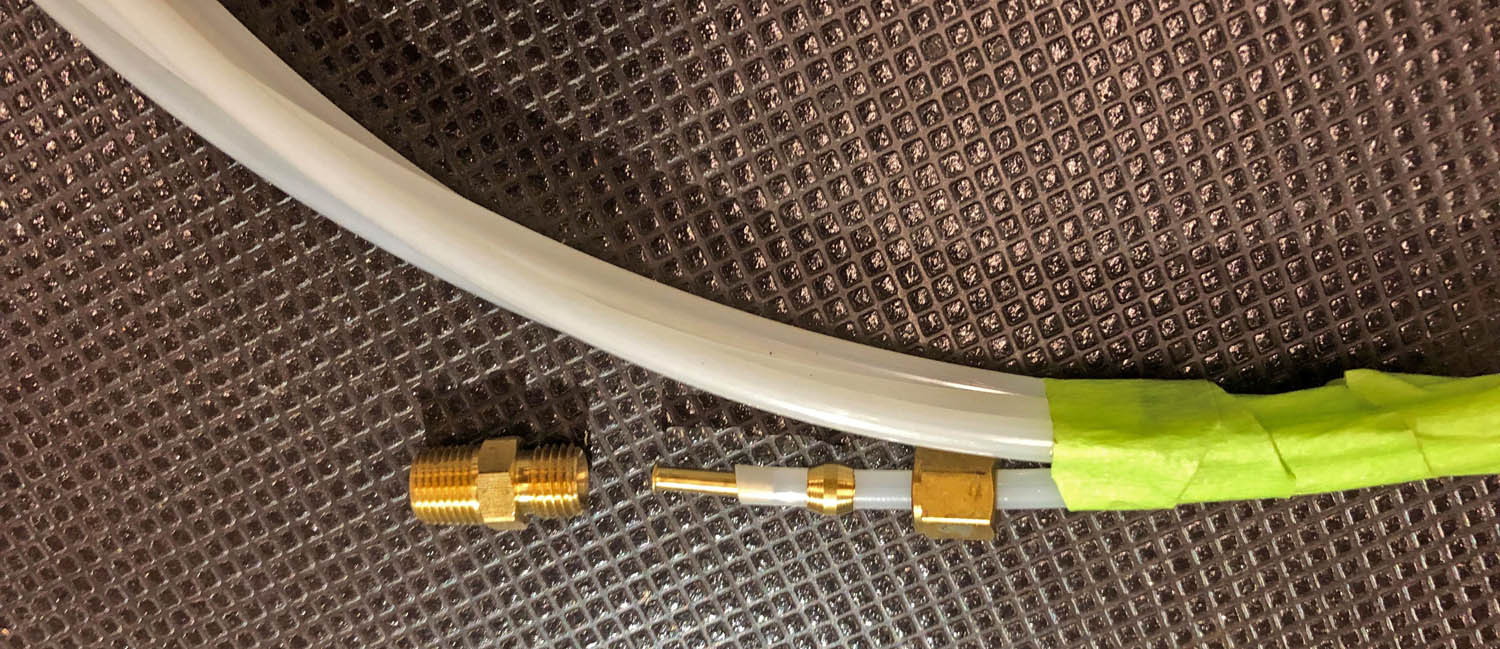
I looked long and hard to find these inserts before asking Clair where to get them. Clamar buys them from NAPA Auto Parts, but the part number he uses in Canada is different than the one NAPA uses in America. It took some digging, but I finally determined that the parts are called weatherhead fittings. The 3/16″ compression nuts and ferrules can be sourced just about anywhere, but very few people seem to carry these weatherhead fittings. Armed with their name, I ultimately did find a couple local sources but I find them most convenient to order from Spruce using ACS part number 2030-4. Keep a couple of them in your go-bag, just in case. The nuts and ferrules can be reused, but not these tube inserts.


