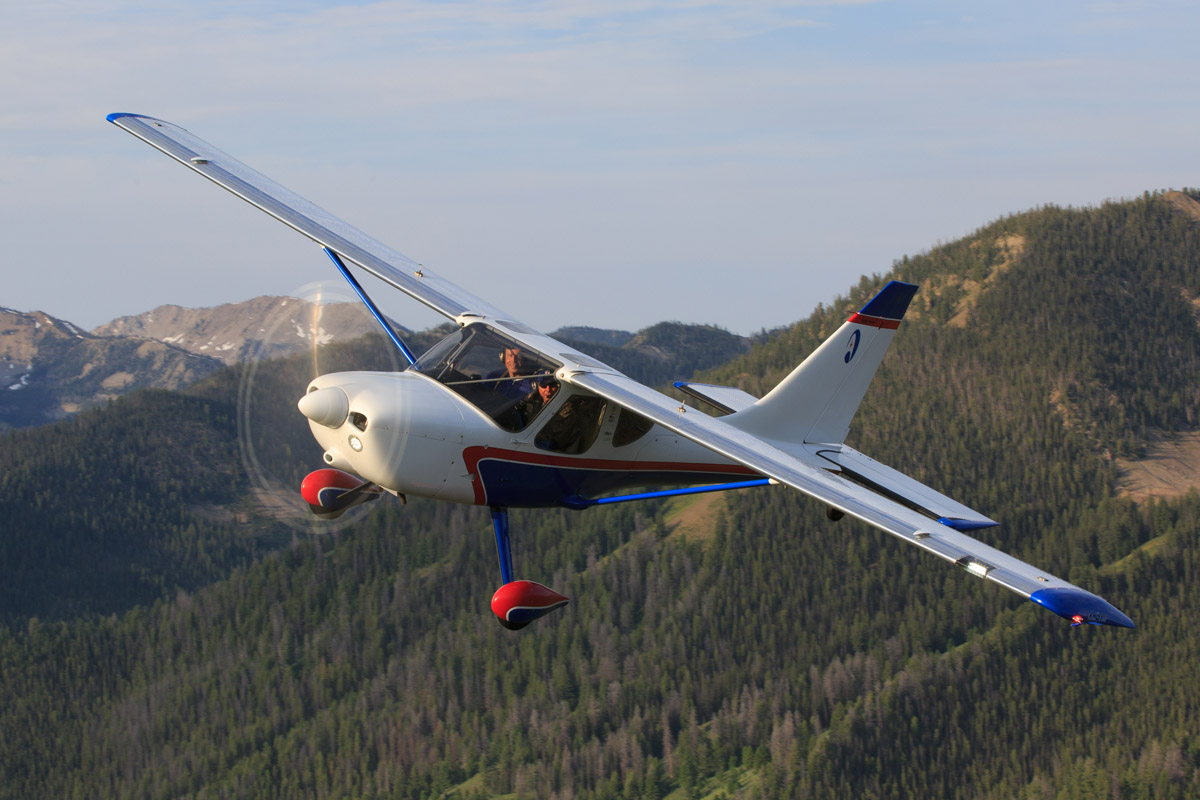
 So you’ve got your GlaStar, or Glasair, or Sportsman all finished. Years of effort, toil, lots of money, and probably a few drops of blood, and now it is complete! Happy times! And a finishing touch would be to have a great picture of your pride and joy in flight to decorate your home, hangar, or office. Fantastic!
What can you do to get that picture? And, more importantly, how do you do that safely?
This presumes that you’ve got some friends who are reasonably talented with their cameras to get pictures, so it isn’t so much an article about “how to shoot the picture,” but one detailing “how to shoot the picture safely.”
I’ve been fortunate enough to have some great teachers in regards to aviation photography: Folks who have been generous with their time, expertise, and experience. With their permission, let me share their advice:
The first and foremost thought must always be safety. This seems pretty obvious, right? However, when you’re thinking “lets go shoot some pictures” with your friends with whom you fly on a regular basis, it is very easy to make assumptions. Where people start to get into trouble is assuming how people are going to fly, not briefing the flight, and a general lax attitude. The gentleman I have flown most of my air-to-air photo shoots with is a very experienced pilot and it would be very easy to land ourselves in some unsafe situations. However, EVERY photo flight gets briefed, from takeoff to landing. It doesn’t matter if it is a long time friend who you’ve flown with many times before, or a new friend. Every flight gets briefed. OK, so why? Getting everyone on the same page. Understanding the planned route, formation, speeds, radio frequencies, handling radio issues and alternate forms of communication (i.e. hand signals), and emergency procedures.
Not everything goes as planned all the time, but it gives everyone a framework to work with.
Things to consider while getting your heart set on this photo mission:
Evaluating the aircraft performance of photo and target ships
With our GlaStar, we generally use 80-120 mph as a comfortable range depending on the plane to be photographed. This has worked out well for photographing a Bucker Jungmann, Hatz biplane, Skybolt, as well as a Sukhoi 26, Giles and Extra 330.
If the target ship can’t get slow enough I strongly encourage you to find a faster photo ship. At one point we did a photo shoot of a Falco using an L-5 as a photo ship. Talk about a speed mismatch!
Lighting
Best lighting for photographs is during the “golden hour,” the hour right after sunrise, or just before sunset. The angle of the sun softens the light and allows for the best images. Plan your flight time appropriately. Keep in mind, most folks (myself included) HATE getting up early.
Also, it tends to be cold in the morning, especially if you are flying with the door off, or the window open. Sunset shoots have a greater chance of turbulence (especially if you are flying out west), variable weather, winds, and rougher air.
All of these elements can make getting slower shutter speed images (envision the beautiful prop blur shots we all drool over) difficult and potentially impossible.
So, you’ve determined the airplanes, everyone has talked about the pictures they want, the light will be perfect and the weather shouldn’t be a factor.
First: Preflight brief
- Establish what you want to accomplish. Just a picture? Photo over a specific landmark? Multi-ship formation? Specific angles or ideas to be captured?
- Determine who is going to be the lead airplane. Typically the photo ship will be the lead aircraft. Blind spots on the lead ship should be pointed out to the target pilot – don’t assume it is understood. Clearly spelling out where the photographer wants the aircraft to be helps.
- Find out the flight experience of those involved. Have they flown in formation? It is wonderful if you are shooting with someone who is an ex-military pilot, or has their FAST (formation flying) patch and is comfortable with close formation, but the reality is the majority of folks you will fly with do not have these qualifications. In the likely chance they do not, a nice loose formation will work, too. NOTE: You should never try and “encourage” someone who isn’t comfortable to get closer than their comfort level allows.
- Sort out the finer details of takeoff, photo location and forming up: Taking off together? Where is everyone forming up? Over the airport and fly together, or meeting over a specific landmark? NOTE: If the two aircraft are meeting over a location a safe suggestion is to keep altitude separation of at least 500 feet until you have each other in sight and are forming up.
- Radio communication: Select what frequencies everyone will use, including a back up frequency or two. Include a short lesson on hand signals in case there is radio malfunction. Keep in mind, that generally the photographer is hanging out in the slipstream, so they may not be able to talk on the radio. At times they may have to talk with the pilot flying their plane, who has to then radio the communication to the target ship. Many times it is easier for the photographer to use hand signals for “come closer,” “further away,” “back,” “forward,” etc. Light or brightly colored gloves worn by the photographer increases the visibility for the target ship pilot.
- Emergencies: Always have a plan for an in-flight emergency. The aircraft having a problem should have priority. Typically, having the aircraft separate from each other, with the lower aircraft descending, while the higher aircraft climbs is the safest plan. If either aircraft loses sight of the other the best plan is to have the aircraft on the outside of the turn roll out and head straight. Have the aircraft on the inside of the turn continue their turn 90 degrees and then roll out and fly straight. DO NOT TURN BACK TOWARDS WHERE YOU LAST SAW THE OTHER PLANE. That is a recipe for disaster. NOTE: Clearly defining what to do in an emergency situation or if either plane loses site of the other is critical.
- Final notes: Always remember the briefing is a two-way communication. Has anything else come up that might be an issue? Does the pilot being photographed have any specific desires, issues, concerns?
 Second: Preparing the aircraft
When we use our GlaStar as a photo ship it requires taking a door (or both) off. Obviously doing this creates a substantial amount of wind in the cockpit and luggage compartments. Remove ALL loose, or potentially loose objects (including glare shield mounted objects— we lost an iPad out the door at 12,500 feet once). If you’re going to use a Cessna, and you want to open a door window, make sure it can open as wide as you want. If it doesn’t, remove the mounting screw on the hinge so it opens as far as you need. If you do this, make sure the window won’t bang into the underside of the wing, and to prevent damage to the aircraft you can put padded tape along the edge.
Once you have taken off, formed up, and are over the desired area, it is important to get the target ship where the photographer needs them. Generally having the target plane stay in the desired spots of four to five o’clock or seven to eight o’clock positions (depending on the photo ship) works best. Have the lead aircraft start a slow turn away from the target ship. Slow and gentle maneuvers help make it easier for the number two plane to stay in position. This puts the target ship on the outside of the turn, so they will have to speed up to stay in position. Completing several 360 degree turns like this lets the photographer see where the best light is, adjust their camera settings and adjust the flight path for the best images. Unfortunately, the best light generally has the target ship pilot looking more or less straight into the sun (always something to consider—time to break out those classic aviator sunglasses). As the photo shoot progresses, you might want to put the target ship on the inside of a turn (which means they will have to slow down), or below the photographing ship.
You can adjust based upon what is being seen and how the images are coming together.
It is critical to be briefed for an emergency or a loss of sight situation. Having a plan and communicating with one another is critical for a positive outcome. Always remember, NEVER TURN BACK TOWARDS WHERE YOU LAST SAW THE OTHER PLANE.
I hope this is helpful for people, or at least sparks some discussion the next time you go out on a photo shoot or even flying formation. While getting a nice picture is the goal, being safe and having fun are paramount. You can always take more pictures.


