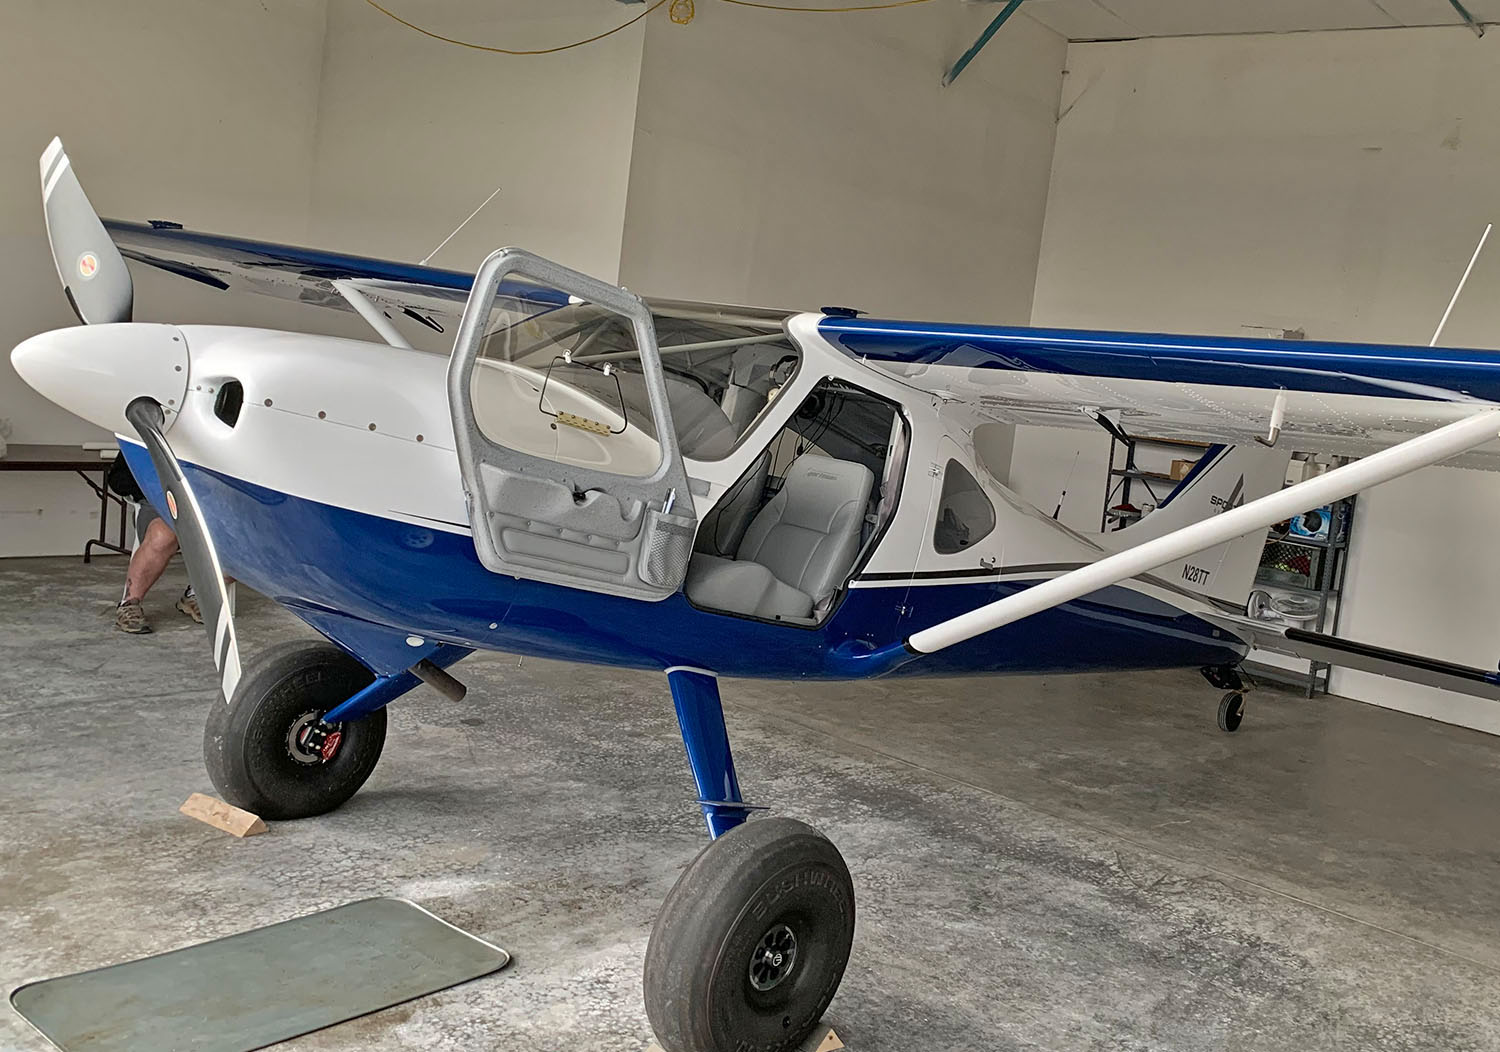
This modification may apply to all GlaStar and Sportsman doors, but in particular it is most helpful with the tailwheel configuration as the doors tend to fall back and interfere when climbing in or out of the front seats. On all models, it will hold the door open against the fuselage especially in windy conditions.
I initially tested this out on a few Sportsman doors with small, flat external magnets, but it wasn’t the most ideal solution cosmetically. Also, the magnets tend to shatter with hard contact.
So, on my personal Sportsman I embedded magnets in the door and fuselage with good results. The magnets are not visible, therefore an easy sell to kids when I tell them I have “magic doors.”
One big drawback: these neodymium rare earth magnets are POWERFUL, so forget it if you have a whiskey compass. It will spin.
I found that I needed magnets with a minimum 40-lb pull since they have approximately 1/2″ separation with the door folded forward against the fuselage. The magnets shown in this article have a 52-lb pull force and hold the doors firmly against the fuselage, yet I can reach forward from the seat and still break the force with one hand when shutting the door.
The doors will also need a soft contact point on the fuselage. For this, I place a clear plastic cabinet bumper on the fuselage at the point where the key lock makes contact.
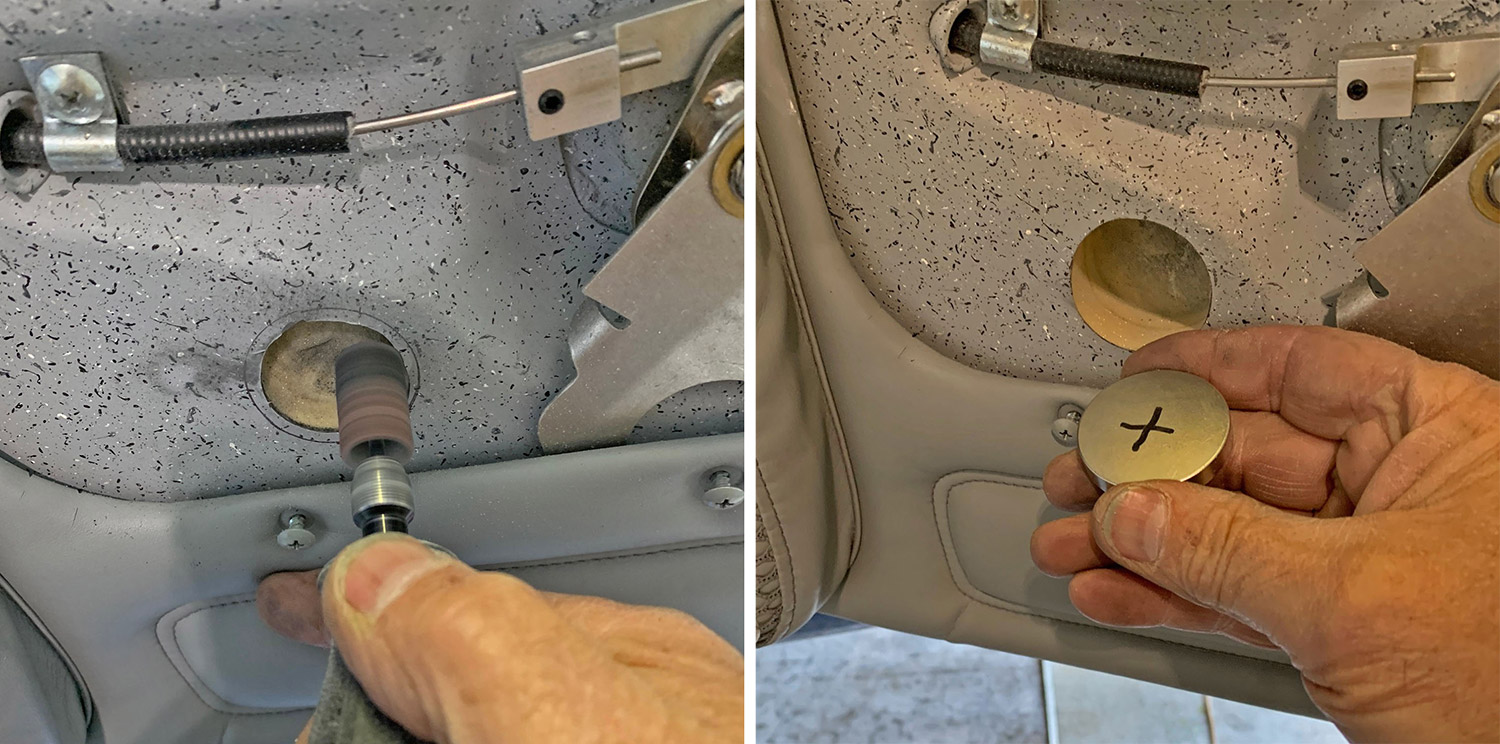
Place the large, flat magnet on the door panel and draw the circumference. Then carefully grind out the interior fiberglass skin and foam avoiding contact with the exterior skin. It is very easy to grind through to the outside (yes, I found out the hard way). So, grind it close with the drum sander then scrape the remainder of the foam away with a stiff flat tool like a screwdriver. Mark the poles on the magnets to be sure they will pull together rather than push away!
Place a dab of silicone caulk on the magnets and set them in the cut-outs to cure. The finished magnet install in the Sportsman door will be covered by the fiberglass armrest.
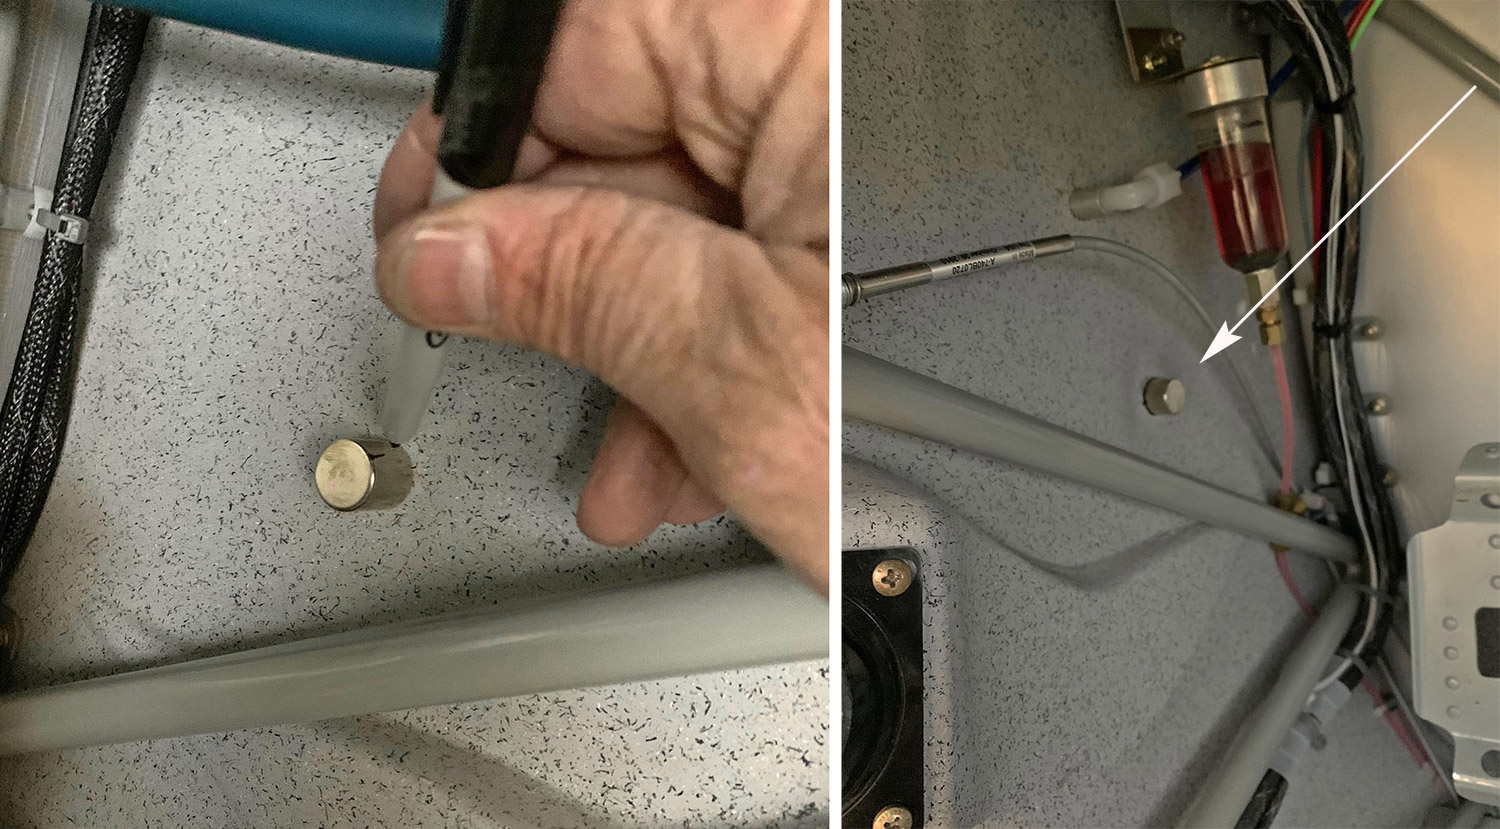
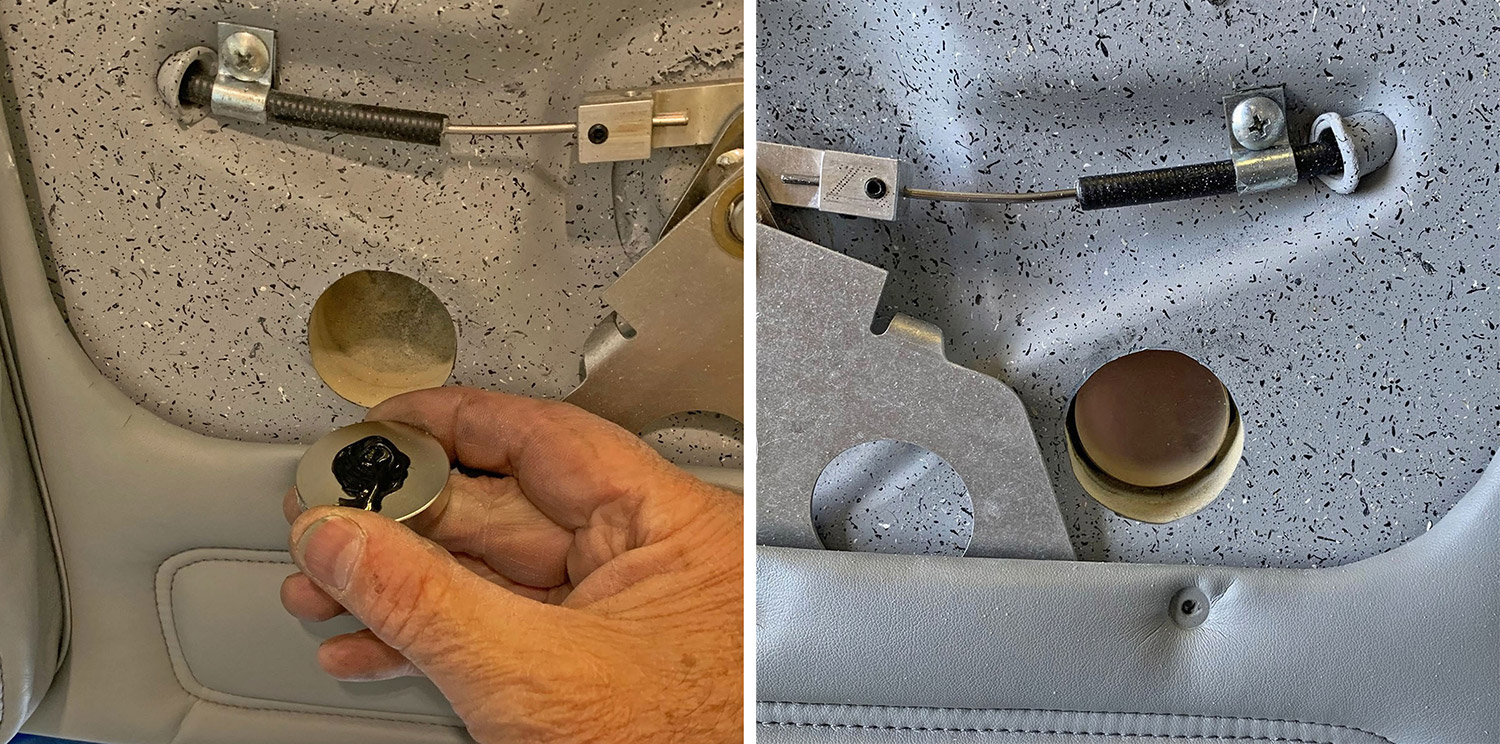
Place the door against the fuselage, then position the interior magnet where it will “hold” magnetically. Draw the circumference, then grind the interior hole to the outer skin. The smaller (barrel-shaped) magnet embedded inside fuselage will not be covered like the door magnet.
Leave the doors against the fuselage overnight so the magnets will pull and keep each other tightly held in place until the adhesive cures.
 Warning! These are powerful magnets that are difficult to pull apart when you unpack them. Keep them separated at least 12″ apart. Do not make the mistake of passing one too close to the others. It will jump up off the table and smash into your fingers with a 50-lb force (think ball-peen hammer).
On impact, if your finger skin gets in the way, it can even draw blood. Again, I speak from experience. I am now a certified Neodymium Magnet Journeyman with the scar to prove it.
Also, I have no idea what they will do if they get too close to your cell phone or pacemaker!
Parts list:


