On page 121 of the April 2007 issue of EAA’s Sport Aviation, there was an article titled “Power Plant Insurance,” by Dave Barker. It described how to construct and use an engine dehumidifier. According to the article, internal moisture is probably the most dangerous enemy of aircraft engines. This is especially true for those of us who don’t fly their planes on a daily basis. And it is even worse for those of us who hangar their plane in a coastal area.
N954BR is hangared less than 10 miles from the Atlantic Ocean.
Bobbi and I decided that we would make use of one of these assets. In the article there was a list of components and sources. But there was also a phone number and email address of a company which would supply all of the parts. One stop shopping! We decided to take advantage of the latter. In due course the parts arrived.
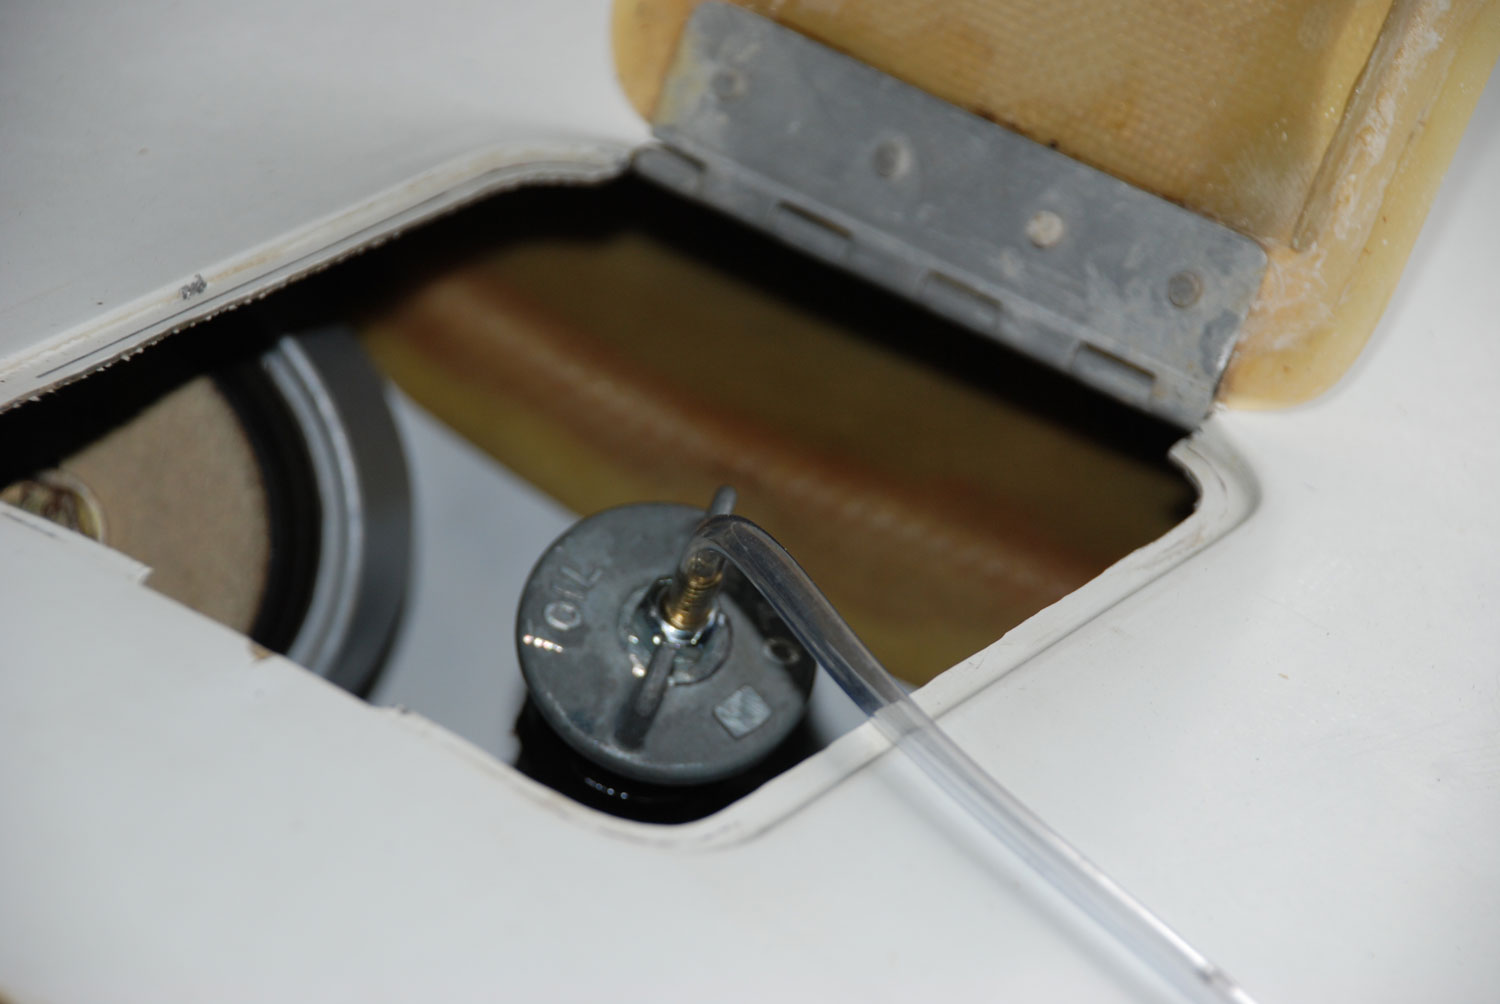
An important part that was not included in the package was an oil filler cap. The reason for this was that there is more than one way to introduce the dry air to the oil sump. We had opted to have the air go in through the oil filler cap (Actually the Lycoming engines have a plug.). After studying the situation, I felt that it was not appropriate to sacrifice the existing cap and dipstick. Aircraft Spruce lists several oil filler caps with dipstick, but there is no further information. When the part arrived, we saw immediately that this item was not for the Lycoming. Probably Continental, but I don’t know that for certain. I sent it back and cast about for the right part. A call to AeroSport Engines turned the trick. These good folks from British Columbia sold us our engine, with which we are well pleased. In order to add the air port to the cap, I needed to modify it. A hacksaw, drill and bits, file and about an hour’s time did the trick. The accompanying photos illustrate how the modification came out.
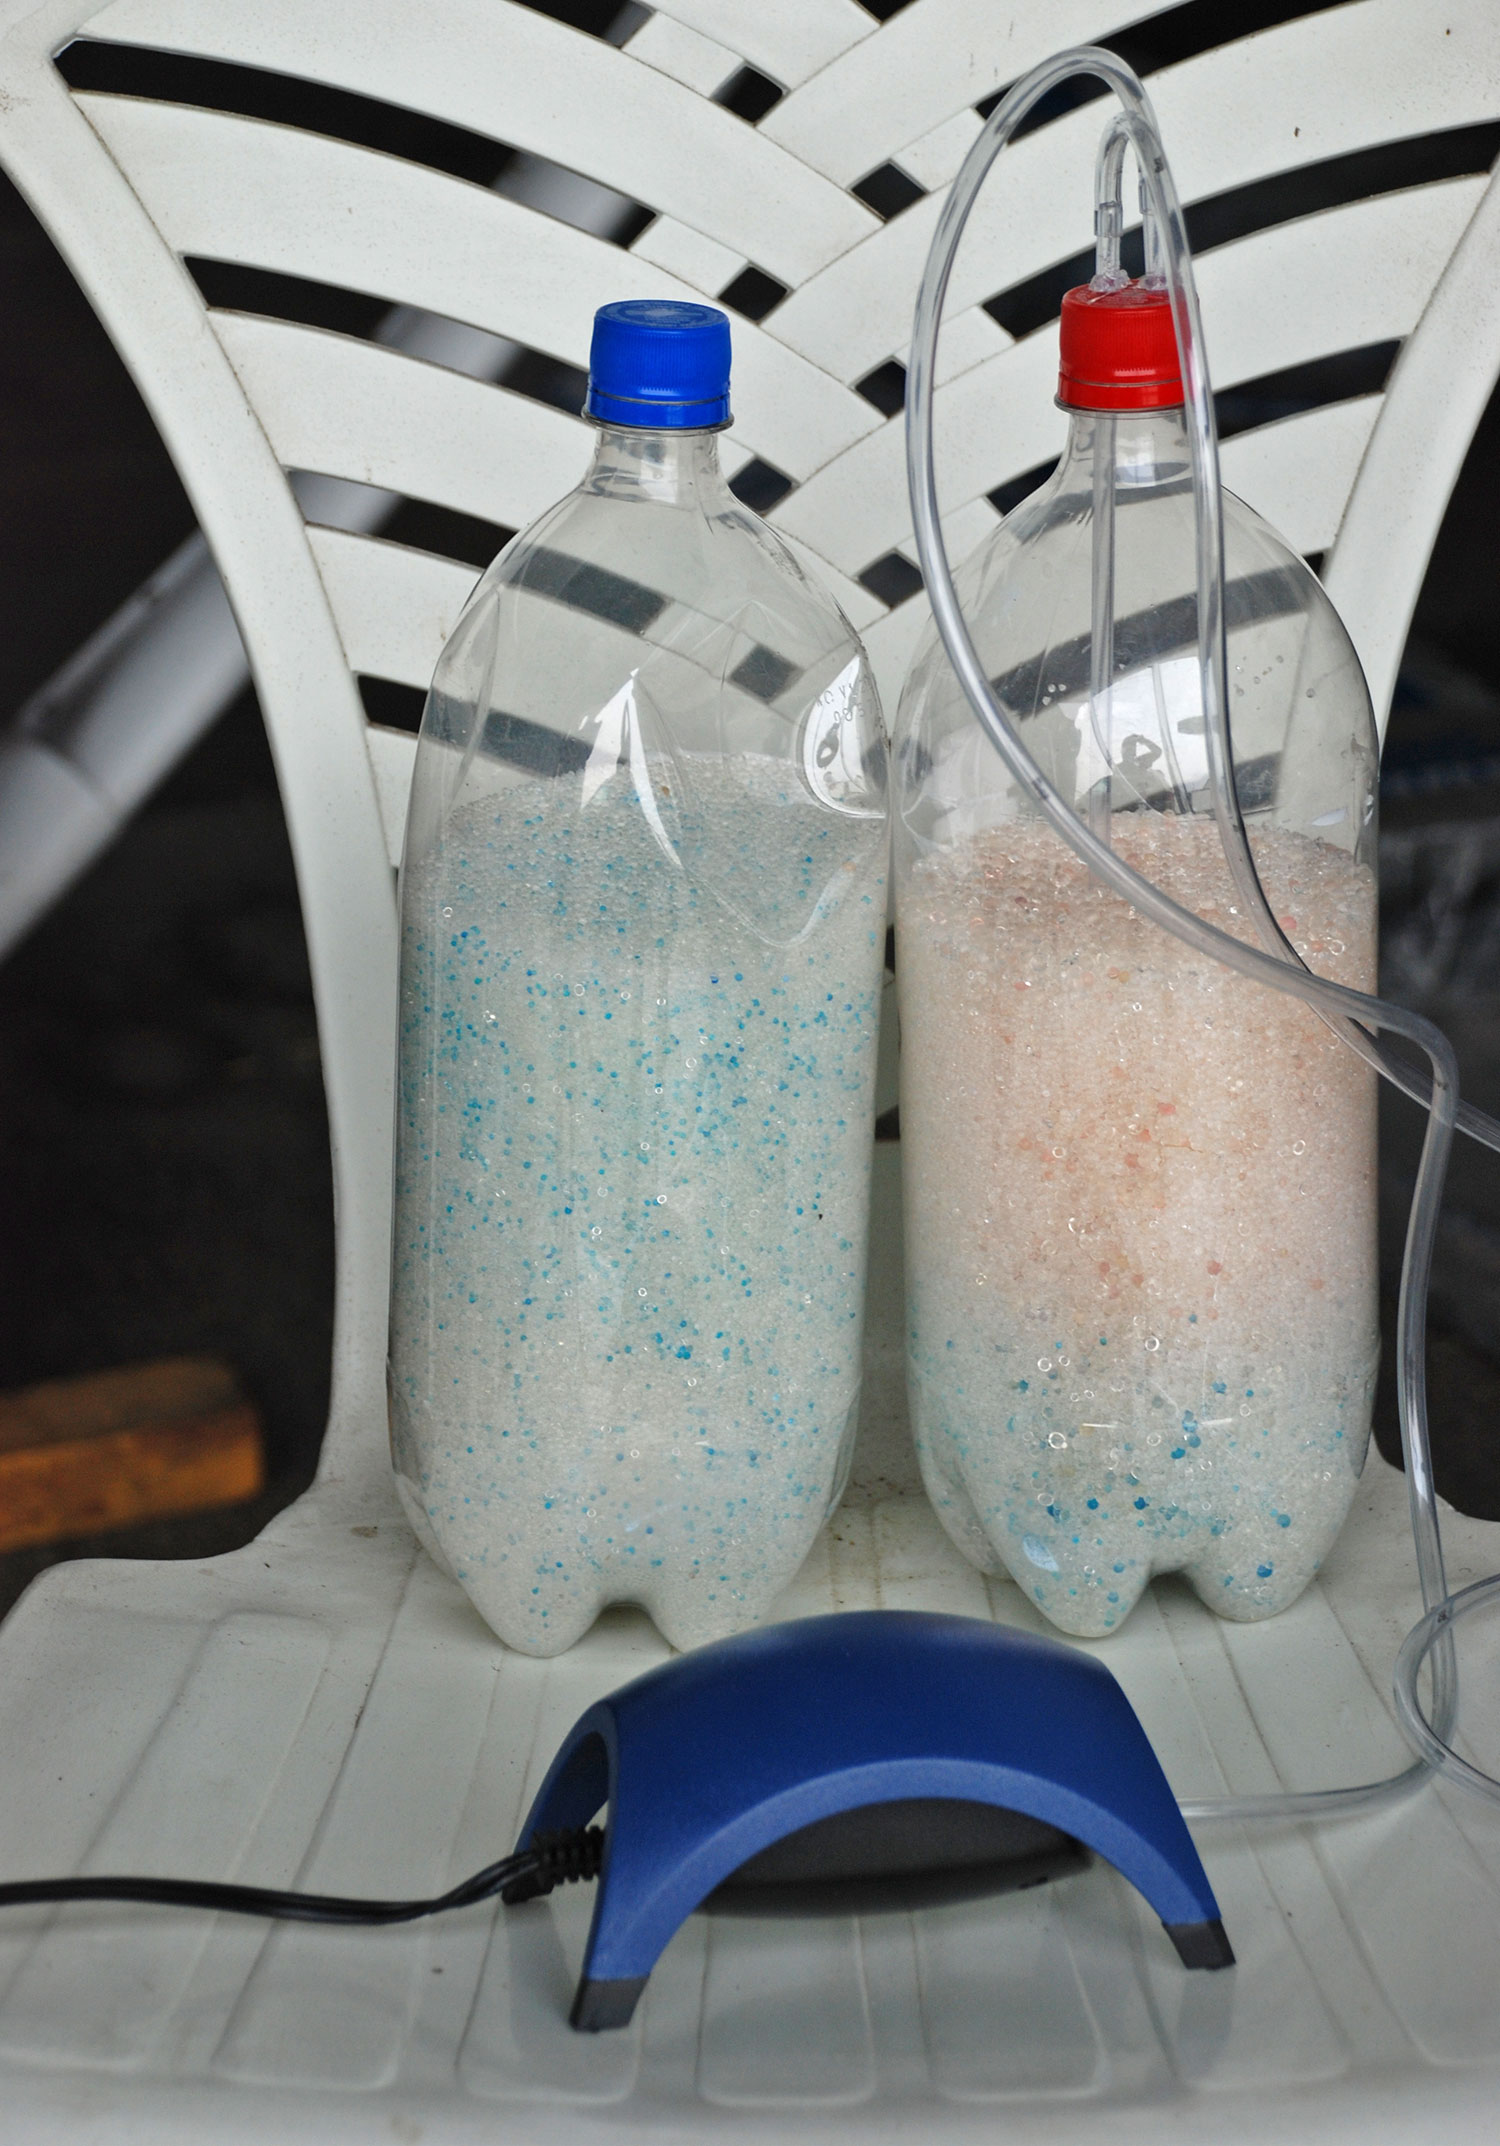
We have been using the dehumidifier for about a month, now. Of course, the engine hasn’t told us if it feels better. But if the condition of the drying material (Silica gel) is any indication, it ought to be mighty happy. We have included photos of how the setup looks. Dry silica gel is white with little blue specks in it. When the drying agent becomes saturated, it turns pink, and the blue disappears.
The company supplying the parts provides one pound of silica gel. They also name several other sources for this material. Instead, we went on line to acquire some extra.
We ended up with three more pounds. It cost $15 plus shipping.
With the humidity in Florida, we decided that one pound would be insufficient to get us through the week that we figured would be required between changes, so as not to be spending our whole lives driving back and forth to the airport. Also, we decided that it would be wise to have two containers of gel. That way we could change the container once a week, and never stop supplying dry air to the engine.
Both ideas have worked well. And, we are glad that we decided to construct this little add-on to our GlaStar.


