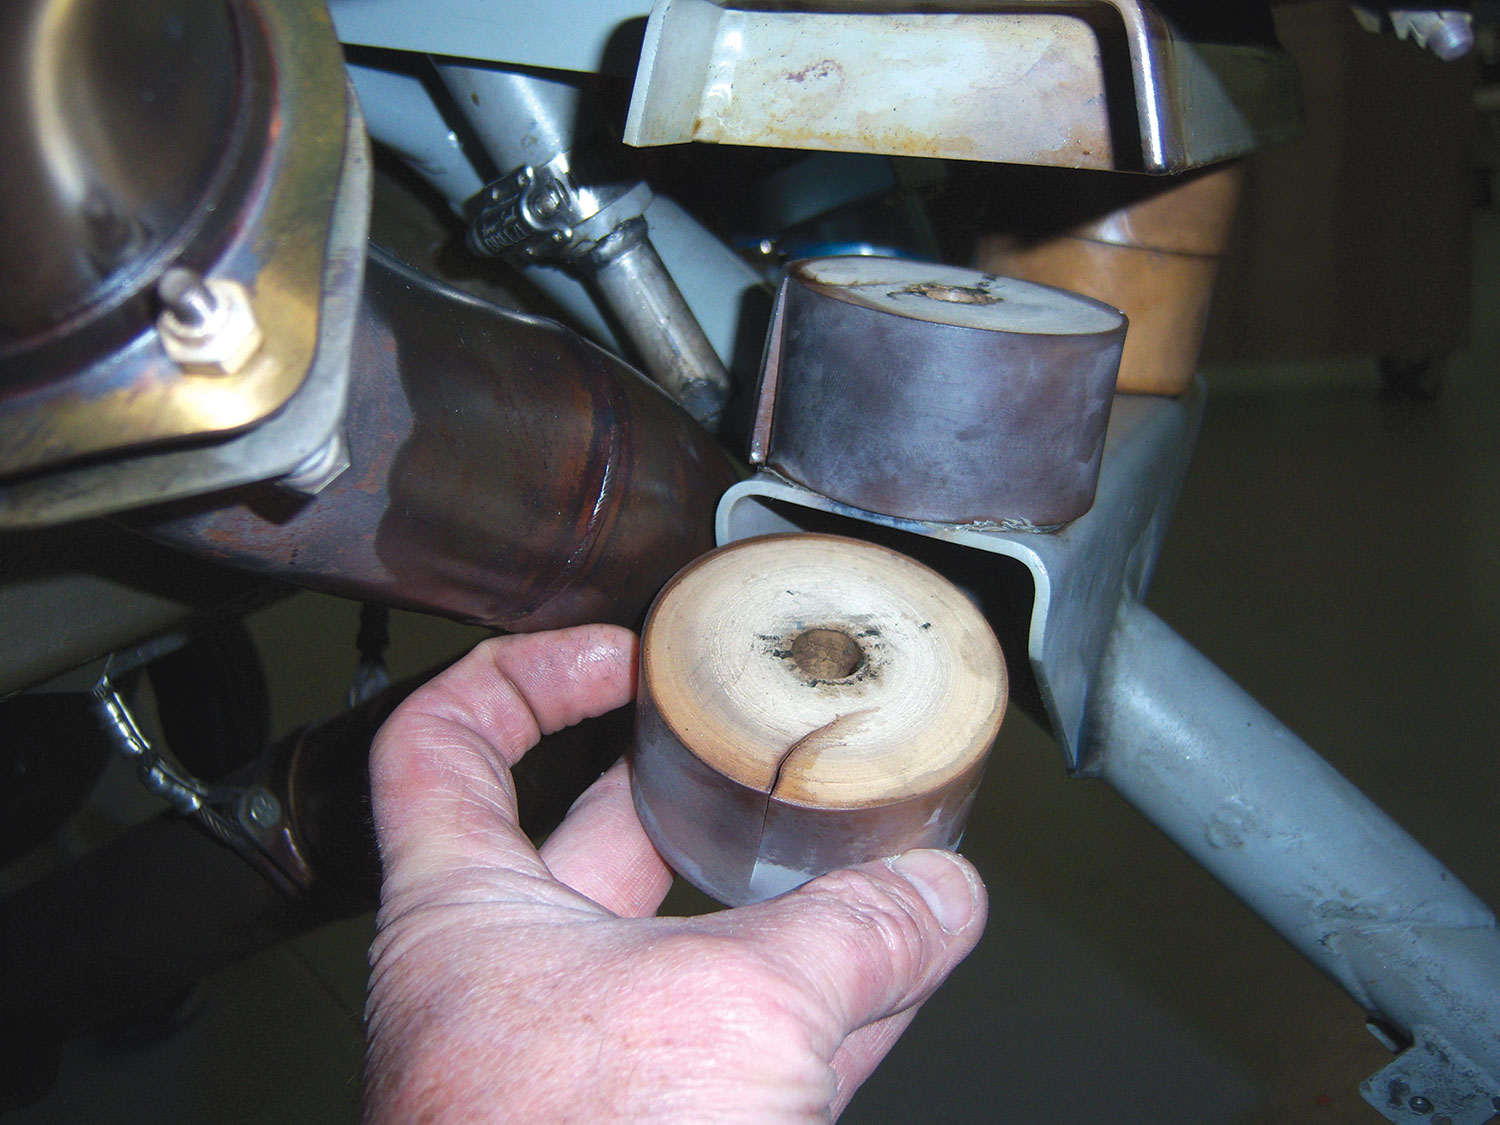
When performing an annual inspection on the Sportsman nose gear, be sure to take a close look at the condition of the shock bushings.
The ones shown in the photo above were cracked and appeared to be charred due to close proximity to the exhaust collector. We have used both white and black shock bushings. The black ones are slightly stiffer and may hold up better under heat. Most Sportsman exhaust collectors are not as close as this particular one, but be sure to have a good look at yours. Before installing the new bushings, we fabricated and installed an .032″ thick aluminum heat shield to go between the exhaust and the bushings. This will extend the life of the bushings considerably.
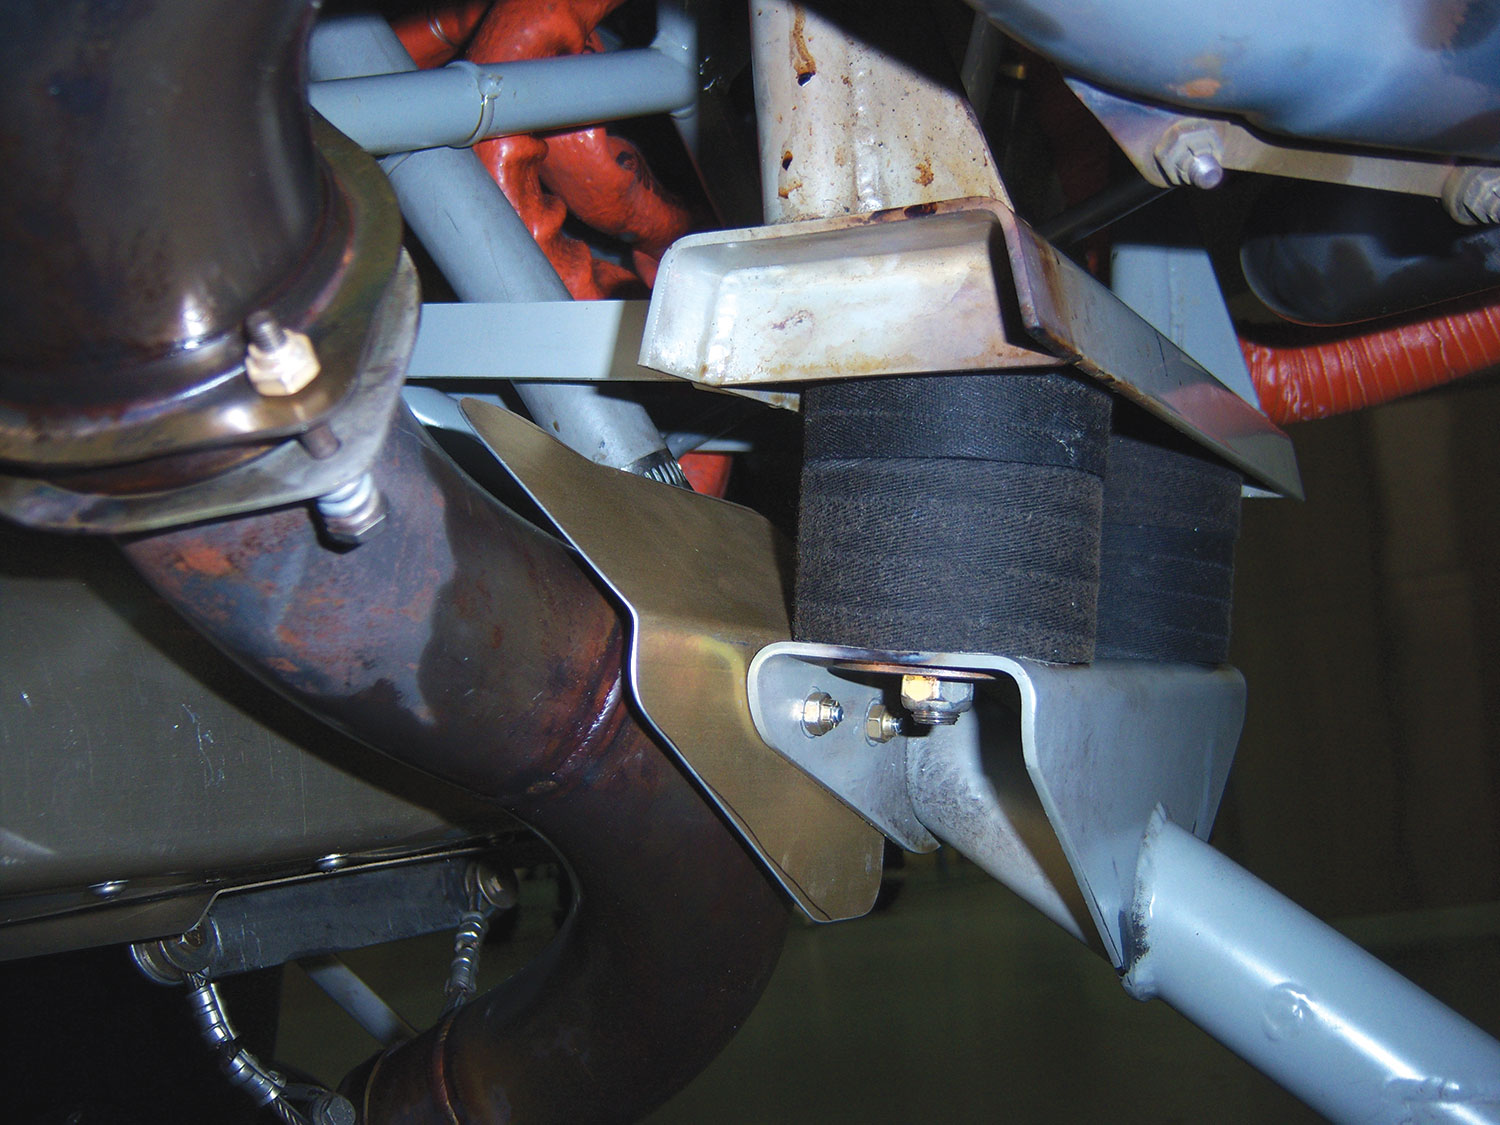
The rubber shock bushings will take a set after the weight of the nose gear is pressed against them. Be sure to check the tightness of the bolts every 5-10 hours within the first 40 hours of flying. Add this to your Phase-One flight test inspection checklist.
- The part number for the bushings is 371-2424-002.
- Quantity (4) used on the nose gear.


hi i need two bushing #371-2424-002 , does glasair have them , where do i order them