When the GlaStar is equipped with an O-360 engine (which is slightly wider than the O-320) its cowl needs a blister for clearance from the front valve cover. Here is a relatively easy way to create that bump.
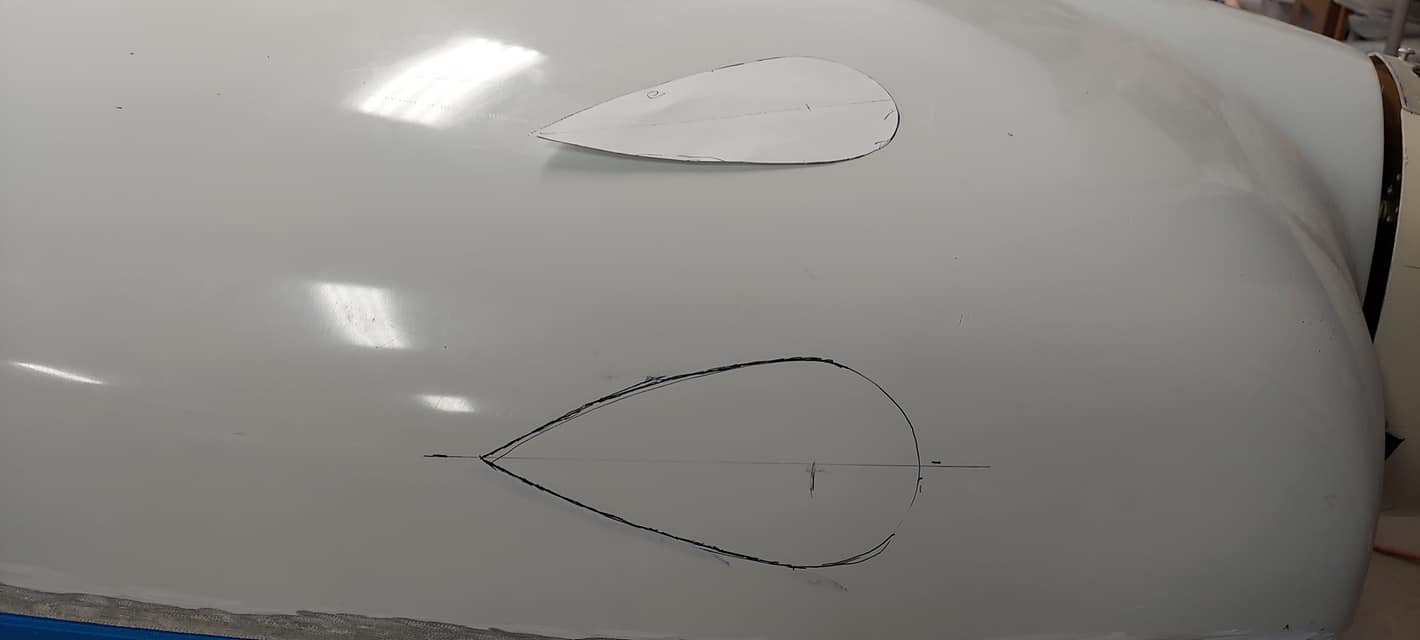
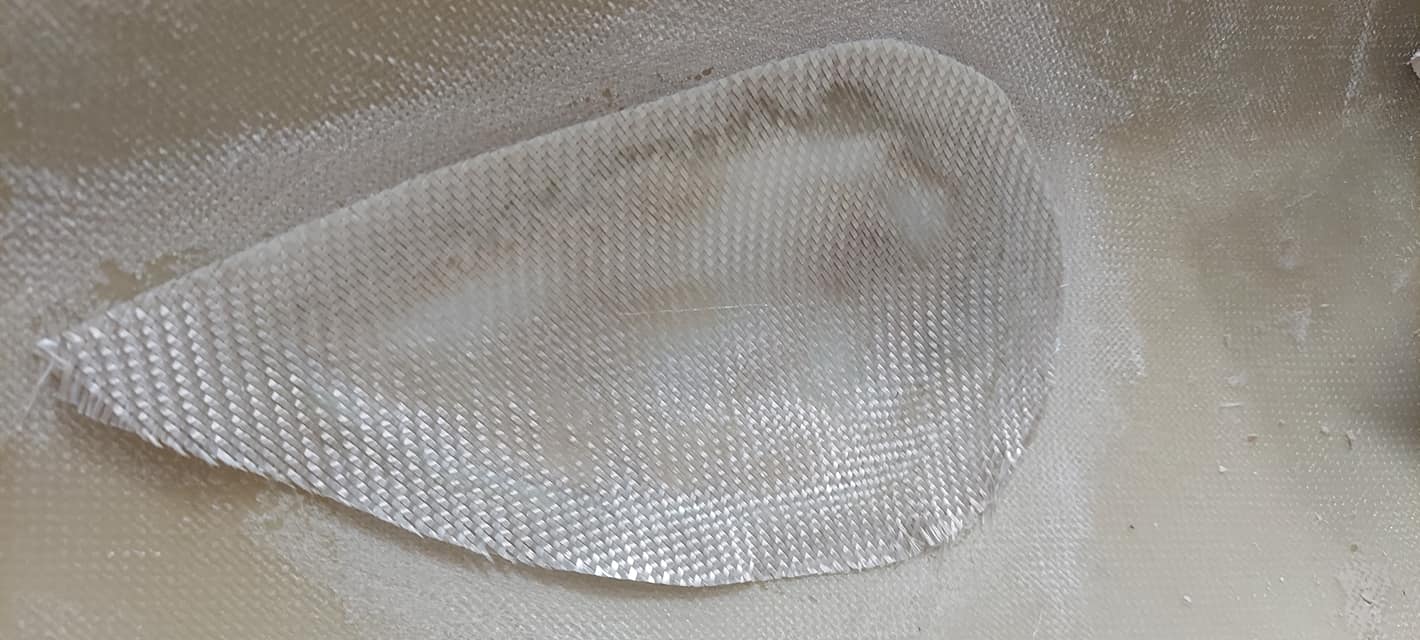
Begin by determining the shape you want and cut a pattern. In this case a teardrop works well. Align the teardrop parallel to the split line of the cowling.
To locate the interference point, measure back from the leading edge and up from the cowling joggle and slowly open with a Dremel tool while looking through and then letting the cowl go back down to the valve cover. Go slow and open it up little by little until the cowl clears the valve cover completely.
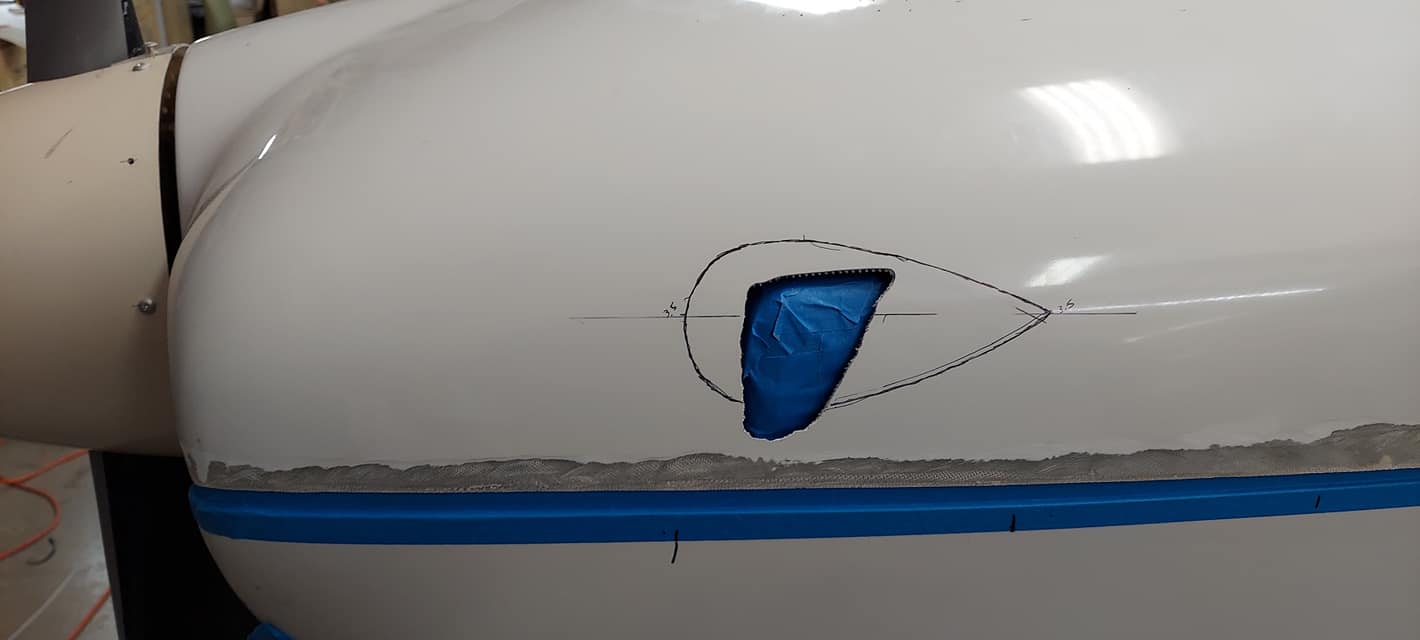
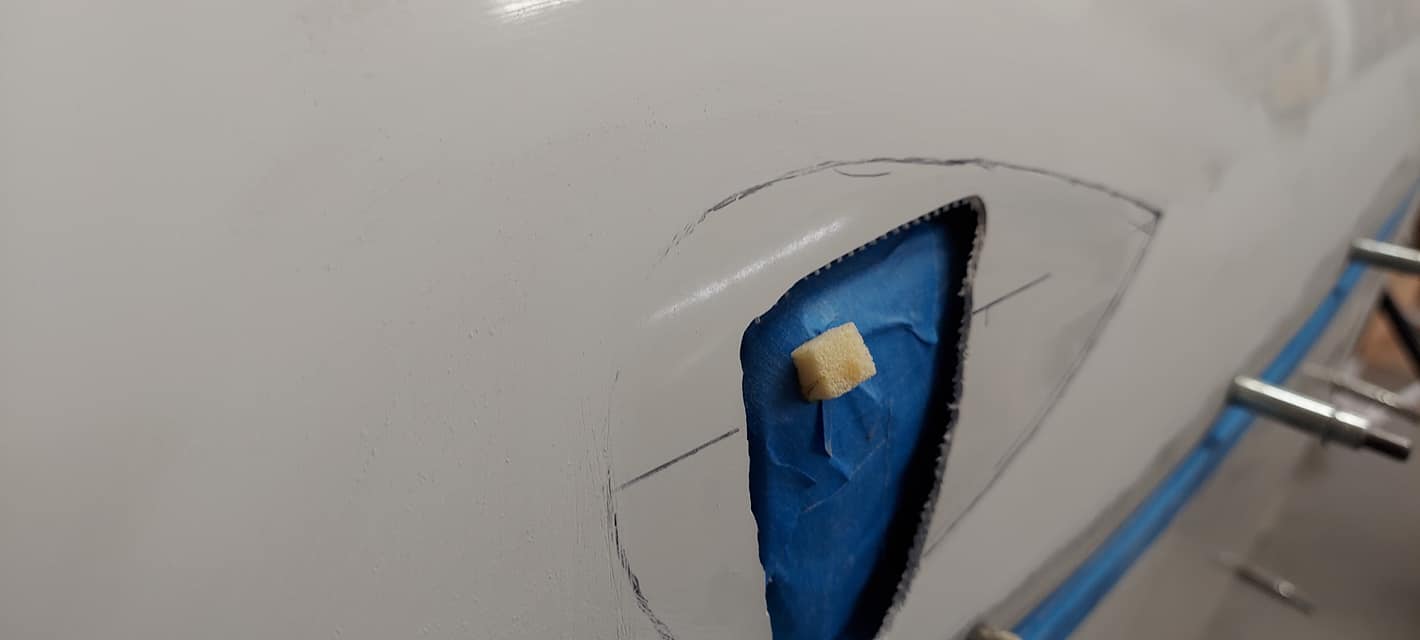
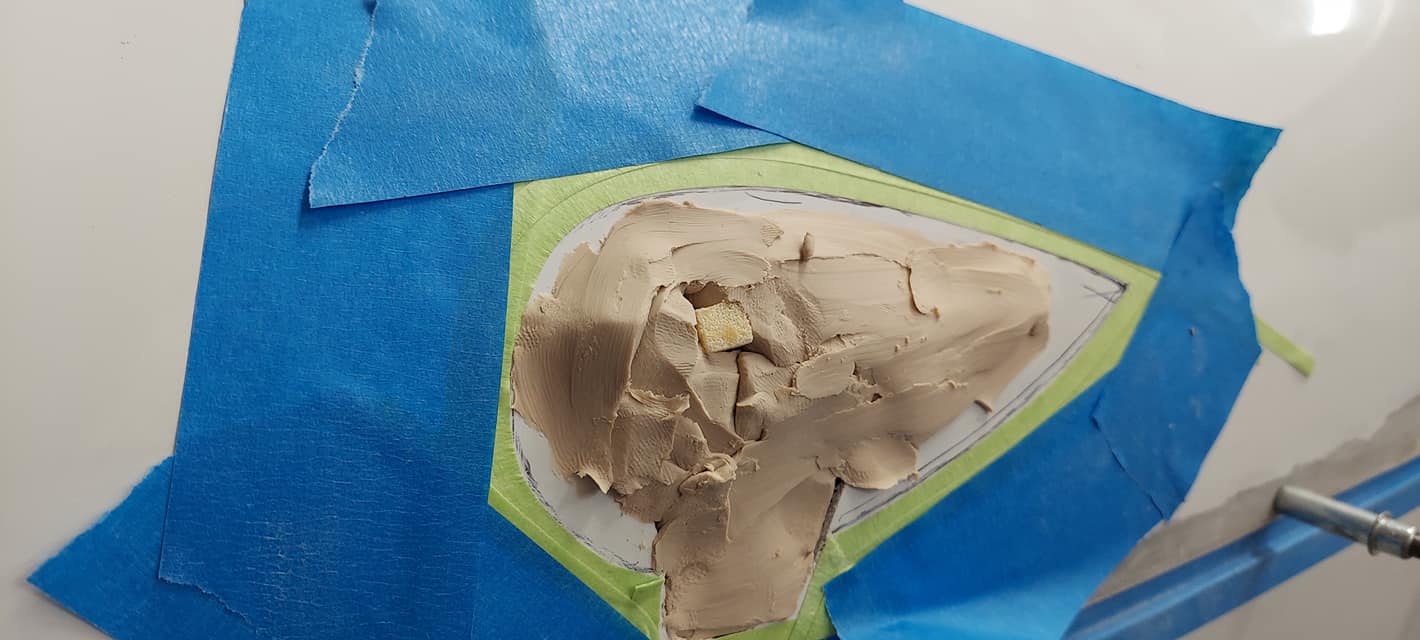
After locating the interference point and relieving the cowling around the valve cover, we can start adding modeling clay. Protect the valve cover with painter’s tape, then to determine the thickness of the clay add a 1/4″ piece of foam to the high point of the valve cover. Sand the perimeter on the outside of the black line so you don’t have to sand later and when the clay is shaped. Taping tightly around the perimeter of the traced shape will provide protection to the sanded cowling from the oil-based clay.
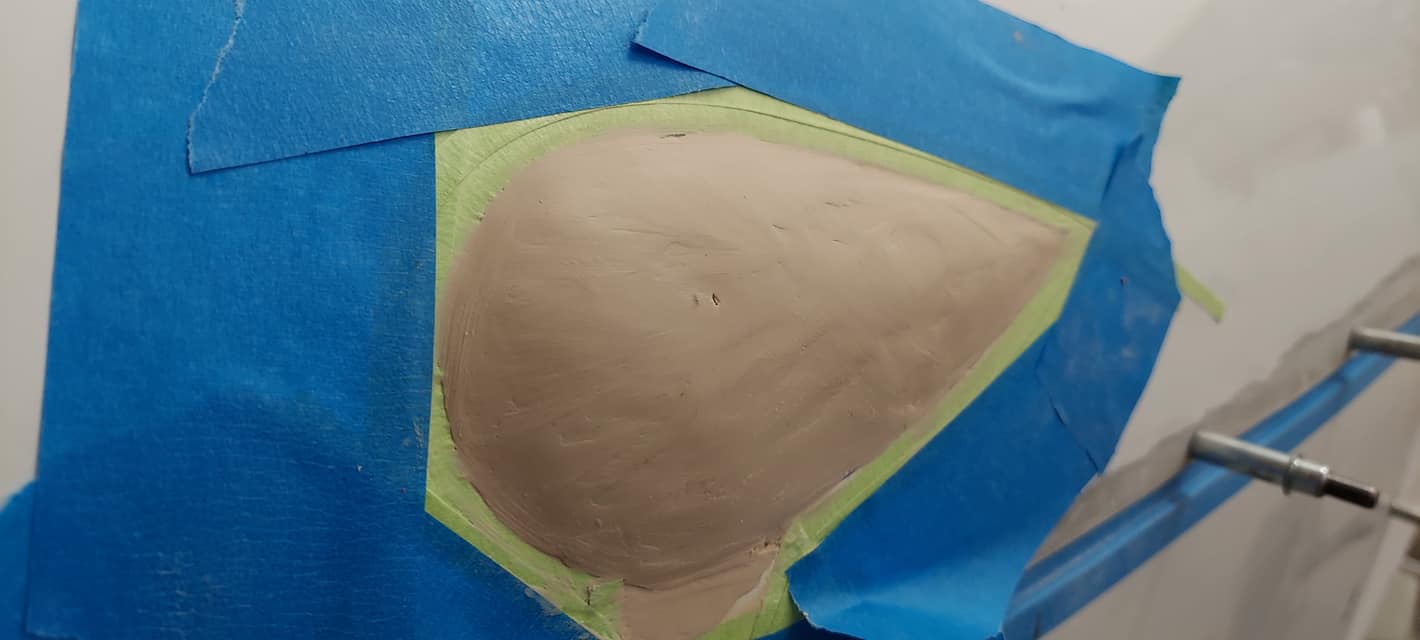
Add small pieces of clay, shaping as you go until you get a relatively smooth teardrop. The clay does not have to be perfect because the glass will conform to small irregularities and in the end you will add a little bit of fairing putty to the top which will later be sanded smooth.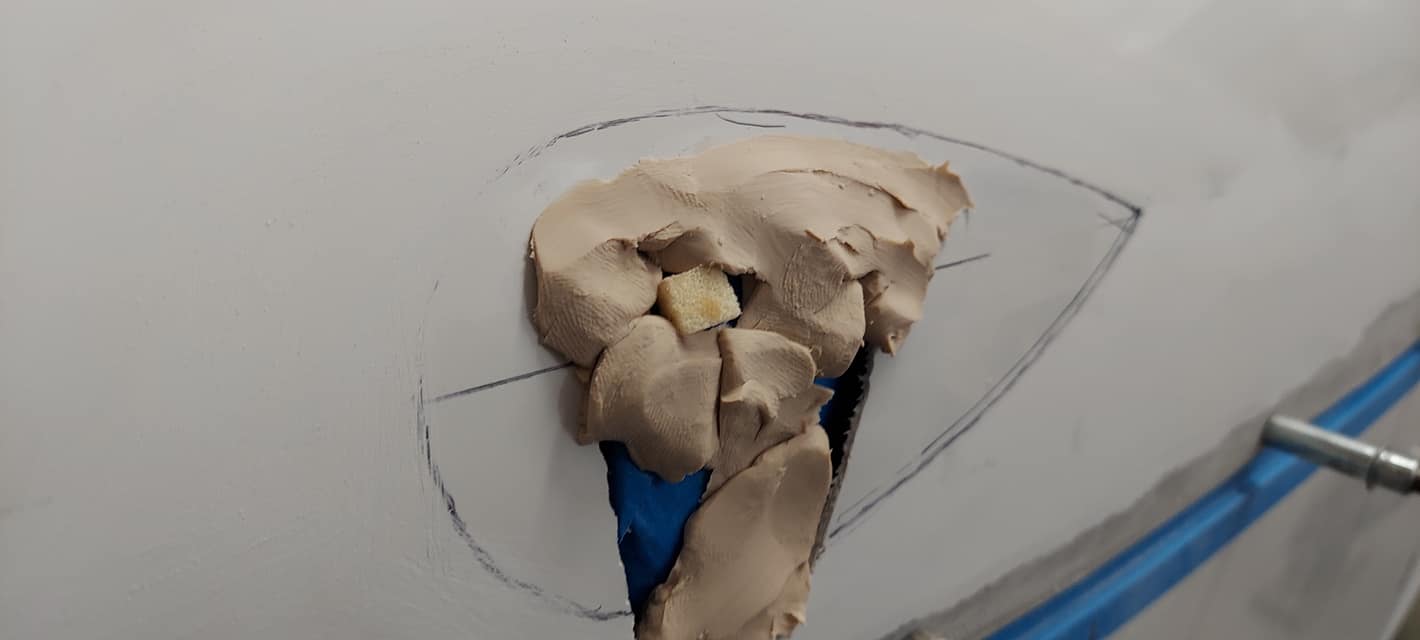
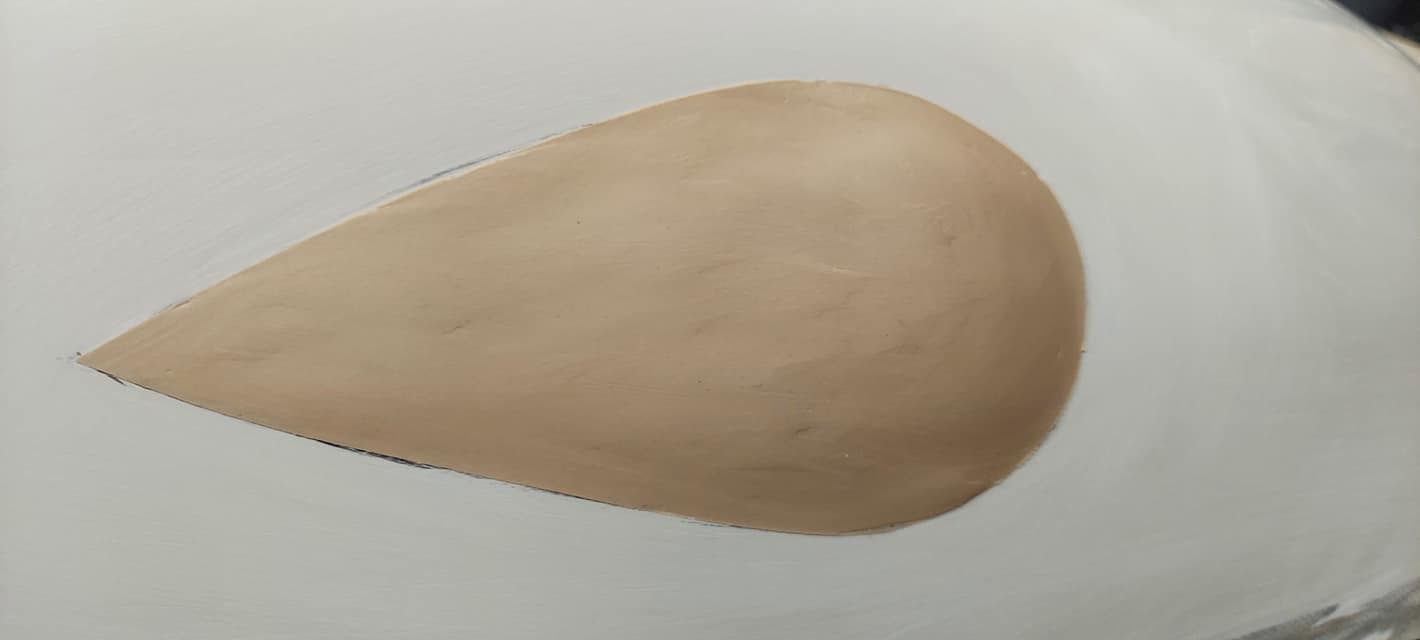
 Now you can remove all of the tape. Cut your glass for two layers—overlapping one layer 1/4″ and one 1/2″ onto the cowling.
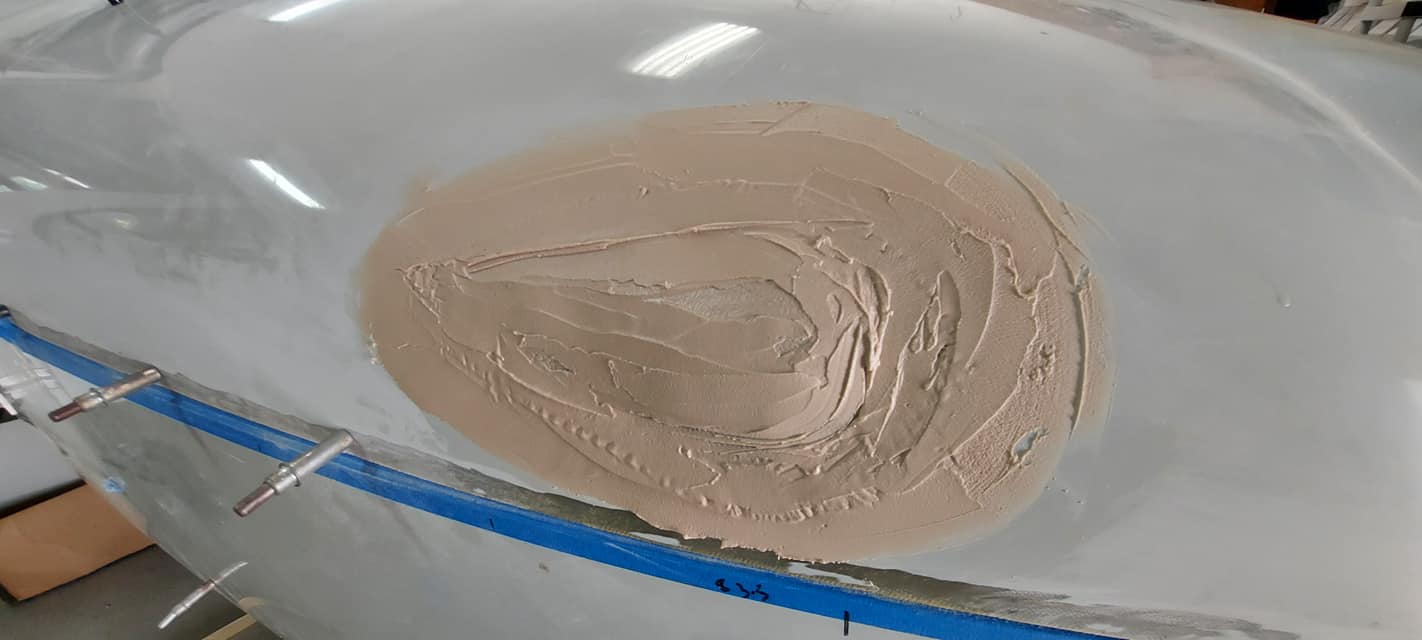
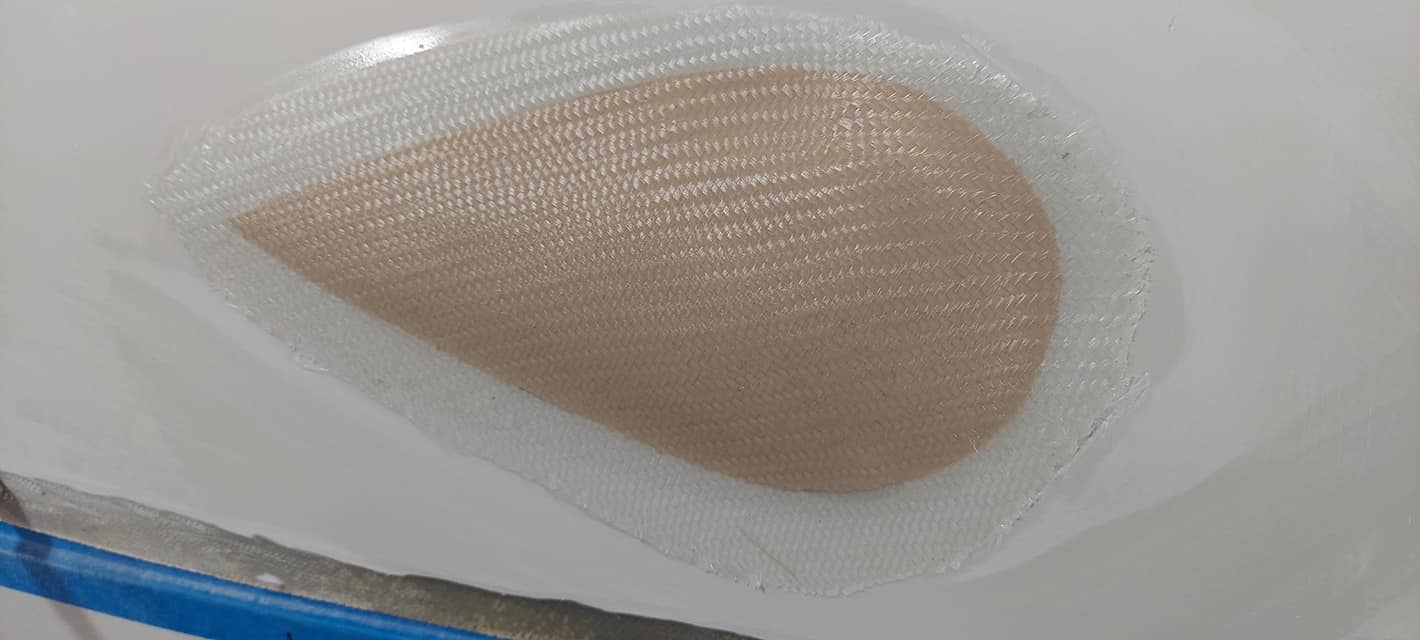 Here we used epoxy and added a fairing filler to the top of the glass before fully cured and while it was still tacky. When it cured sanding with 80 grit paper was easy and the shape came out smooth. Sanding with the cowling in place is easiest.

When the cowling is removed the inside needs to be opened up to the intersection of the edge of the clay and the outside intersection of the glass added to the cowling. Dig as much clay out on the inside as you can and use a Dremel with a burr bit to remove the inner cowling skin that was under the clay.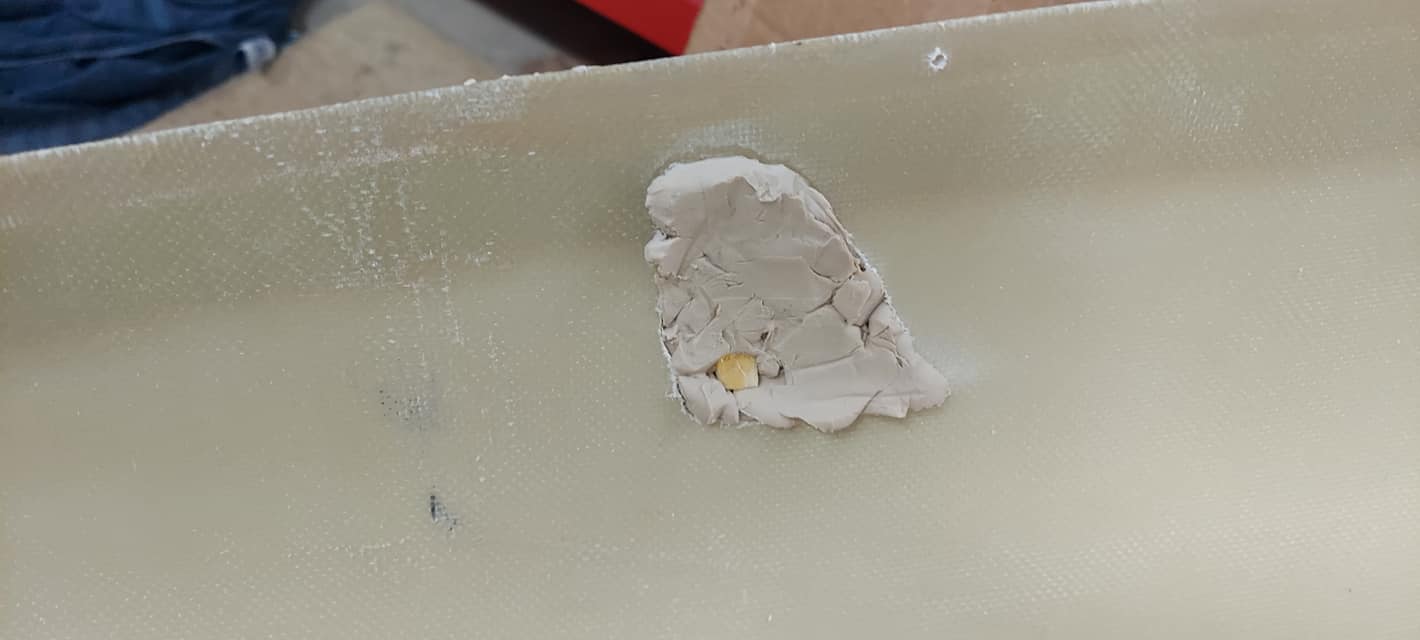

Careful dissection of the inner skin is important and removing clay to determine how much overlap you still have is also important. Grind a little, remove some clay and repeat that process until you get the fiberglass skin trimmed all the way back to the intersection of the glass work on the outside of the cowling.
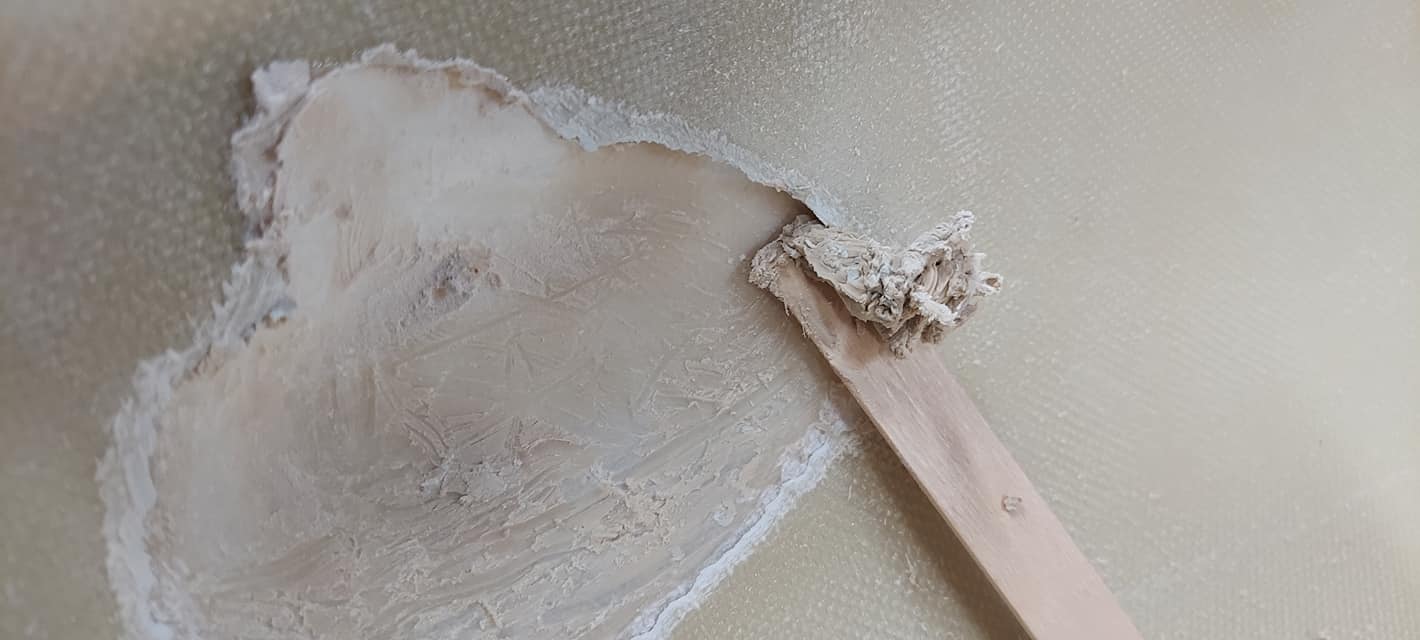
Cleaning the oil-based clay up is easy with mineral spirits and a stiff brush and paper towel. Repeat the process a few times until you have a clean edge and follow with denatured alcohol and a clean stiff brush. The end result will be a clean smooth surface ready for sanding.
After sanding and preparing the perimeter of the blister and the body of the blister, add two additional layers of glass followed by peel ply.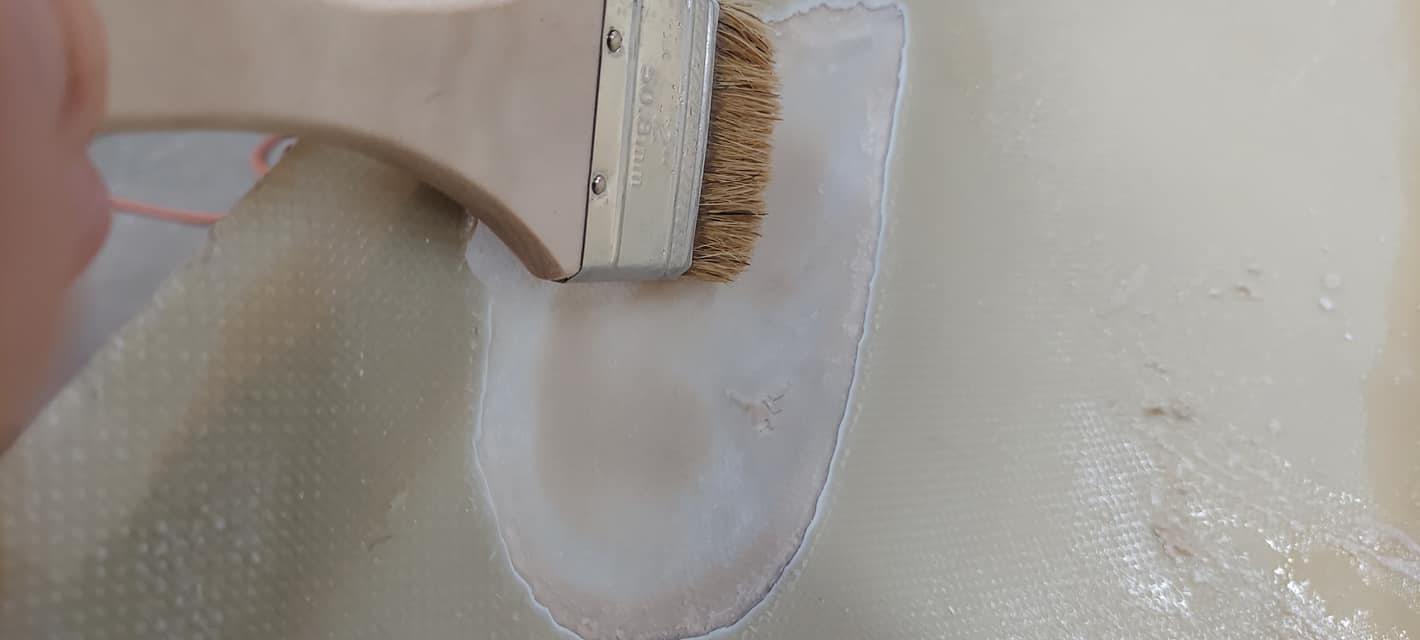
 The addition of a relief blister on the co-pilot side is personal preference. That valve cover is close, but it does not interfere with the cowling. Adding a blister to both sides provide some symmetry.
This process can be used for any custom shape you’re trying to create when you have access to the inside. I’ve used this process for teardrops, Adel clamp covers, and carburetor air box clearance on the bottom cowling.


