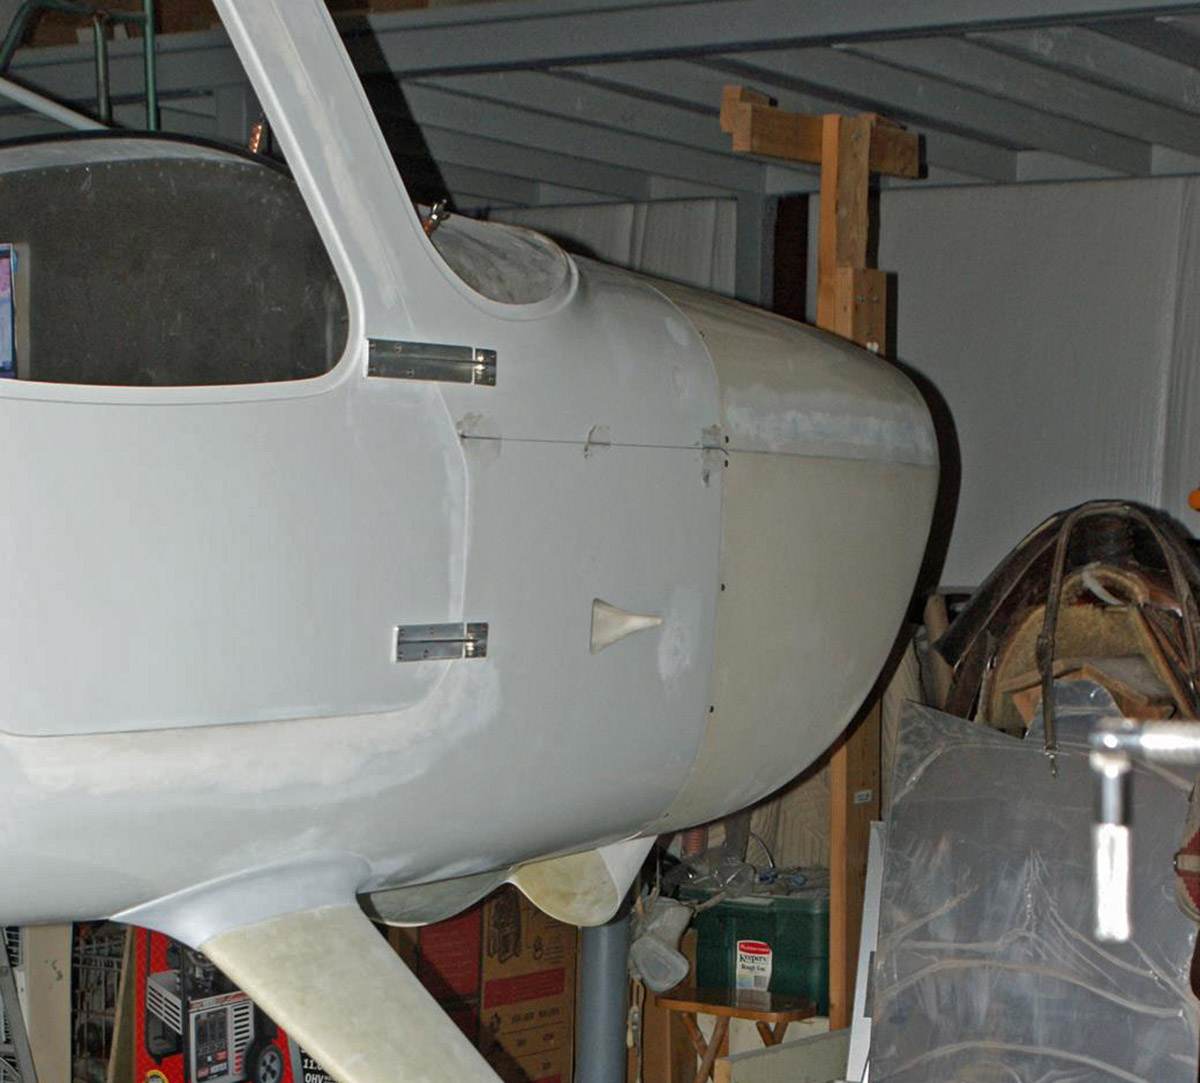
 A piano hinge for the cowl provides a sleek look with no visible fasteners on the outside. It takes a bit more work to get it right compared to the factory method.
To mount the cowl with a piano hinge connection between the upper and lower halves, I started by downloading the factory instructions for the cowl from the file library. I used the following steps as illustrated:
1. Mount the cowl halves to the airframe connecting them along the horizontal seam with several Clecos through the upper cowl half and the lower cowl half joggle.
2. Clamp the lower hinge half to the lower cowl portion as per the factory instructions building up the cowl portion beneath the hinge half so the knuckles are flush with the edge of the joggle.
Be sure the buildup smoothly contacts the hinge flange so the hinge portion does not deform when riveting.
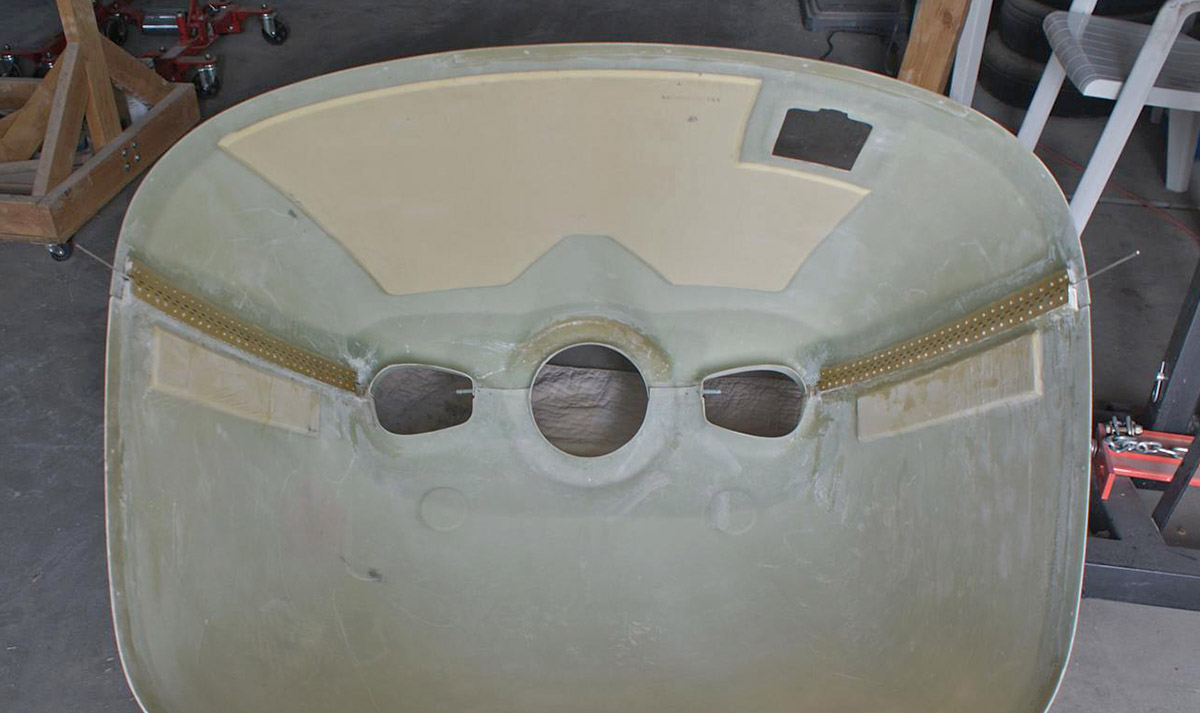
3. Because I wanted to insert the hinge pin from the cabin I also did an extra build up beneath the aft end of the hinge member sufficient to allow proper clearance for the hinge pin to clear the fuselage flange.

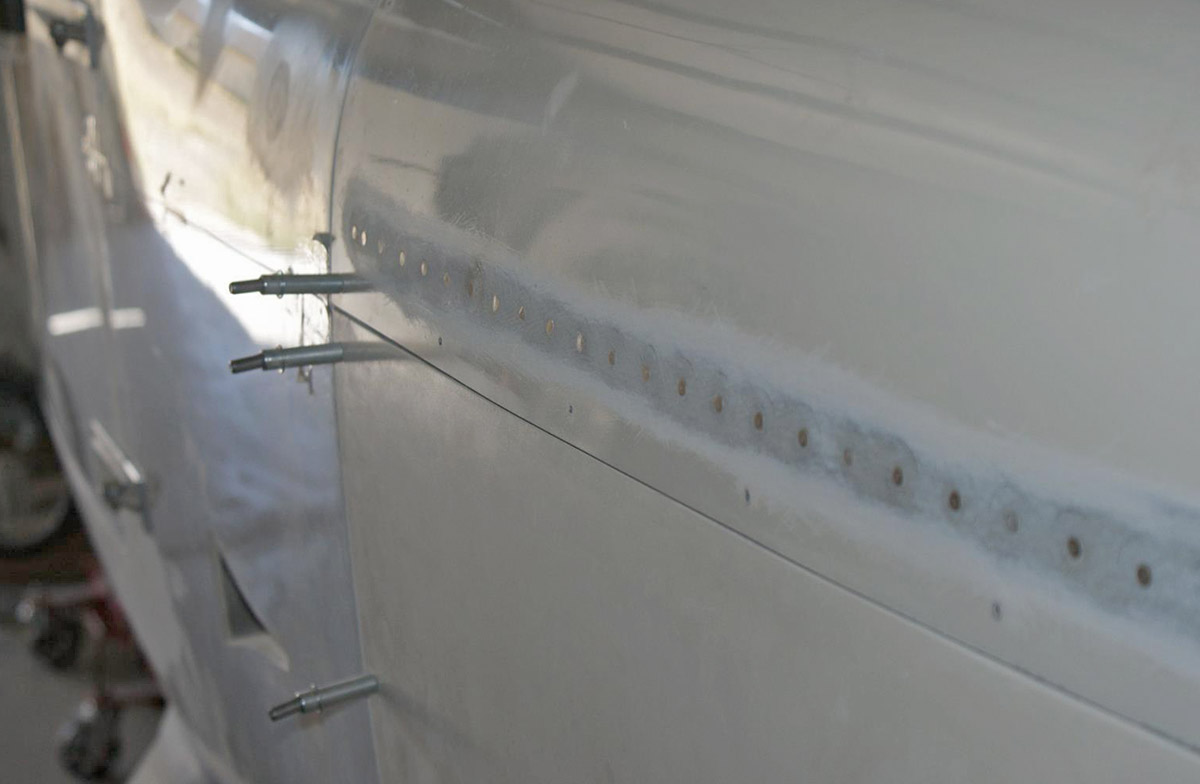
4. Drill the Cleco openings used to mount the cowl halves through the clamped lower hinge portion. Cleco the hinge portion through these openings and then with the upper hinge half pinned to the lower half, drill the remaining openings necessary to rivet the hinge portion to the lower cowl portion. Rivet the lower hinge half with the upper portion connected except for the original cleco holes used to hold the cowl halves together. These holes will be riveted later.
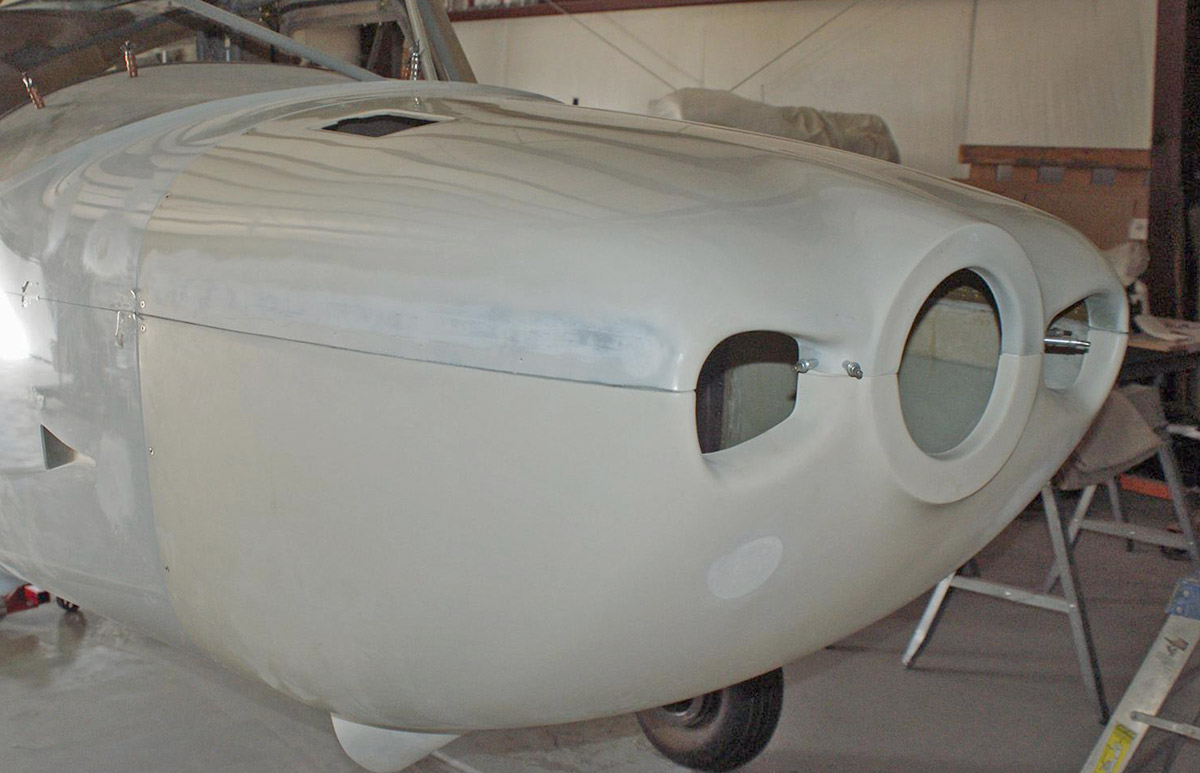
5. Remove the lower cowl half from the airframe and cleco to the upper cowl half using the originally drilled holes with the upper hinge portion pinned in place. When attached, I found a gap between the upper cowl half and the upper hinge. Using clear packing tape, cover the hinge portions and lower cowl areas around the hinge, reconnect the hinges and cowl pieces and fill the gap between the upper hinge portion and the upper cowl half with a resin and filler paste to fill the gap. When set, remove the tape and reconnect the cowl halves using the drilled cleco holes.
6. Mark and drill the upper cowl hinge portion for rivets. From the inside of the cowl while the hinge portions and cowl halves are pinned together, drill the upper cowl rivet holes. Rivet the upper hinge portion while everything is connected using a gun and bucking bar.
7. Finish riveting the lower hinge portion through the holes used to originally connect the cowl halves.
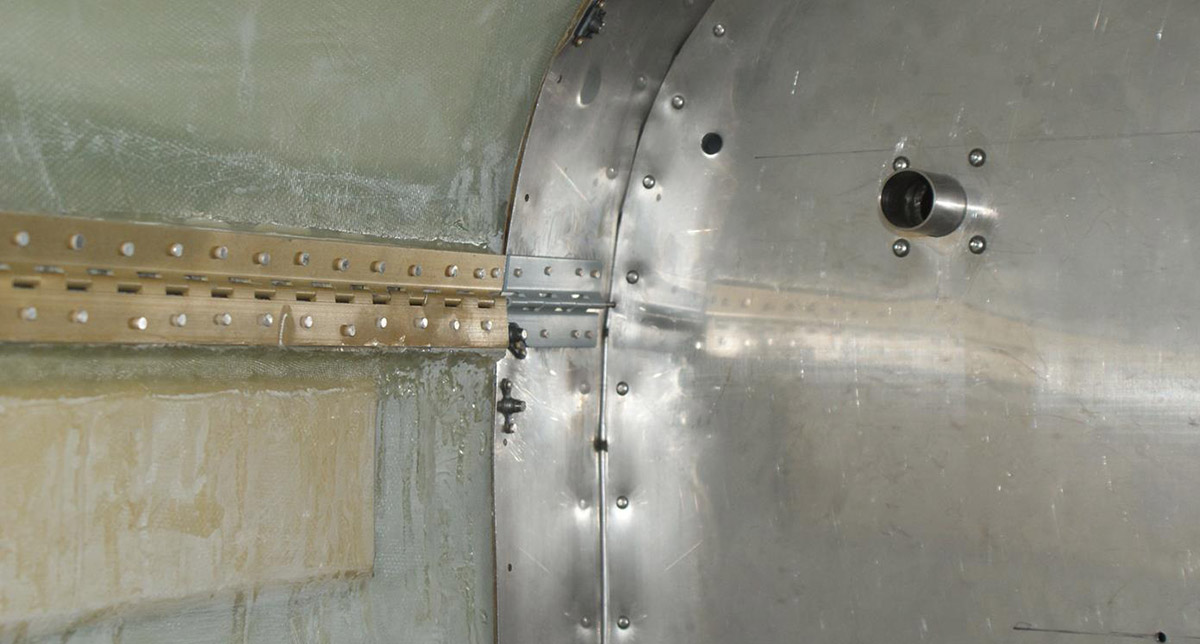
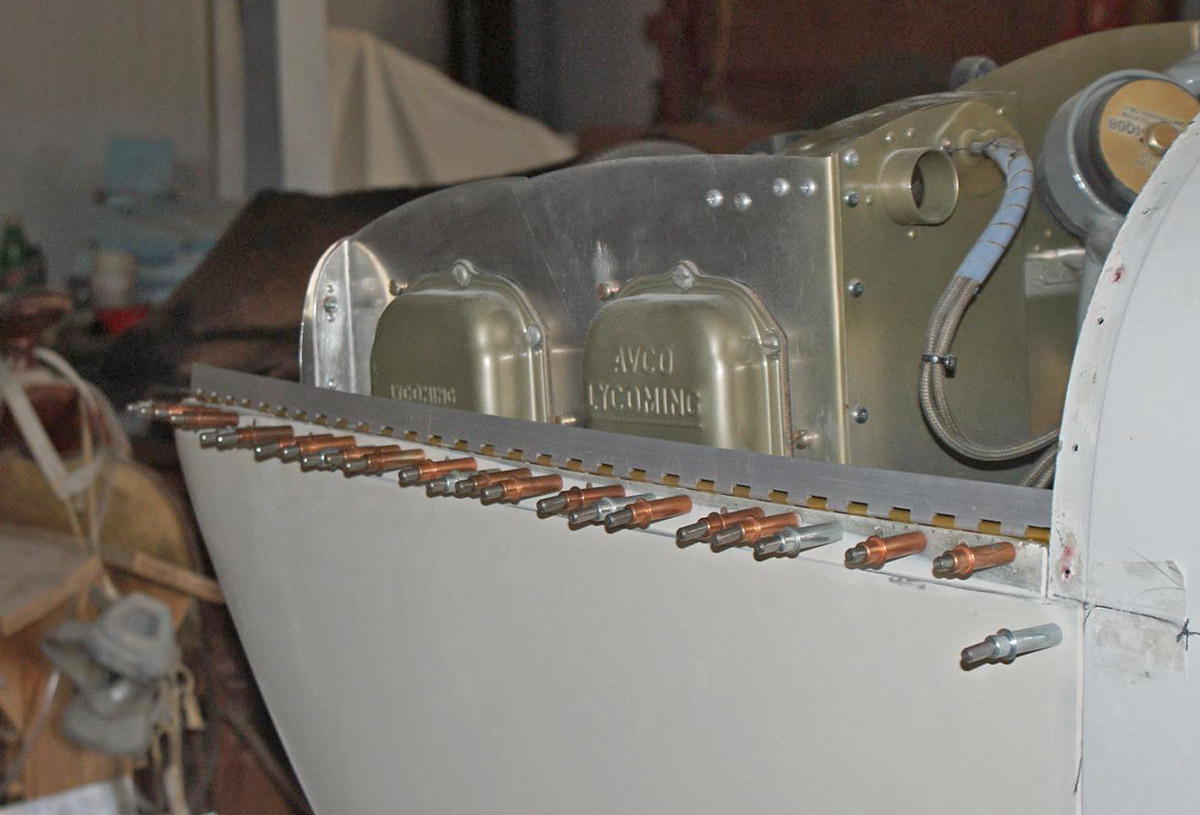
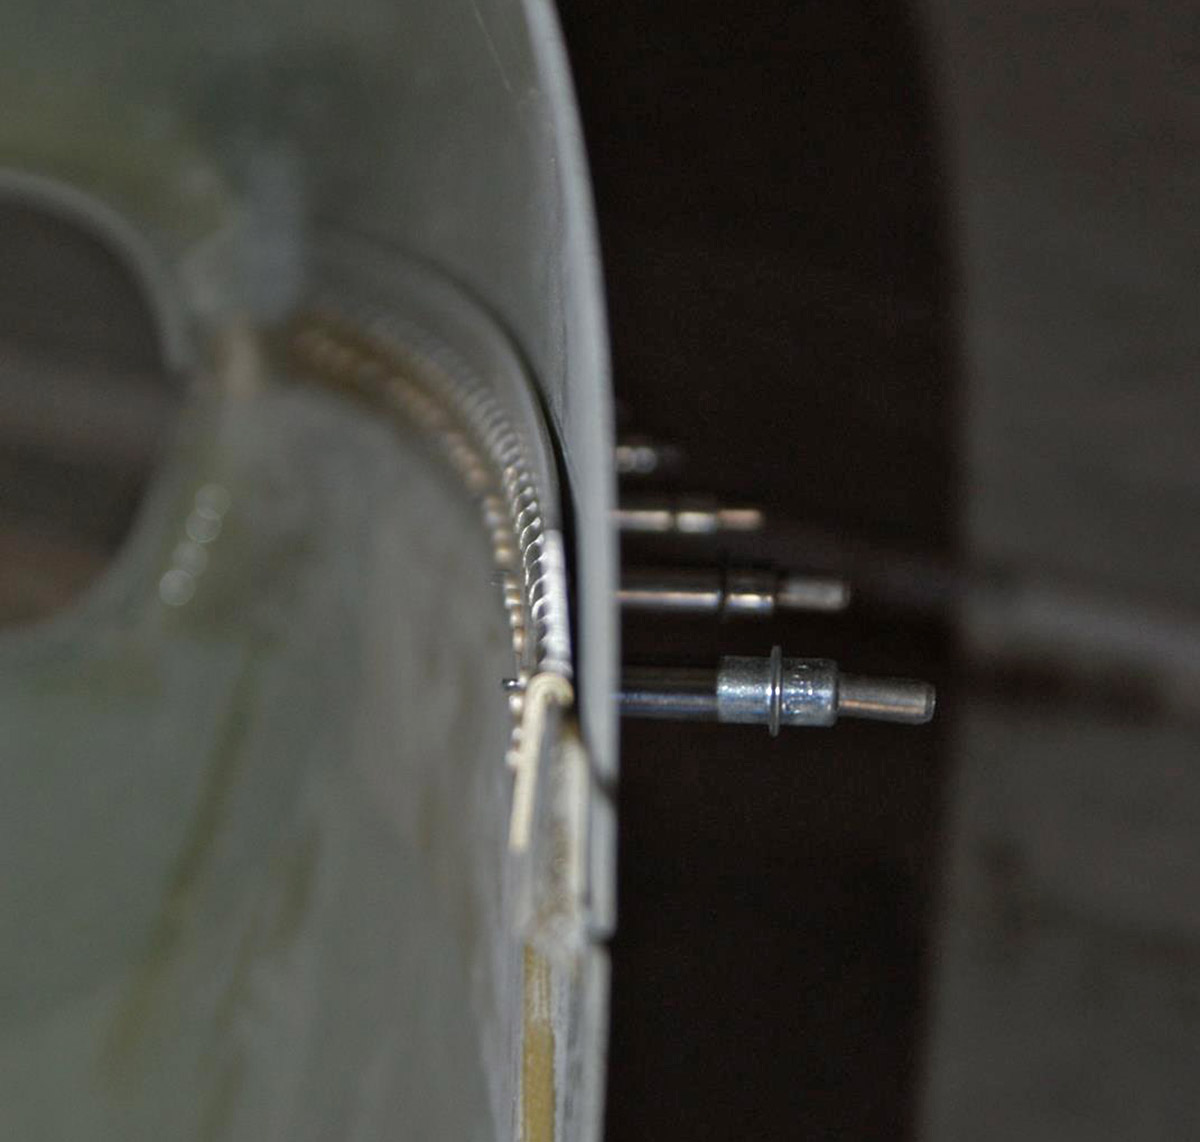
8. Mount the firewall and lower cowl portion. Insert a hinge pin until it contacts the firewall and mount shortened hinge segments on the hinge pin aft of the cowl hinge portions. Mark the location of the short hinge segments, drill and rivet to the firewall flange after marking the firewall which will first be drilled to allow passage of the hinge pin from the cabin. These shortened hinge portions will hold the pin when it is withdrawn from the cowl hinge members.
Mounting the hinge portions in this manner, I found that with the lower cowl portion mounted to the airframe, the upper cowl half could be set in place and the hinge knuckles could be engaged with some minor tapping. I did not have to file any portion of either hinge portion. The hinge pin was sharpened to a point, inserted into a drill and spun completely into place from the cabin by applying only slight pressure to the pin, that is enough to bow the pin but not bend it. I don’t know if I was lucky or by not deforming the hinge segments in any way when mounting them, the only resistance was the friction from the curvature of mounting.