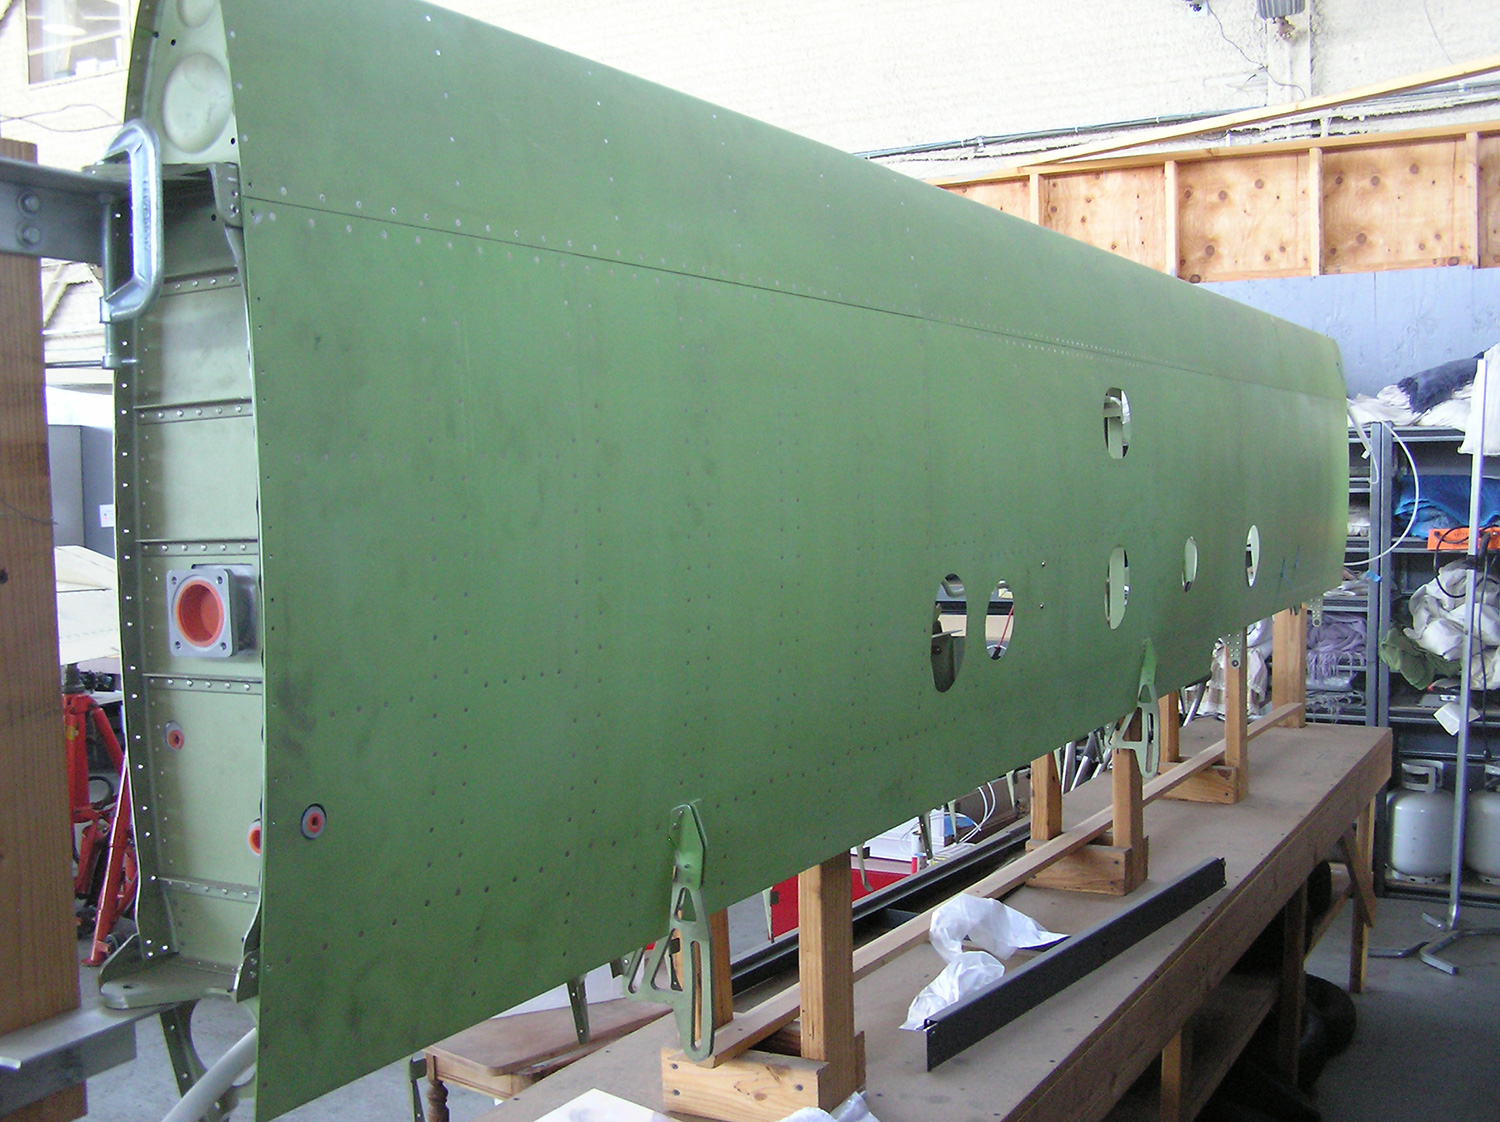
Here’s a little summary on what I’ve learned recently about trailing edges for the amusement of anybody who still needs to do theirs. I’m referring to the trailing edges of the wings (where the cove skins meet the wing skins), and the trailing edges of the flaps and ailerons, and in particular, how to produce perfectly straight edges while building those things. This is one of those things that takes longer to write about than to actually accomplish, so I apologize in advance for how long this is going to become.
Is this necessary? Not at all. If you follow the builder’s manual, and use the old eyeball-and-tons-of-spring-clamps method, you’ll probably end up with reasonably straight edges, maybe a few waves or kinks here or there, or perhaps a little worse if you’re unlucky. But, they’ll be perfectly serviceable, and probably as good as (or better than) any factory plane.
Perfectly straight edges are certainly nice from an aesthetic point of view, but there’s one other possible reason to put a little extra time into this if you’re so inclined. Many builders, after their first flight, report a “heavy wing” that is often corrected most easily by tweaking, very slightly (perhaps imperceptibly) the trailing edge of one aileron. In other words, those trailing edges can have a significant effect on how the airplane handles. I’ve just finished riveting my aileron trailing edges, they’re perfectly razor-straight as far as I can tell by eye, they’re a perfectly-matched pair, and the added cost compared to the “book” method was about $10 for an aluminum angle (surplus) and an extra 2 hours work. The same method will apply to the flap edges.
Whatever method you use to create perfectly straight edges in one place won’t necessarily work in the other. In particular, one method that many are using, which involves bonding the trailing edges together with a structural adhesive such as 3M’s DP-190, can be used for the flaps and ailerons for drilling and riveting in one step, but only for the riveting of the wing edges.
I haven’t built my wings yet but recently had the chance to see what Tim Johnson was doing to his wings in the factory workshop. The basic method was to use a specially made drilling and riveting jig, essentially a long aluminum beam with holes drilled along one flange corresponding to the rivets to be placed. Imagine an I-beam with a 4-5″ web, and four flanges each about 2″ wide; now remove one of those 4 flanges, so you have the equivalent of a C-channel on one side, and an L-channel on the other. The removed flange allows access for drilling, although with a compact right-angle drill a standard I-beam would suffice. By the way, the beam that Tim had was manufactured that way; it wasn’t necessary to remove one of the flanges (and anyway it was drilled in such a way that the missing flange didn’t help at all, the holes still had an overhang); I’ve found the same type of beam in the Boeing Surplus Store for about $10.
The beam is clamped to the trailing edge (web perpendicular to the surface), with the drilled flange flush with the wing edge. The idea is to keep all the skin pieces perfectly flat on the flange of the beam, so lots of spring clamps are required, at least one for each 2 rivet holes. There is no joggle here to worry about, but there will be some pre-existing rivets in the skin that would interfere with the beam being clamped flush to the skin; so, it’s first necessary to drill or countersink little pockets in that flange of the beam to make room for those existing rivet heads. The holes that have been drilled in the beam to correspond to the new rivets will be about 1/2″ in diameter and are there for two reasons. First, since the skins aren’t pilot-drilled, the wing edge must be drilled where each rivet is to be placed, at the exact center of each 1/2″ hole that’s been drilled in the flange. Tim accomplished this quite easily with a specially made drill guide; this was a plug of just the right diameter to slip into the 1/2″ hole in the jig, with a perpendicular tube protruding out one side. Place the plug into a hole, hold it in place by hand, slip your #40 drill into the guide tube and pull the trigger. I don’t have the details on how to make or obtain one of these drill guides, but perhaps Tim Johnson or Cliff Faber at New GlaStar could tell you.
After all the holes are drilled, the wing edge is disassembled, deburred, and countersunk as required, then clamped all back together again. This time the holes in that beam are used to provide access for a rivet squeezer. As always, use the proper order for placing a row of rivets. Tim obtained excellent results on his wing trailing edges using this method. The drawback, of course, is the necessity (and cost) of obtaining a beam of suitable dimensions, but for a local group of builders sharing resources, this would seem to be the best way to go for the wing trailing edges.
The flap and aileron trailing edges are another matter entirely, because the joggles in the trailing edge preclude the use of a big, wide beam as a straightedge clamp (those joggles are narrow, and not flush with the rest of the skin). Several builders, and Airlink, have obtained excellent results by first building the rest of the structure (flap or aileron), including all riveting, BEFORE drilling the joggles; then bonding the joggles with DP-190 while keeping them clamped firmly to a straight edge; and finally, drilling and riveting the now permanently-straight joggles. I haven’t personally seen or used this method, so can’t comment on the details. Possible drawbacks that I can foresee are (1) cost is about $50-60 for the required applicator tool and sufficient DP-190 for 2 flaps and 2 ailerons, (2) difficulty of making repairs if needed (although I’ve heard that the DP-190 is removable if heated to about 220 deg. with a propane torch), (3) how to ensure that you don’t permanently bond your flaps and ailerons to the straightedge.
This last point requires a little explanation. Imagine the trailing edge joggles to be long, skinny tabs at the end of the flap or aileron, like permanent trim tabs that can be angled slightly up, slightly down, or somewhere in between. It’s not clear what the “correct“ position should be, although the natural shape that they want to assume (based upon their manufactured dimensions) seems to be “somewhere in between” — that is, not parallel to the top surface or parallel to the bottom surface, but approximately bisecting the two. The angle that is finally established for these joggles is quite variable; moving it up or down causes more or less of a slight overlap between the top and bottom skins, but there can be a pronounced difference in the final shape and orientation depending upon exactly how it’s clamped together.
I decided that I wanted to try to produce straight trailing edges without adhesives, and in such a way that the exact shape of the resulting trailing edge was perfectly repeatable. The method I used is similar to Tim’s and uses a long straight piece of aluminum as a drilling and riveting jig, but in this case it’s a small compact aluminum angle instead of an I-beam, and it’s positioned in an entirely different way. The piece I used started out as a 12-foot angle with two legs, one of which was 1″ x 3/16″ thick, and the other was 1.5″ x 1/8″ thick.
This worked perfectly in this case, and cost about$10 at Boeing Surplus, but other small compact sizes should work equally well. Mainly, it needs to be fairly straight and rigid, and small enough so that your rivet squeezer can get over the vertical flange and reach rivets on the far side.
The flaps and ailerons are initially constructed on a worktable which is presumably as flat as possible, and has at least one very straight long edge. Along this edge (according to the builder’s manual), to aid in construction, are placed a couple of 2″x2″ angle brackets, top surface flush with the tabletop. This is the same setup that I used for the trailing edges, except that I used 4 brackets instead of 2 (if you’re going to do this, you might as well make them all at once). I completely finished the flaps and ailerons (including riveting), except that I did not drill the trailing edge joggles as instructed by the manual. As others have done, I saved that part until I was ready to complete and rivet the trailing edges.
Here’s the setup:
- The 2 brackets that were used during the initial construction are relocated so that they’re about a foot outside the flap or aileron on each end, instead of even with the end of that structure (refer to the builder’s manual here). Only one of them has to be moved.
- The 2 new brackets are placed a couple of inches apart, midway between the other 2(exact location not critical), but flush to the worktable surface just like the others.
- Place the angle/jig (drilled as described below) on the 4 brackets, vertical flange away from the table, with about a 1/4″ gap between the table edge and the horizontal leg of the angle/jig. You could cut the angle down to about9-10′ in length but I left it at 12′ for no particular reason.
- The angle/jig will be securely clamped to the two outside brackets, but here’s where you get to precisely set the “trim tab” angle of the trailing edge joggle; washers or other shims will be placed underneath the edge of the angle closest to the table before you clamp it into place on the brackets. This will (a) raise the edge of the angle above the surface of the worktable, in addition to the offset already created by the thickness of the angle, (b) tilt the vertical flange of the angle back away from the table, and (c)tilt the horizontal surface of the angle (to which the trailing edge joggles will be clamped) slightly up. With no shims at all, you’d end up with a trailing edge that’s parallel to the bottom of the flap or aileron. With sufficiently thick shims, you’d get an edge that’s parallel to the top surface. Use your judgment here, but I aimed for an angle that approximately bisected the other two, but was somewhat closer to horizontal; this seemed to produce the most natural looking trailing.
- Position the flap or aileron on the worktable, top side up, trailing edge joggles resting on the angle/jig; the crease in the joggles should be even with the edge of the worktable. Since the angle/jig is now angled slightly with its edge higher than the worktable surface, you should find that the lower skin of the joggle rests perfectly on the angle flange.
- Clamp everything into place, using every bar clamp you own or can borrow (spring clamps won’t work because of the vertical flange on the angle, unless you use spacers of the correct thickness). I used a bar clamp between every other rivet hole. Assuming that your table is level, this drilling/riveting jig should also be level assuming that the angle you used is reasonable rigid. Ensure that the angle is perfectly straight laterally (uniform distance from the edge of the worktable), and clamp the trailing edges, and the angle to the center 2 brackets (be sure the shims are in place, and positioned the same as forth outside brackets). Also, place the clamps in the same order in which you will do the riveting; center first, then two on the outside, then two more between the existing three, etc.
This setup can be used for either drilling, riveting, or (the first time you do this) marking holes to be drilled in the angle/jig. The prepunched holes in the trailing edge will be on the top skin surface (and they won’t all be evenly spaced, be advised!). To drill the required holes in the angle, I set up as described above, and drilled through the existing pilot holes with a small drill (same size as the pilot holes) to just go through the bottom skin and make a centering mark on the angle beneath. After marking all the holes, I unclamped everything to finish preparing the angle/jig.
Since the holes to be drilled in the jig would eventually accommodate a flush (backside) rivet set in a squeezer (I strongly recommend the small diameter 3/8″ flush set that’s available), I drilled a 7/16″ hole using a Unibit at each marked location. In my case the holes came very close to the edge of the angle, so I converted the holes to slots with my trusty Dremel and buffed out all the burs.
Repeating the setup (shims, clamps, everything) takes 2-3 minutes, so back we go again, this time drilling for real with a #40 bit. Take it apart, debur the holes (insides didn’t need it since they were already primed and burs didn’t form), and back together again for squeezing the rivets, in the proper order.
I undersqueezed these slightly; if you try for the standard nominal diameter of the shop head the surrounding metal will probably deform somewhat no matter how heavily everything is clamped, due to the thinness of the skins being riveted.
Why the second bracket to support everything near the center? Each bracket will obstruct one or two rivet holes, so when you need to squeeze those, one bracket can be removed and the adjacent one will continue to keep everything properly supported. As I hoped, the resulting edges were perfectly straight, not the slightest wave or kink; the bottom trailing edge skin overhung the top skin by a slight bit on one end of each aileron, so I trimmed that as necessary.
On the second flap or aileron (remember the nonuniform spacing?) you’ll need to verify that the holes in the angle/jig are correct, and possibly offset the entire jig and add one or two holes at one end (only the last 3 holes on each trailing edge have different spacing).
I’d originally intended to use the same length of angle for both the flaps and ailerons, which have different rivet spacing in the trailing edge, by drilling one leg of the angle for the flaps, and the other for the ailerons. However, to keep this piece of angle as rigid as possible, and since they’re easily available where I am, I’ll have a separate angle/jig for flaps and ailerons. Puget Sound area builders are welcome to borrow them at any time.


