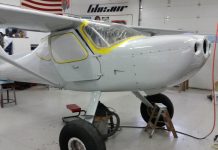
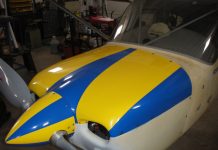
We got to the point on our other project—a TEAM Airbike— where we were ready to shoot it. We’re using the Polyfiber (Stilts) system. I had heard of inexpensive paint booths made from PVC pipe, and we wanted to extend our sprinkler system anyway, so I decided to give it a try.
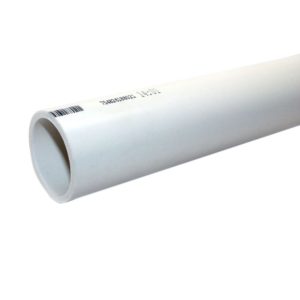
 First, I did some calculations on how much pipe would be required, headed down to my local home supply superstore, and loaded up on 3/4″ Schedule 40 PVC pipe and connectors. Several trips later, I finally had enough to construct the framework for a 20′ x 10′ x 8′ booth. The frame was just held together with the connectors tapped on. I didn’t glue them, as I wanted to salvage the pipe.
The frame had uprights every eight feet or so and crosspieces on the top (none on the bottom).
First lesson: PVC really bends a lot and doesn’t support weight well at all. The top crosspieces really sagged. I reinforced them with diagonal supports taped to the vertical uprights. This, of course, transferred the load laterally to the verticals. When the vertical uprights began to look more like pieces of hula-hoop than straight pipe, I reinforced them by taping on some metal poles I had from an old tarp canopy.
I then got a box of 6-mil plastic sheeting and three large rolls of duct tape, and started taping the plastic to the PVC.
Second lesson: It would be much easier to lay out all the plastic required on the hangar floor, tape it together, and then lift it over the top in one piece. Taping together two large pieces of plastic eight feet in the air is not fun.
As the structure progressed, it started warming up in the hangar (record heat in Houston this year). So, I opened up both ends of the hangar to the Texas breeze. The whole contraption immediately blew over in slow motion.
Third lesson: If you don’t glue the joints together, at least tape them securely with duct tape or the pipes simply rotate in the connectors.
With the structure erected again, I added a couple of uprights in the interior end of the booth 25″ apart and filled the gap between them with six large furnace filters taped in vertically. On the exterior end of the booth, I positioned my really big hangar fan (one of those roll-around kind that generates a large volume of air movement) and taped/stapled the plastic securely to the fan’s edges.
Of course, before I could use the fan, I needed to replace the motor with an explosion-proof one. (I’d rather not be inside a huge aerosol can with an ignition source.) I picked one up at Grainger, reworked the mount for it, wired in a switch that I’d been meaning to add for months, and was ready to go.
I proudly wheeled the Airbike fuselage in through the interior end of the booth. I had large flaps of overlapping plastic for ingress/egress at that end. When all was ready. I flipped the switch.
What fun.
The whole structure immediately attempted to implode. Not only did the top and sides sag in, but the plastic on the floor billowed up a good three feet as the fan attempted to suck everything out of the hangar. After powering down and doing some head scratching, I throttled the fan by covering up three-quarters of the entry side with plastic. Now it seems to work fine.
Total cost: about $100 (not including the new $150 explosion-proof motor). I think I’d use 1″ pipe next time.


