Submitted by Don Kinney
Fitting the wing ribs aft of the main spar can be pretty time-intensive and frustrating, so here’s a system I came up with to make the process quicker and more efficient:
All of the ribs were cut out larger than final size by using the paper templates provided by S-H.
(Photo 1) Then, I used Mike Jones’ idea for a long contour gauge, making this device by pop-riveting three inexpensive contour gauges together on a piece of aluminum strap, then riveting (at a right angle) a short piece of the same strap on one end, making the single rivet loose enough to allow the piece to move, but tight enough to hold whatever angle was set. This piece helps transfer the angle between the spar shearweb and lower If I still needed more length or depth, I used a spring clamp to hold an additional contour gauge where required.
By placing this device in the marked position for each rib in the bottom wing skin, an accurate profile was made, transferred to each rib, and cut out using a band With a little sanding, each rib was fit in place, with excess foam left only on the upper surface.
The A, B and J ribs could be reached either through the seatpan cutouts or the ends of the wings, so the upper surfaces of each of these were contoured by gradually lowering (and finally weighing down) the upper skins while using sandpaper, rough side down, to wear away at the top surface of each foam.
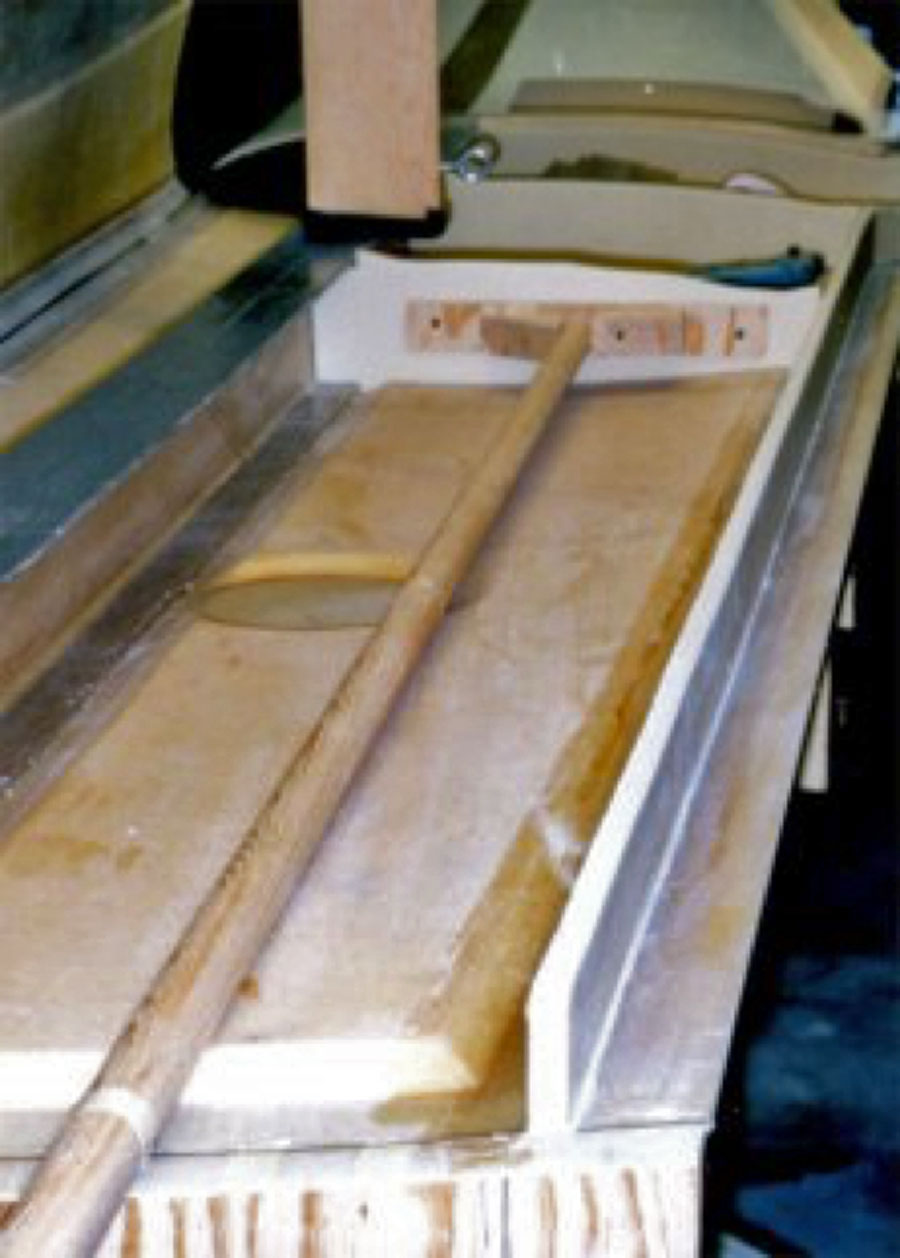
(Photo 2) For the other ribs, I built a simple rib sanding device by using two 21/2-by 8-inch pieces of 1/2-inch plywood, a 7-foot length of closet hanger pole, a couple of wood 90-degree supports, and some different lengths of fine thread, multi-use
The goal is to hold the rib in the position it will be in when installed, and pull and push it back and forth with the wing closed to exactly contour the upper edge. I needed a few small shims between the pole and the plywood pieces to make sure the rib was held at the right angle. Then, I sandwiched the rib to be contoured between the pole-supported side of plywood and the other piece of plywood, and held everything together by running two screws through all three components. (It helped to hold the wood pieces and rib together with spring clamps until the screws were tight.)
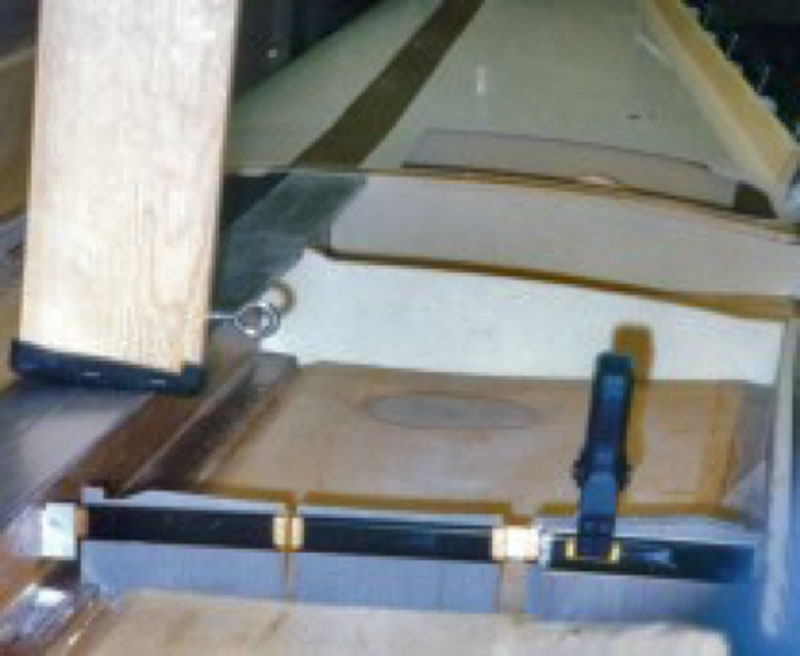
(Photo 3) Then, I marked where the rib to be contoured will eventually contact the upper wing skin, and used rubber cement to temporarily glue 100 grit sandpaper to the underside of the upper wing skin (rough side down), extending about 2 inches outboard and about 8 inches inboard of the final rib position. I made sure the sandpaper exactly followed the contours of the wing skin—a wide roller seemed to help press it into place.
(Photo 4) Both the pole and the lower wing skin were marked with tape at the wing end, so that the correct angle and position of the rib could be determined and controlled with the wing
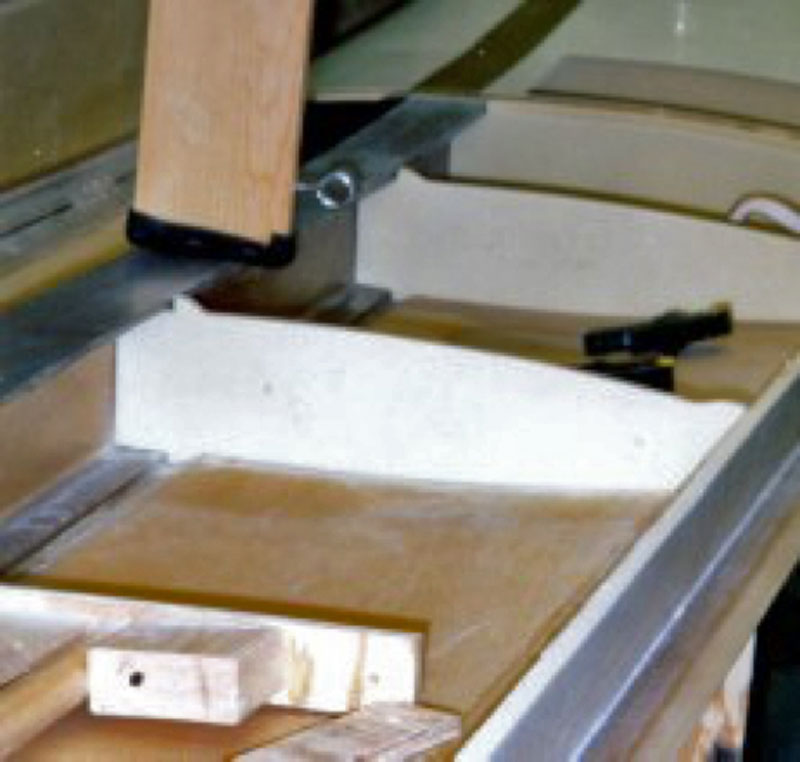
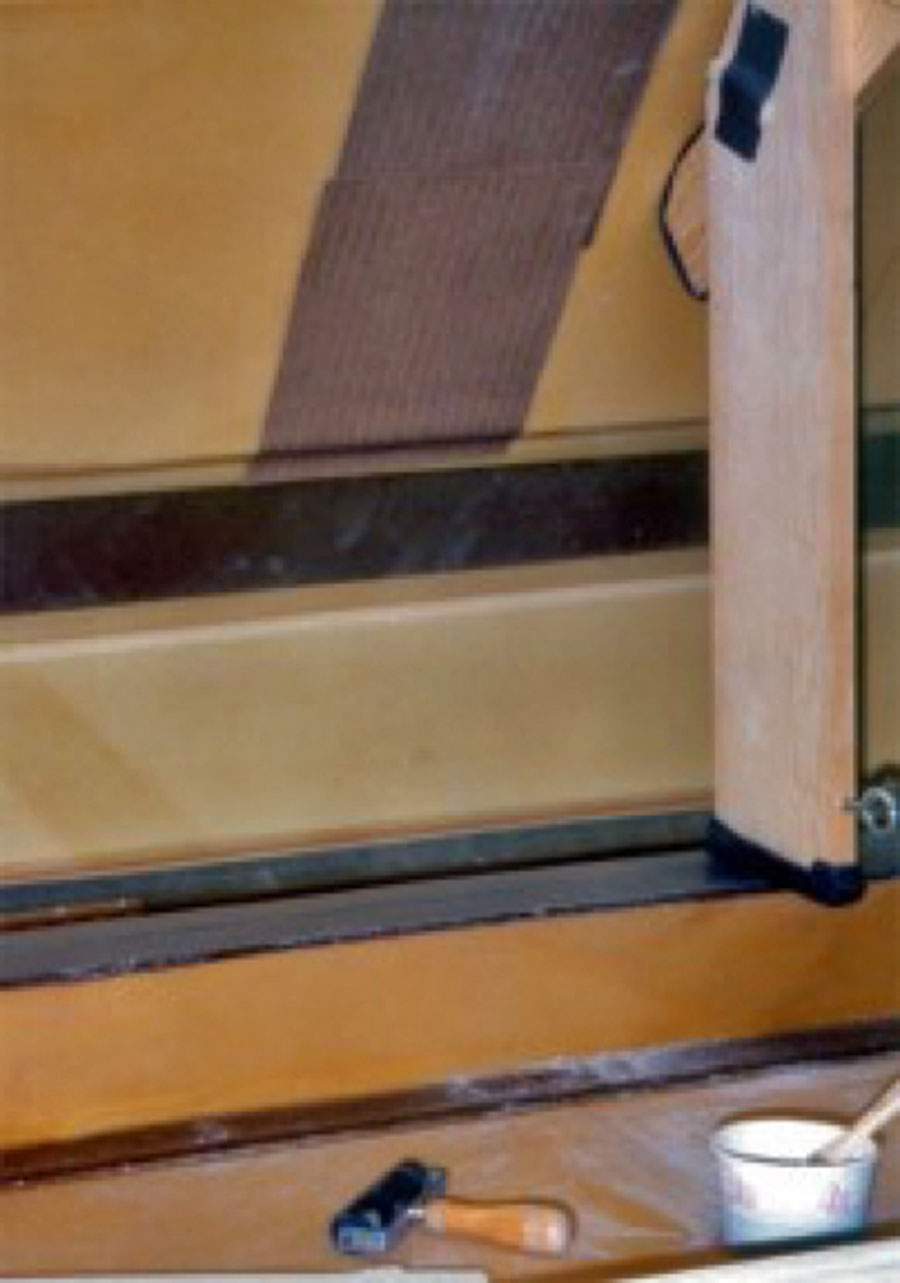
I lowered the front-edge-hinged upper skin with the rib positioned about 6 inches inboard of its permanent mounting location, (supporting the upper
skin with a shim between it and the rear spar until the upper surface of the rib was nearly to its final dimension) and by using the pole protruding from the end of the wing, pulled and pushed the rib outboard and inboard, while referencing the markings on the pole and lower skin. It took a few cycles to get it close to the final dimension, but once I got the hang of it, it was quick and easy. Once the rib was correct, I weighed down the upper skin to simulate closing pressure, and sanded again.
A final check can be done with a flashlight—and I made sure to remove a little extra from the top edge to avoid high spots when the wing is closed. Finally, I released the rib from the sanding device, removed the sandpaper from the upper wing skin, and completely cleaned off any rubber cement residue.


