GlaStar and Sportsman planes are remarkable in how well they fly and how consistently they come out especially considering they are usually built by amateur builders. But there are inevitable differences that occur—even when built by the same builders in the Two-weeks-to-taxi program. Therefore, tweaking is a wonderful way to get the full flight potential out of your plane.
Some Basic Considerations
Air
Air is your friend and you need it, since shoving air down is what causes it to push back and shove you up. That is what prevents you from becoming an aerial toolbox. As a kid learning everything I could about flight, a wing seemed like a magical thing that somehow made suction above it pull you up. I never understood how until my aeronautical engineer neighbor (and mentor) made the concept simple. He said, “If you take 2000 pounds of air and shove it down, it pushes back and makes 1000 pounds of airplane go up.”
It is also nice to have some air to breathe. I used to love it when a non-aviation person would come up to me as I was about to launch my hang glider and ask, “What happens if you lose your air?” I would always answer, “Then you will suffocate.”, and I would launch leaving them standing bewildered on the launch site.
But you must remember that air doesn’t like being pushed around and fights back. The result of that is drag. The real miracle of a good wing is how it can push the air around so that it pushes back but does not fight back. And the less you shove the air around unnecessarily, the less drag and the faster you will go with less fuel used. When you are done pushing it around, the closer you can leave it to where it wants to be, the less it fights back.
Trim Tabs (Fixed and Movable—Including Servo Tabs)
Trim tabs are a good thing to use as a starting point, but your goal is to have NO fixed trim tabs when you are done and to have all moveable trim tabs exactly aligned with the control surface they are attached to.
Think about how a trim tab works. It shoves some air one way, so the air pushes the control surface the other way, so this shoves other air the other way. This is a huge source of unnecessary drag—and the planes that I have tweaked with the initial slowest speeds all had big deflection fixed trim tabs.
There is nothing more fun than first meeting a proud owner of their prized plane (especially if they don’t primarily speak your language) and soon begin drilling parts off their plane and watch the concern on their face as they try to decide whether to tackle you or let you proceed! You later get to watch their face when they get that big grin.
Now to the Tweaking!
The first thing to remember is that these planes are like living organisms in that everything you do to one part affects other parts in a flying environment. If you begin tweaking to make the wings fly level, you will affect the rudder. The direction that you tweak the wings to make them fly level will affect the trim on the elevator. Tweaking the rudder will affect the wing level. So, before you begin tweaking, you have to first see what the big picture looks like.
The best way to do this is to fly the plane in cruise and set all the trim so that the plane will continue flying straight and level for several minutes without you touching anything (with the auto pilot not engaged). If this is not possible with movable trim tabs, then duct tape on small removable trim tabs to the affected control surface and tweak these until the plane flies perfectly level for extended periods of time. Then land the plane leaving all the trim in that position.
You probably had an instructor tell you to never land a plane that is not trimmed for landing but ignore that advice here (and I always land my GlaStar and Sportsman trimmed for level flight, since it makes for much better tailwheel landings). Now you can look at the position of all the trim tabs and this will tell you what the untweaked condition of the plane is.
Control Surfaces
Control surfaces move the plane in the direction you want it to move (hopefully) but moving a control surfaces moves air—and it pushes back—again causing drag. Therefore, the less you need to move control surfaces, the less drag and the faster you will go. The ideal is to have the control surface in static trimmed flight aligned with the surface it is attached to, so it moves air by the smallest amount.
This is not true, however for the wing. This subject is extremely complicated, and I will only give a simplified version for basic understanding here, (so all you aeronautical engineers, please give me a break).
The wing shoves air down, so the air shoves the plane up. After the wing is done shoving the air down, the air has a natural tendency to want to return to the position it was in originally. To make this easier and thus provide less drag, racing sailplanes and some high-speed aircraft slightly reflex the wing, so the air is headed back up to somewhat closer to where it wants to be.
With our design in these planes, we cannot do so with the flaps due to the design geometry, but we can with the ailerons. Some considerations are that the more reflex, the worse the slow flight speed before stalling (but the better the stall characteristics due to the increased washout). But this gives better top end speed. The lower end speed change is small compared to the upper end speed change, so there is some beneficial trade-off.
In our planes, I have found the sweet spot for the aileron is about ½ to ¾ of an inch up while loaded in flight. I have also found that the control forces are best with the cable tension set at the lower limit, so with it loose, you have to either look at the ailerons in flight, or hold up on them statically on the ground to see their relative position to the flap and wingtip with them loaded. Usually, if the tension is right, this is well aligned statically on the ground.
Top of the Wing
This is a critical area on any airplane, and the faster you go the more important it becomes. On our planes, I have found a huge effect from any discontinuity in the cove area of the flaps and the ailerons (mainly the flaps.) This discontinuity acts like a spoiler and thus can have a huge effect resulting in a wing to drop.
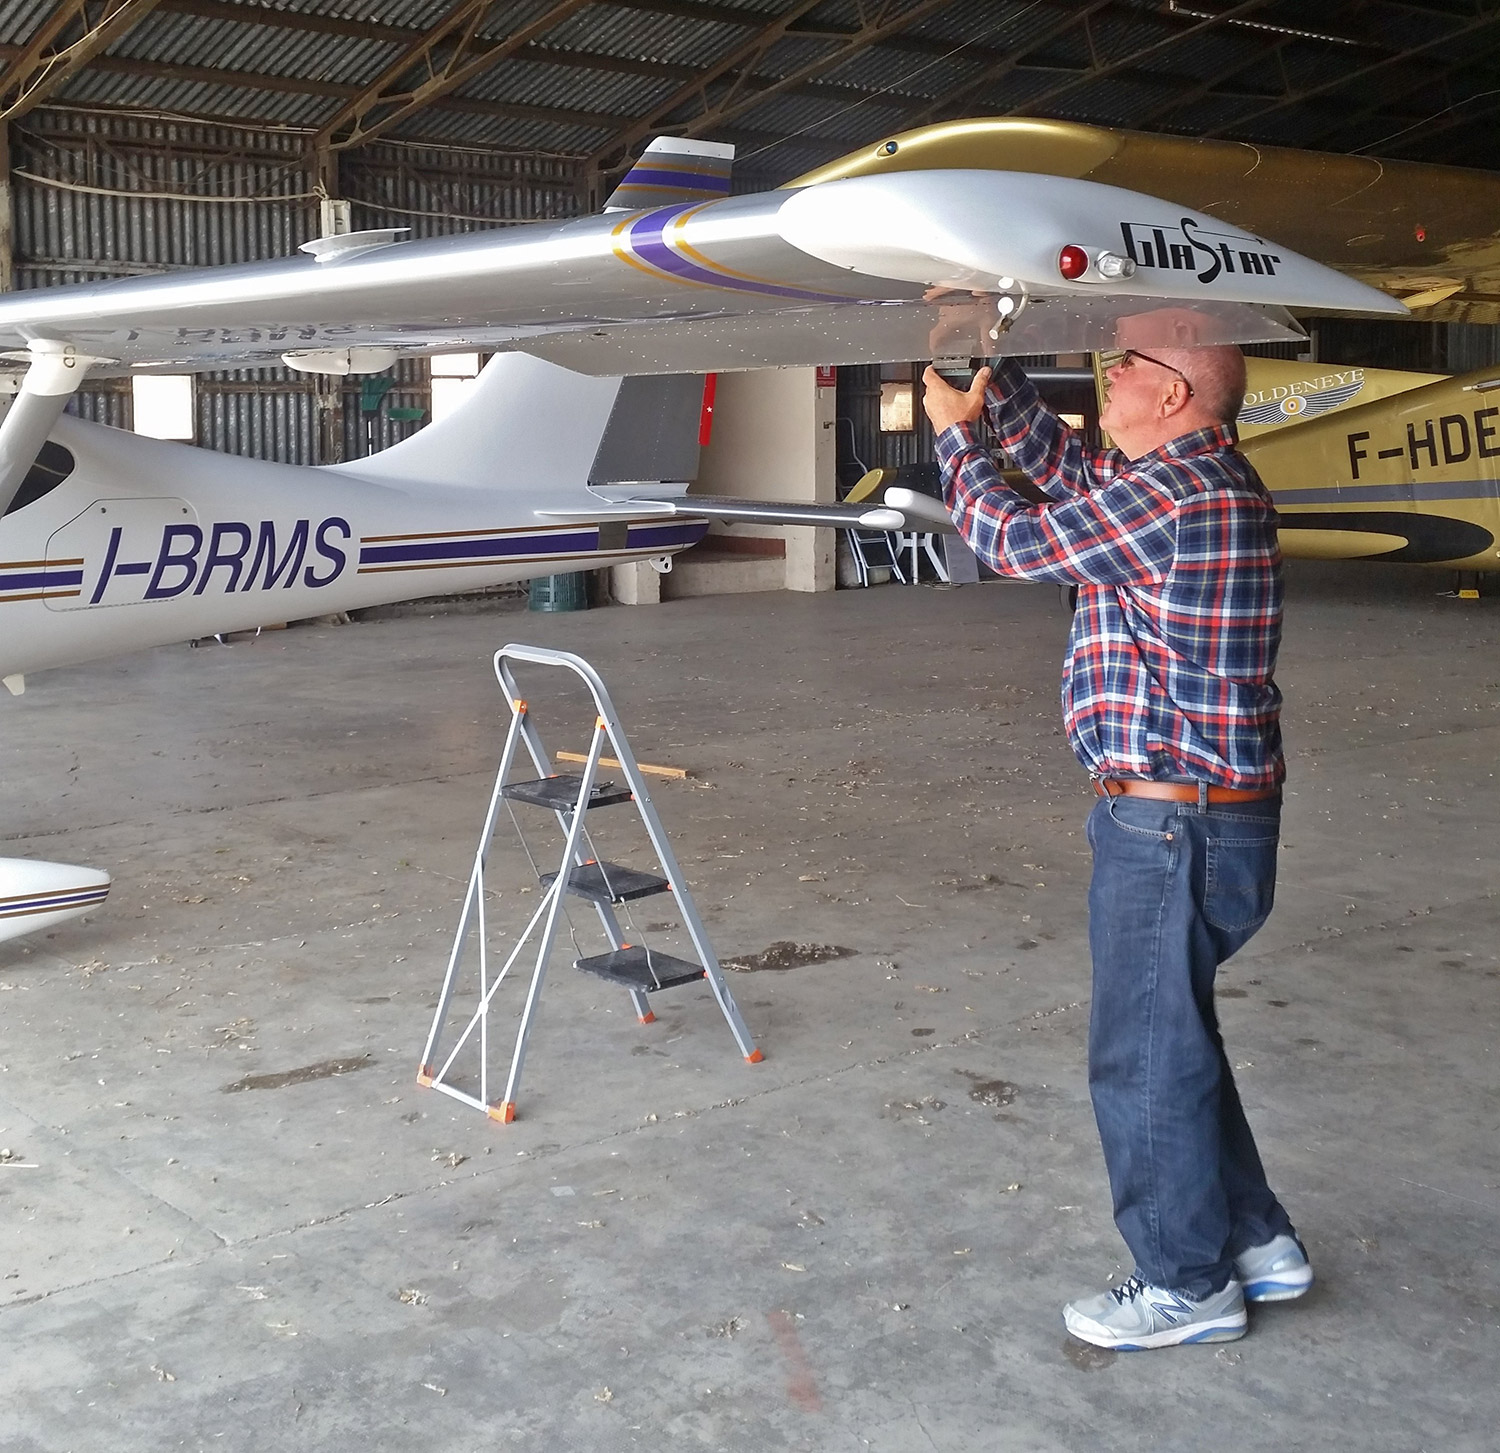
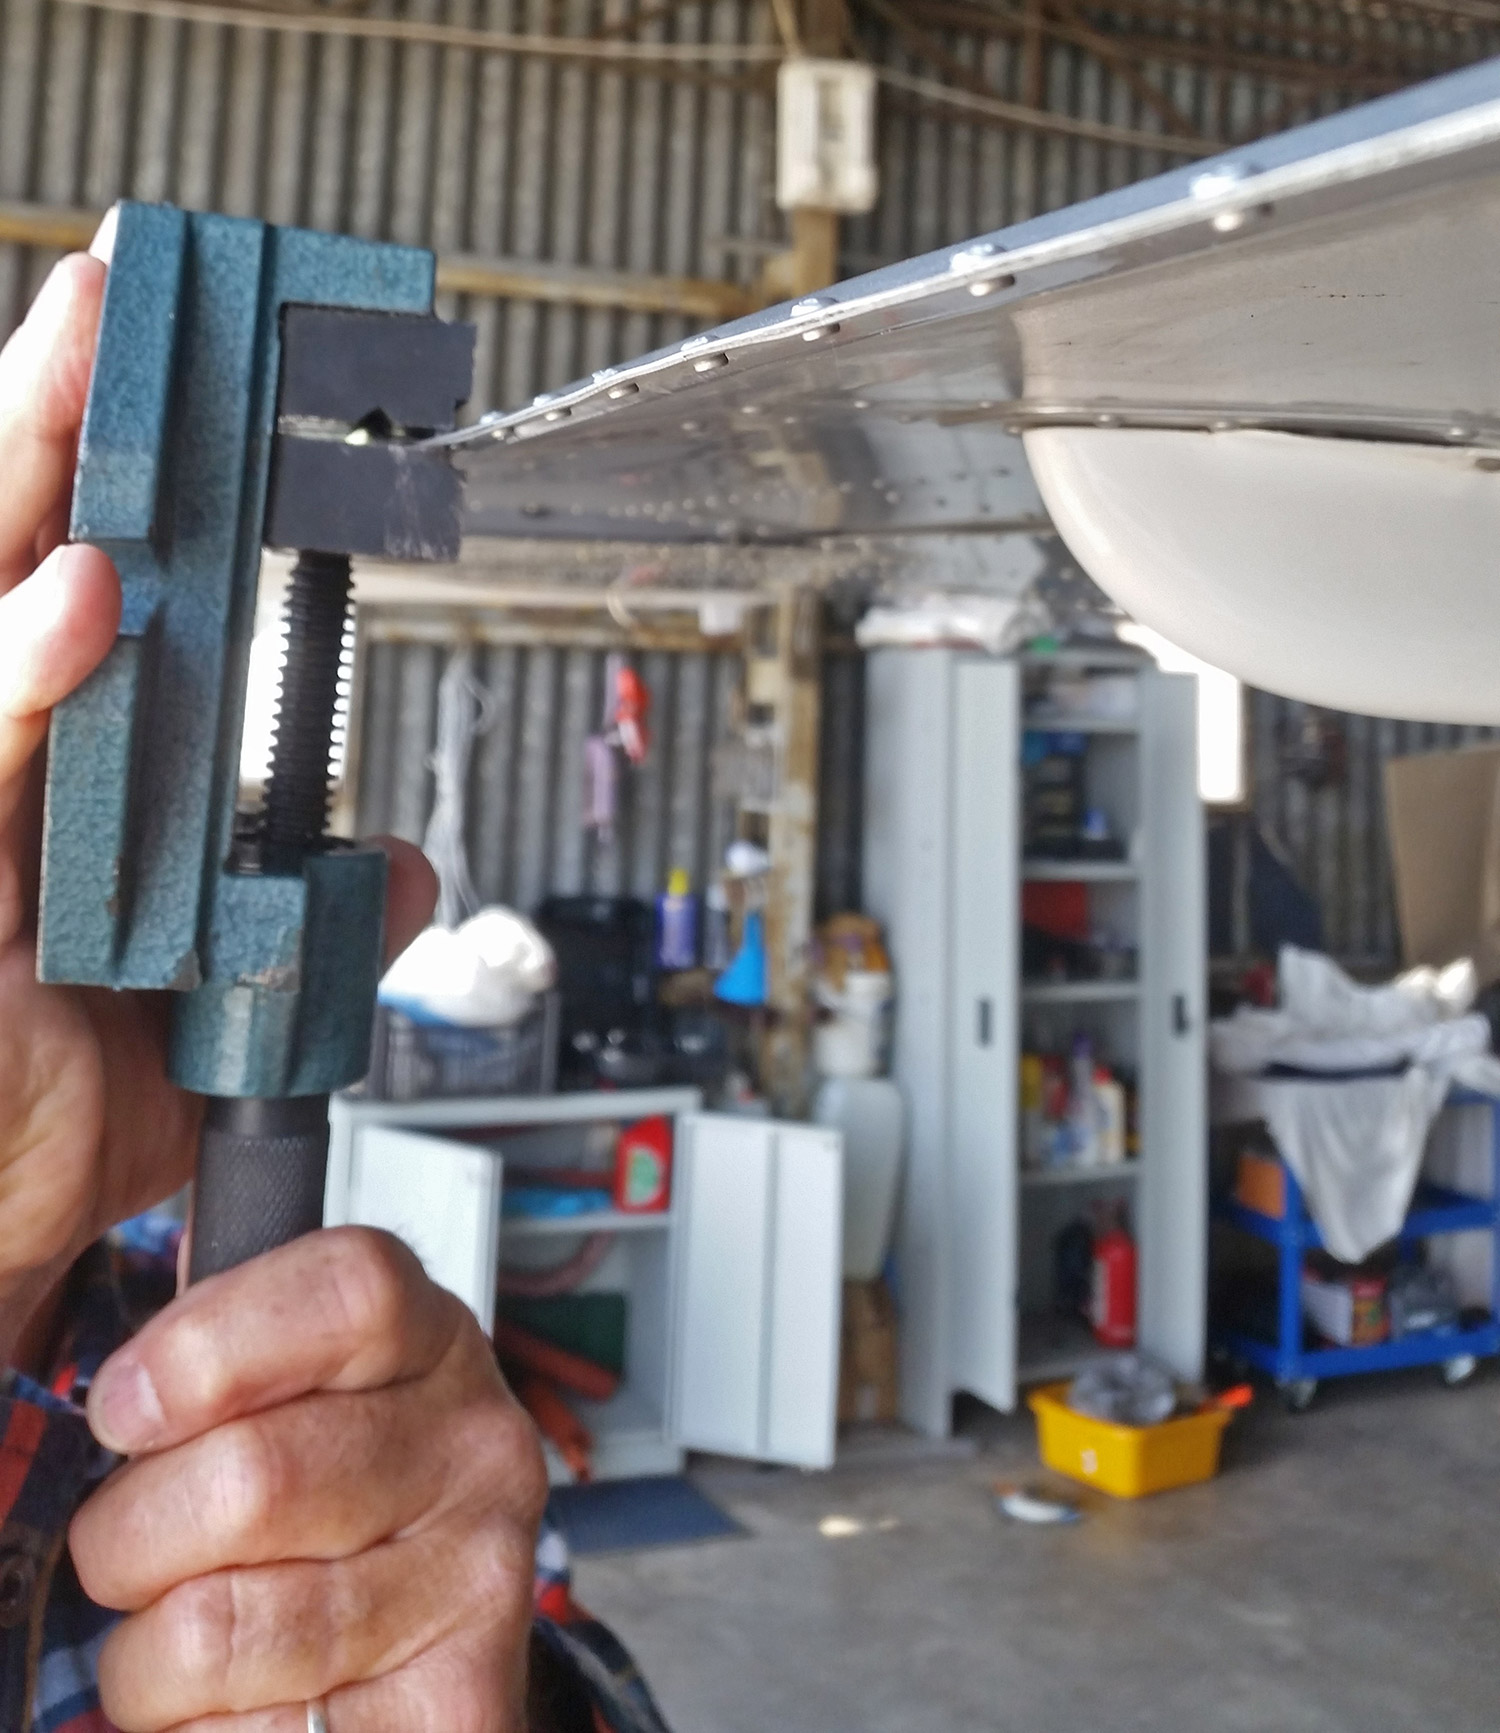
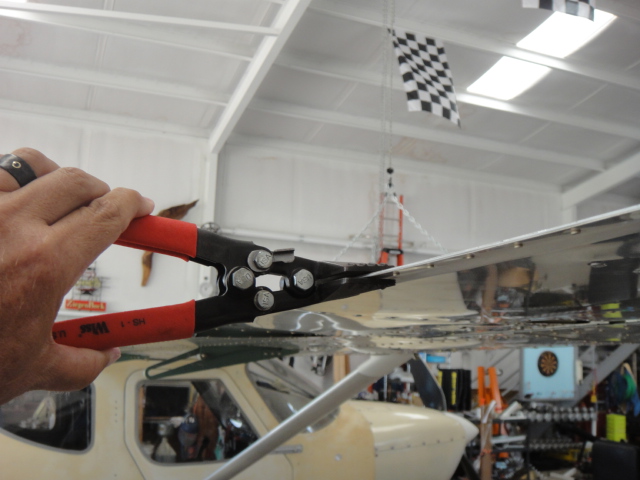
You can easily tweak the cove skins on the GlaStar to make them flush with the flap when the flap is retracted. Just take any seaming tool and bend them so they touch the top of the flap with the flap retracted. A little bit of scraping of the rivets after flying a while is a good sign. Also, on the GlaStar, you can over squeeze the rivets that attach the cove skin to the top of the wing to make a less draggy upper surface. They are non-structural, so over squeezing is fine.
With the Sportsman, the cove adjustment is more difficult since the cove skin is bonded to the upper surface and resists bending much more. You can bend it 30 degrees and it just wants to bend right back. What I find works is to hold it bent while hammering with a curved wooden dowel on the curve portion of the cove skin from below. You slowly move laterally back and forth tapping until it stays tight to the flap with the flap retracted.
I have found that planes with a larger gap on one side than the other (particularly at the flap), tend to have a ‘heavy’ wing on that side. If a plane needed trim to ‘fix’ a heavy left wing, for instance (which is common with the early GlaStars), first close the gap on the left wing and see how much this corrects that problem. Then fly and re-trim everything and see where it is once landed.
Heavy Wing
Once flap and aileron gaps are corrected, now begin to tweak the wings to eliminate a remaining heavy wing and the need for trim tabs to correct it. This is done by tweaking the trailing edge portion of the aileron and the flap on each side. One surprising thing about this is how little a bend makes a huge difference. I have never had to tweak a trailing edge to the point where you could see the bend with your eye. Tiny bends over a long span make a HUGE difference.
The wing tweaking is best done with all rudder trim neutralized, since rudder trim affects the heavy wing. I have gotten to the point in tweaking where I don’t have to neutralize the rudder trim, since I can figure how much it will affect and in which direction in my mind, so I just compensate for what the rudder trim is doing. However, unless you think about it a lot, it is best to do this without any rudder trim confusing the picture. And you must remember that any changes to the trailing edge of the wing affect the rudder trim, so the rudder is always done last.
Adjusting for a heavy wing is best done by doing both the ailerons and the flaps on both wings. For a heavy left wing, for instance, you would tweak the trailing edge of the left flap down and the trailing edge of the right flap up. You would tweak the trailing edge of left aileron up and the trailing edge of the right aileron down. For a heavy right wing, you would reverse the direction of the tweaks.
For the GlaStar this is easy, since the trailing edge of both flap and aileron are riveted skins. For the Sportsman, since the flap trailing edges are bonded with a spacer, it takes a little bit more tweak to get the bend to stay in the flaps – but remember, you do not bend much in any one spot.
Before you do any bending of aluminum, however, you need to check the elevator trim position. The net total trailing edge tweak will affect the elevator trim. Since you move one surface up on one wing and the down on the opposite wing, you can adjust which gets more tweak. You want to tweak so that the net result will help correct any elevator trim necessity.
Moving the trailing edge down on a wing will move the center of lift aft, thus creating a nose down tendency. Conversely, tweaking the trailing edge of a wing up will move the center of lift of the wing forward, thus creating a nose up tendency.
If the elevator is trimming for a nose down tendency, you will want to bend wing trailing edges in total up more than down, so you would tweak any trailing edge that needs to go up more than you would tweak any opposite wing trailing edge needing to go down. Even though flap and aileron tweak must be in an opposite direction, the total net tweak of the entire wing will be in a direction to correct the nose trim.
It is best to do heavy wing trim tweaks slowly in small steps with a 10-minute flight between the tweaks to see the result. As you get it closer, you make smaller changes until the plane flies perfectly level without touching the stick for five minutes with all trim tabs on the wings removed or neutralized and the moveable trim flush with the aileron. Of course, this is done with the autopilot off.
Rudder
The rudder is always done after the wings, and once you get here it is easy. You now fly and see what the rudder is doing to the ball. If you have an already installed rudder trim tab, adjust it so the ball is centered and the plane flies for five minutes hands off straight and level. Then tweak the trailing edge of the rudder so that the trim tab is neutralized and can then be removed with the same result.
In the rudder, this is far easier with the Sportsman than the GlaStar, since the Sportsman rudder is two skins riveted together, while the GlaStar is a single bent piece of aluminum. There is a limit to how much you can tweak the trailing edge of the GlaStar without creating a crease that is ugly, so some GlaStar planes are left with a trim tab, but you can usually get it pretty close to straight if you can’t remove it.
Elevator
The elevator is again very easy and intuitive. If the movable trim tab is slightly up when the plane is trimmed in level flight cruise, you tweak the trailing edge of the elevator up so that the trim is aligned with the elevator in level flight cruise. If it is down, you do the reverse.
Final Test Flight
You are now ready to see how you did. You should have been able to drill out and remove all fixed trim tabs (except perhaps one on the tail of a GlaStar). You should be able to set the plane in straight level flight and have it just stay there. If you hit slight turbulence and it is bumped one way or the other, it should stay wherever it was bumped to until you correct it.
You then place the plane in a standard-rate turn and let go of everything and it should stay in a standard-rate turn without any tendency to level off or turn further. If you have done it right, you can sit there for five minutes with the plane continuing to turn in standard-rate turn circles with no input.
At cruise speeds, you should need no rudder input for smaller bank angle turns since the drag of the aileron counterweight as it comes out into the slipstream on the lower wing counteracts the adverse yaw affect of the ailerons. You should be as fast or faster than other similar planes with similar powerplants—even on autopilot, since the autopilot is not having to push much air around.
Let the tweaking begin!


Search archives for aileron reflex (Oct 2012) for lots more discussion on this subject. After Ted S. (the aeroplane surgeon) tweaked my Sportsman to fly straight and level with mostly neutral trims, I reflexed per Chris W. (the orthoplanic surgeon) and picked up 5 kts. Both surgeries successful -full, quick recovery with no pain or drugs.
Scott,
could you doublecheck your lead “aileron reflex (oct 2012)” – I cannoty find it,
Thanks
angelo
My Glastar has the elevator pulling the nose up in level flight. The front edge is depressed about 1-2 in. I am having issues getting anywhere near the published performance figures for cruise. Can the horizontal stabilizer be adjusted to get the elevator into a trail position?
Yes, see Zach’s answer in the forum.