Submitted by Mike Palmer
Here are some tips on installing the rear windows for those who don’t have the new flanged Glasairs:
1) Be aware that as you cut and trail fit the rear windows, as you push them into position (that is, outward) the edges of the windows tend to pull away from the periphery of your cutout – the result being, you don’t have as much plexiglass contacting the outer skin as you had hoped. I’d suggest cutting the fiberglass inner skin back to 1/2″ or so, to allow some margin for this “shrinkage.”
2) Doing the layups on the inside of the rear windows from inside the fuselage can be difficult to do neatly. I suggest getting some 6 oz. cloth (hobby store) and taping the inside of the plexi before potting the window. Put one layup of this cloth around the periphery of the plexi while the window is still out and you can do it easily (i.e. neatly). Then, after potting your windows in place, re-tape a 1/16″ onto the edge of this laminate and do your attach laminates to the new tape line. Sand a bit and you’re done.
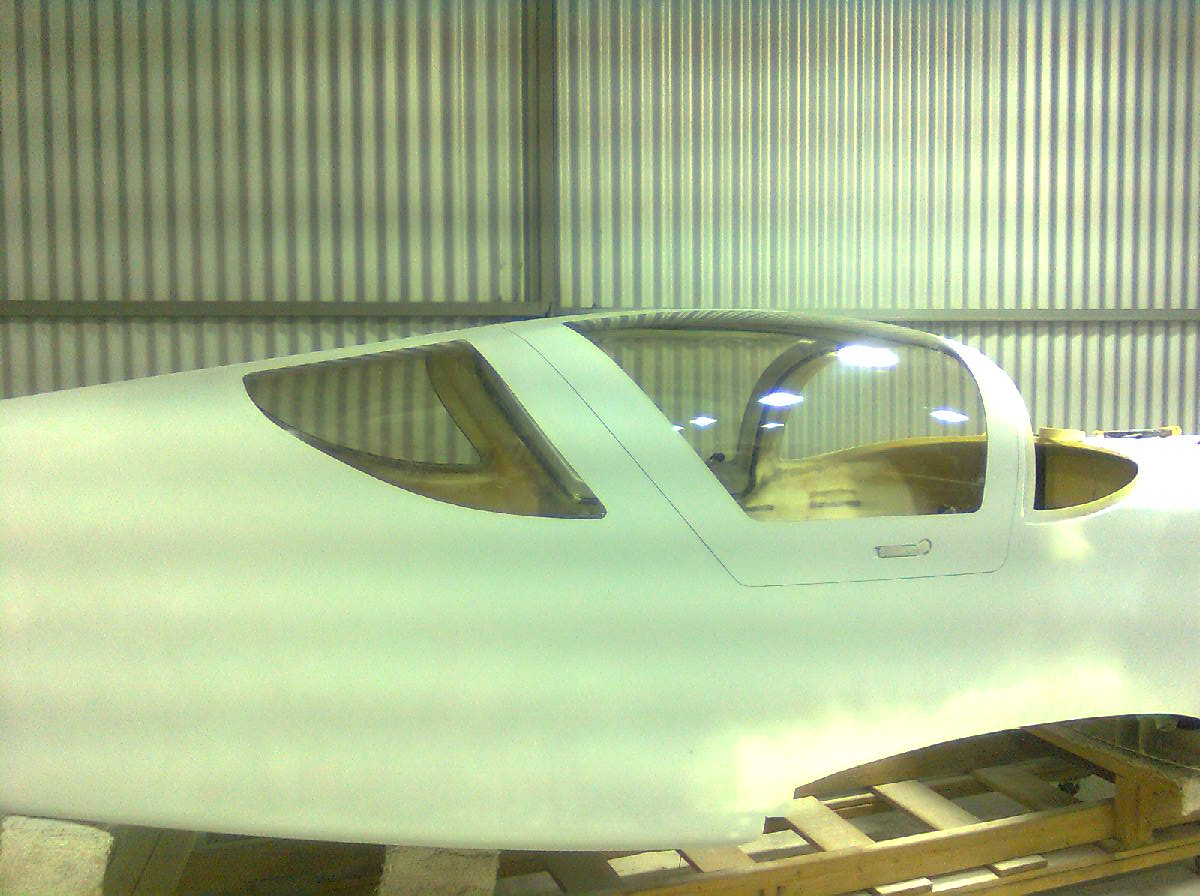
And here’s a tip on doing the canopy plexiglass installation. I don’t know how the factory does it, but it was beyond our capability to bond both canopies in place at the same time. By only bonding one canopy at a time (although the other canopy is in place) we were able to concentrate our efforts with the webbing straps as necessary to hold down the canopy in question.
Also, it takes about 60 grams of resin/cabosil per canopy… in case you were wondering.