Written by Jim Dutton
Glasair FT Builders – file this information away for future reference when you start installation of the wheel pants and nose gear strut fairing. The instructions in the manual are good, however, there are some minor changes that can make things easier.
Stoddard-Hamilton specifies the hinge pin on the trailing edge of the nose gear strut fairing be inserted from the bottom and safety wired to a tab riveted to one of the hinge halves. I found it is much easier to insert the hinge pin from the top and safety wire it to the fairing. I decided if I need to remove the strut fairing I will remove the bottom cowling also.
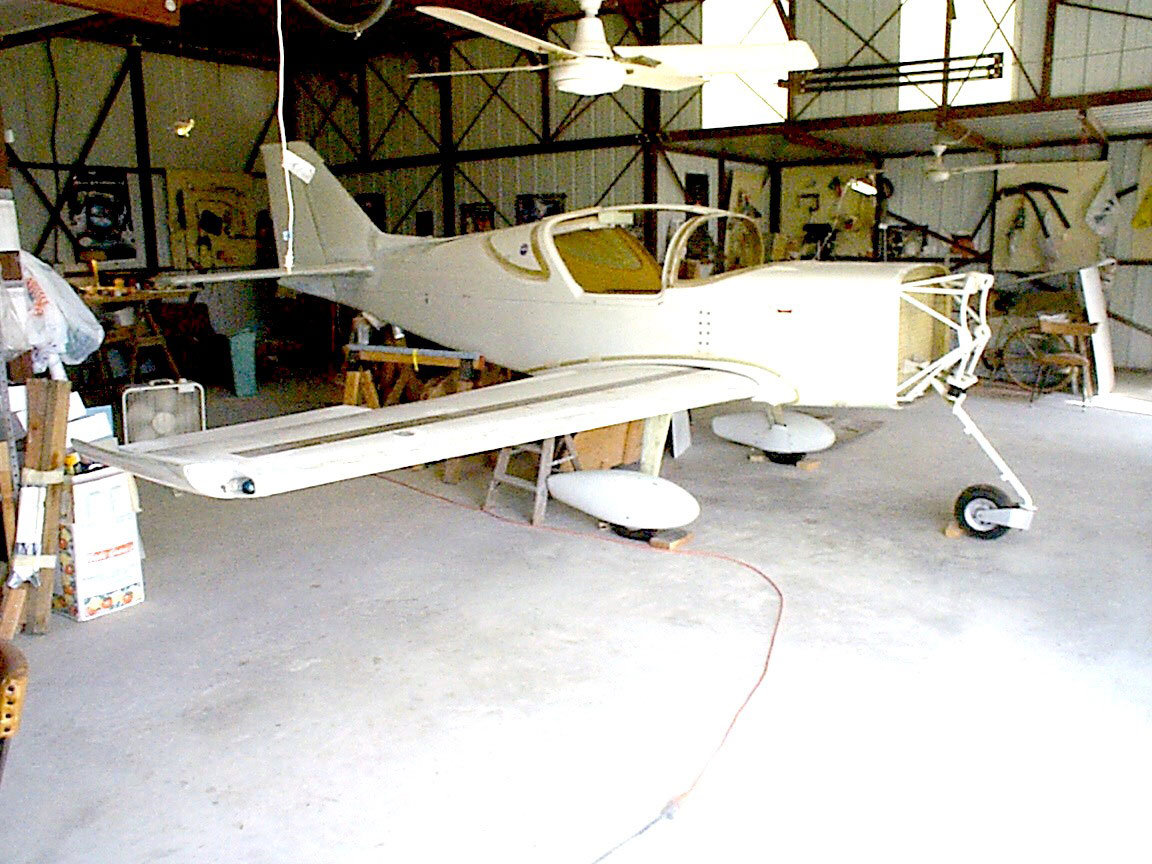 Instructions call for each main gear wheel pant mounting plate to be one piece. I could not figure out how to install and remove these plates and/or the wheel pants without hacking up the bottoms of the wheel pants for clearance. So, I made each of the mounting plates two pieces. They are split and overlap at the four AN4 axle bolts, each plate has four .260″ holes. Now it is very easy to install and remove the plates and the bottoms of the wheel pants are intact.
Instructions call for a 7/8″ diameter clearance hole on the bottom of the access cover plates for the brake line bleeder fittings. I found the bottoms of the access cover plates just barely clear the plastic cap on the brake line bleeder fitting. I did not cut the clearance hole, I will remove the access cover plates whenever I bleed the
brakes.
Locating the mounting screw hole in the outboard sides of the main gear wheel pants according to the instructions can be very frustrating. I simply used my combination square to draw a reference lines on the floor depicting the location of the holes in the mounting strap on the axle nuts. Also note the distance from the center of hole to the floor. Being careful not to move the airplane, mount the wheel pants and establish the correct wheel pant position. Use the aforementioned references to mark the location of the holes on the outside of the wheel pants.
I cut 3/4″ diameter holes in the sides of all three wheel pants for access to the valve stems. I had enough room on the main gear wheel pants to remove and install the valve caps with my fingers between the bottom edge of the wheel pant and the tire rim. I could not remove the valve cap on the nose wheel because that valve stem is very short and I could not get a good grip on it with my finger tips. After some thought I made a valve stem cap removal/installation tool. A 3″ long piece of 3/8″ ID flexible polyurethane tubing works great.


