 Having room for a rear seat that could fit two children or one smaller adult was one reason we chose the Glastar. My wife was a few days overdue with our first child when we placed an order for the Glastar Tail Kit. As part of the original construction I built this rear seat that provides seating for two children.
Below are some pictures taken during the construction. At the time of this writing, the airplane has been flying for a little more than 3 years and the rear seat has seen a lot of use. It took about 150 hours to build, added about 30 lb of weight, about half of that for the fiberglass structure, the other half for the seat and back cushions.
Besides providing more seating than the standard configuration, the arrangement provides convenient storage spaces, and it keeps luggage items contained behind the seat. I have since added a simple cargo net that keeps luggage where it is supposed to be.
The aircraft received its airworthiness certificate as a 2+2-seater and is insured as such. From what I can tell, the premium does not seem to be higher than the 2-seater configuration.
The seat back can be removed or folder down after removing 4 screws. I’ve never had the need to do it.
I did my best to design it for a maximum occupant weight of 100 lb per side and a 20g impact. When I seat a heavier person than that, I place them in the middle where the headroom is greater, and use a shoulder belt from each side to keep the weight per attachment point within the design limits.
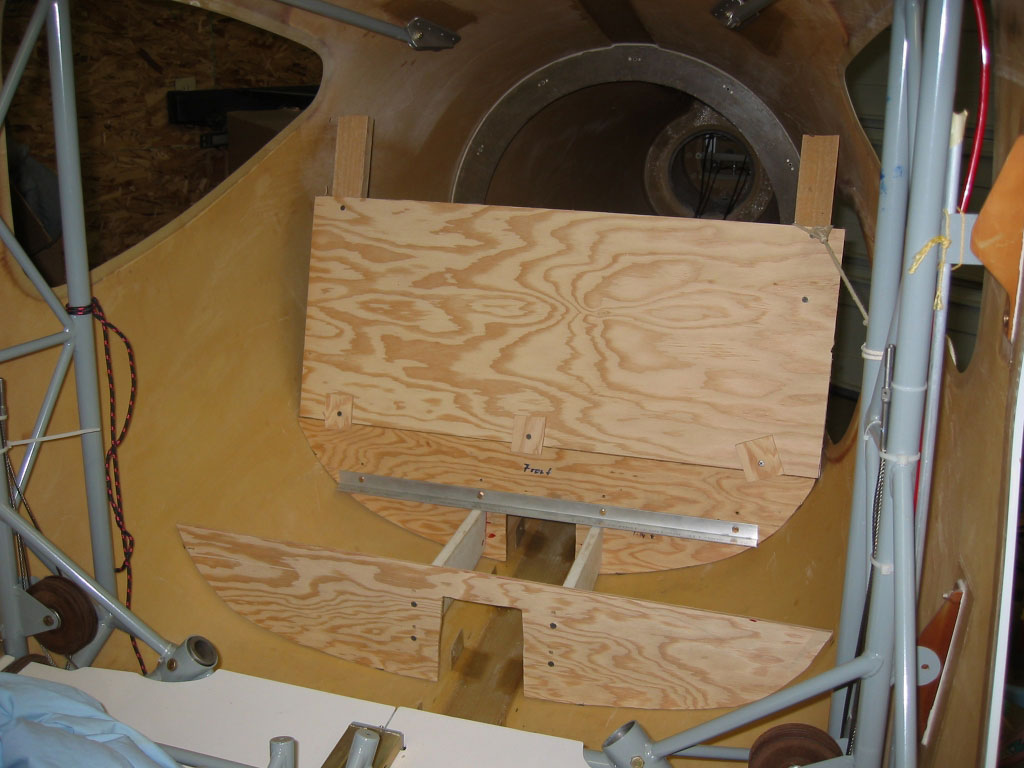
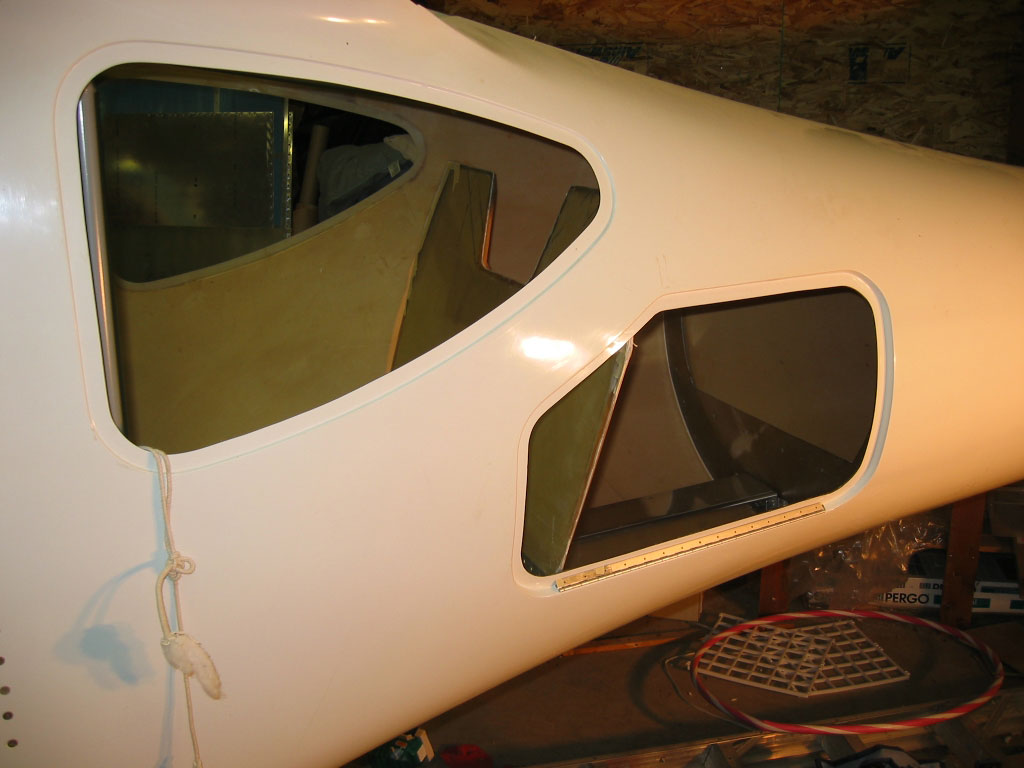
First, a template was made from plywood to determine the best tradeoff between leg and headroom. The seat back will eventually fold forward to make room for bulky items.
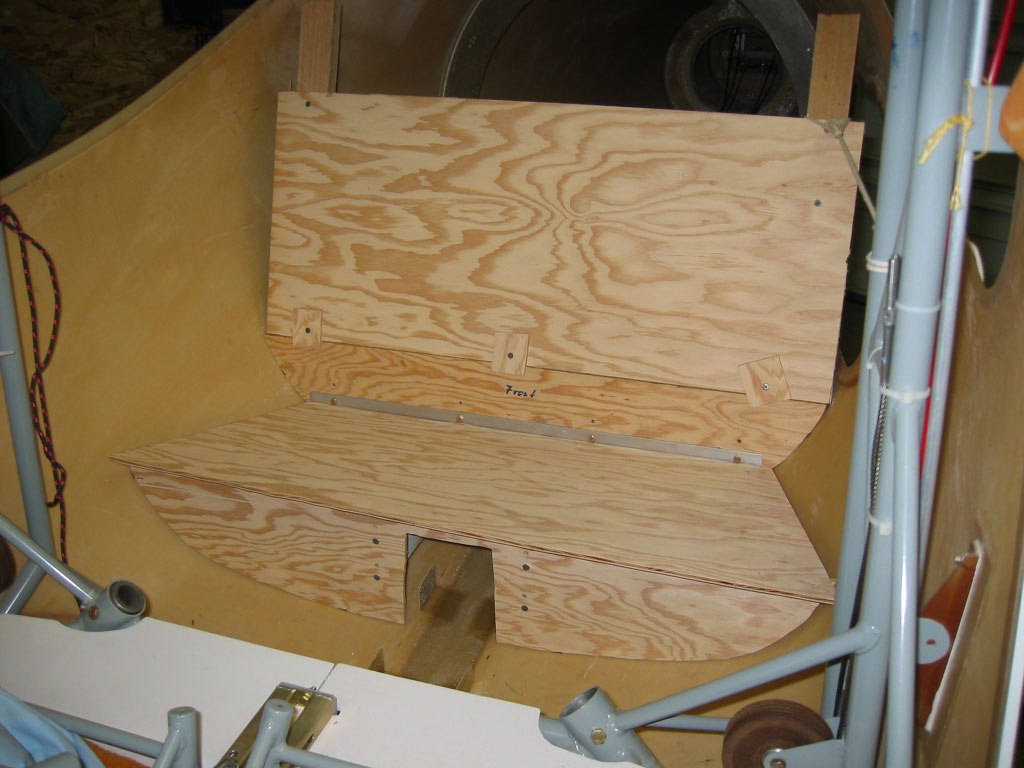
Now with the seat base in place.
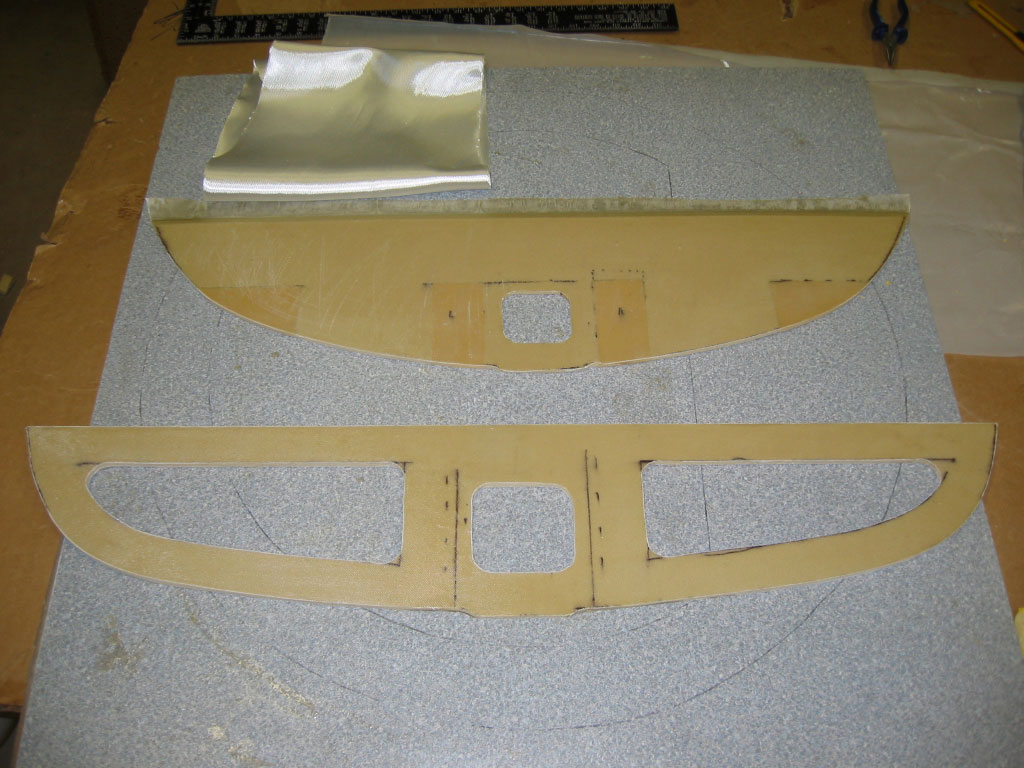
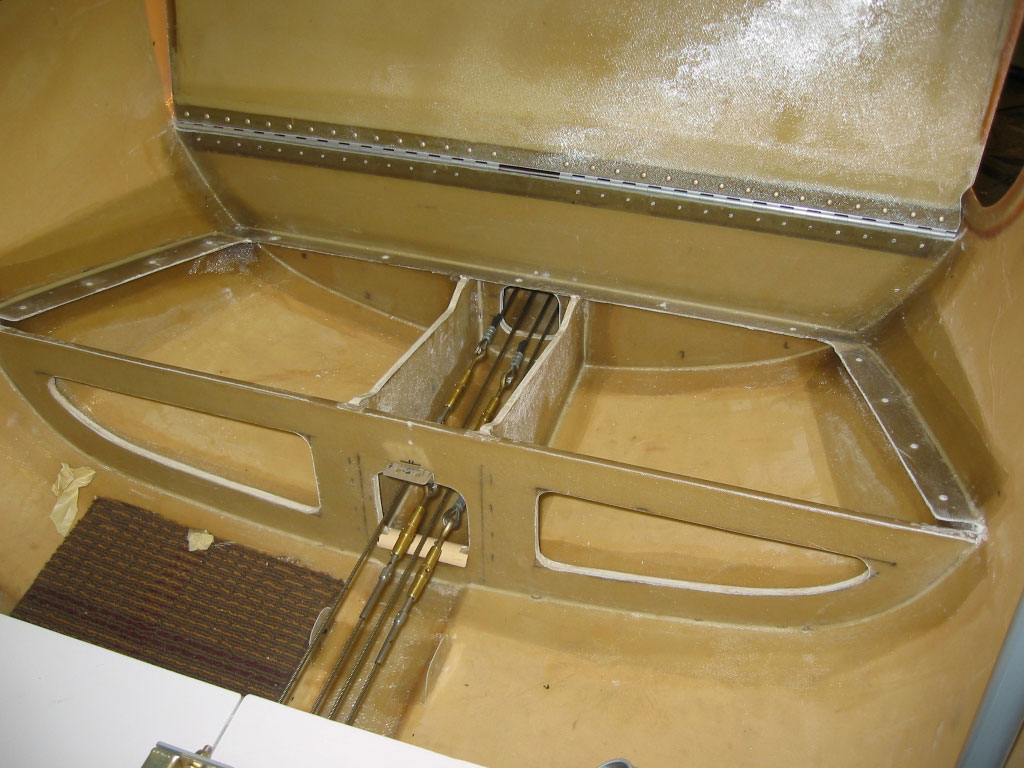
Bulkheads made from 1/4” foam laminate. Openings in the front bulkhead provide access to storage.
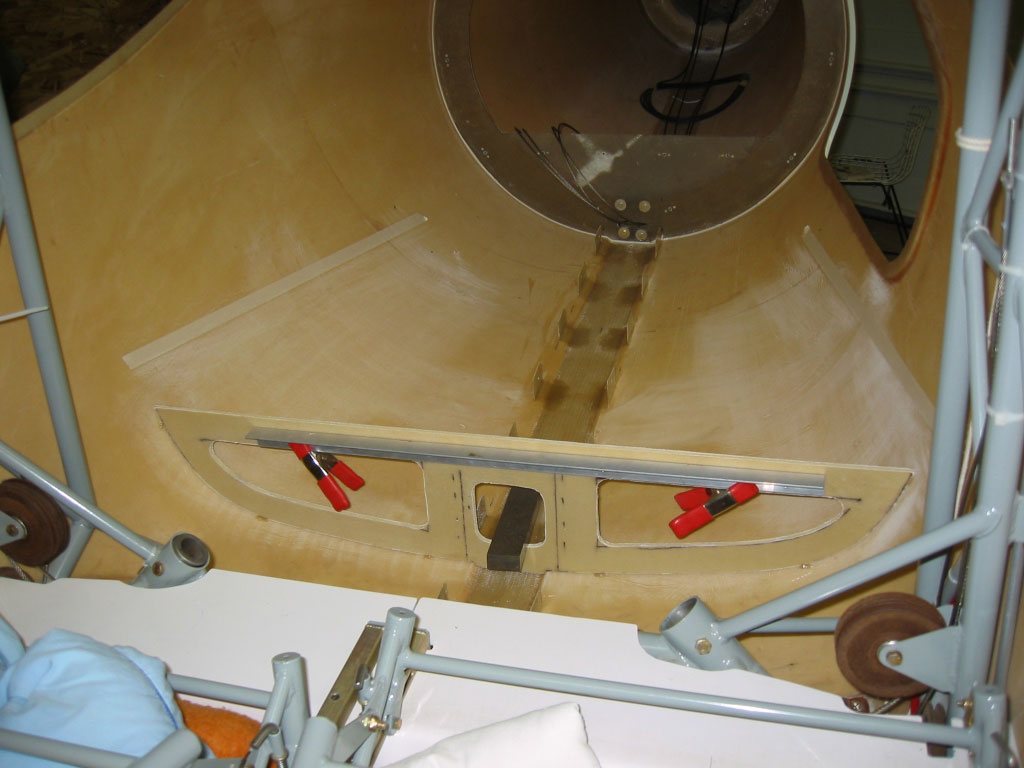
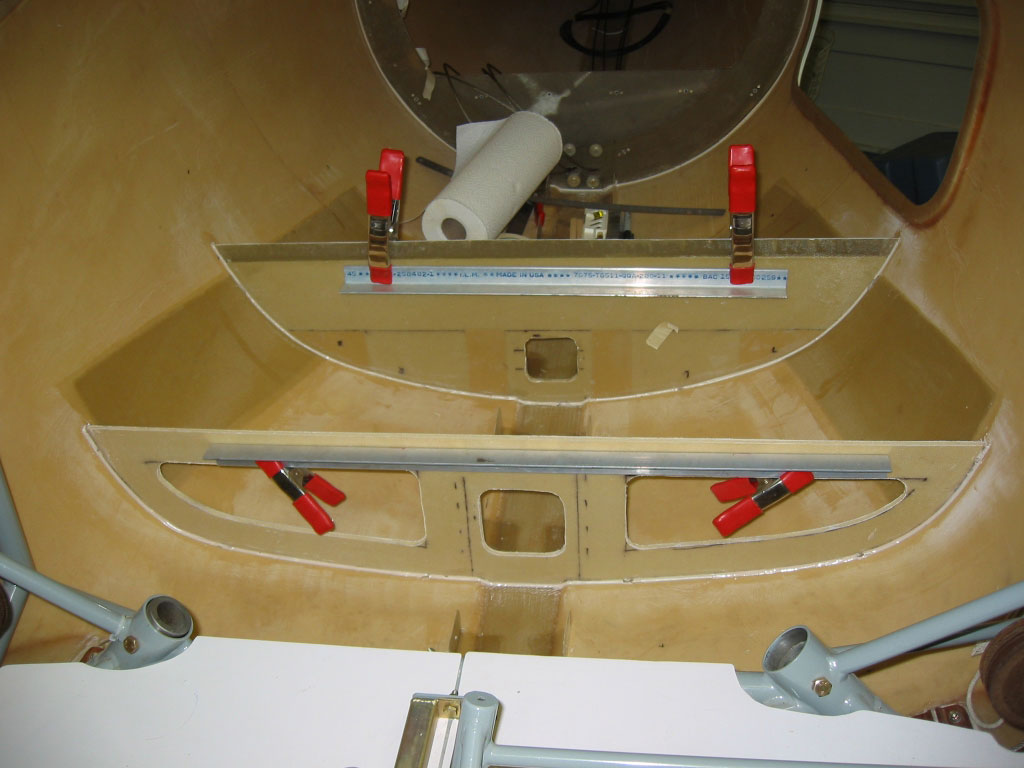
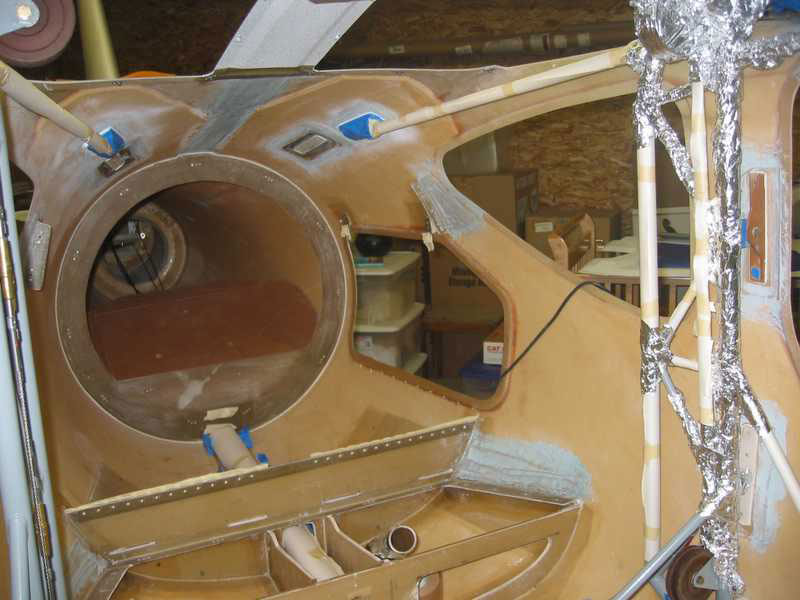
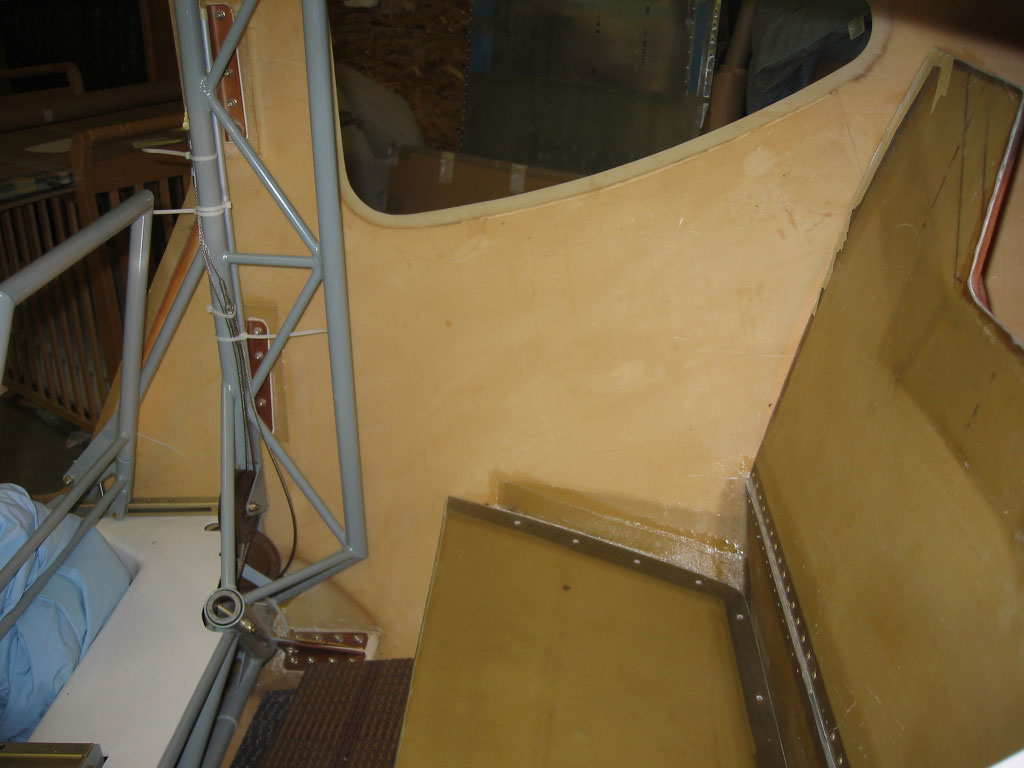
Fitting the front bulkhead. Sanded areas for reinforcement layers that transfer forward forces into the fuselage shell. The primary elements to transfer forces from the seatbelt attachment points to the fuselage wall are the seat base and the tunnel walls (not shown in this picture).
Added reinforcements for seat belt attachment points – ended up not using these. The upper edge of the bulkhead is tapered to accept a piano hinge for attachment of the seat back.

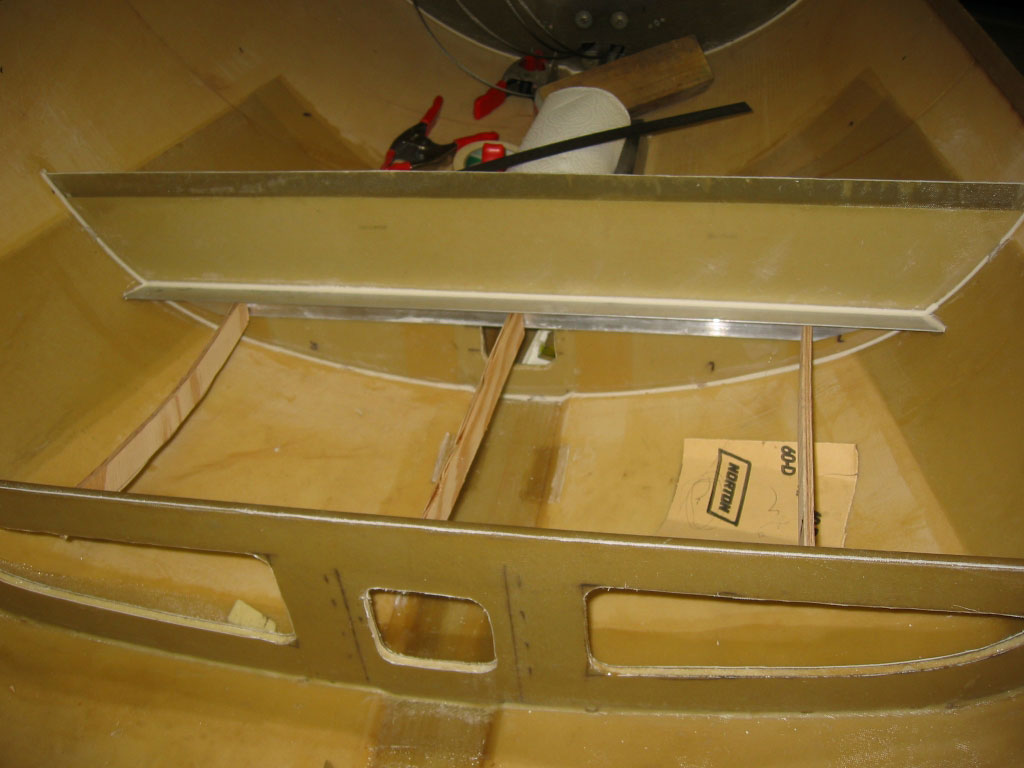
Installation of the bulkheads. Side reinforcements can be seen also.
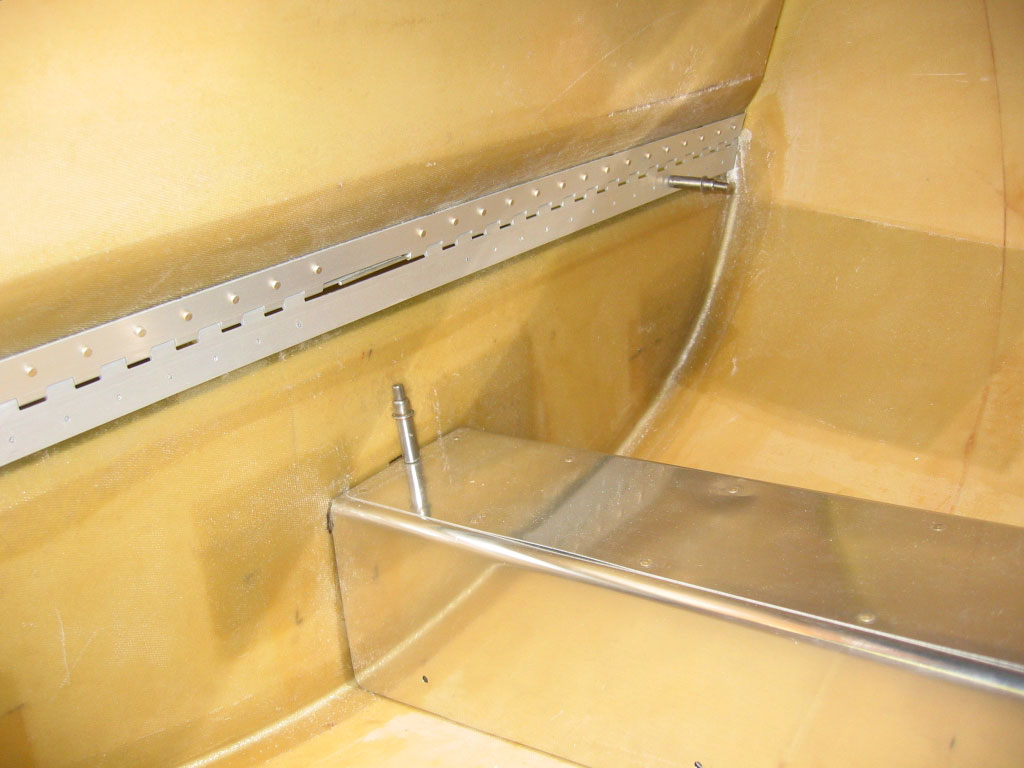
An aluminum angle is temporarily held in place to form an attachment point.
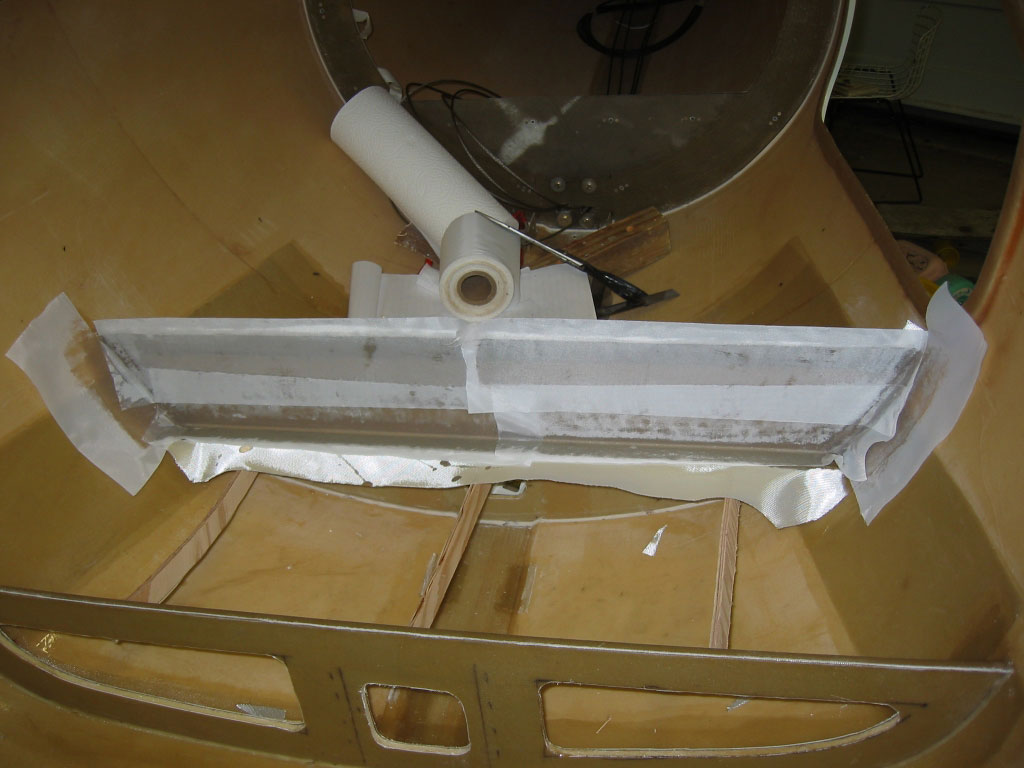
Finishing up additional laminates with peel-ply.
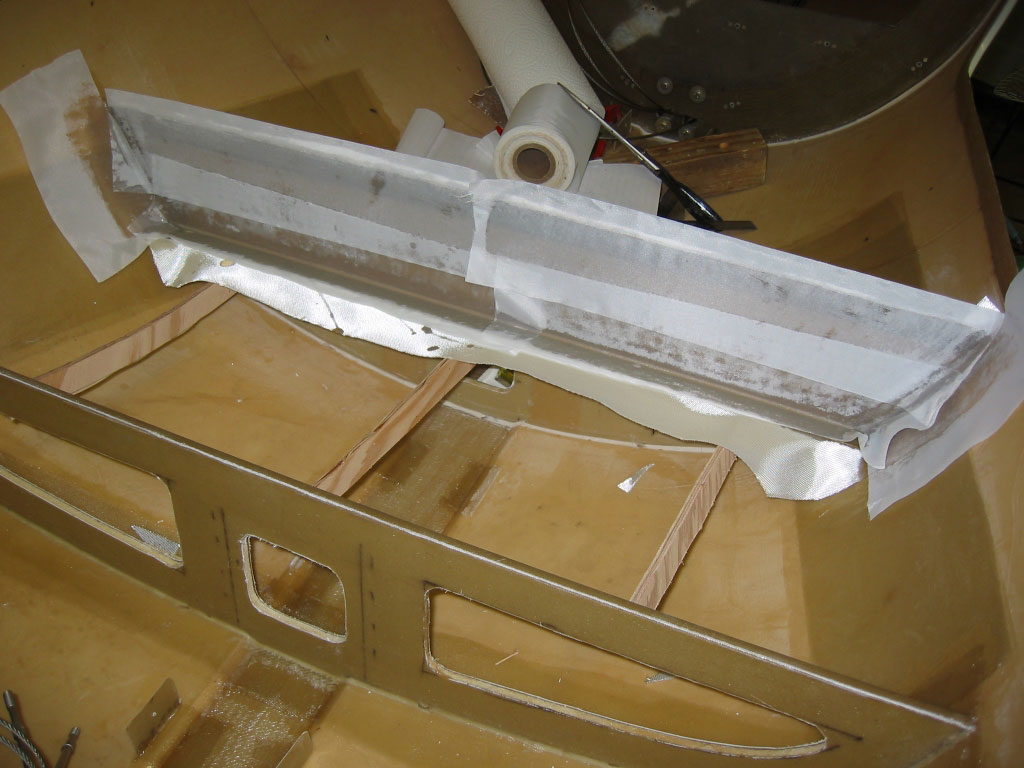
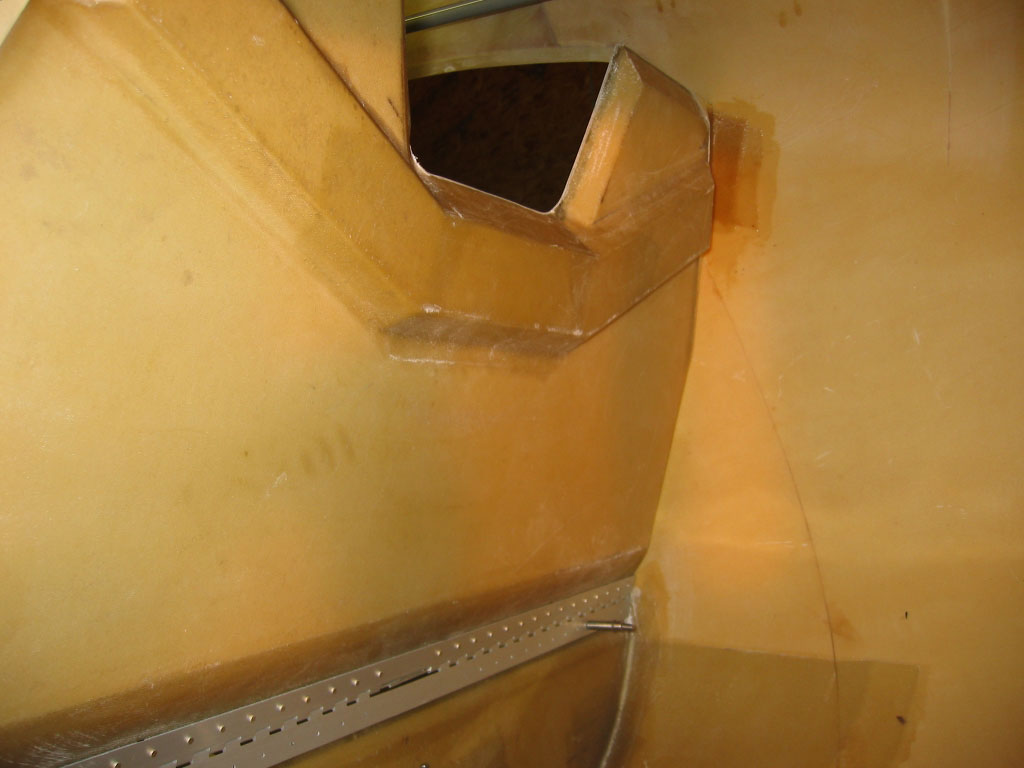
Preparation for application of speckle paint. Longerons form a center tunnel and transfer for/aft forces into the fuselage along the fuselage seam. Angles formed on the side provide attachment points for the seat base and also transfer for/aft loads into the fuselage sides.
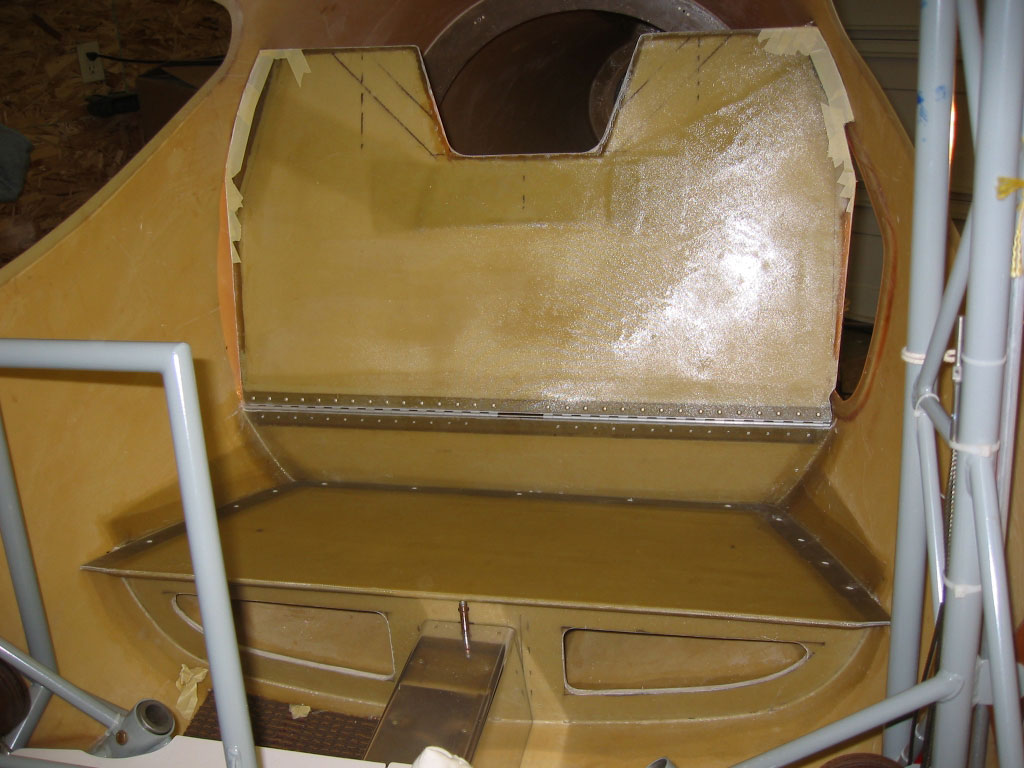
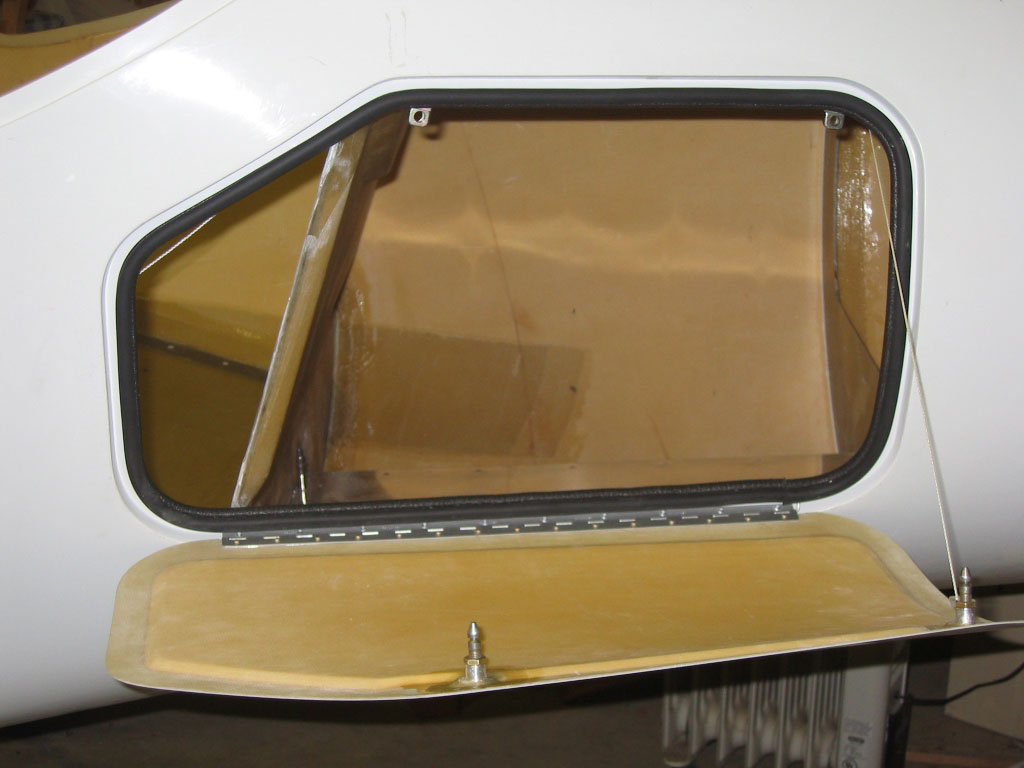
The piano hinge is now riveted in place. Slots were cut to permit insertion of seatbelt hardware. In the upper area are attachment points for shoulder harnesses. Angles behind the rear window provide stops for the seat back.
Fabrication of the seat back from 3/4” foam. A beam formed from an additional 3/4” thick foam provides strength. The lower area in the center allows access to the baggage compartment from the cabin. The seat base is constructed in a similar fashion from 3/4” thick foam.

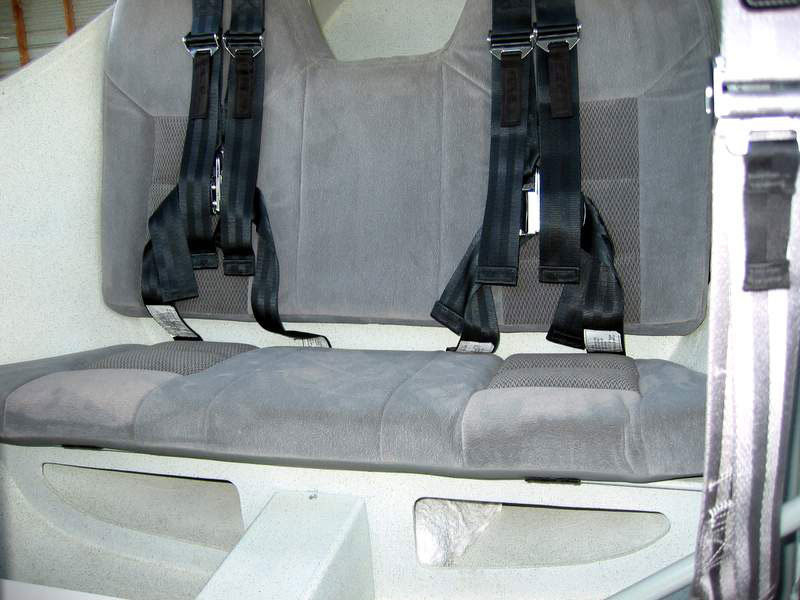
Seat back and seat base installed. The high seat backs keep luggage where it belongs.
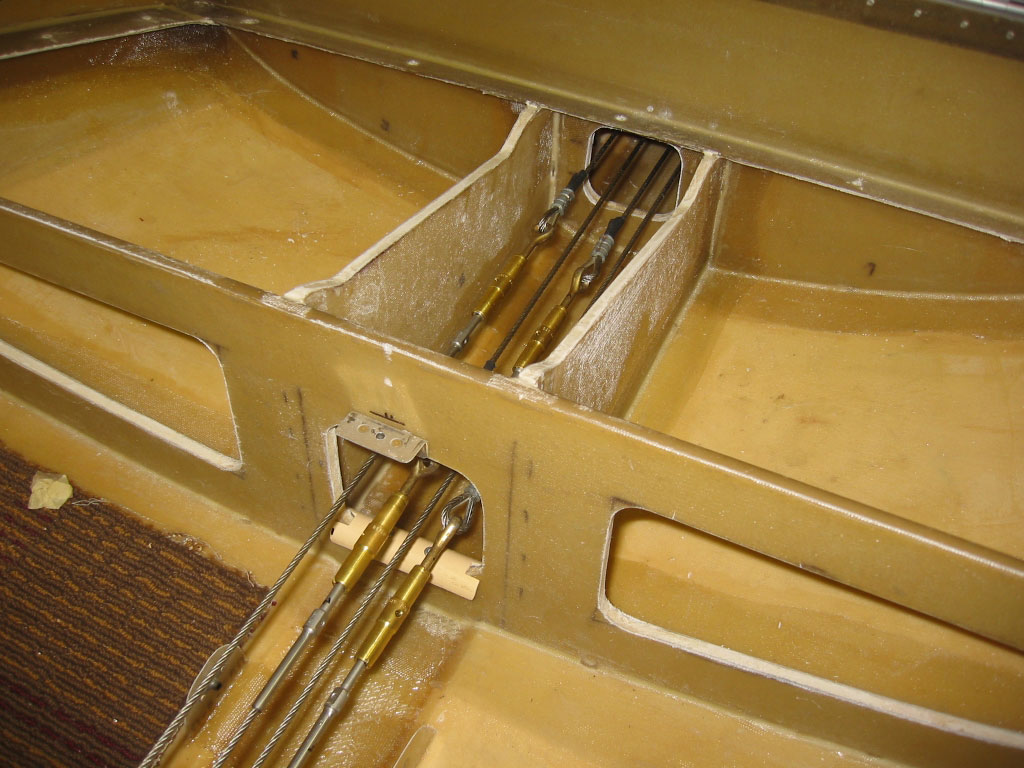
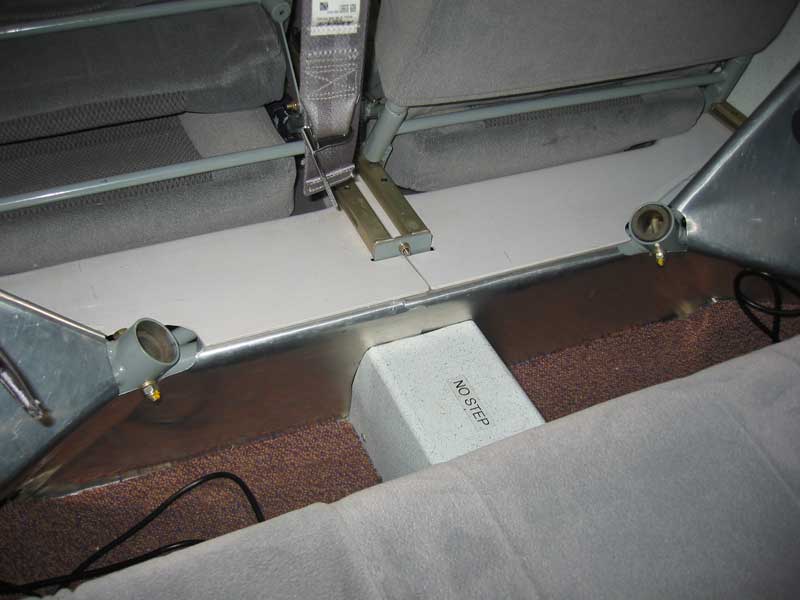
A piece of PVC pipe cut in half lengthwise is installed in the cable opening to prevent cables from catching during high-G maneuvers.
Remaining baggage space is sufficient for overnight trips for the four of us.
Openings under the seat provide storage. Cushions were designed to permit folding the backrest. Turns out the foam is a bit too thick for that. To fold the backrest forward, I remove the back cushion first. The cushions are secured in place using Velcro.
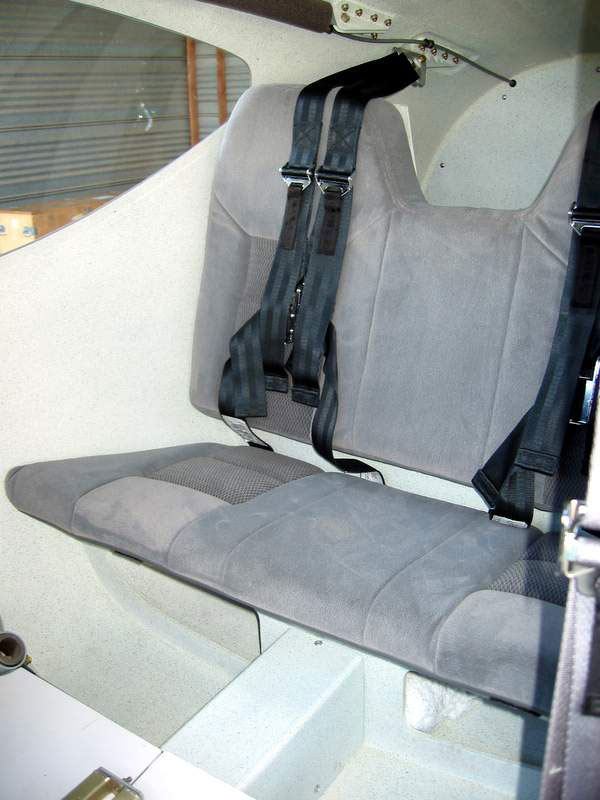
Seat cushion are built from 2” Comforfoam to maximize comfort, safety, and headroom. Seat back made from a combination of regular foam (because of lower weight) and a thin layer of Comforfoam.
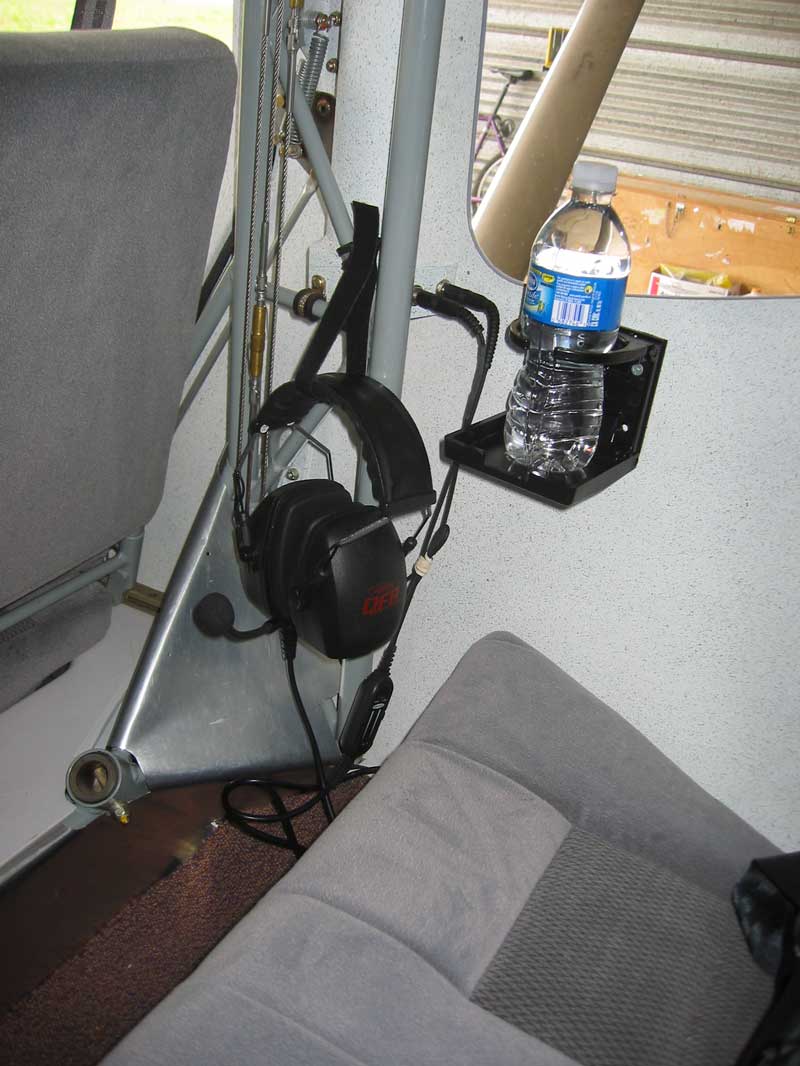
Cup holder, headset plugs, and a closeout to prevent items from jamming control pulleys.
Shoulder harness attachment points were fabricated by removing and beveling the foam, and then applying some reinforcement laminates. Pipe insulation foam is used to provide head protection just in case. (Nobody has bumped his or her head yet). The turtle deck is installed as designed (no quick-turn fasteners) for the same reason.
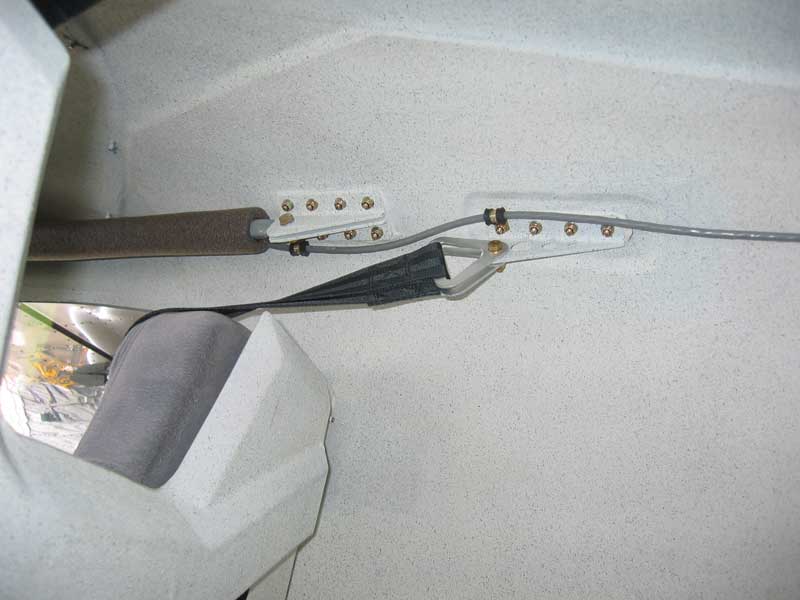
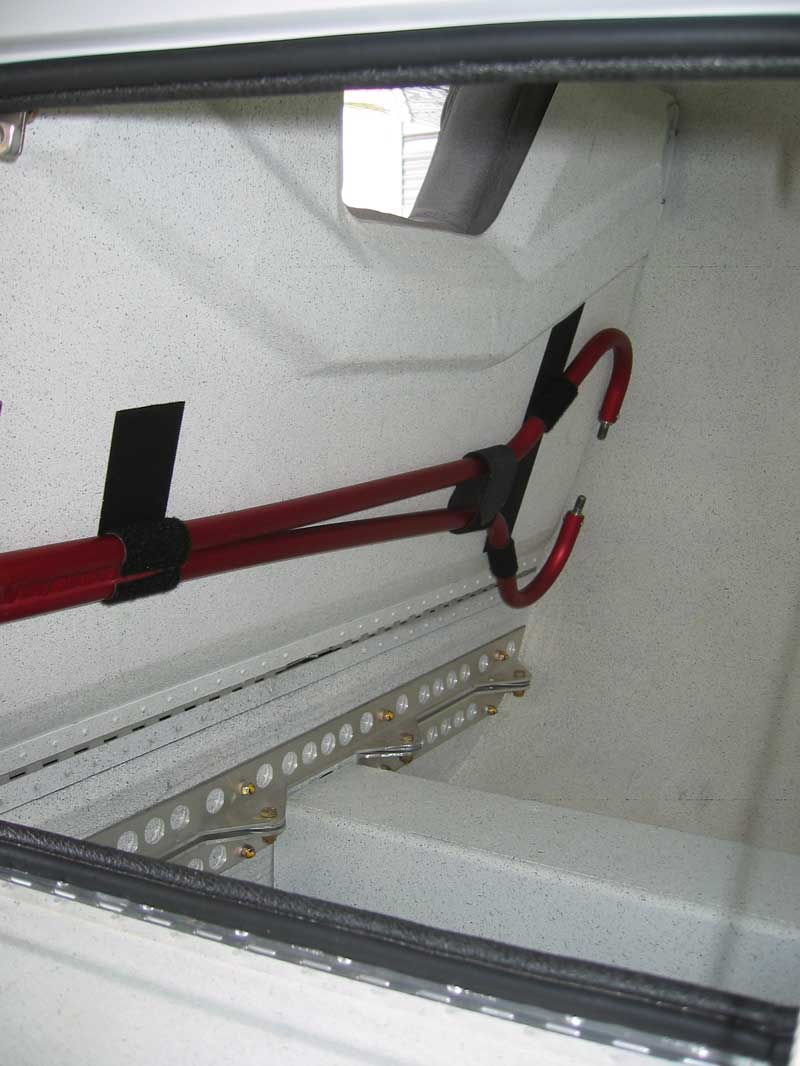
Seat belt attachment points made from aluminum angle. Is probably overkill, but it is much lighter than it looks and easy to install. Some Velcro patches provide storage for the tow bar.
Alex, about 4’6” tall, prefers the front seat, but riding in the back seat still beats driving.


