For several years in the early 90’s I looked at all the available kit planes trying to decide on the perfect one for me to build. Although many factors weighed in on the final decision, and the KitFox was high in the running, I settled on the GlaStar after seeing the prototype at Oshkosh, I think in 1994 or ‘95. It had not yet flown, but the many good attributes won me over. I plunked down my $500 deposit and soon had parts for kit number 60 arriving at the door. I guess my personal requirements for a plane gravitated to the specs of the GlaStar with its convertible gear, folding wings, large load capacity and approximate 150 mph cruise.
As I got the work underway, I promised my aging mother that I would not fly the plane without a ballistic parachute. This represented my final requirement. This seemed to give her some solace and helped dispel the notion I might be nuts. For the five years I spent building the plane, I made several calls to BRS and talked to their representatives at Oshkosh and received assurances that they would produce a unit adequate for the GlaStar. I also talked to Chris Wills as he had been encouraging them to do the same. At the time, they offered the 1,500 pound unit for $5,000, but this was not going to work. I was longing for a 2,000 pound unit for about the same money. Needless to say, I flew for seven years without the chute and was perfectly comfortable. It’s a great plane.
Recently BRS came out with an 1,800 pound unit for $8,000, and this was getting real close to mark. They do have strict rules that would not allow them to “knowingly” sell a unit rated at less than the gross of the plane which is 1,960 pounds for the GlaStar. At about the same time this spring, I came across an announcement from the Czech company, GRS, of their brand new 2,110 pound unit for the reasonable cost of $6,700 via their American distributor, Sport Flying Shop, in California. Long story short, after researching their standards for testing and general company background, I got the first unit in the country and likely one of their first shipped. Nothing like being on the leading edge.
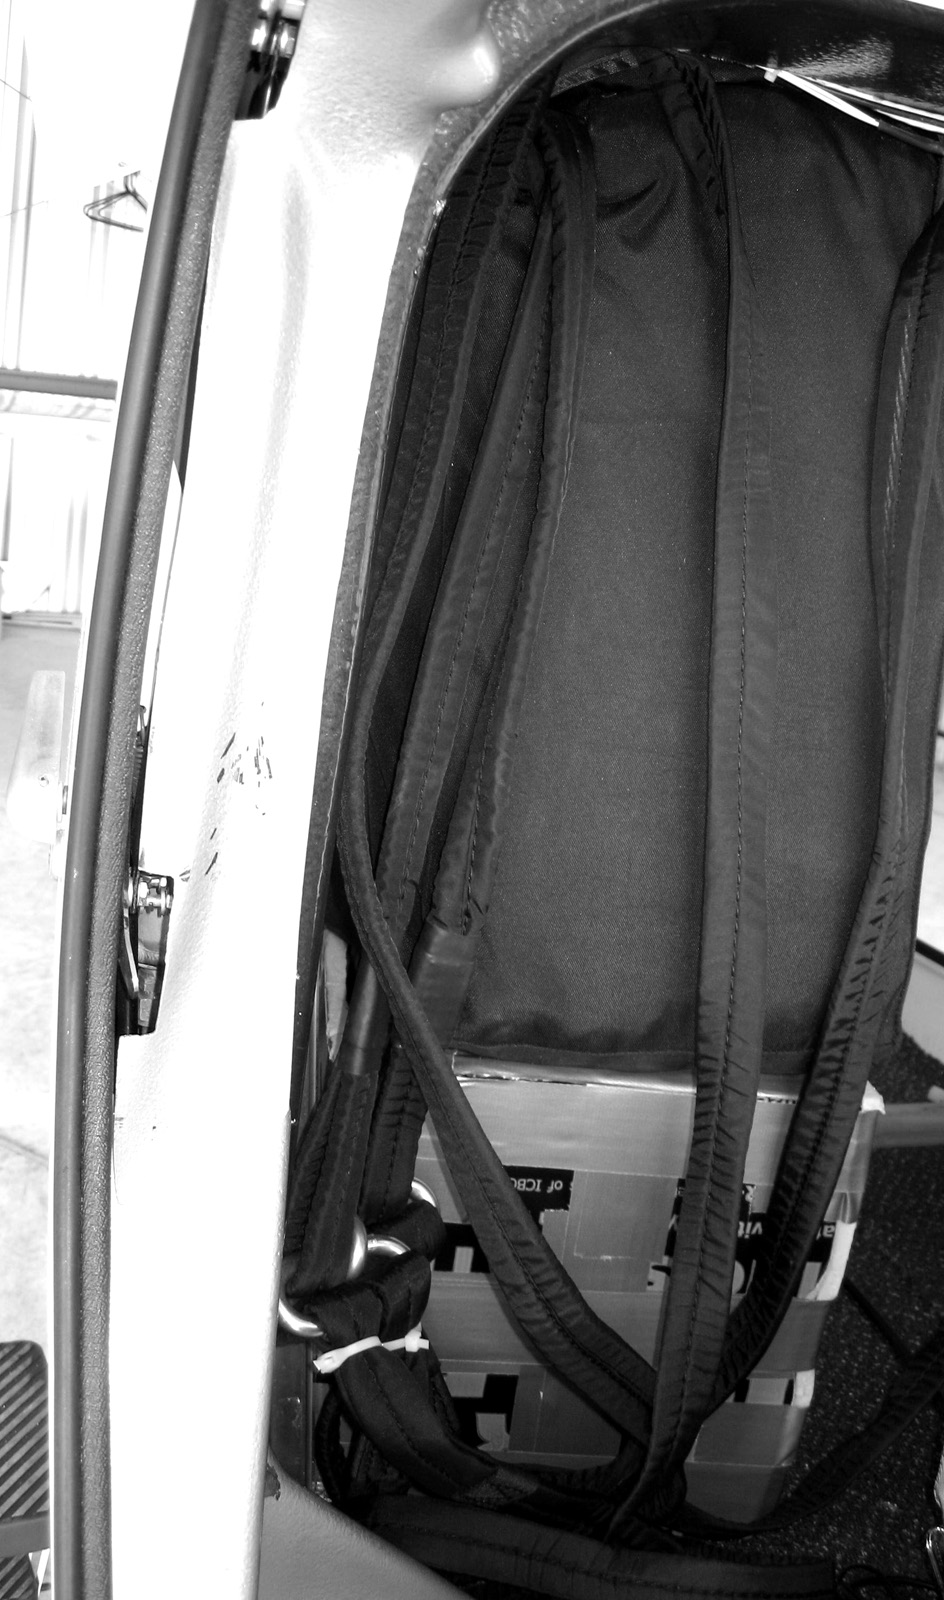
The unit arrived in August, and I went about installing it in likely the only reasonable way possible. The unit is about 12 by 15 inches and 18 inches tall. It weighs about 45 pounds. It is equipped with loops on the exterior of the soft pack to allow two horizontal rods to support the weight. I installed two vertical aluminum angles from the baggage floor to the rear fuselage cage tube extension positioned under the passenger side removable wing fold hatch. I bolted the two required horizontal support rods to these. It turned out the weight of the unit also required a fabricated foam sandwich support under it down to the baggage floor.
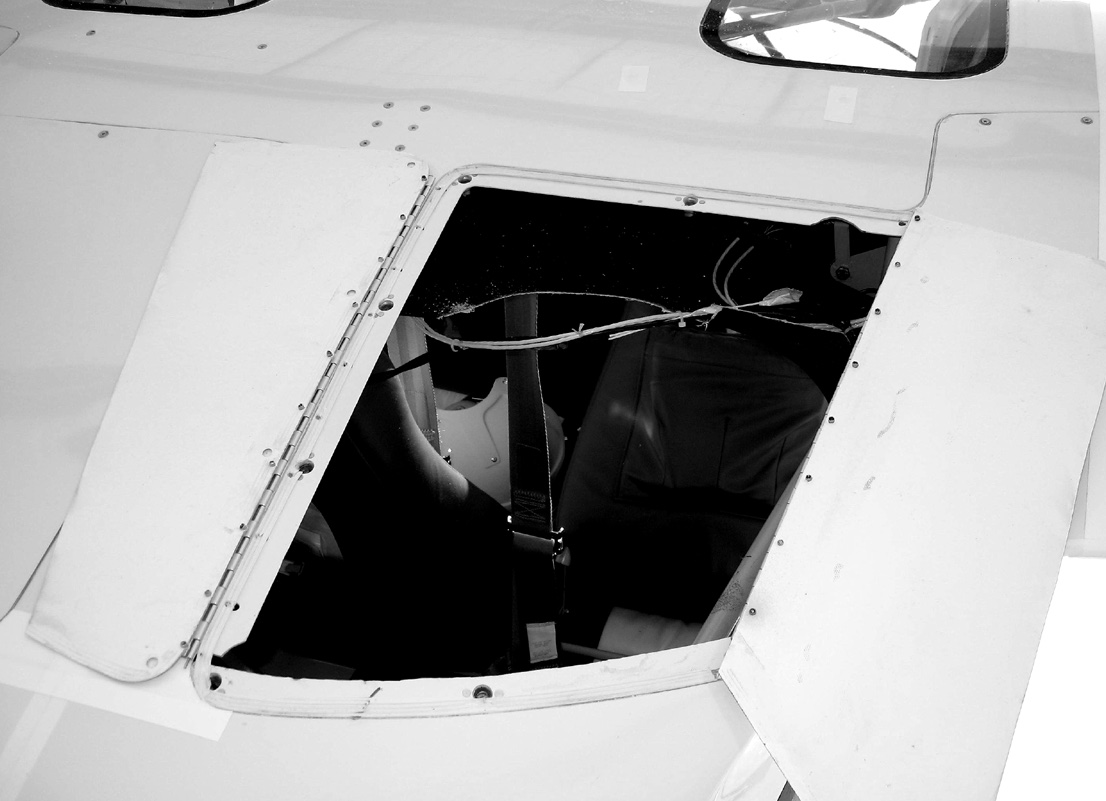
I cut the top wing fold hatch along the side of the plane to separate the reasonable flat top from the remaining cover that extends down on the side. I installed a hinge along this cut and again along the free edge near the plane centerline after removing the original fasteners. One more cut down the approximate center of the remaining flat hatch top to split the top and allow it to open up to the two sides when the rocket and chute emerged. A little white vinyl tape and it looked like it was ready to go.
With the GlaStar’s steel tube cage, it was easy to install the Kevlar straps under the fiberglass top and tie off to the four corners. The theory is, when deployed, the straps will simply rip the fiberglass top off as needed when the lines stretch. It should be real exciting, but I hope to never find out.
I originally secured the hatch with a minimum of tape, but the suction during flight opened it up. I added more (wider) tape trying to balance the force required to open under ballistic launch with the suction trying to open it in normal flight operation. A second test flight went well for about an hour and then the tape again failed due to the relentless suction forces. That’s why we test fly. A few small zip ties stitched in to resist the continuous suction and all was well. I checked the breaking strength of the ties and it is pretty low.
The installation may be a little less than elegant and I will eventually clean it up some, at least that’s what I tell myself. Kinda like the other small details on the rest of the plane. A good paint job someday, maybe.