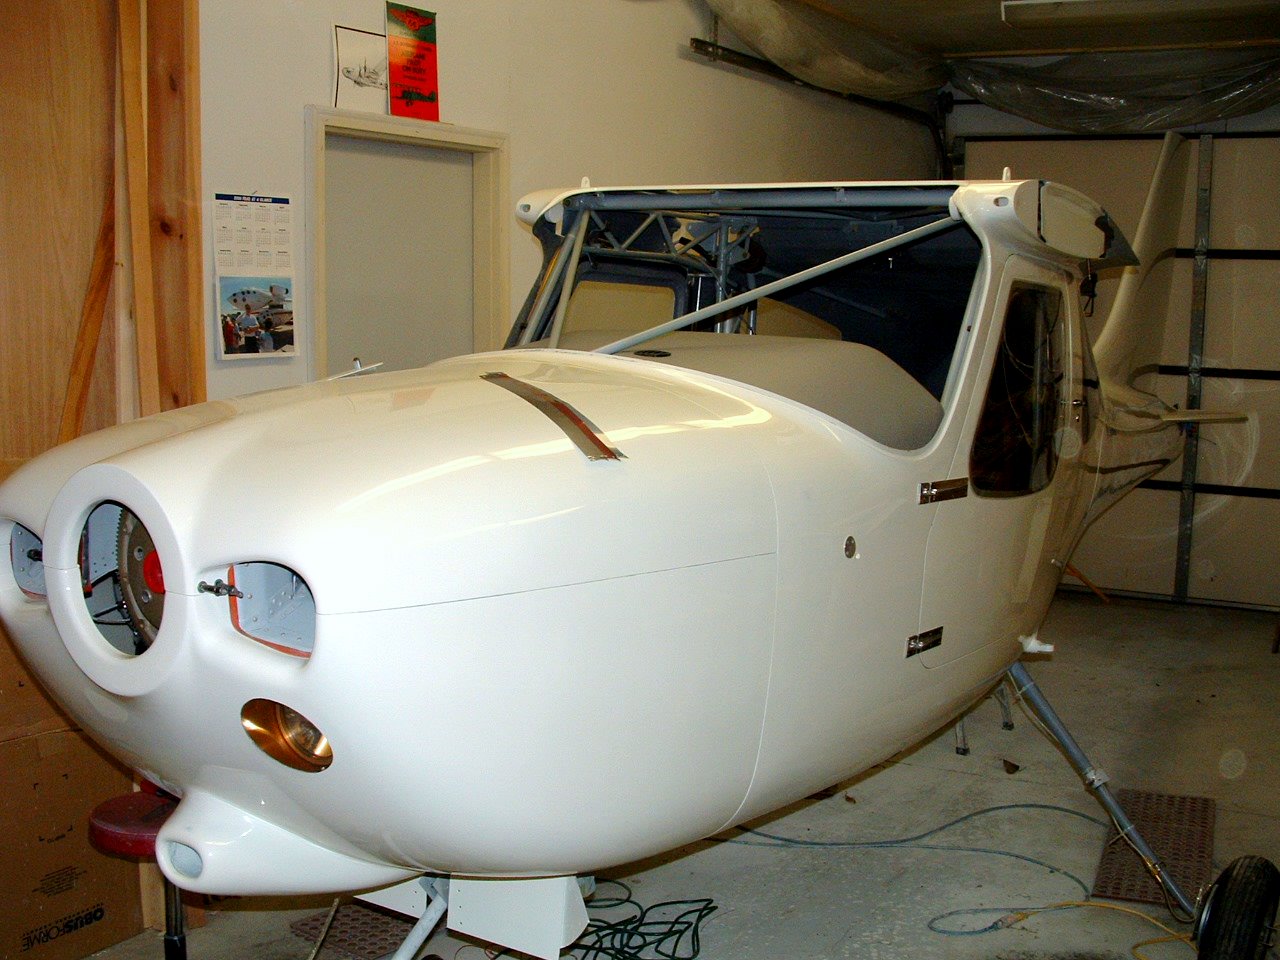
Cowling installation: The Lycoming cowling instructions say that you need to have the prop and spinner installed before you attempt to install the cowling. Cliff at S-H says you can install a centering device on the crankshaft and position the forward face of the cowling 4 to 4.1″ from the forward surface of the ring gear teeth. I used a 2″ PVC pipe coupling with the glue socket on one side and female pipe threads on the other side. If you sand out just a little of the threads, it will slip snugly onto the end of the crankshaft. I glued a 10″ piece of pipe into the coupling so I would have a nice stub to hang the front end of the lower cowling half on while initially marking the centerline as instructed in step 2. Later this stub can be used as a centering point for the spinner ring. I used spring clamps to attach a rope to both sides of the spinner ring to hang the cowling from the pipe stub.
–Jay Tabor
Cowling installation: In step #8 of the Lycoming cowling instructions it says in the last paragraph to adjust fastener locations to avoid hitting an existing rivet. Don’t “just miss” the rivet but drill your Camloc holes half way between any existing rivets. The fastener receptacles are big!
–Jay Tabor
Cowling step 5: Don’t trim the lower cowling flanges that are on the spinner ring . It will screw things up when you get to step 15 because there won’t be enough flange for nutplates. Cowling step 8: Mark the Camloc receptacle locations well clear of any existing rivets, probably half way between any adjacent rivets or the receptacles may hit them. They are large!
–Jay Tabor
Cowling step 14: Use a step drill, a twist drill would be disaster in this thin material! Shim the sockets with stainless steel washers- a lot easier and faster than laminates. Cowling step 16: My hinge pins were too short for the safety bend on page 27. I ended up safetying them with a piece of extruded hinge as in the elevator hinge pin safetying instructions.
–Jay Tabor
Cowling: A word of caution for all builders going to begin the cowling work: If you follow the order of the manual steps you are requested to cut the cowl flap opening in the step 3 and then to cut the hole for the exhaust: it’s what I did. But when you try to fit cowling around the engine you could realize that some trimming is necessary to avoid interference with the spinner and the cut you did for cowl flap must be reworked, but, worst of all, the hole for the exhaust is displaced from the right position. Now I’m working in plastic surgery to restore the right position to the exhaust opening… Beware! Happy work and flight to everybody.
–Glauco Nuzzi #5086
Drilling cowling hinge pin holes: Here is a tip that may make it a bit easier to locate and drill the pin hole for the cowling hinge pins. What I did was to take the hinge pin end and form a chisel on one end. I then inserted the chisel end into the upper cowling half from the aft end until it just made contact with the cowling. I then had a friend hold the pin position with a piece of wood so it would not try and creep along the cowling. Using my trusty electric hand drill attached to the other end of the pin, I started drilling into the cowling until it broke out in front of the cowling. Doing it this way I did not have to play the measuring game (not to good taking dimensions and locating a point that should be held in a very close tolerance). Inserting the pin from the forward cowling end was in perfect alingment. Hope this will help others in getting this step completed.
–Jim Rose


