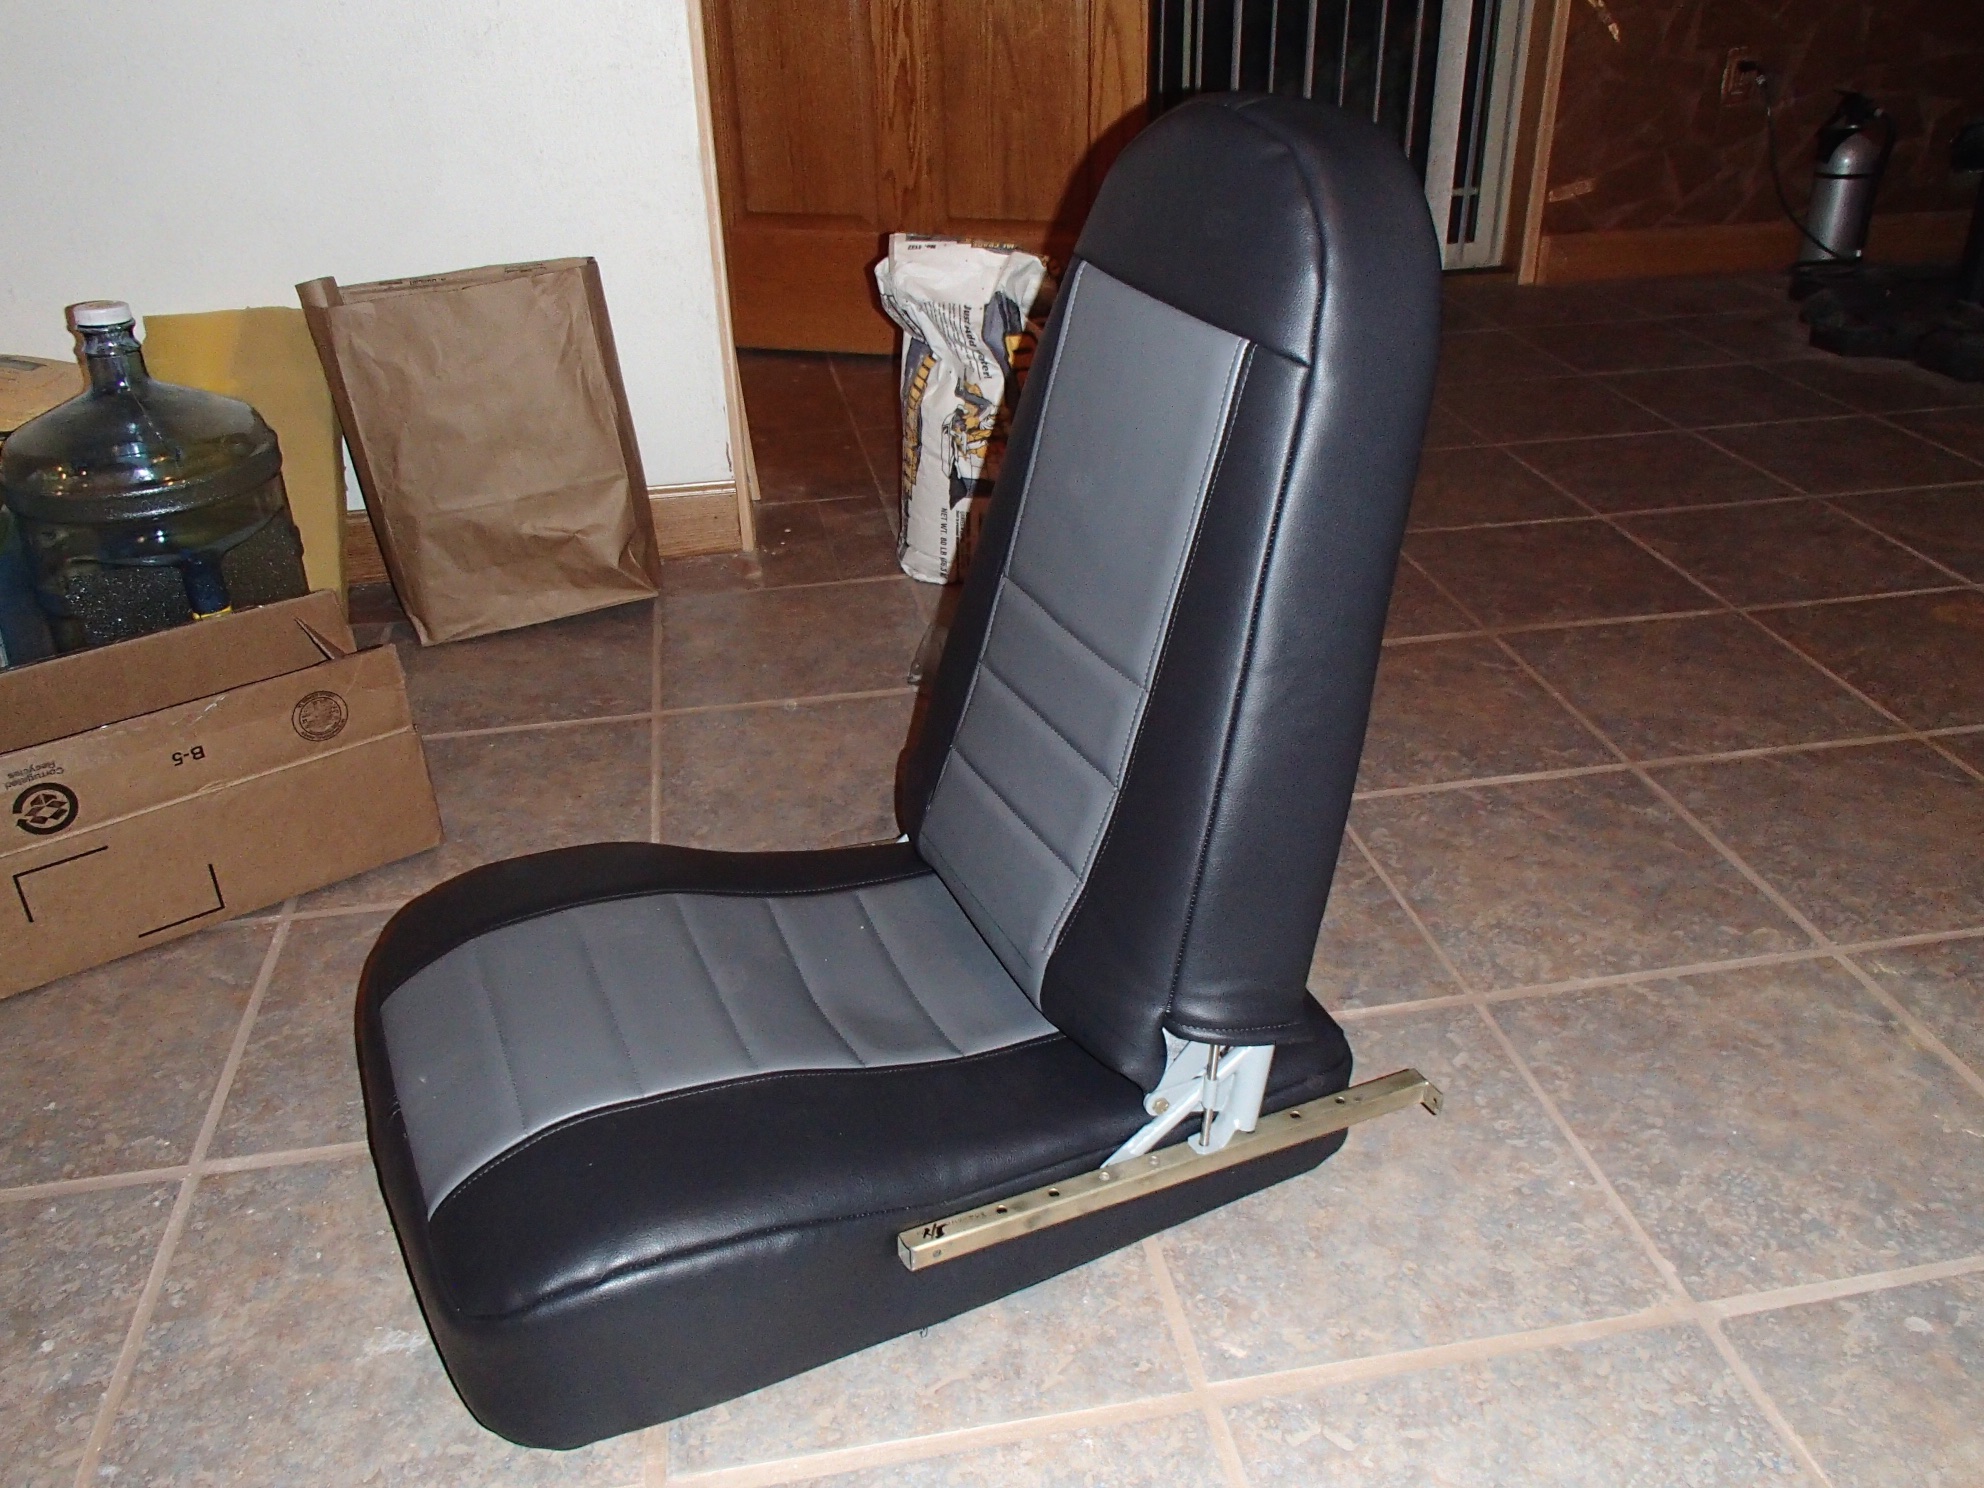
 For those of you thinking of tackling your own upholstery here is a little short lesson on what worked for me. Let me caveat this post with the statement that I’m not a pro upholsterer or seamster and this is one of I’m sure many ways to do it.
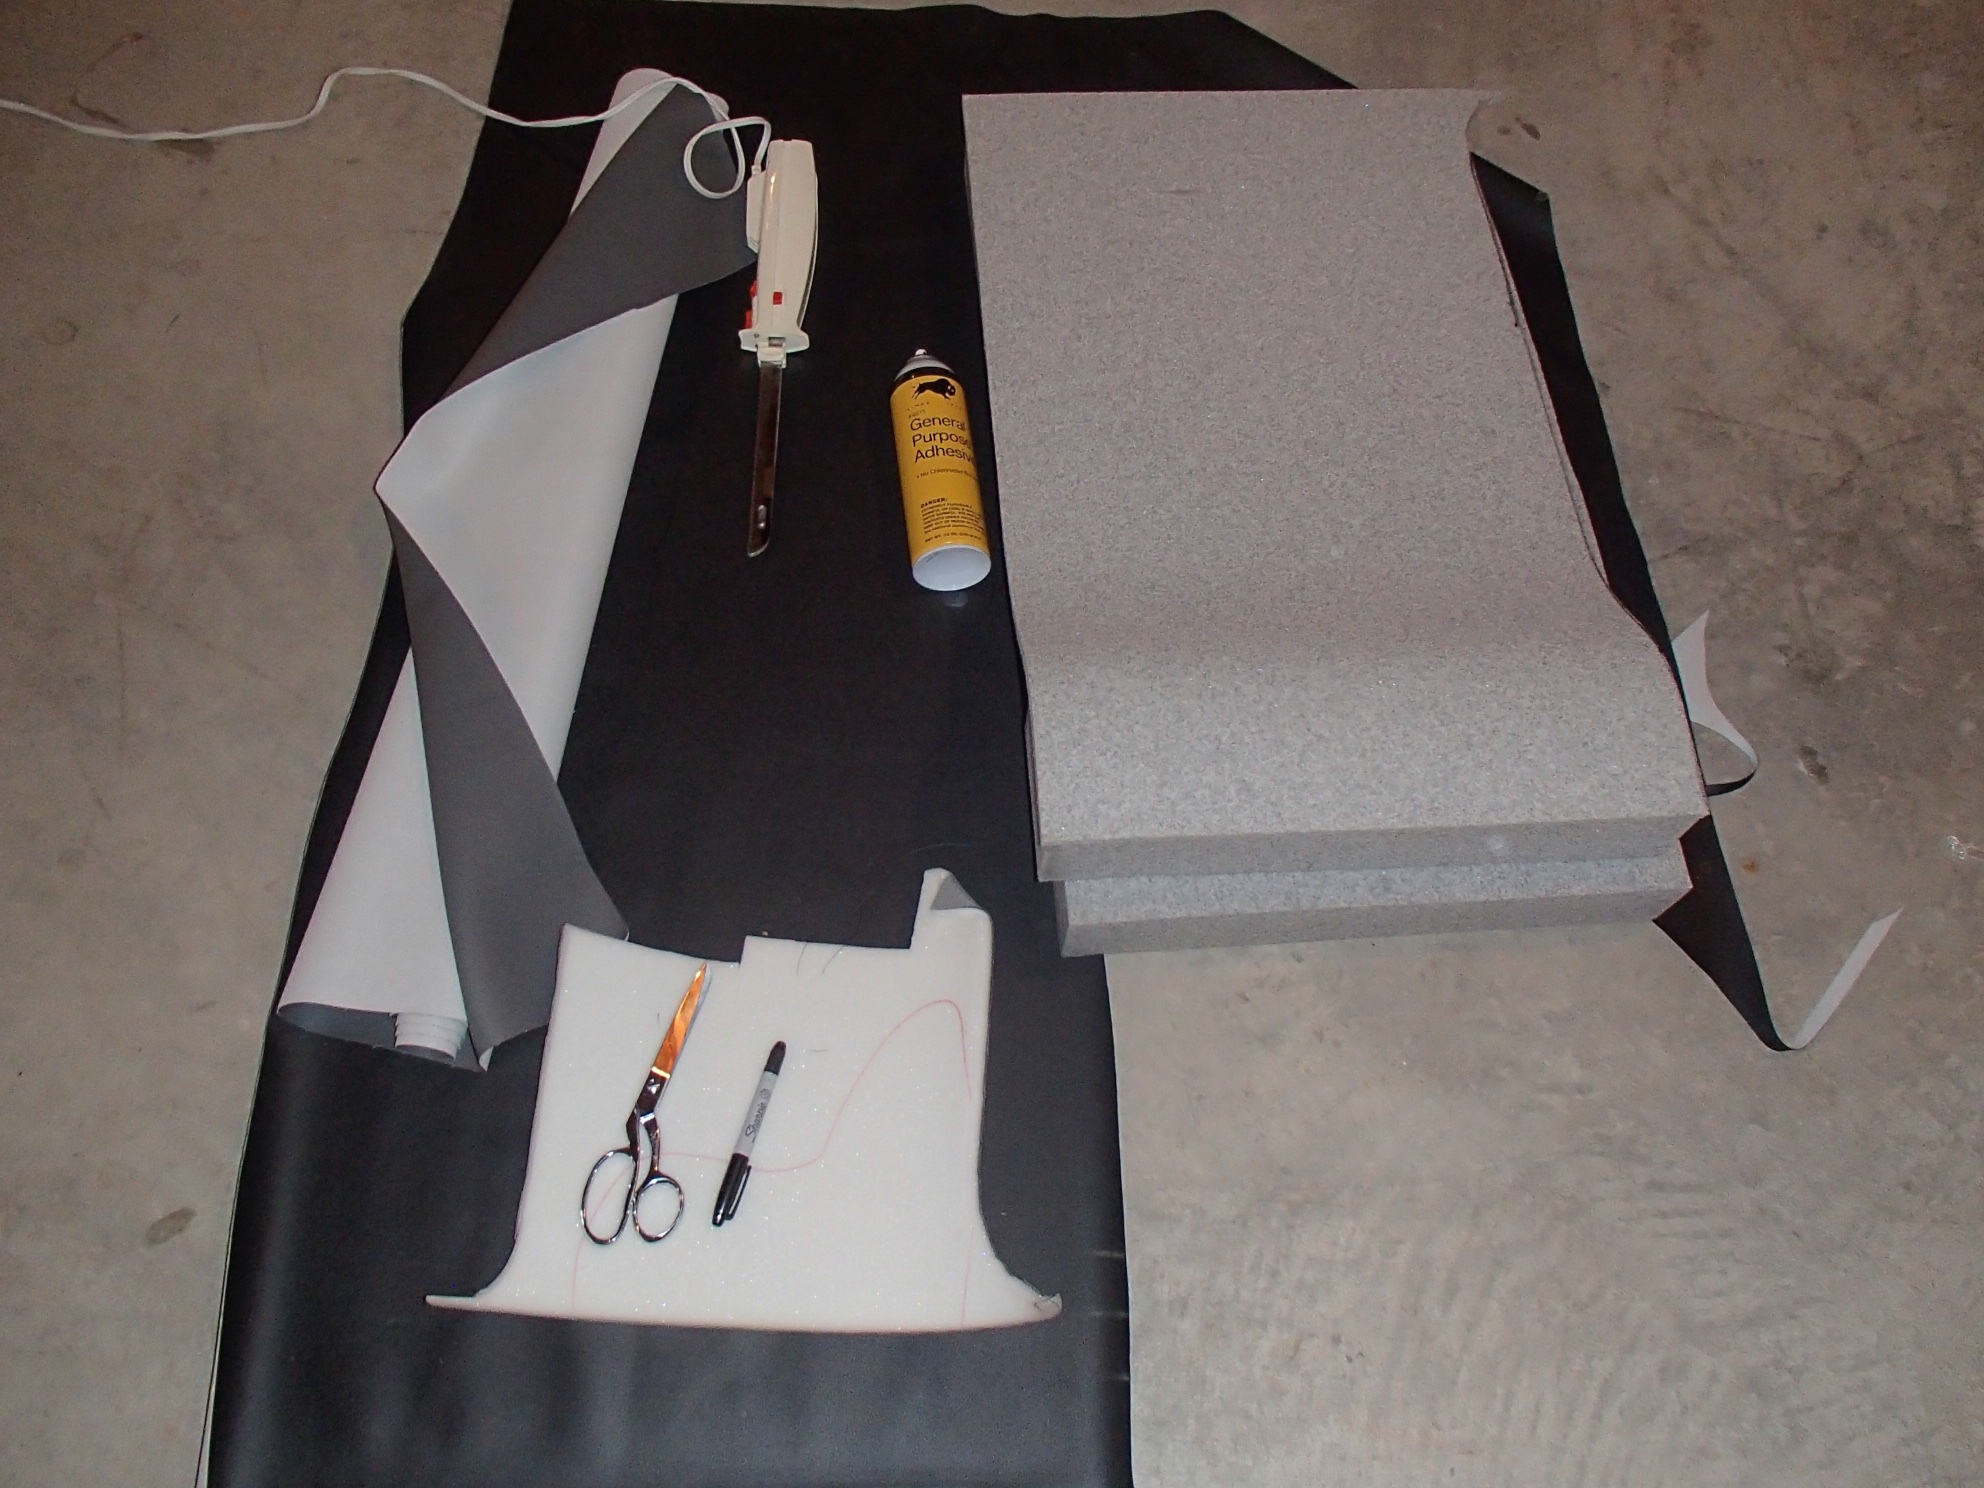
The tools you will need:
- Upholstery spray adhesive (kind of like spray contact cement)
- Good scissors
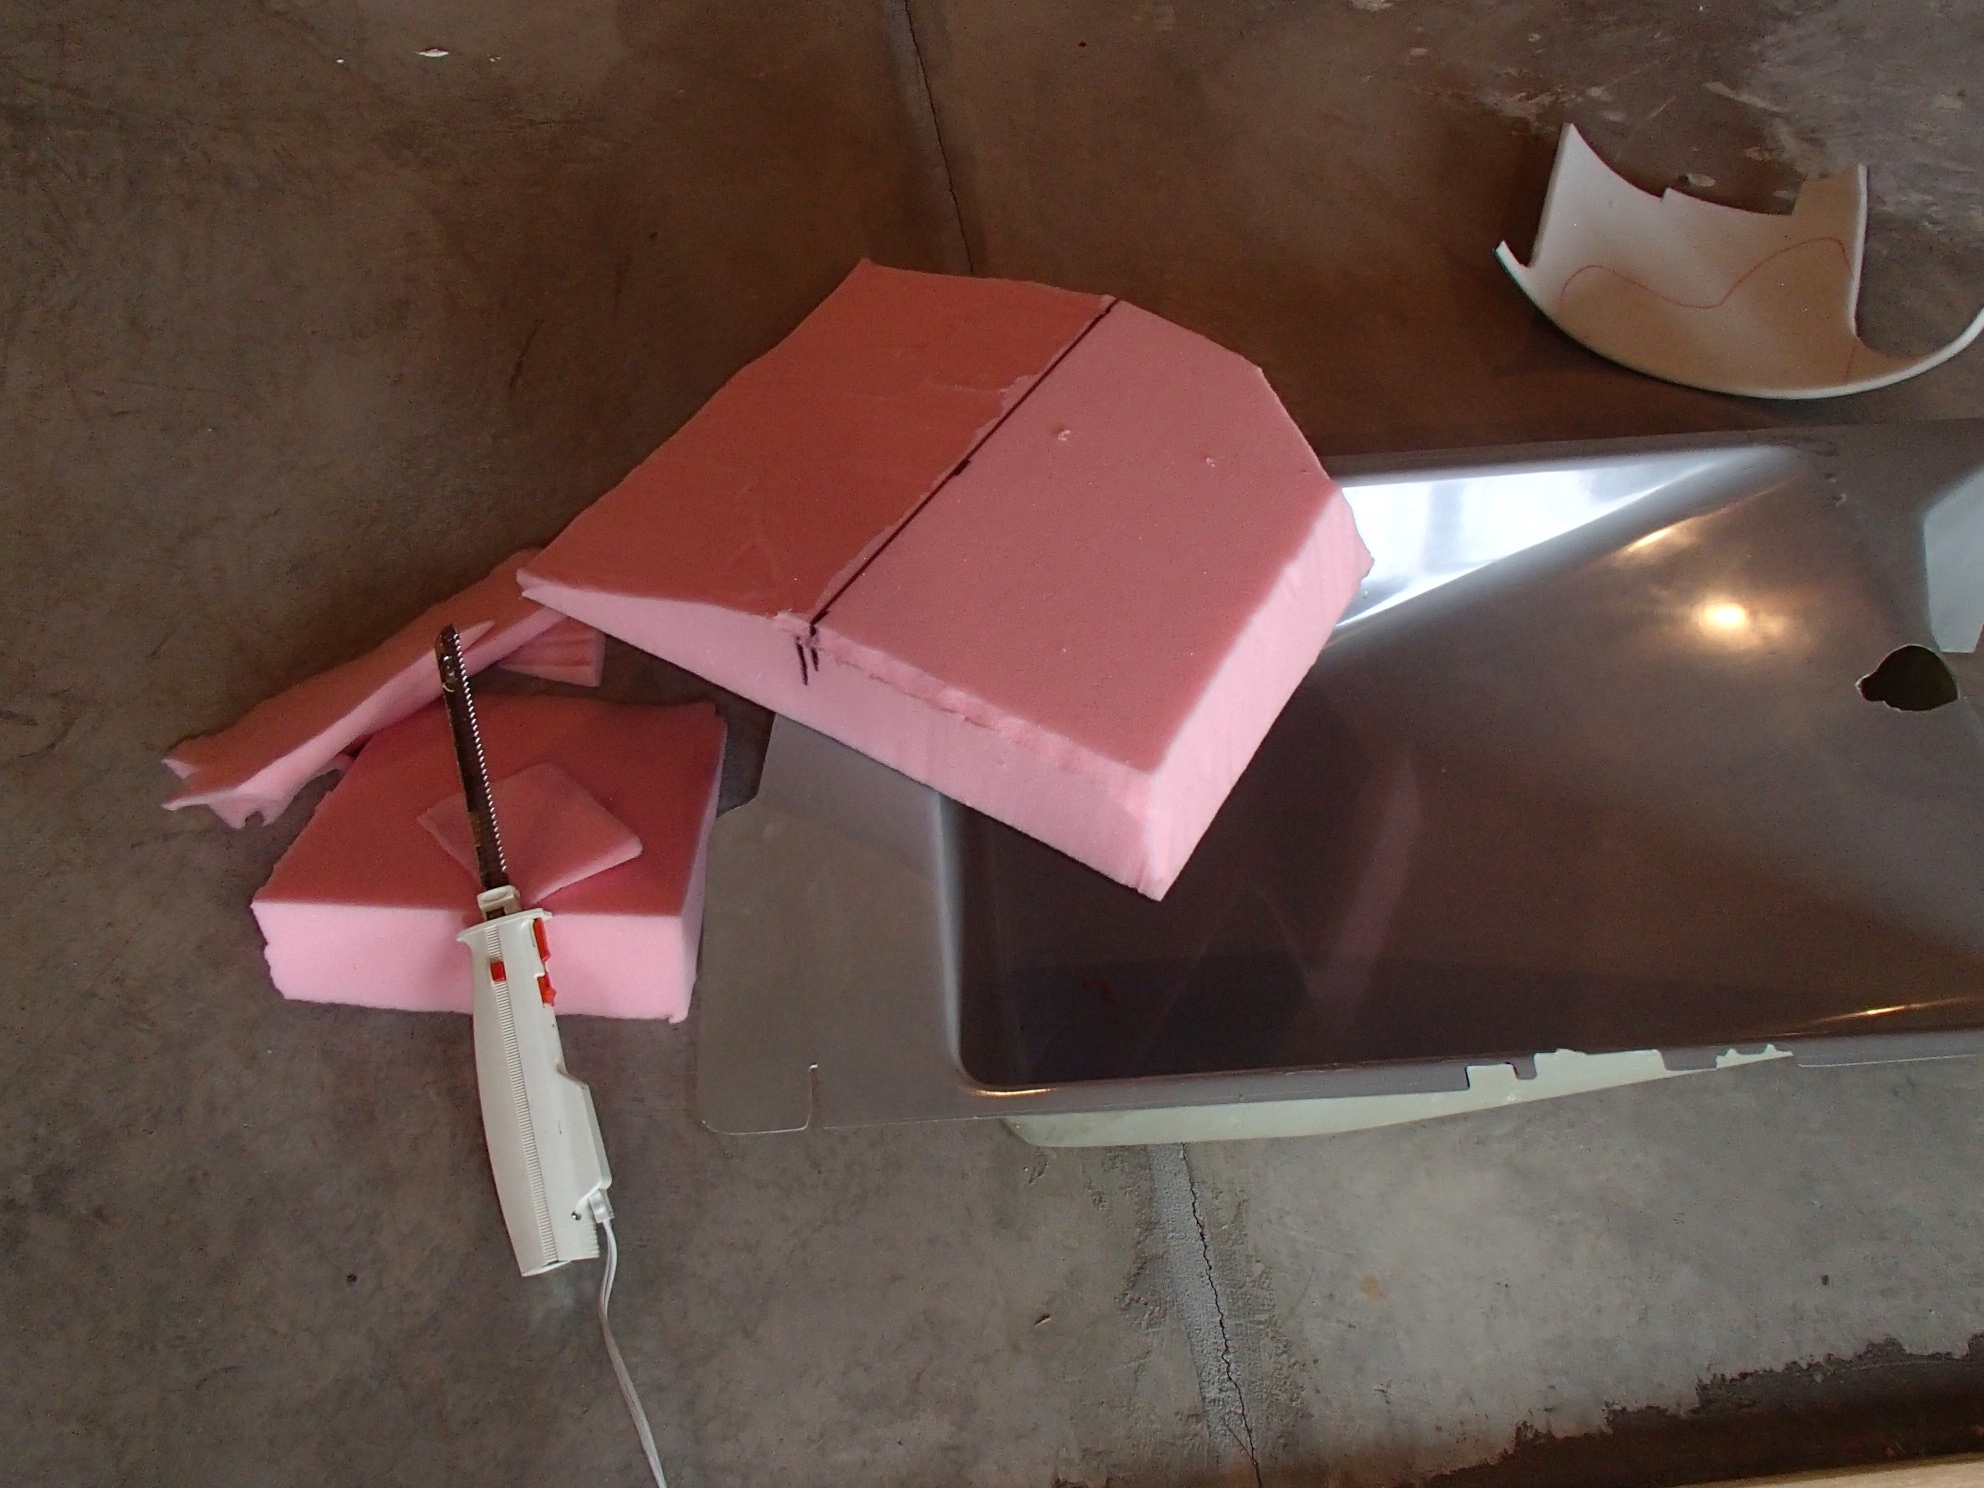
- Electric carving knife
- Tape measure
- Straight razors
- Vis-A-Vis markers
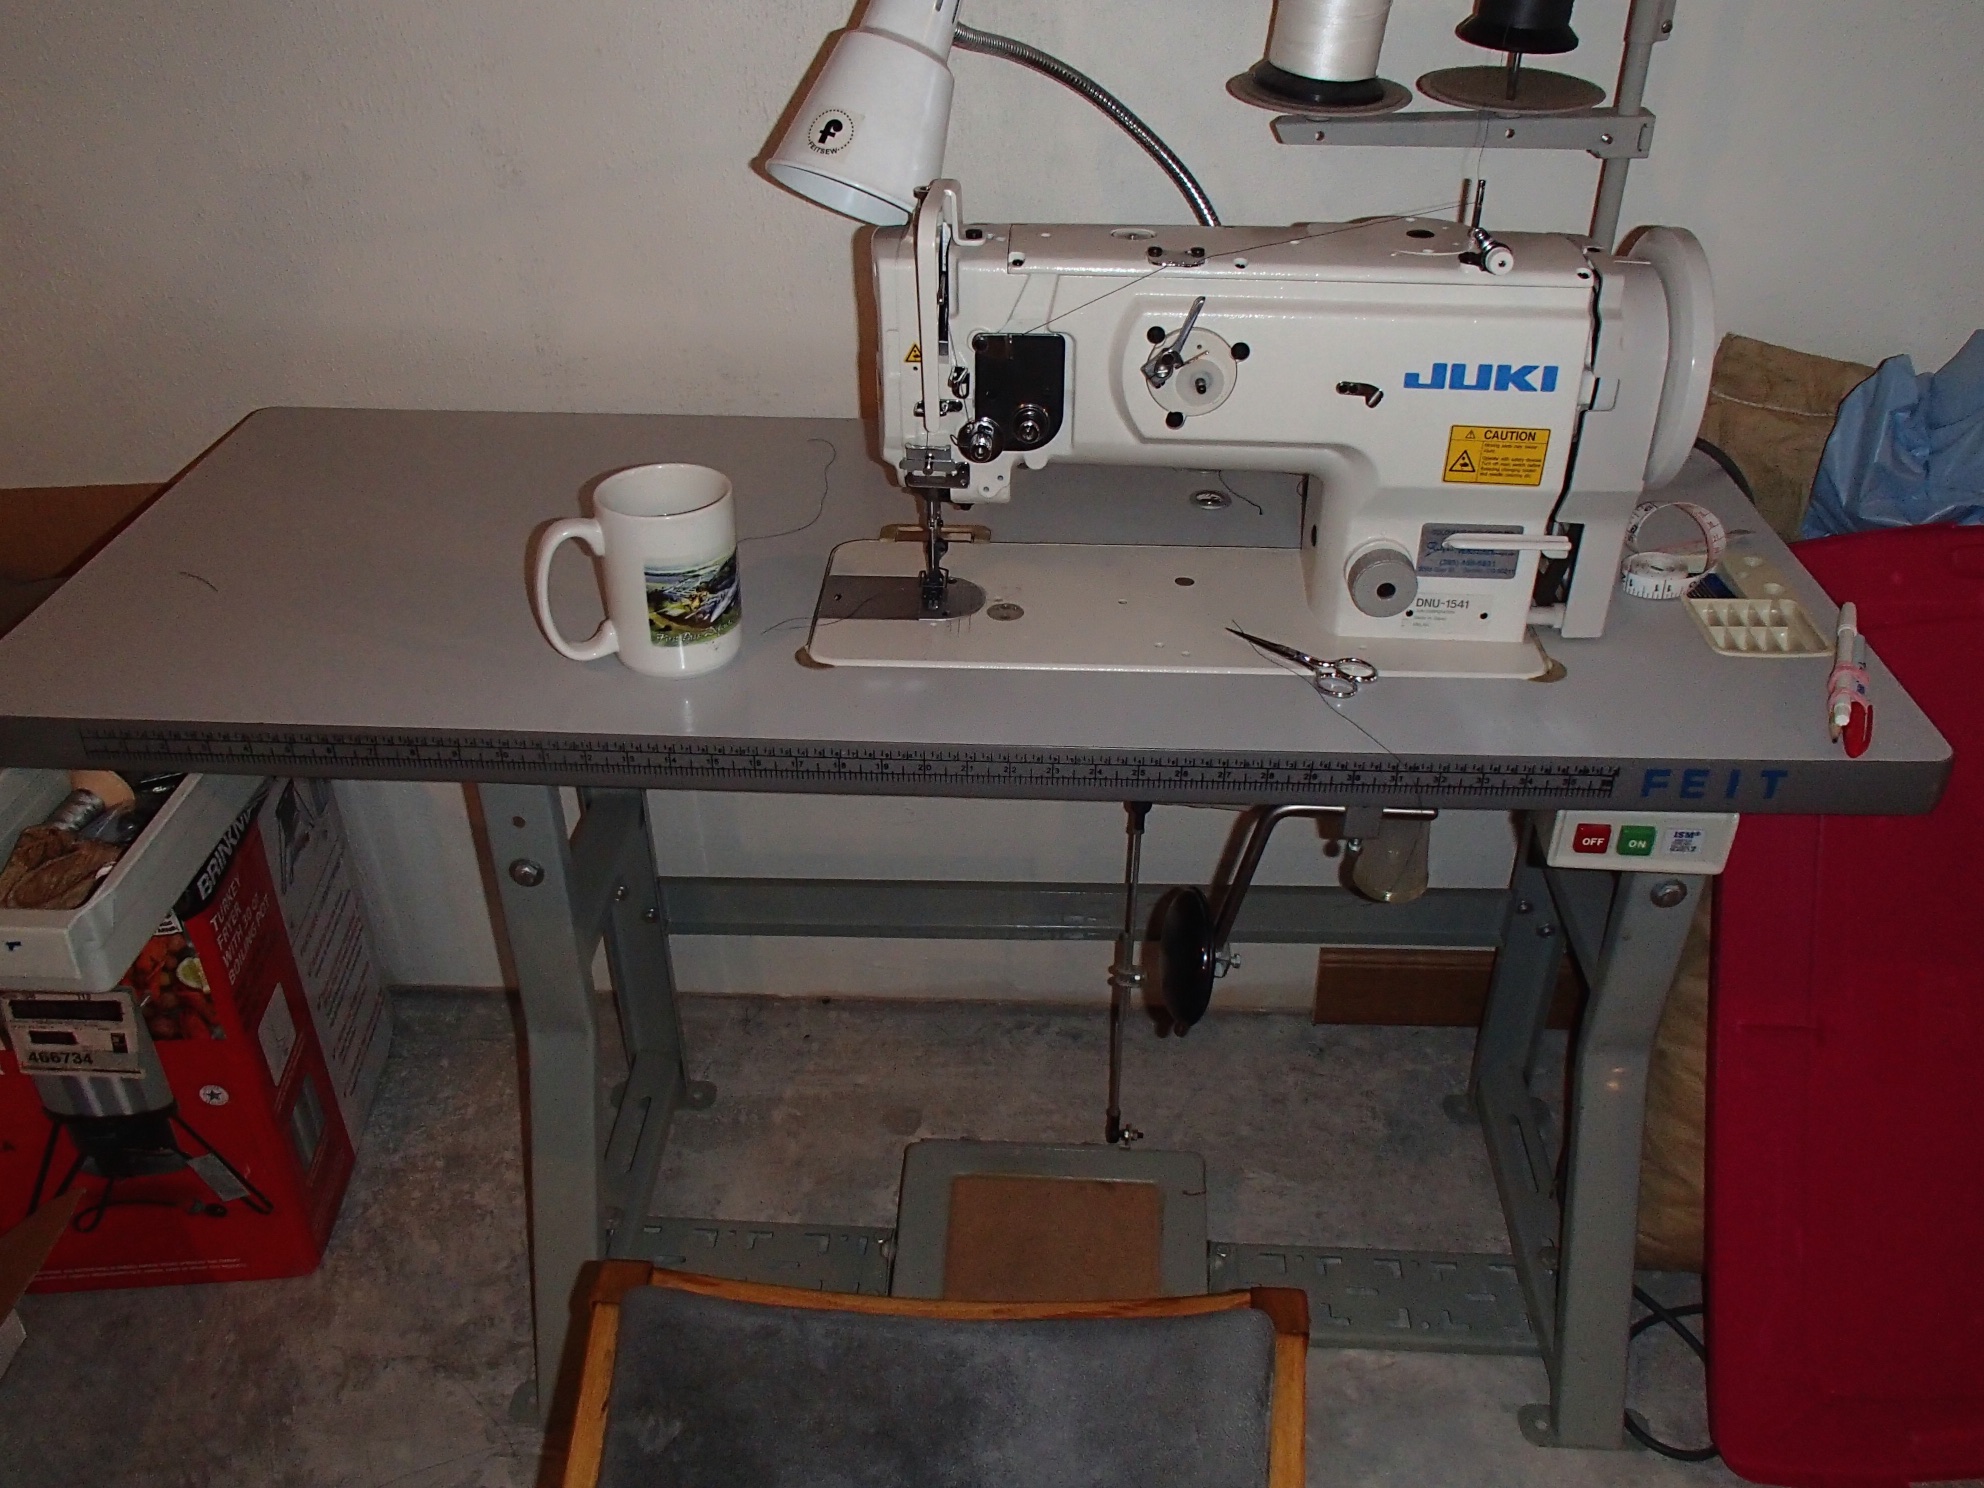
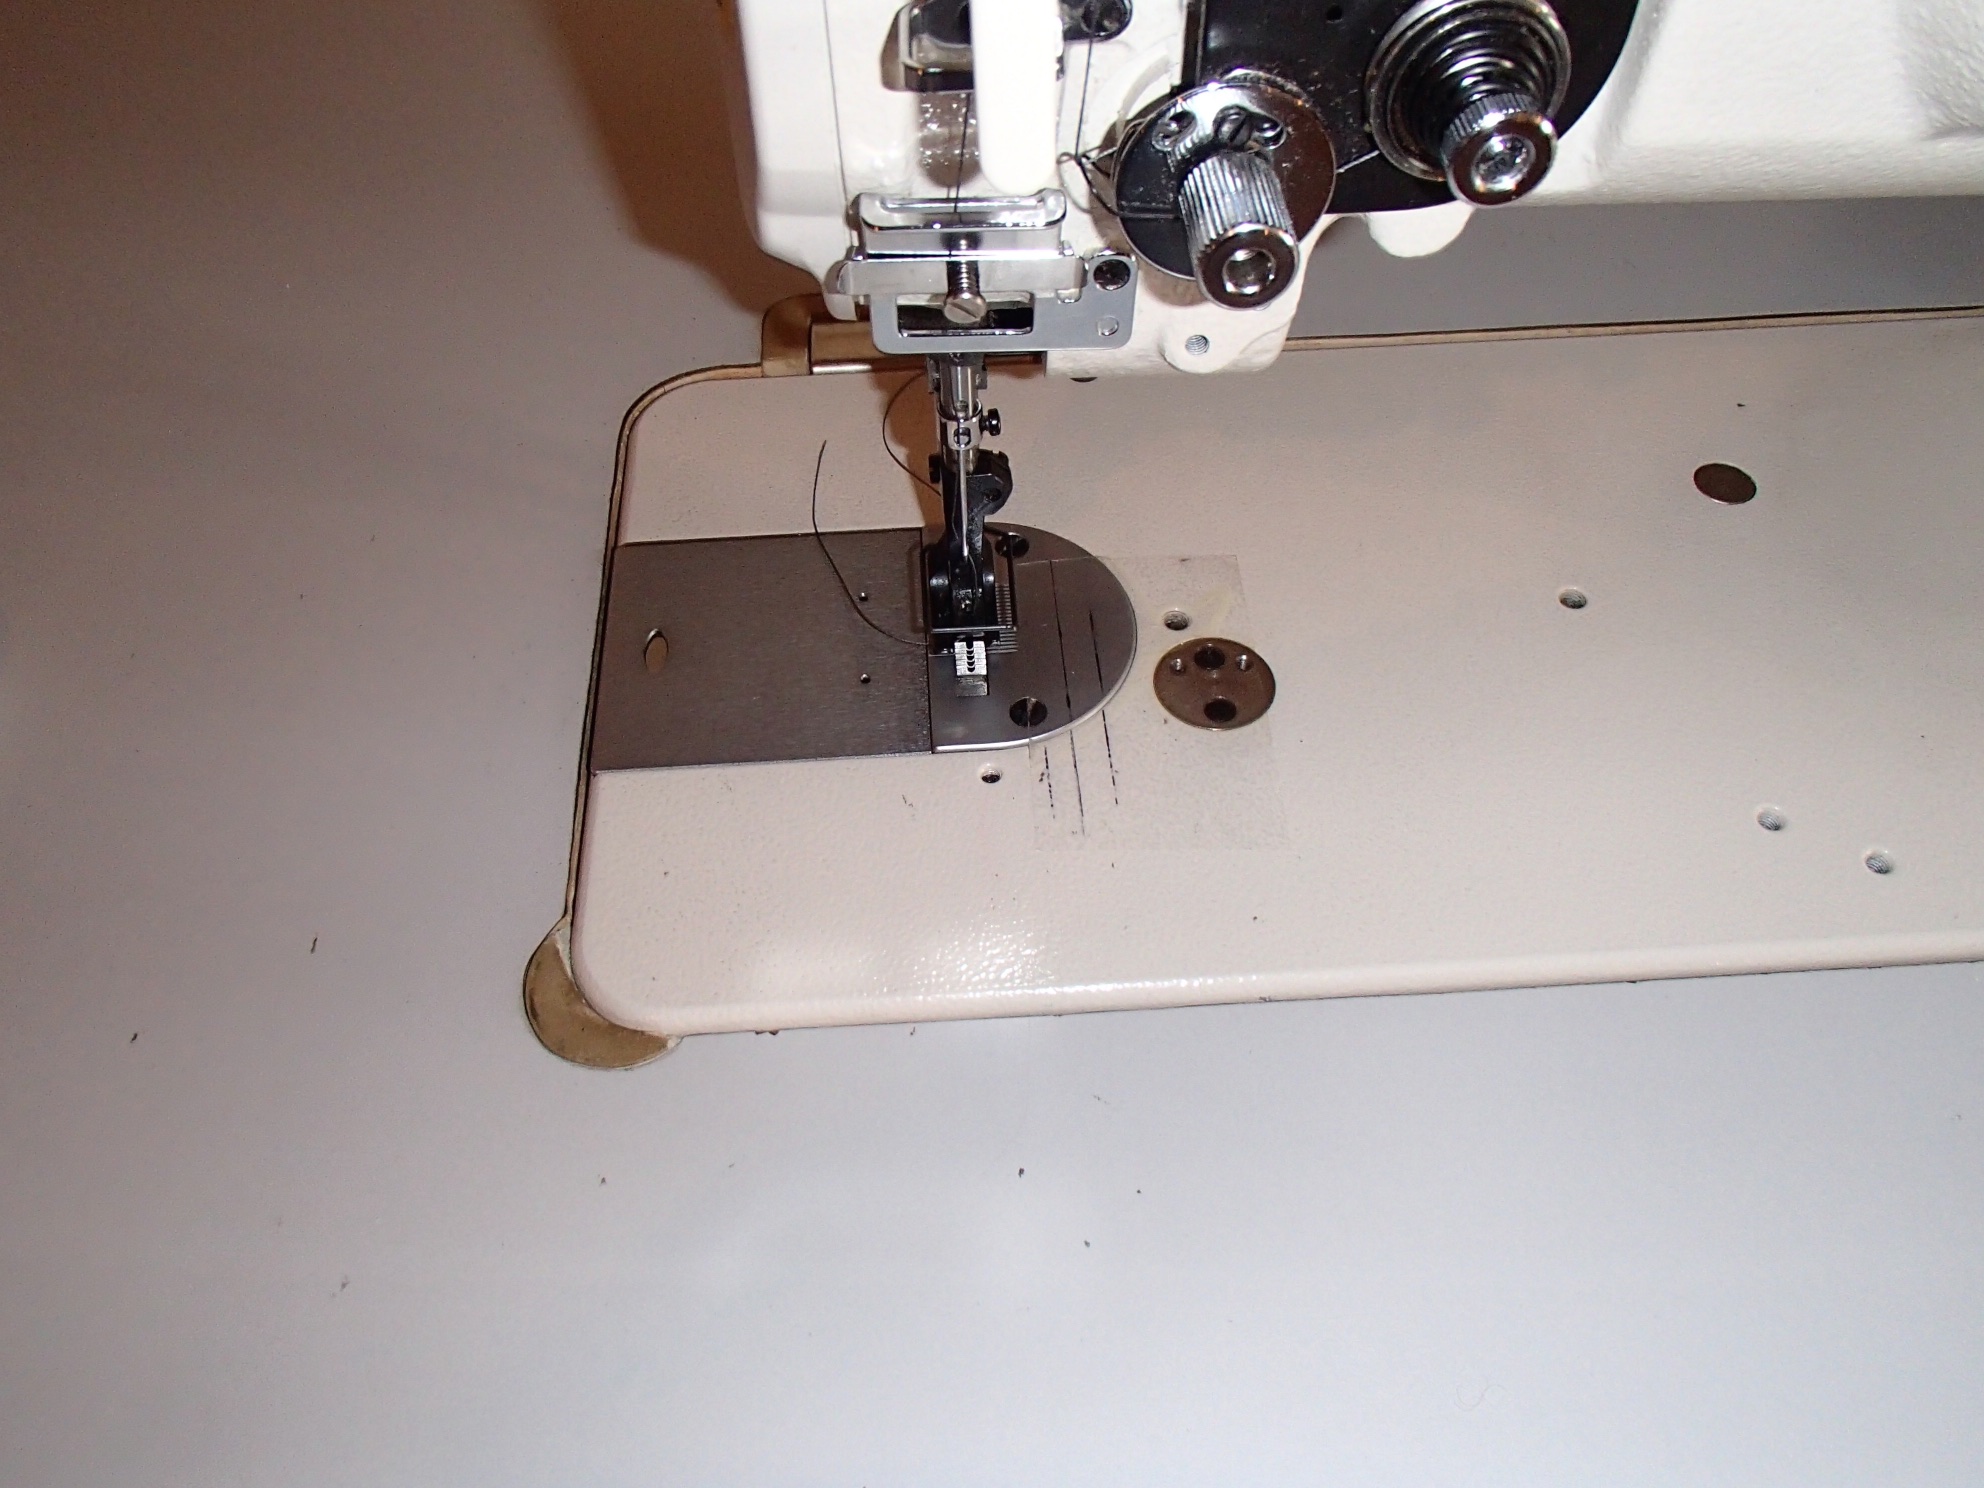
- Heavy duty sewing machine
- Template material (poster board or paper)


Supplies:
I used good quality vinyl like Naugahyde which is made for aviation use. You can use leather or cloth also. The foam I used is a fire retardant memory type foam that you can buy at Oregon Aero or Dynamic Systems (Sunmate foam). The latter place is much cheaper. A note on using the memory type foam that I wasn’t aware of and that is if you live in a really cold climate that stuff turns as hard as rock until your butt warms it up. I used a medium density non-memory type foam as my base (pink stuff). You will also need what is referred to as scrim for the backing on the vinyl. I ordered my scrim, some foam and my material from Keyston Bros.
In Denver, Colorado. They have other locations and have a wide variety of materials.
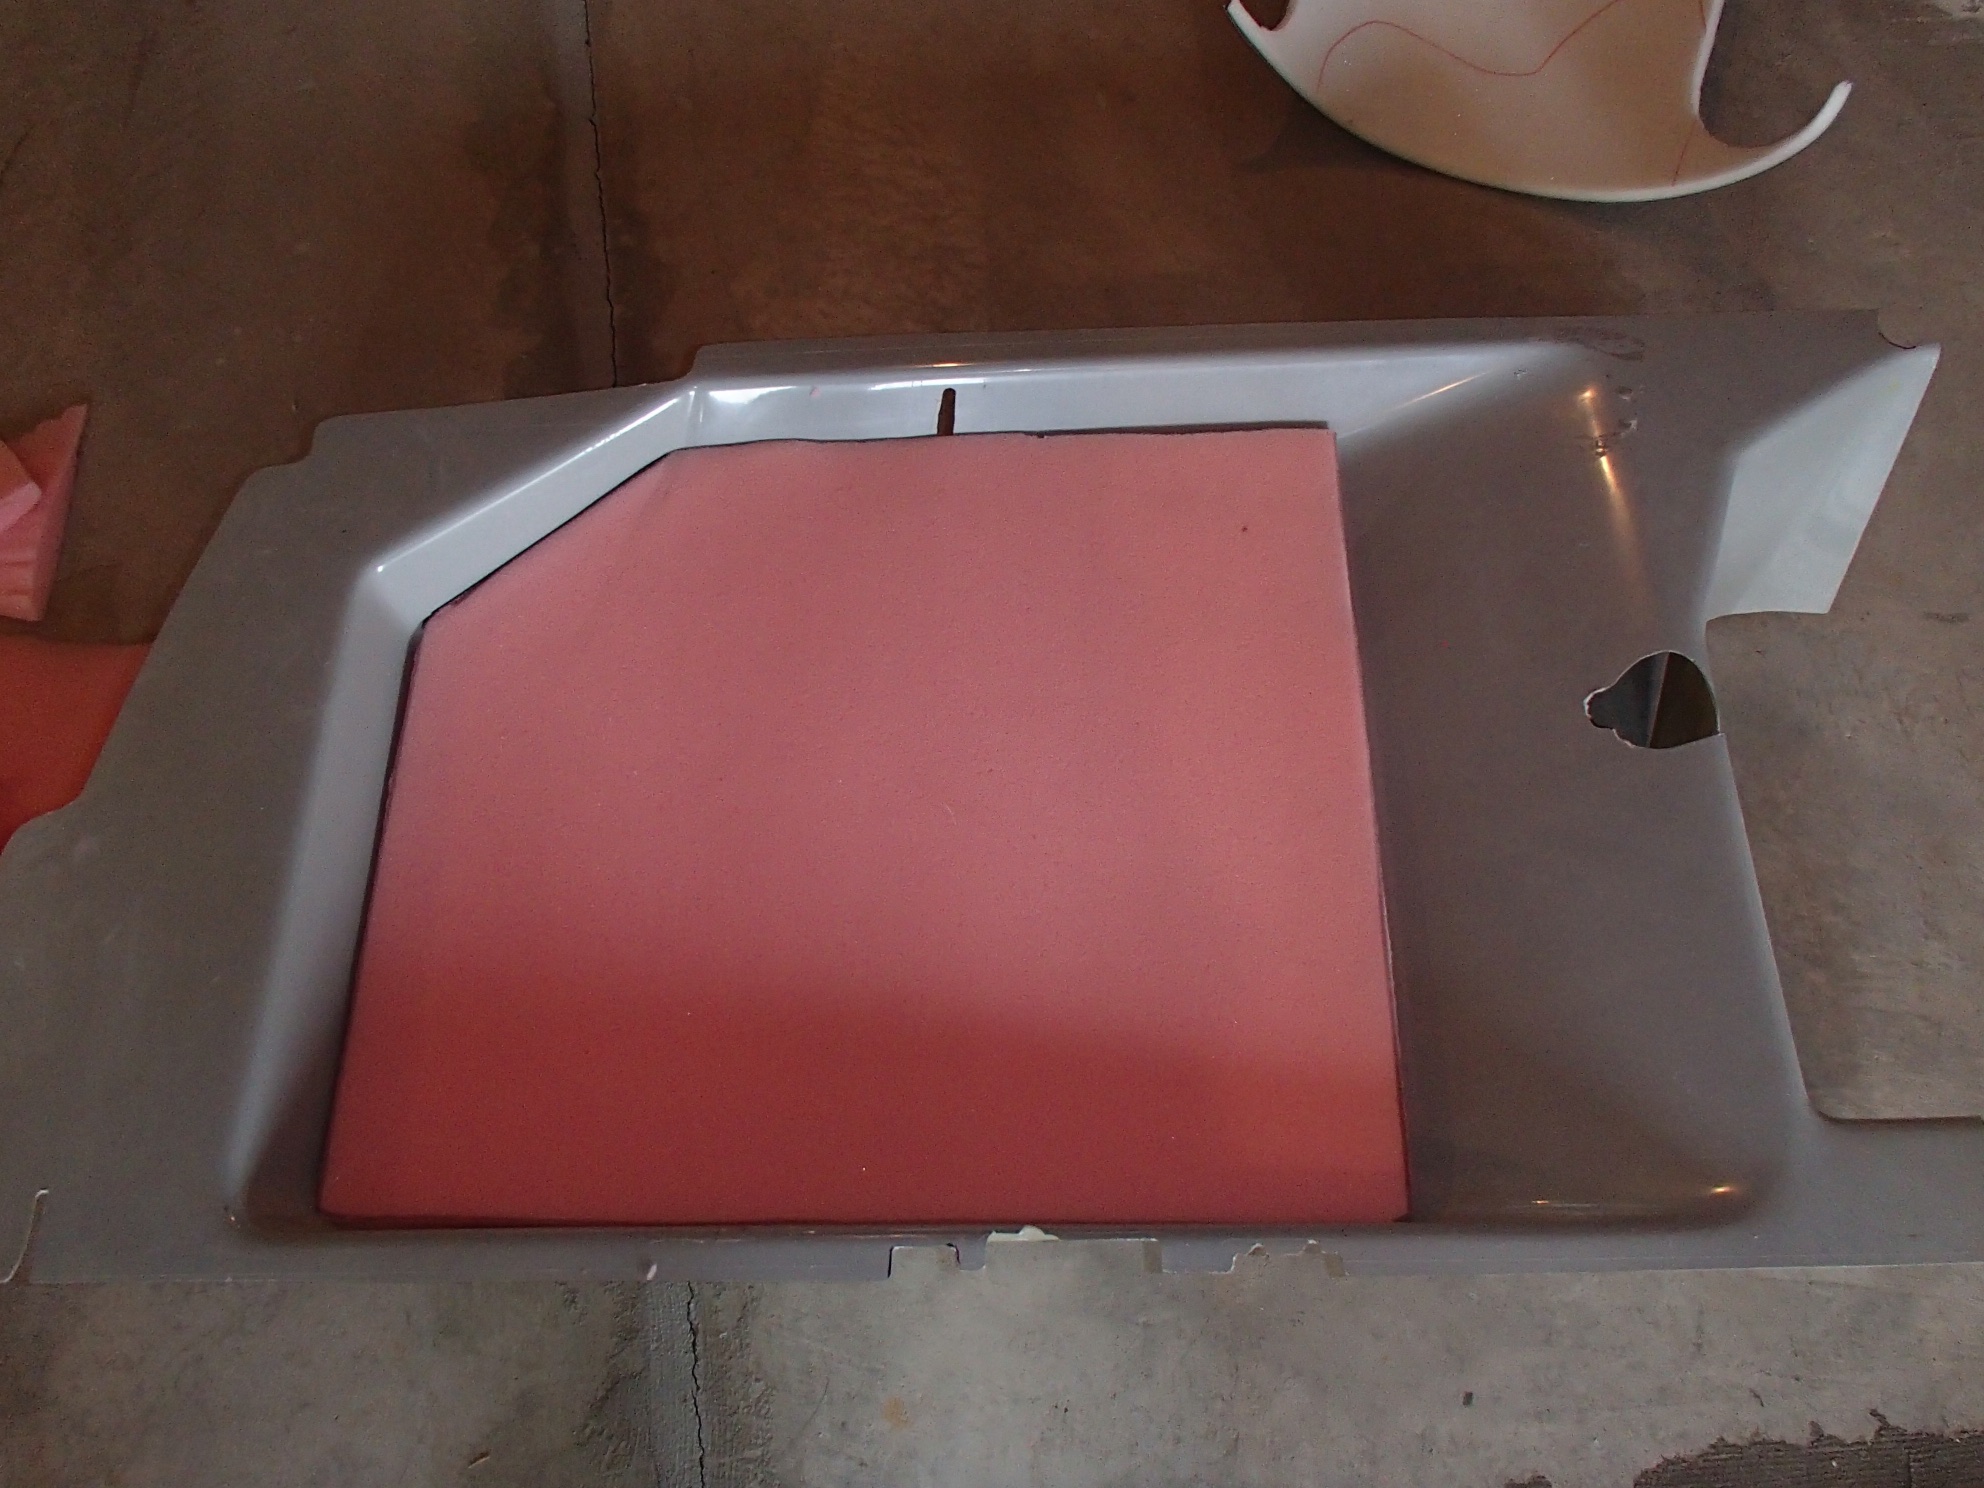
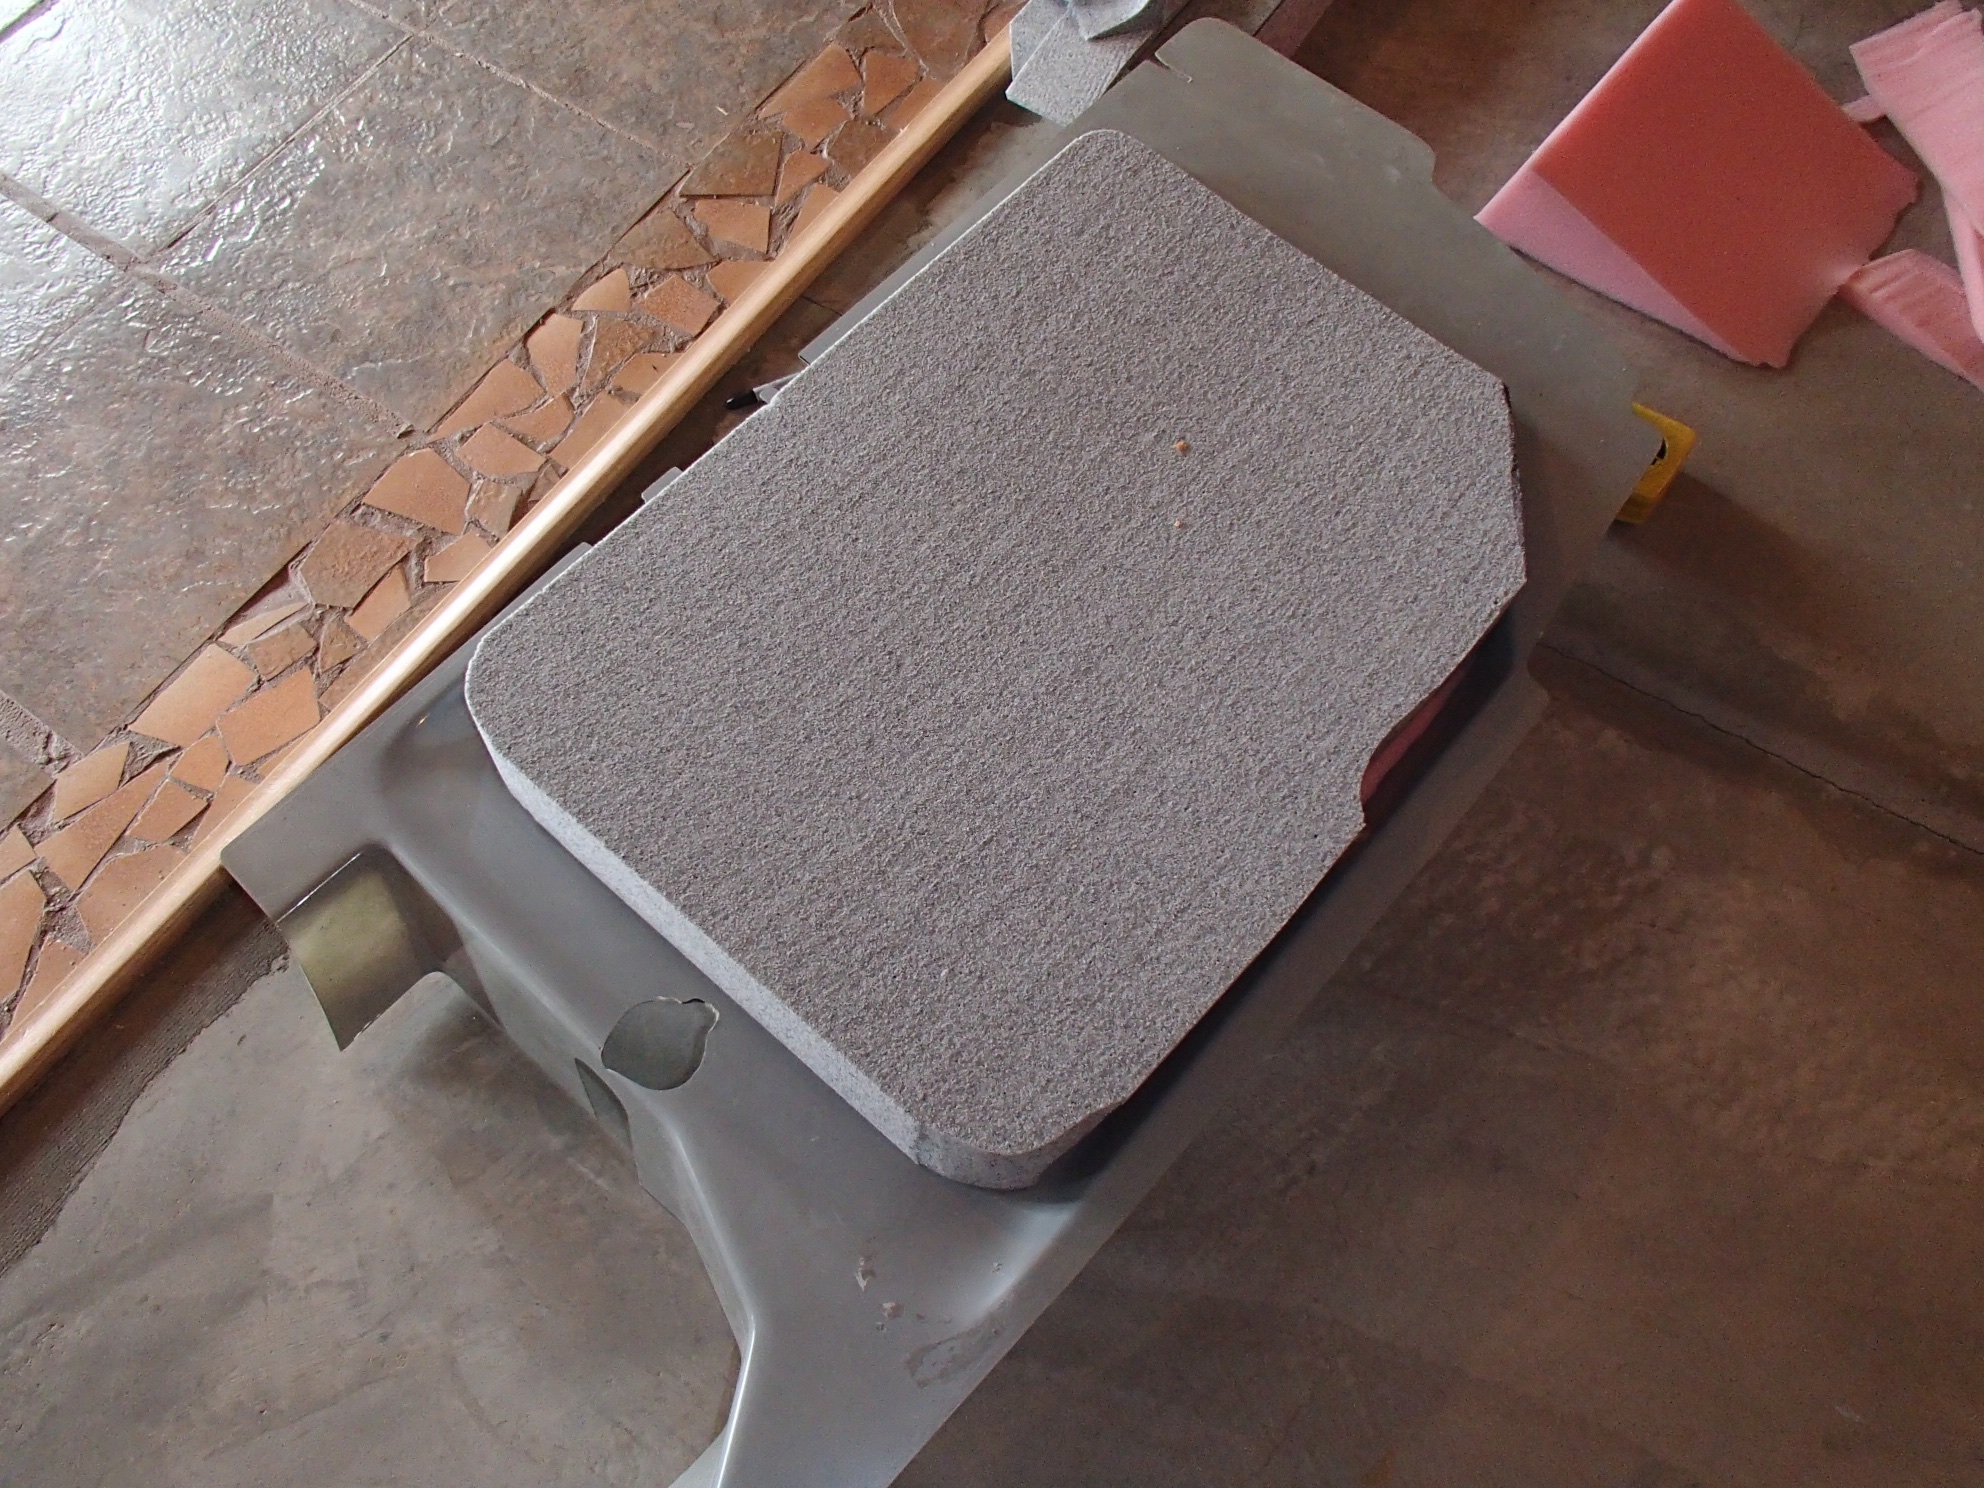
First you will have to make a base for your seat pans. There are a lot of methods for doing this but I just carved out some medium density foam. You can do this easily with an electric carving knife. Mine was really dull so the finish didn’t come out great.
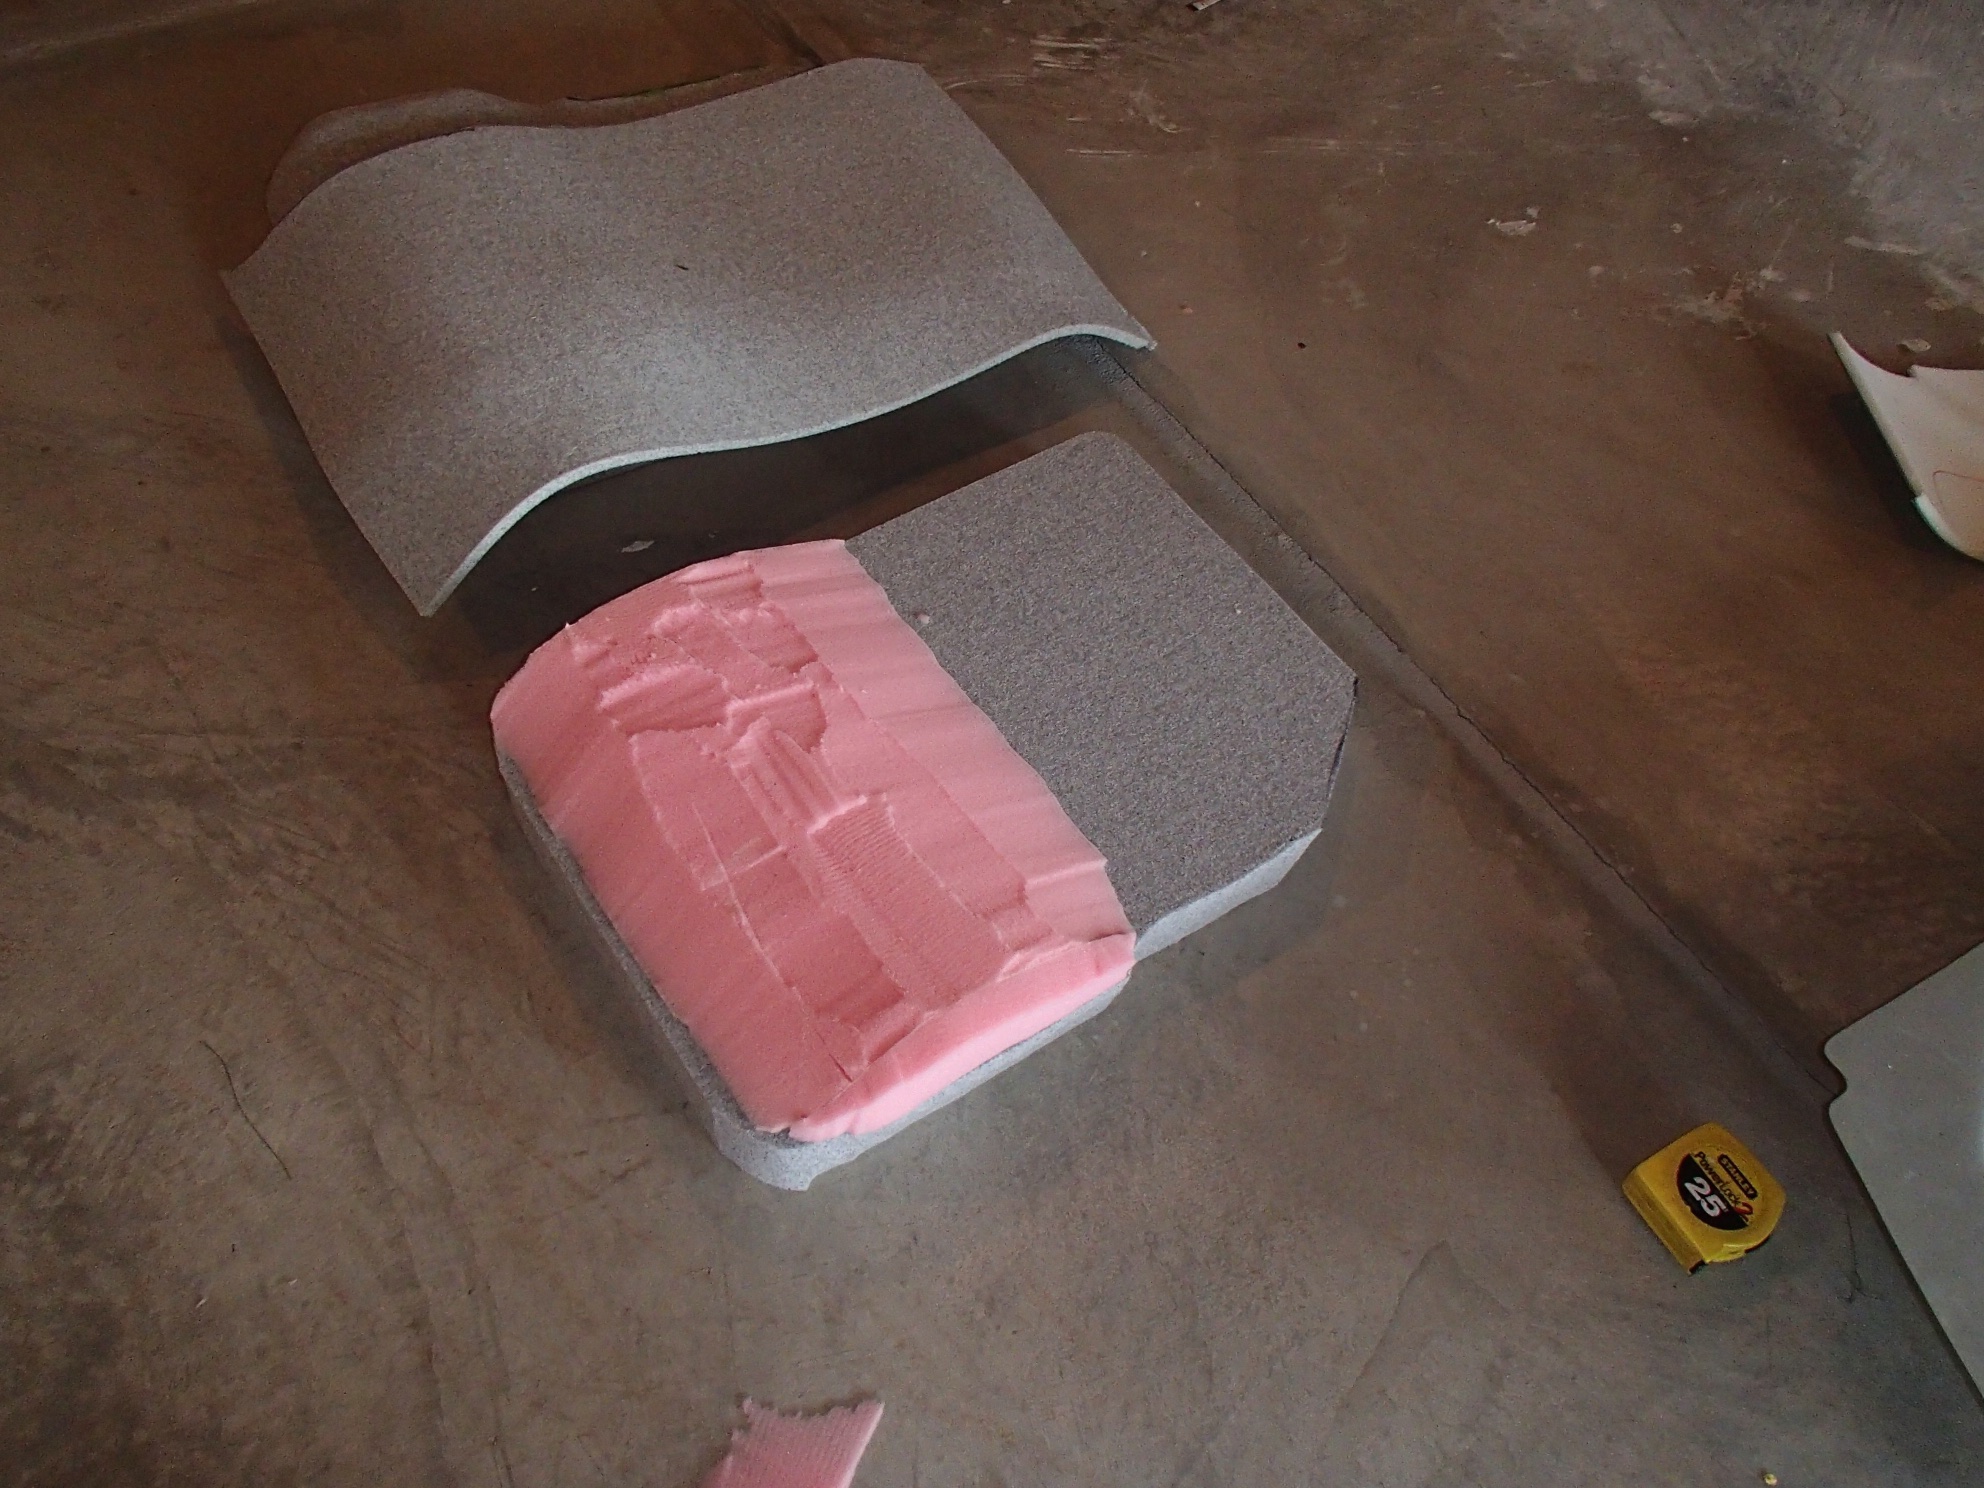
Next, you will need to take your butt foam (one that you will be sitting on) and carve that to size. Again I used the electric carving knife. On my prototype I made a mistake by having the front of my seat too close to the front of the seat pan and it interfered with the stick when full aft, so plan accordingly. For my foam I wanted a little bump under the knee area so I carved a small wedge and placed it in that location with spray upholstery glue. I then covered it with a 1/2” piece of foam to smooth things out. That was also glued on with the spray adhesive.
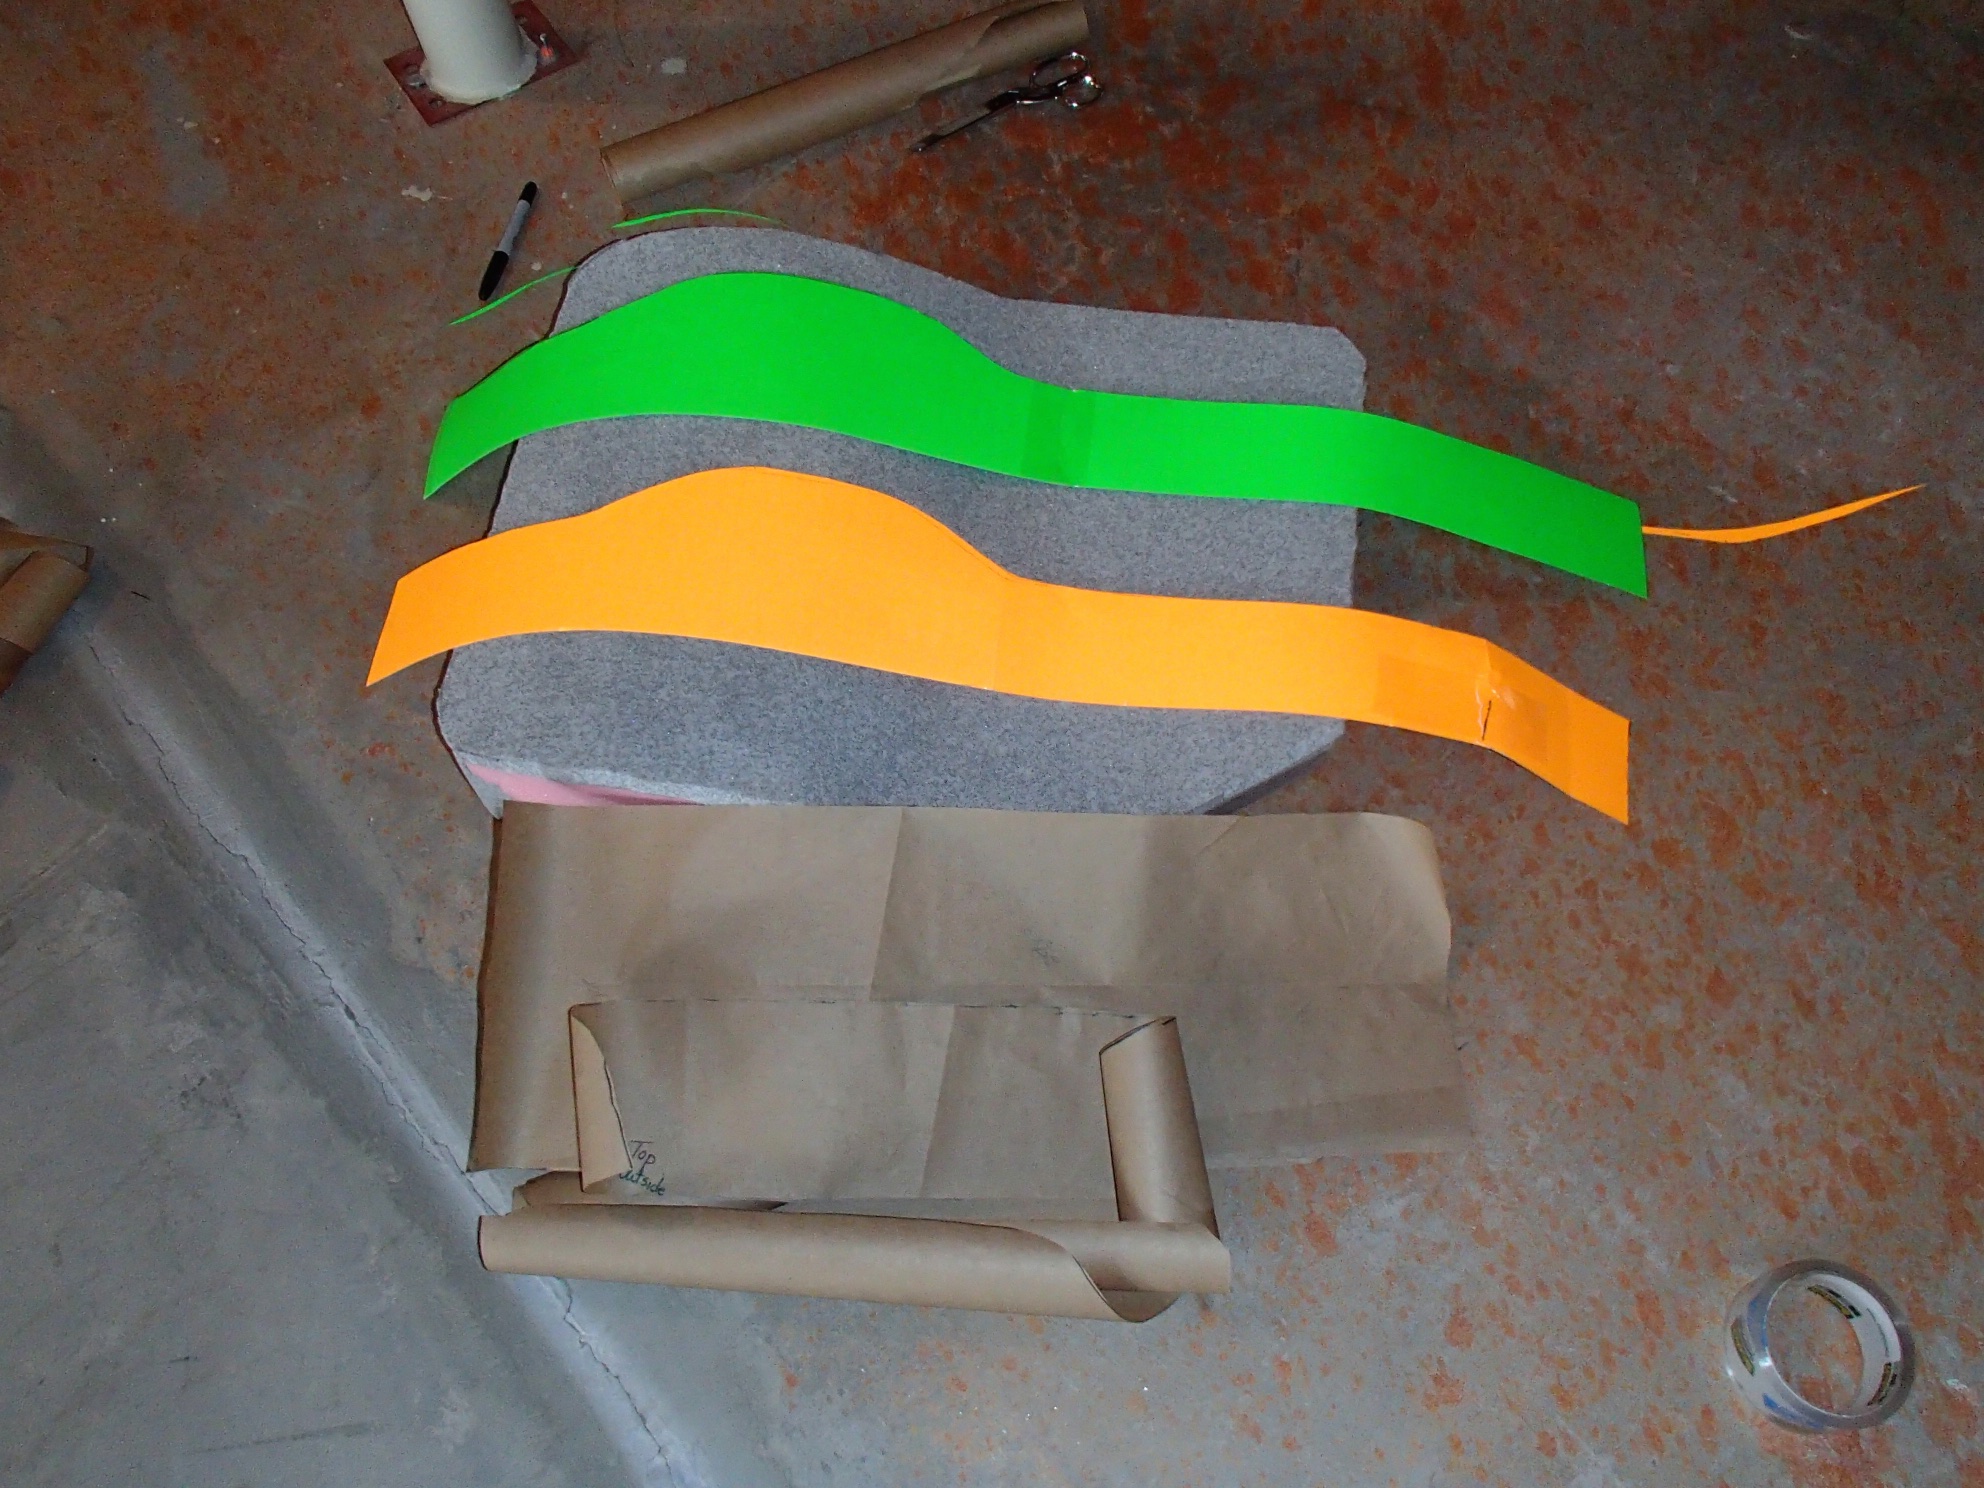
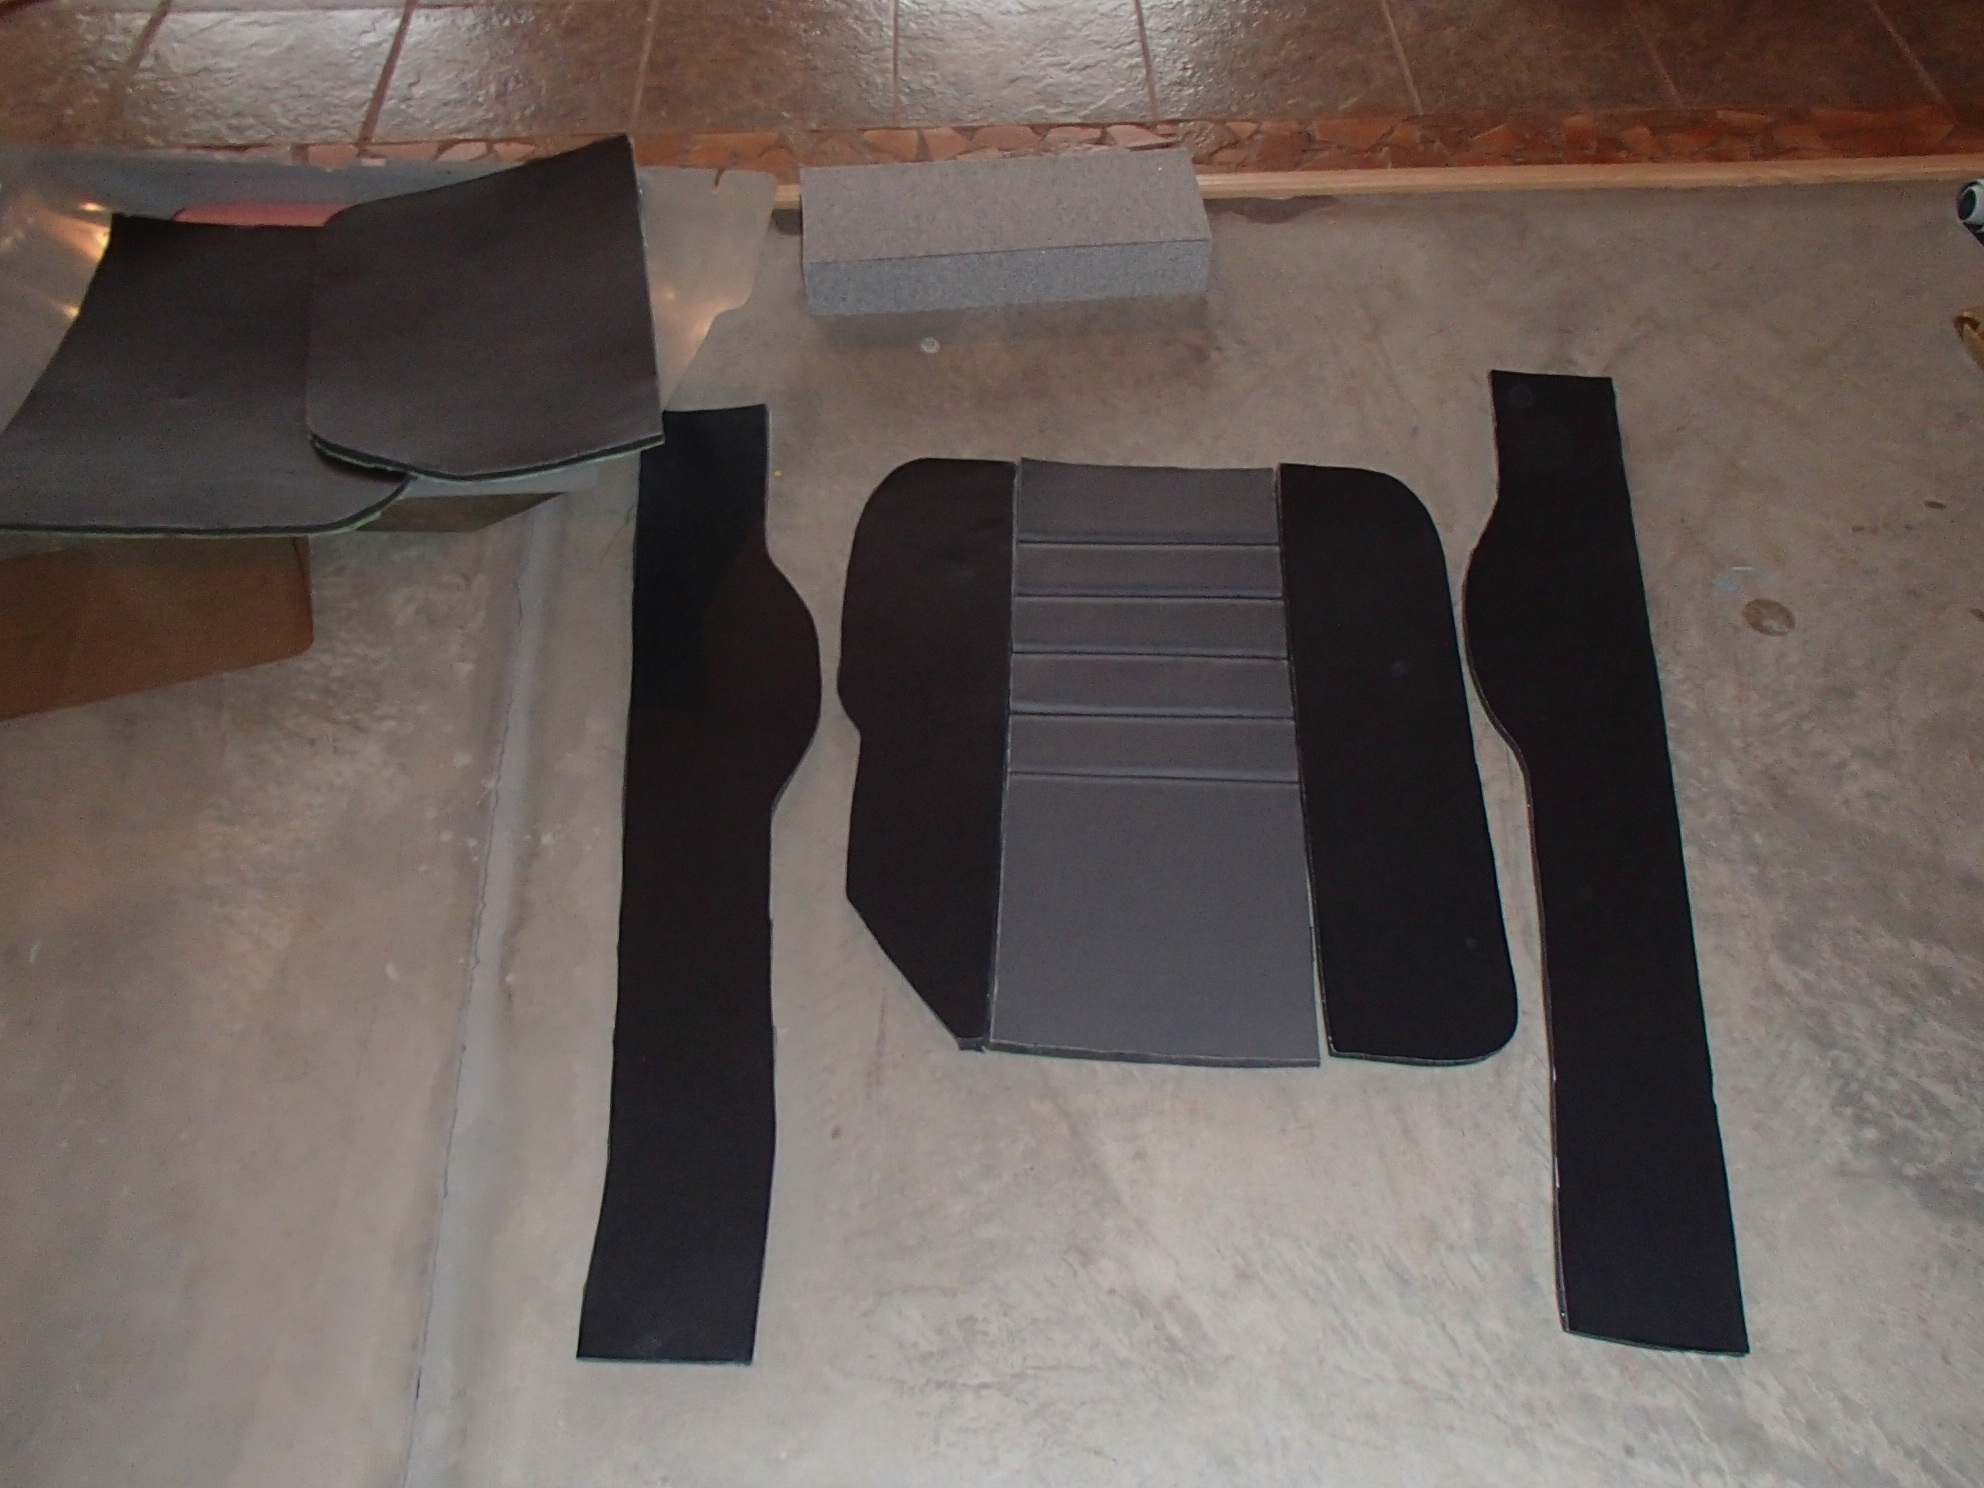
Third, pull your butt foam out and lay it on a table and trace the pattern on paper or poster board. I used a combination of the two. Trace the top, bottom, and split the sides in two and trace them. Once you trace your pattern and cut them out you will now have to transpose that to your material. I used scotch tape to tape the pattern down and then transposed the pattern to the material but added a 3/4” seam allowance. A 3/4” seam allowance seemed to give me the best results if you want to top stitch. Top stitching is kind of an aesthetic thing where you can see the stitching. I did a little on these seats.
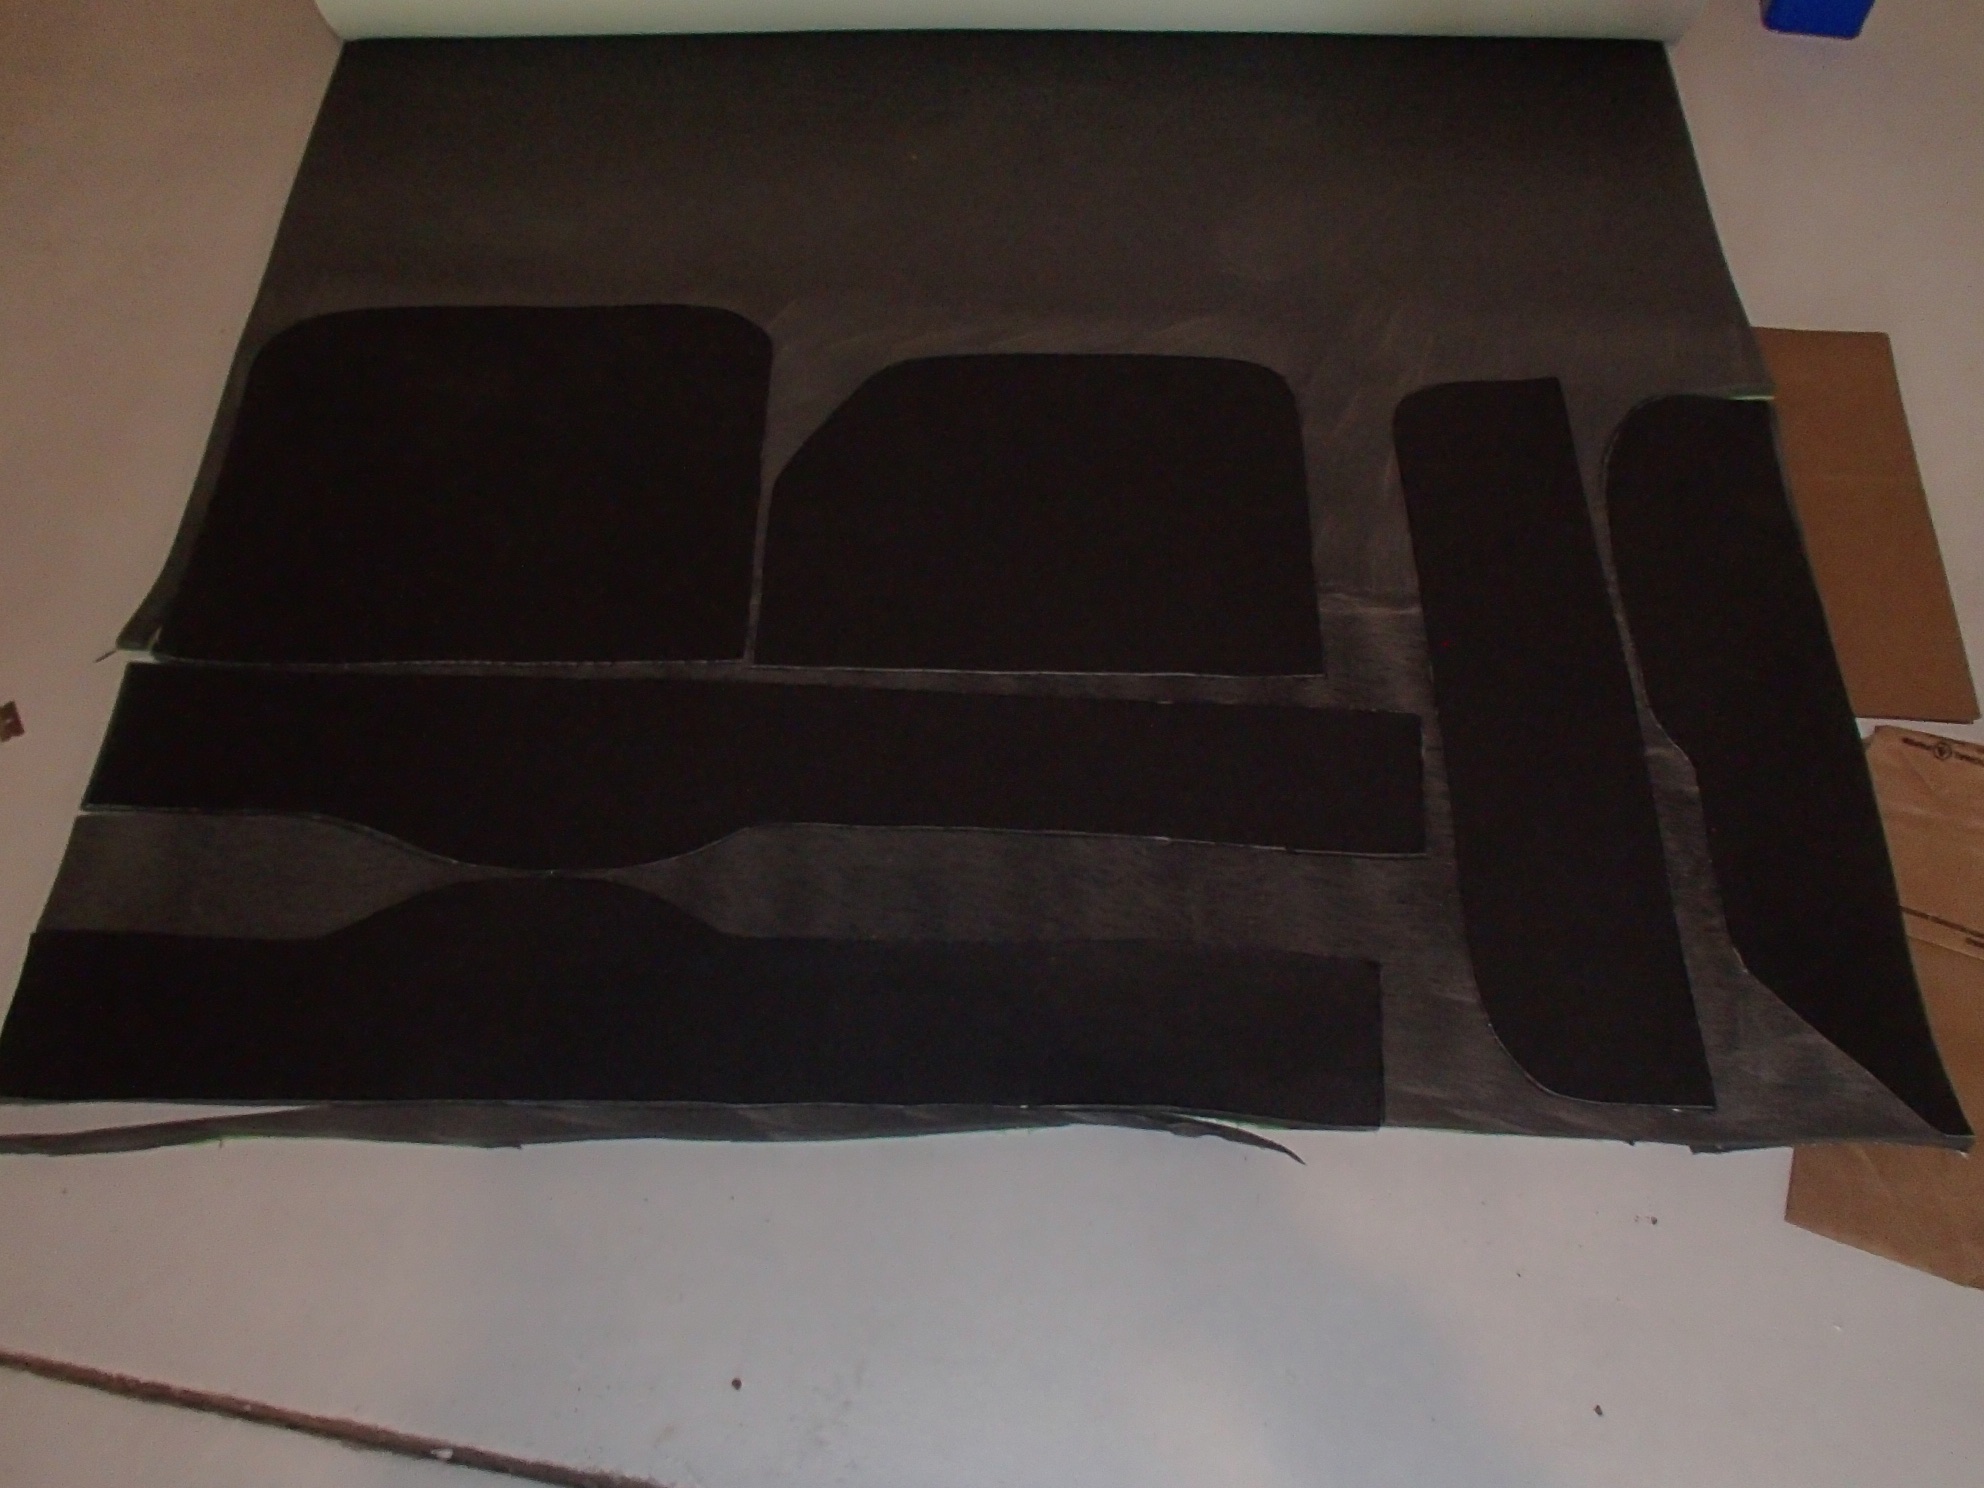
The next step is to take all your material that you cut and glue it to your 1/2” scrim.
The 1/2” scrim takes out a lot of the bumps on the foam from carving and it also softens the edges well. You can use 1/4” but I found that 1/2” gave it a smoother look. I usually lay out my cut parts on the foam to see how they will lay with the least waste and then take them all off and spray with adhesive. Spray both the fabric and the foam for good adhesion. Once it dries you can take a straight razor and cut through the scrim foam to cut your pieces out. I forgot to mention that I use a seam allowance tool that you can set to whatever seam allowance you want and mark off of a pattern. I think they are available at any craft store or even Walmart.
Once I have my foam pieces glued to the fabric I start to sew them together starting with the top. I almost forgot—if you are going to make any sort of pattern like I did (two tone) then you will have to cut your patterns appropriately. The other part of the pattern you will have to cut is the bottom in order to get your foam in. I just cut it in half and added about three inches on one side for a flap with Velcro.
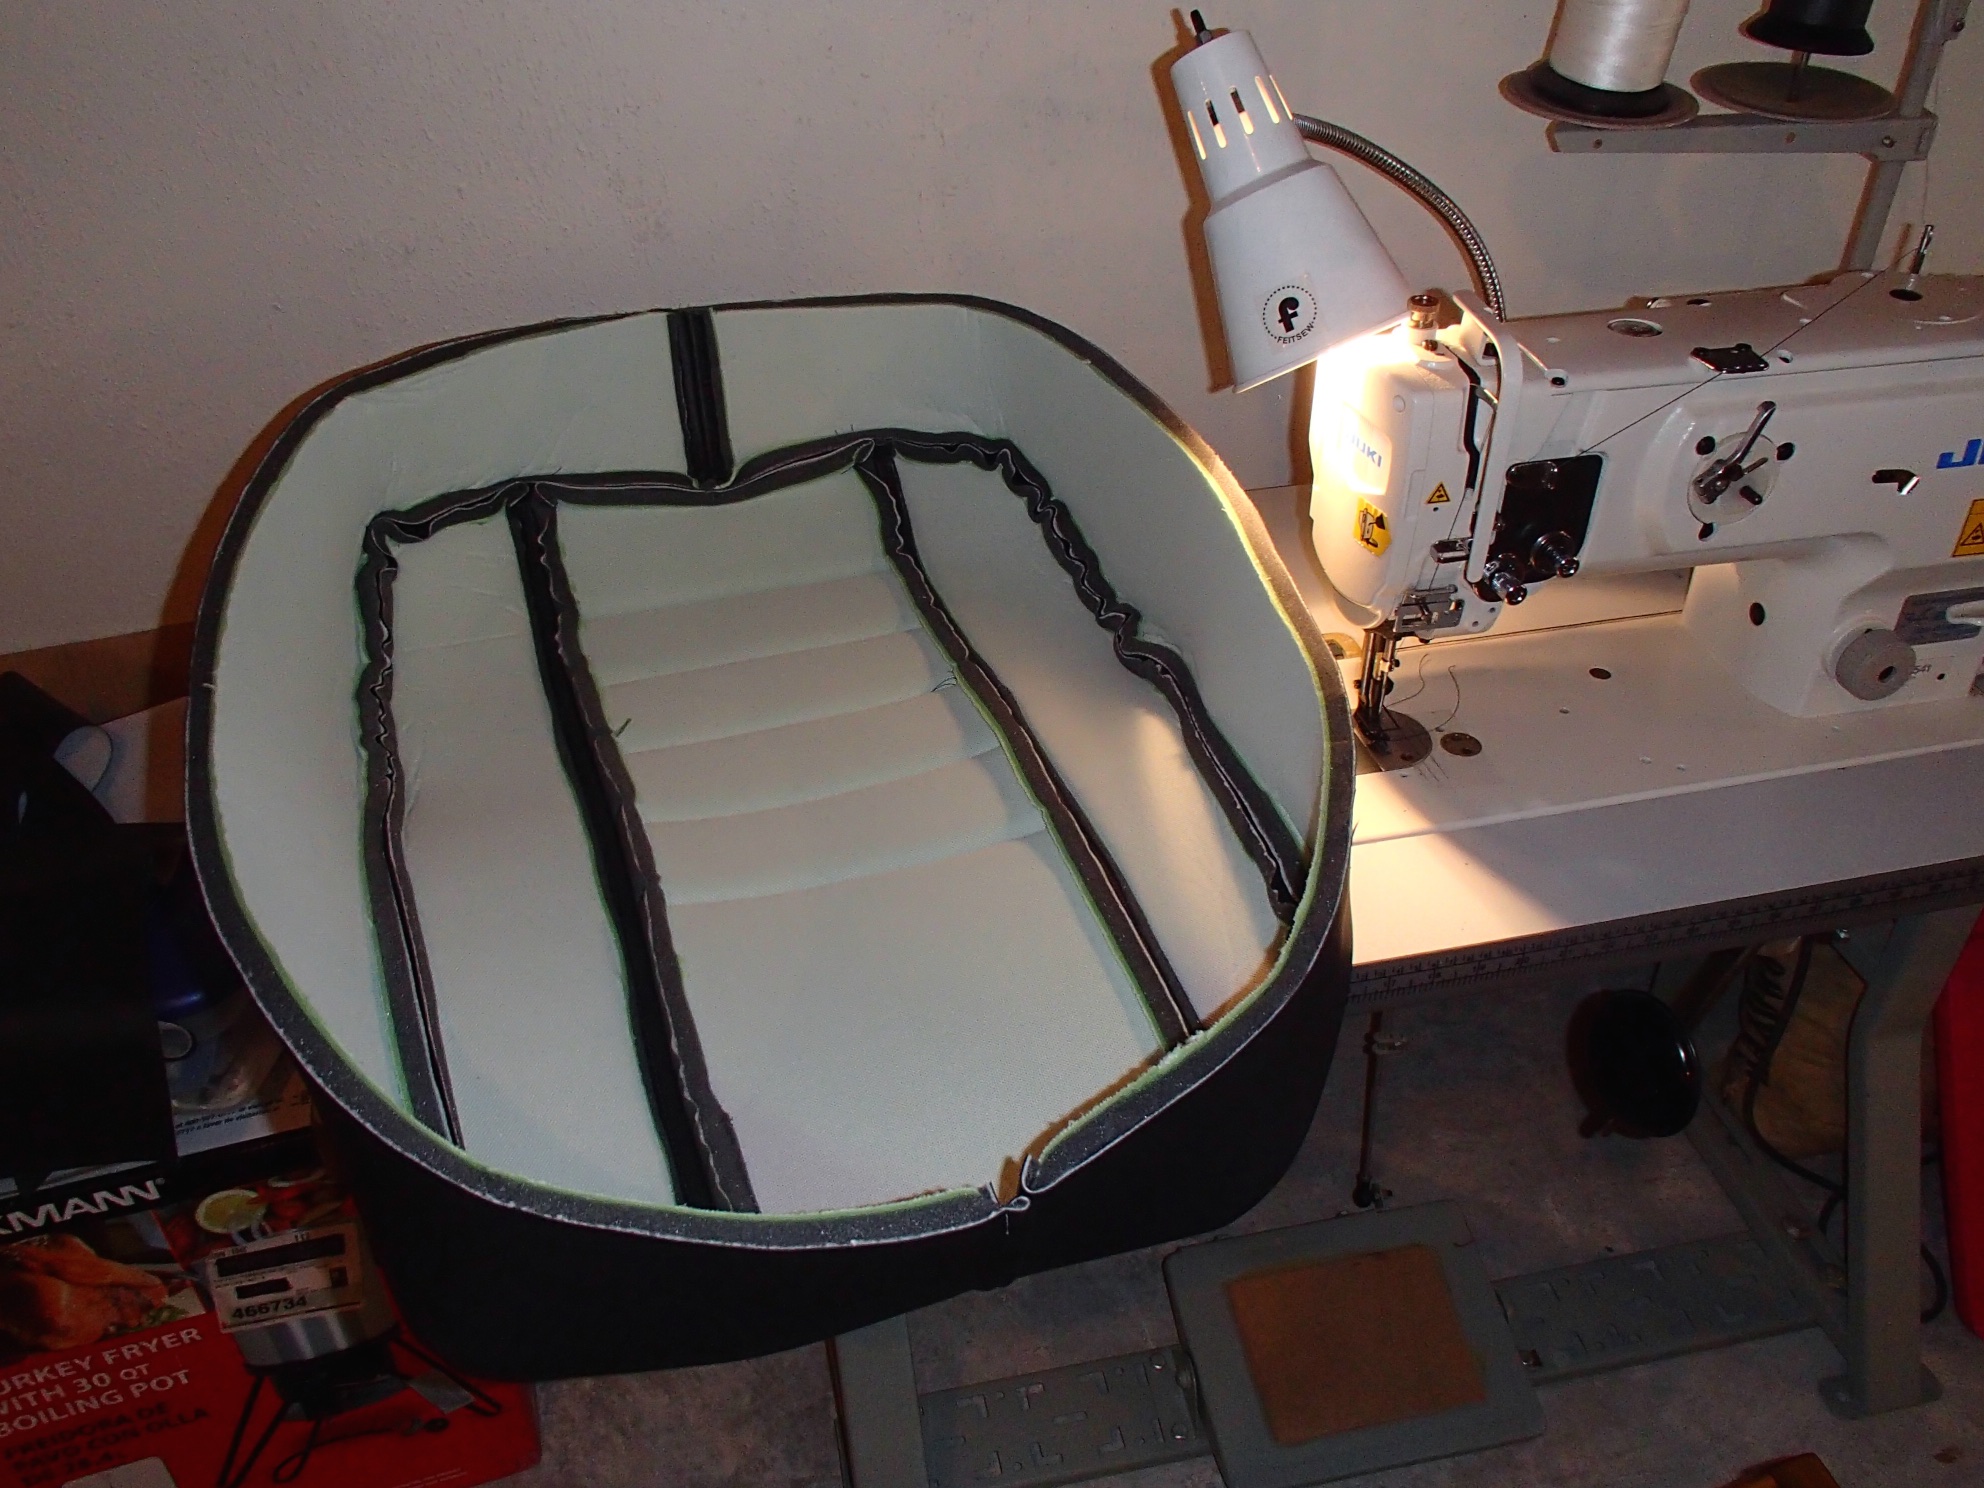
Next, begin by sewing the two wings (in my case) to the center part of the seat cushion. I use a pen mark on my machine table to see where a 3/4” seam allowance is. You can also sew your two side halves together. I top stitched both of these pieces to give it a better look. Once that is done you can sew the side to the top.
When sewing the side to the top I start in the middle (seam) and work my way around. I found it easier to keep things centered especially if you have stretchy material.
If you are going to do any sort of quilting, then you will have to cut that piece slightly longer because the quilting takes up a tiny bit of material. There are formulas out on the web but I just left about an extra half an inch and then cut it off once I sewed the center section to the wings. There’s no reason to lock stitch your quilt because it gets locked in when you join the sides to it. Lock stitch is when you go back one or two stitches at the beginning and end of a sewing run to lock the thread in.
The other note is for top stitching. If you plan on top stitching some of the top it is best to do it before you sew on your sides because it’s less awkward to move around the machine.
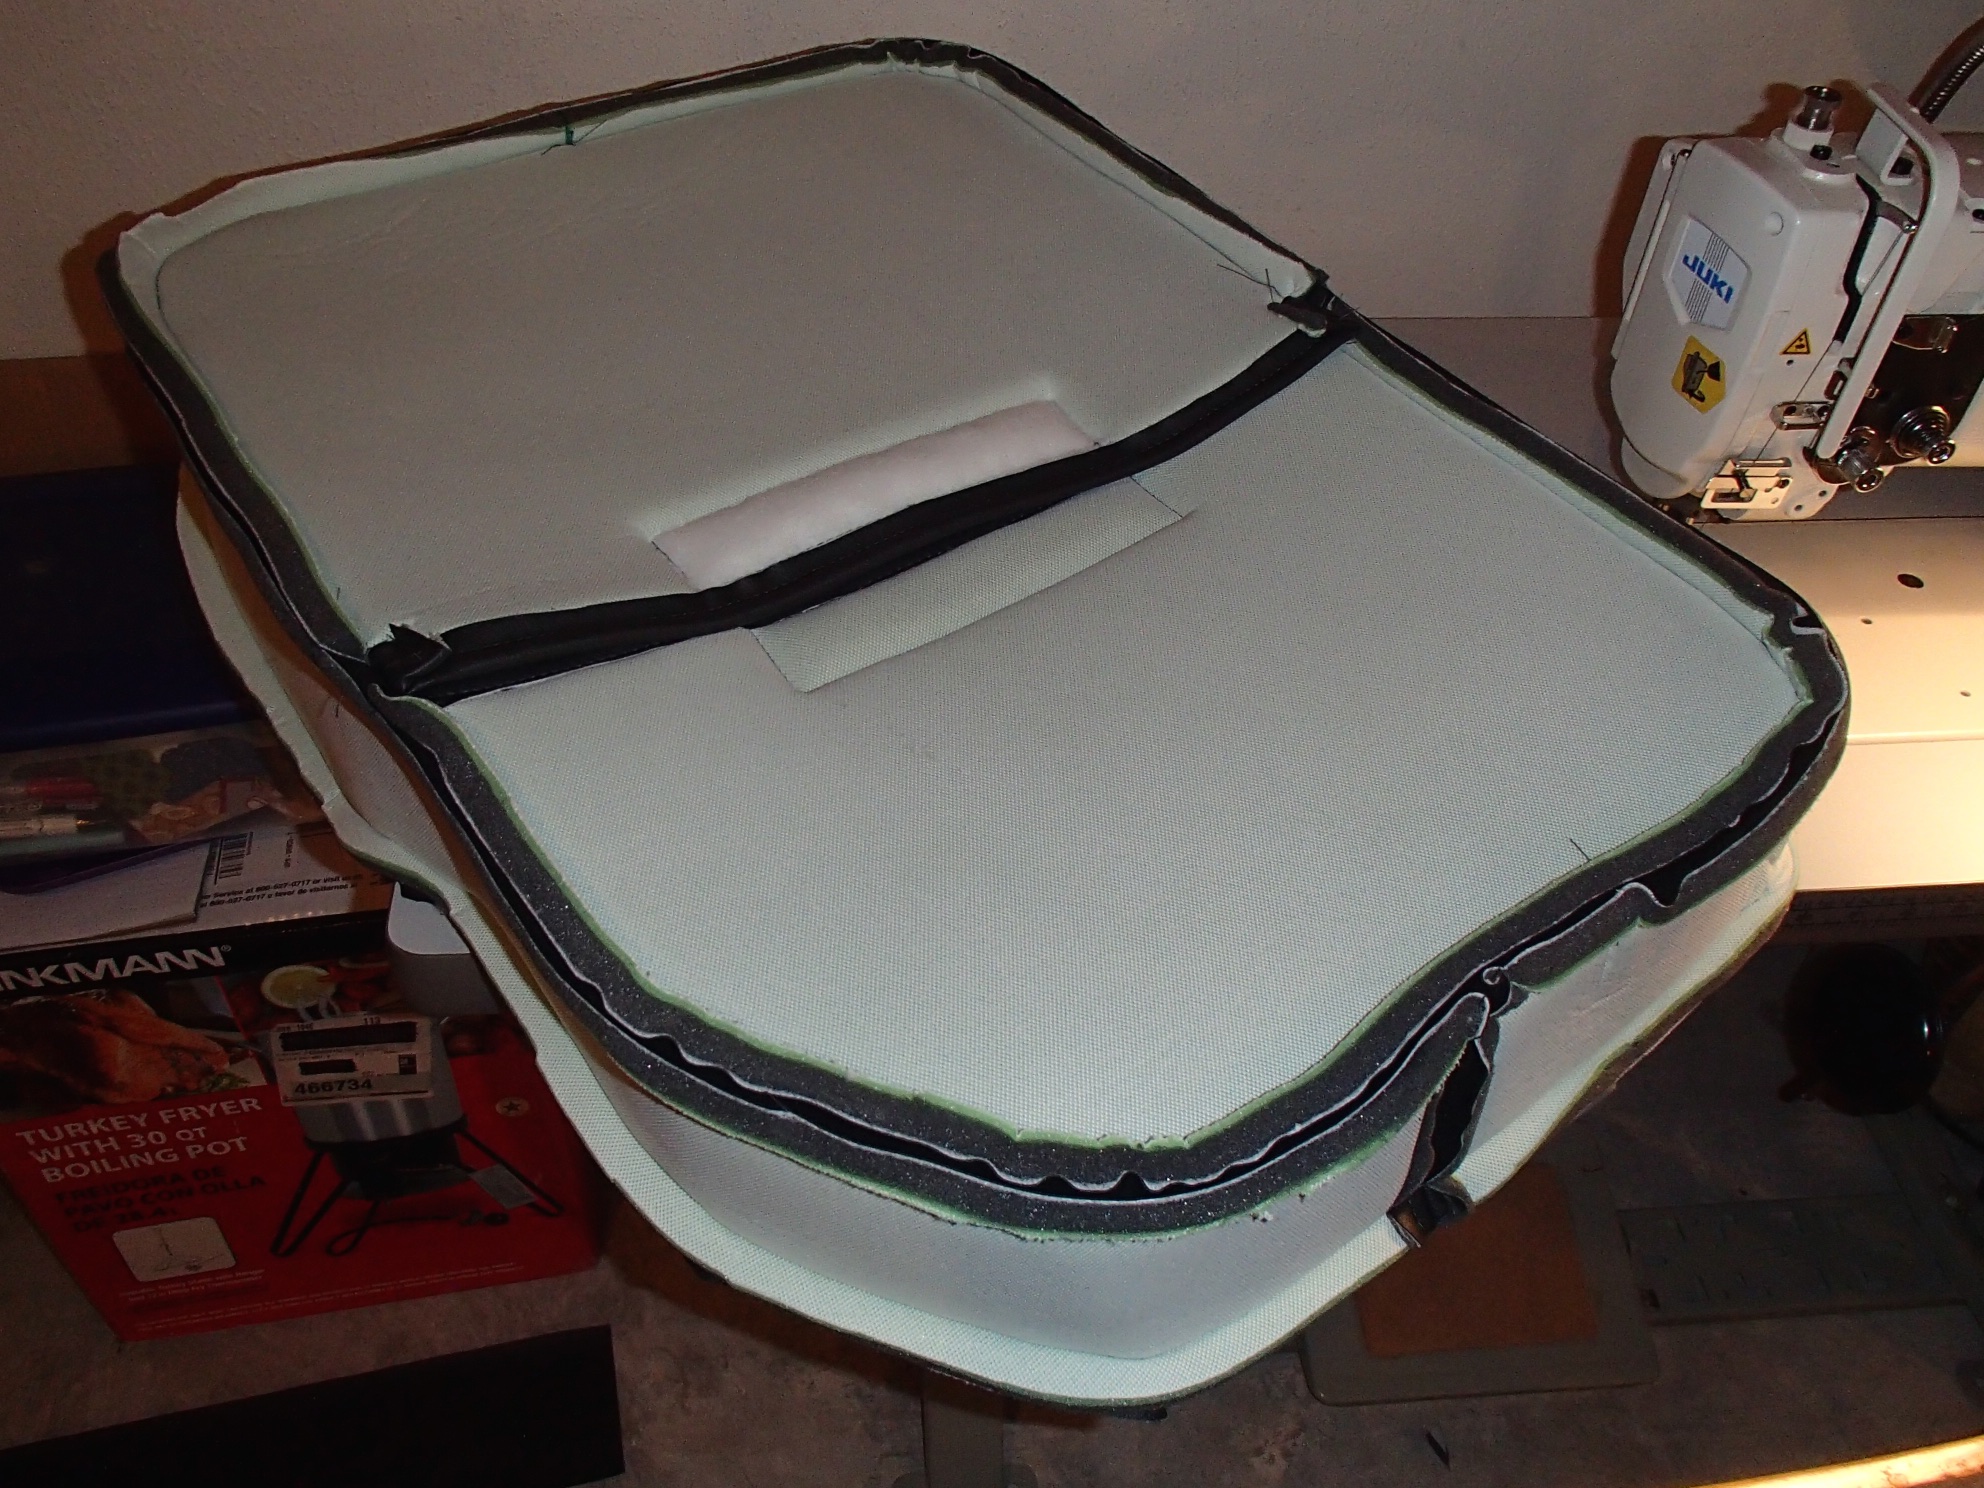
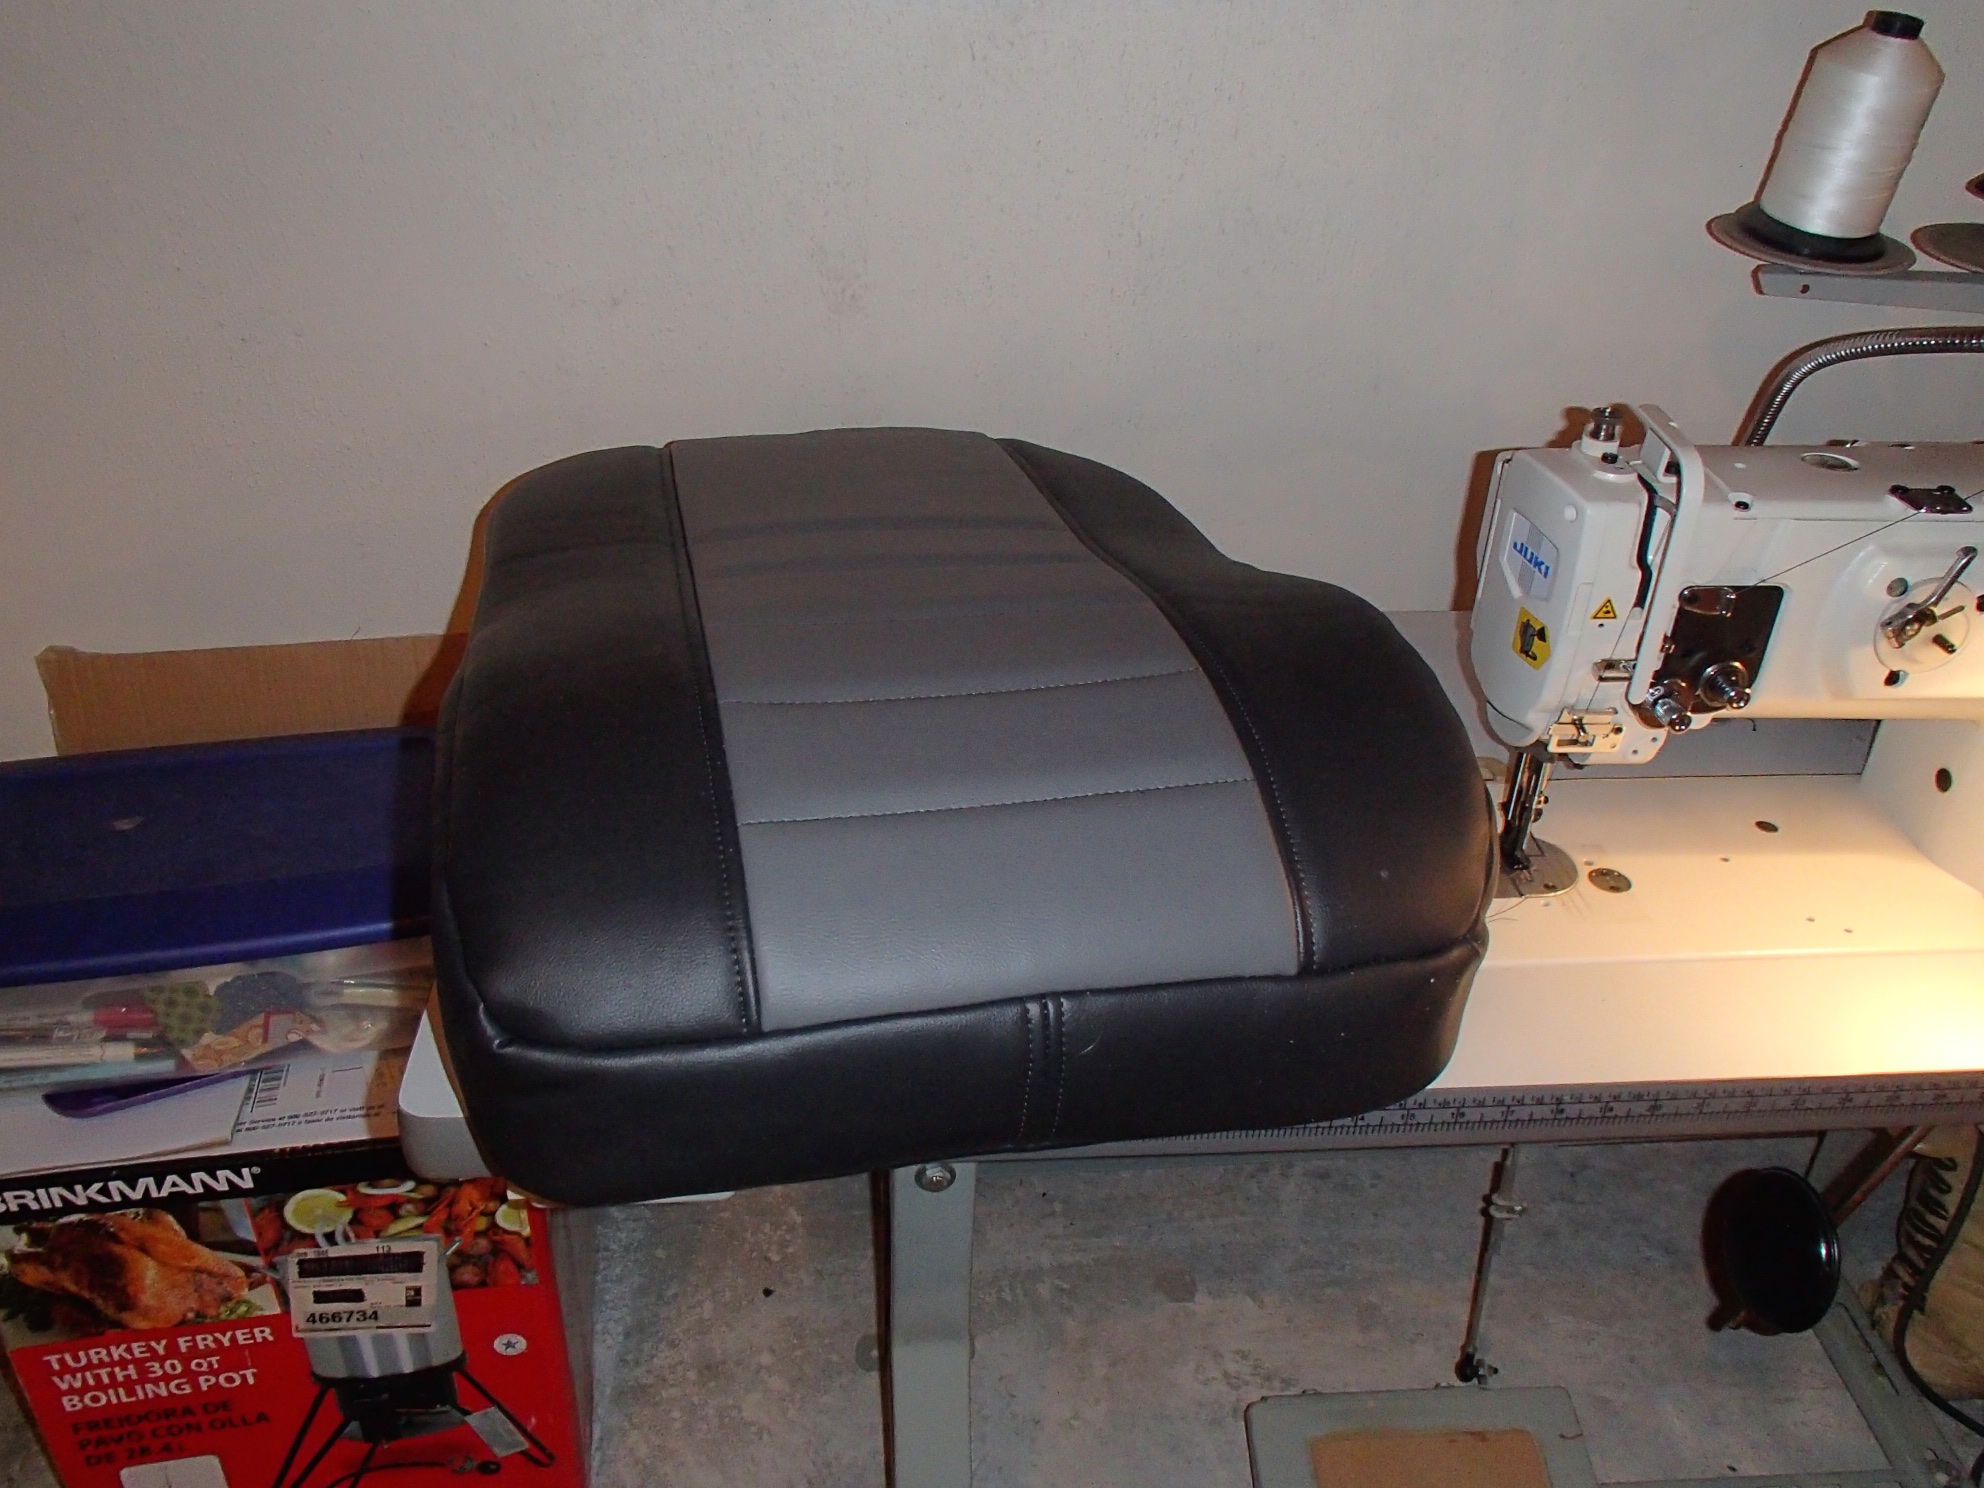
Finally, I test fit the top and sides to see how it fit and then I sewed on the back bottom. If you are going to put Velcro on it’s best to do this before you begin sewing the bottoms on. I test fit it once more and then put the final piece on.
Notes:
For vinyl and leather you will have to use a needle specifically designed for this material. Sewing leather is a little bit tricky because it sticks a little. If you look on the web, there are all kinds of ways to prevent the sticking.
I was able to stuff the foam in just from having the bottom split in two.
For the split on the bottom don’t forget to sew the seam at the opening before you sew the bottom to the sides.
I use Vis-A-Vis markers because you can wipe them off with a little water and paper towel.
I did some experimenting and found that it was easiest to use a piece of tempered hardboard (1/8”) inserted between the cushion and the seatback frame. I may go back later and make one out of fiberglass but I may not need to because it seems to work fine.
Total cost for both of my seats was right around $500, including all the foam and material. It took about a day to make a seat bottom and back.


