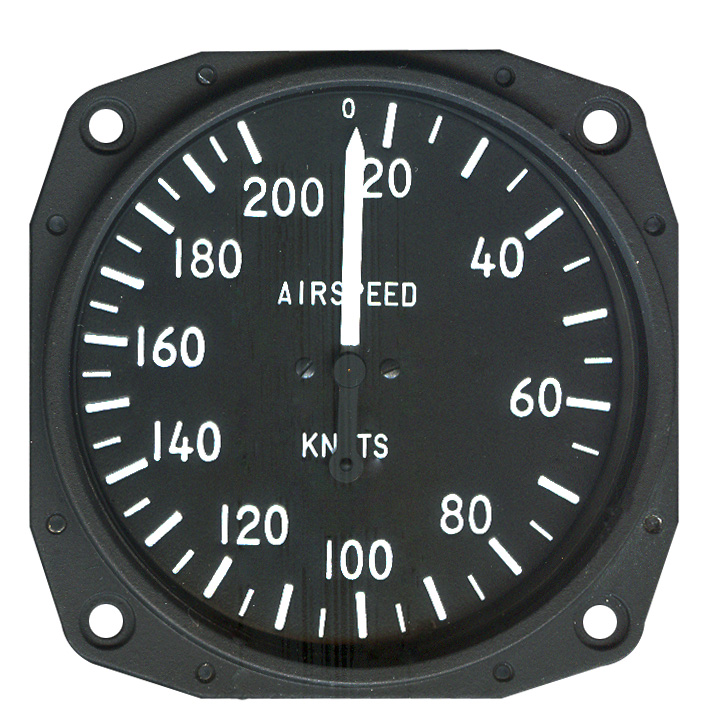
 While flying off your test time, why not check your airspeed gauge? A simple, somewhat accurate way, if you have access to GPS, is to fly the same indicated airspeed (IAS) in a triangle of 120° legs (say in 5kt, or MPH, intervals) and copy down the three readings from the GPS. Use a calculator to add up the three readings and divide by three to get the actual or calibrated airspeed (CAS). The triangle nullifies the existing wind component. It doesn’t matter that you’re drifting in the wind, it’s the 120° change in direction that’s important. I use the directional gyro, but a compass would work. For practical reasons I used full flaps from stall to 55, half flaps from 60 to 75, and no flaps from 80 on. You may wish to check your airspeed with no flaps and then full flaps and see if a major difference occurs. Fly level and be consistent on your airspeed. It’s good training and may surprise you at the actual speeds you’re moving through the air. I ended up with a simple chart comparing indicated and actual airspeeds for every 5 knots from 40 to 160 knots.
Since we know the GlaStar wing will actually stall at 41 to 43 knots with full flaps you have a baseline at the bottom end. I always check the indicated stall speed in strange GlaStars so I know what speed to fly that airplane in approach and landing. One GlaStar I flew, (that doesn’t use Stoddard Hamilton’s static system) stalls at 0 IAS. Very important to know, since this is a big error at the low end.


[…] Download Image More @ glasair-owners.com […]