Many builders have had difficulty installing their gear extension springs. The following is a technique sent in by David Gengenbach that could make your life a little easier.
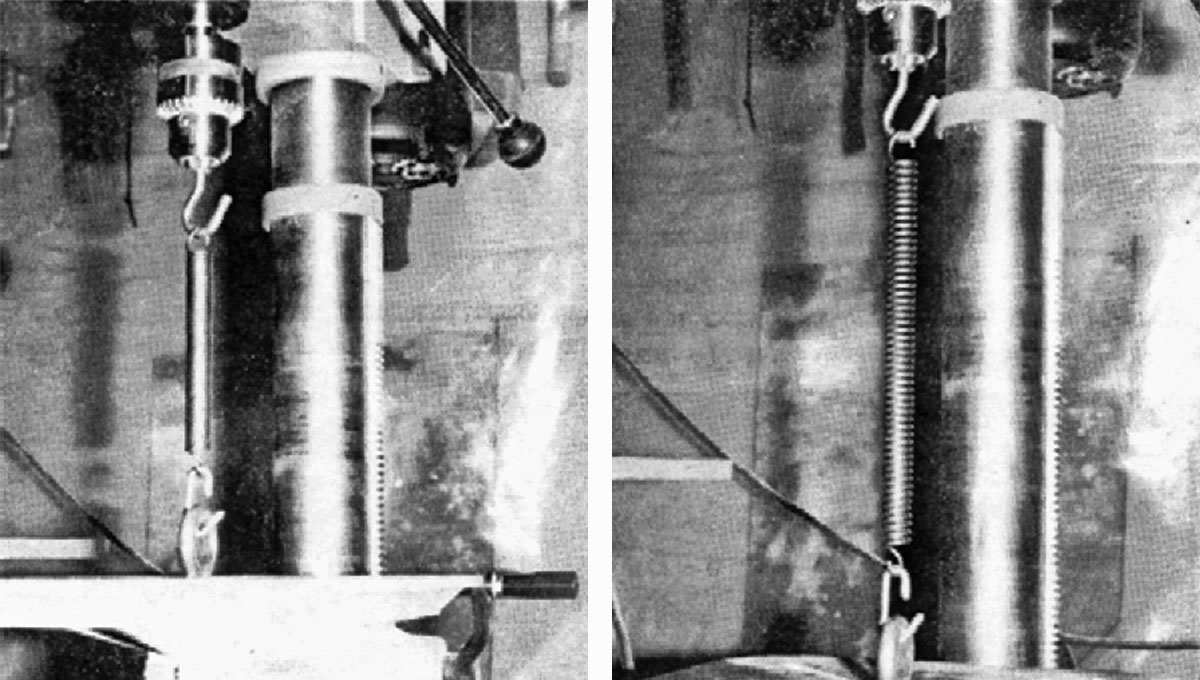 Using a drill press, unplugged electrically, with a hook in the chuck and an eye bolt with an “S” hook mounted to the table, the spring may be extended to the desired length by cranking the table down with chuck locked in the up position. If there is no crank on the table, lock the table with chuck in the most down position with a non-extended spring hooked in place. Raise the chuck to extend spring to desired length.
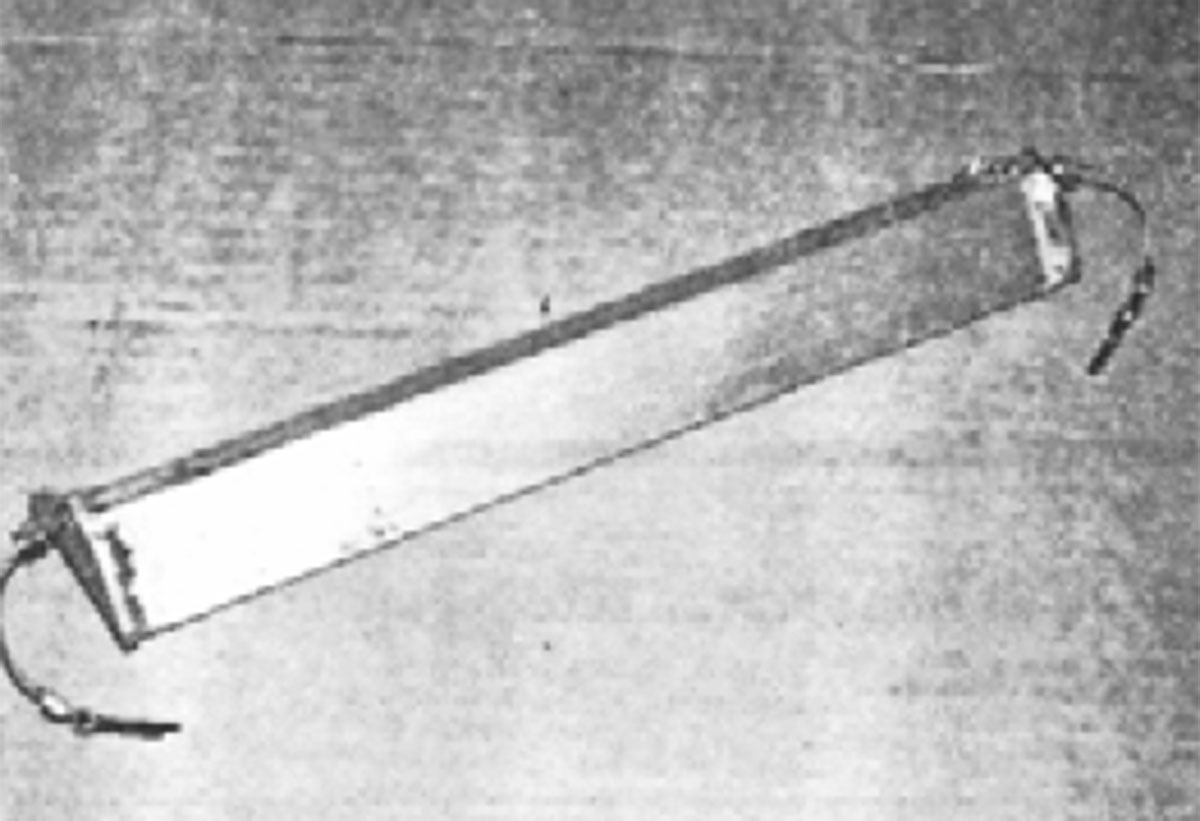
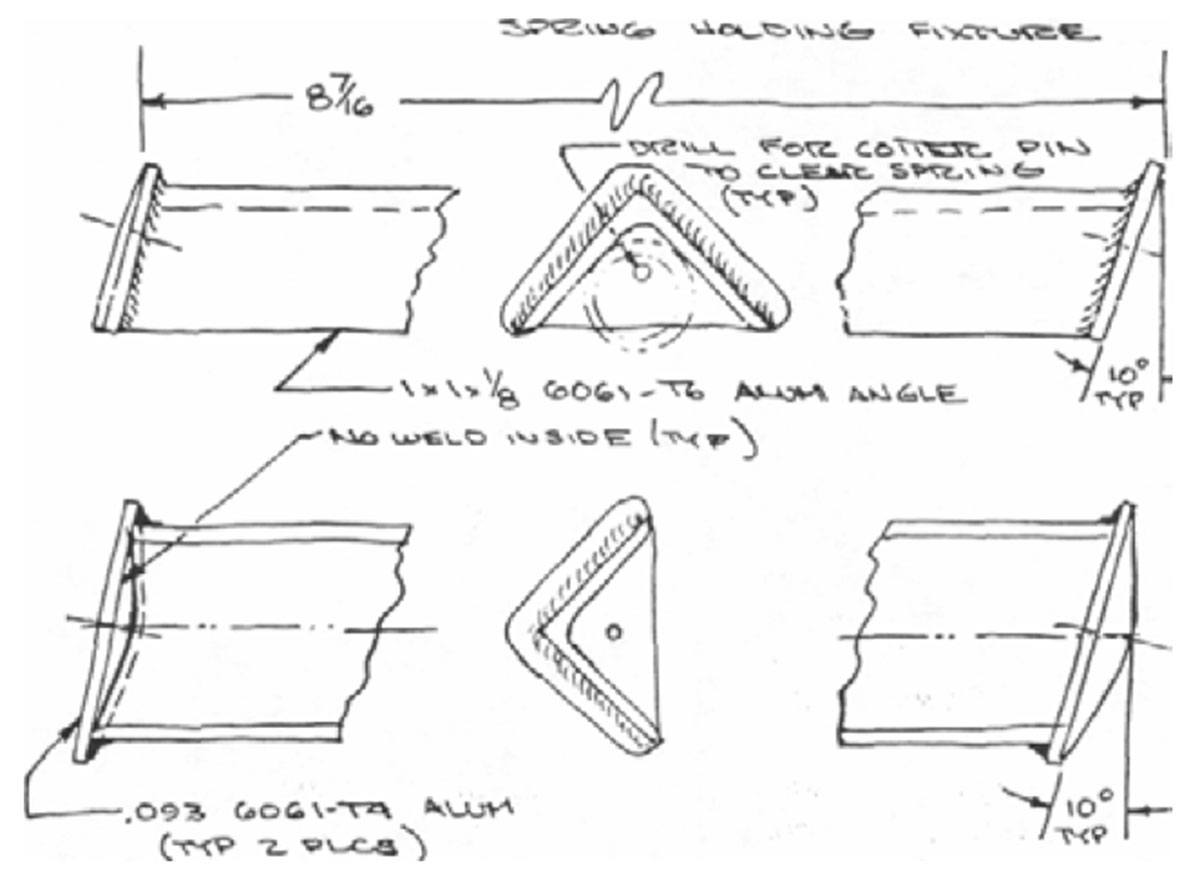
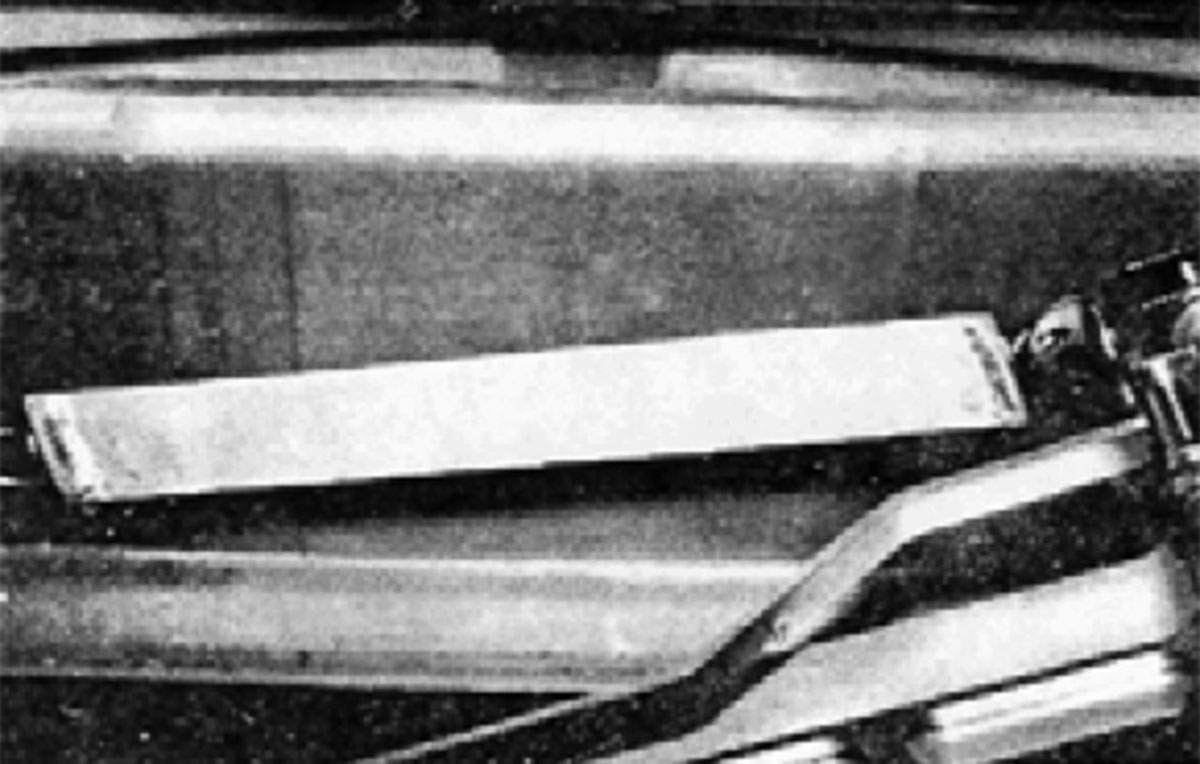
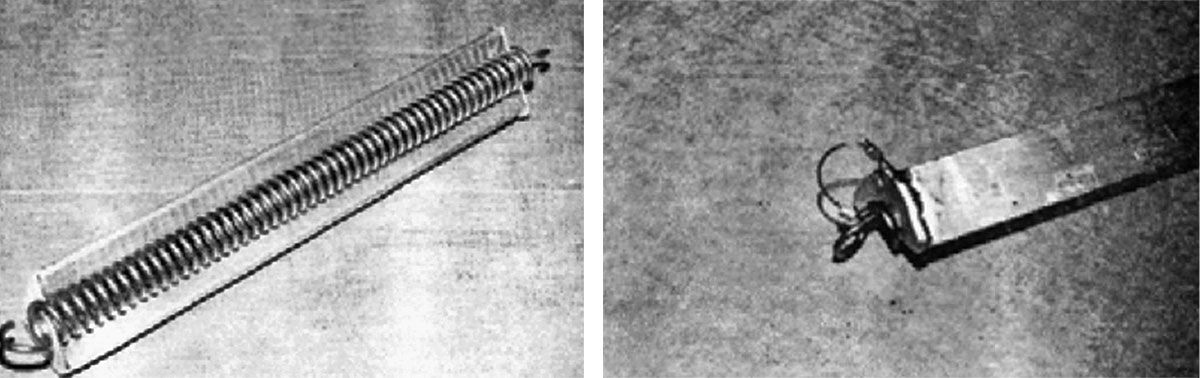 Left: Slide holding fixture into whatever coils satisfy the length requirement. Right: Insert cotter pins to prevent the spring from slipping off the fixture, (do not spread cotters).
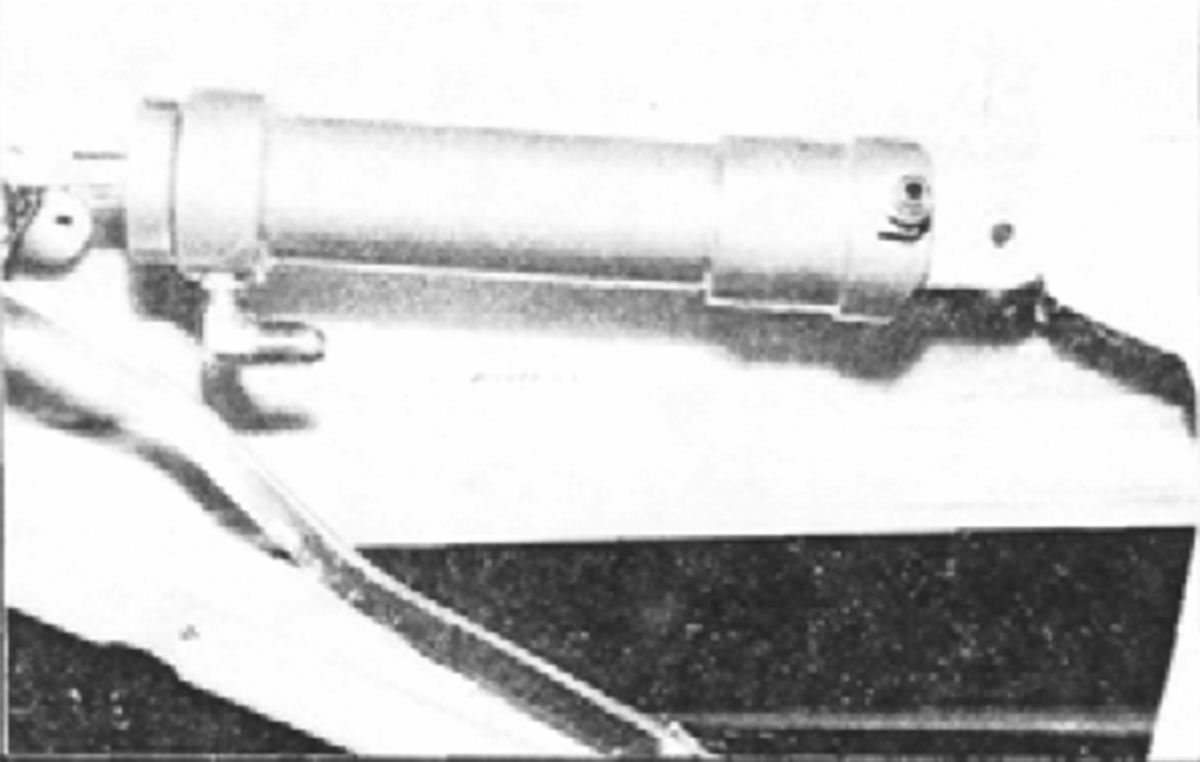 With no hoses connected to the hydraulic cylinder and the cylinder disconnected from the main gear (AN 4-7A), the cylinder will be allowed to rotate so the 90° fitting will clear the holding fixture.
Hook the spring into mounting tabs, with the open end aft on the bellcrank attach point and with the remaining open end forward on the bearing housing tab. Retract gear slightly to put a small amount of tension on the spring.
Pull cotter pins, and remove fixture.
This procedure in reverse will allow removal of the spring(s), if it ever becomes necessary.