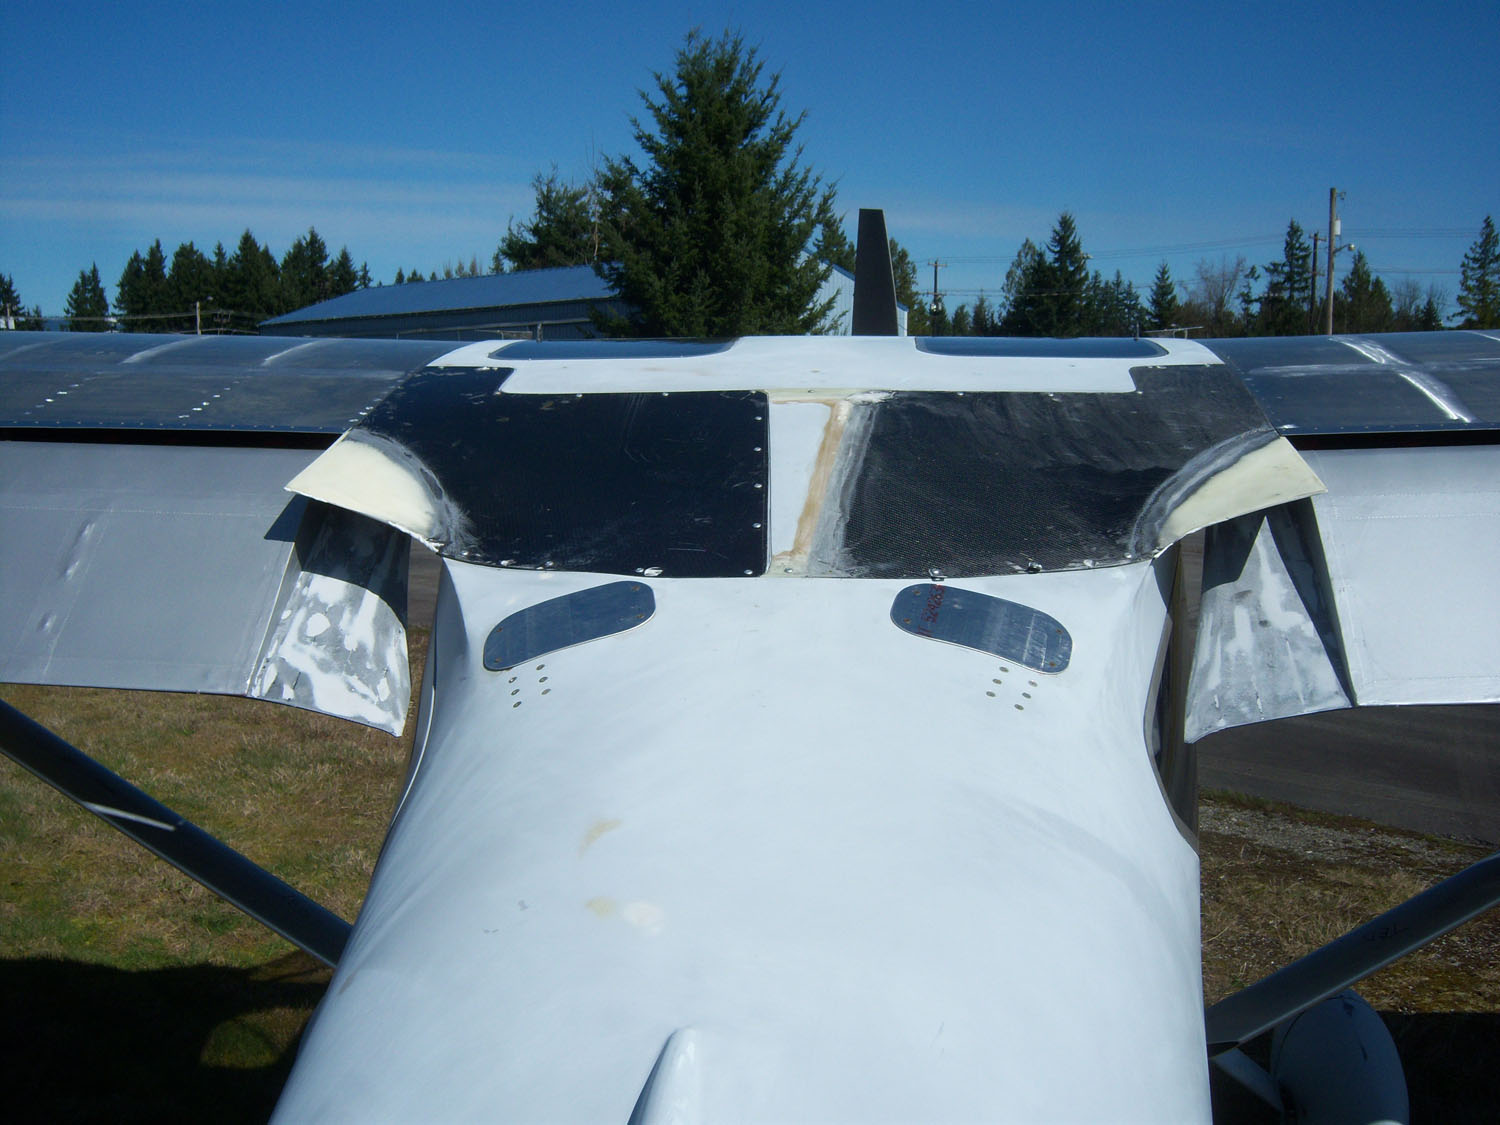
One of my goals is to obtain as low of a stall speed as reasonably possible. Enlarging the wing and flap area and reducing the empty weight are the things I targeted, but once the plane was assembled, I noticed the flap-to fuselage intersection with the flaps deployed. All Sportsman and GlaStar aircraft have this gap as well. I thought that if I could span this gap, it would add more flap area but also help to plug the gap where some of the air could be spilling off.
After finally getting my flaps to work to a satisfactory level, I tested these inboard flap/fuselage close out pieces. Holy cow was I ever amazed at the results!
As you know, I literally worked and slaved for hundreds of hours to make my flaps bigger and then worked for several weekends and evenings to rip out, re-engineer and re-install the flap pulley and bellcrank inside the wings (ship in the bottle work) to get the flap handle forces under control only to realize a total reduction of 3 knots in stall speed. OK, 3 knots is something but was it worth all the effort?
Now, owners of existing GlaStars and Sportsman aircraft interested in stall speed reduction (shorter takeoff and landing distances) can have the same results with a fraction of the effort.
Introducing the Setzman flap close-outs
Well, I performed a series of stall speed tests at 20 degrees and 33 degrees flap settings with and without the flap close-out pieces and voilà! I got a solid reduction of another 3 knots in stall speed. This is the simplest, easiest way to get a significant stall speed reduction I’ve ever seen. Apparently Boeing did something very similar on the 767 model with astounding results as well.
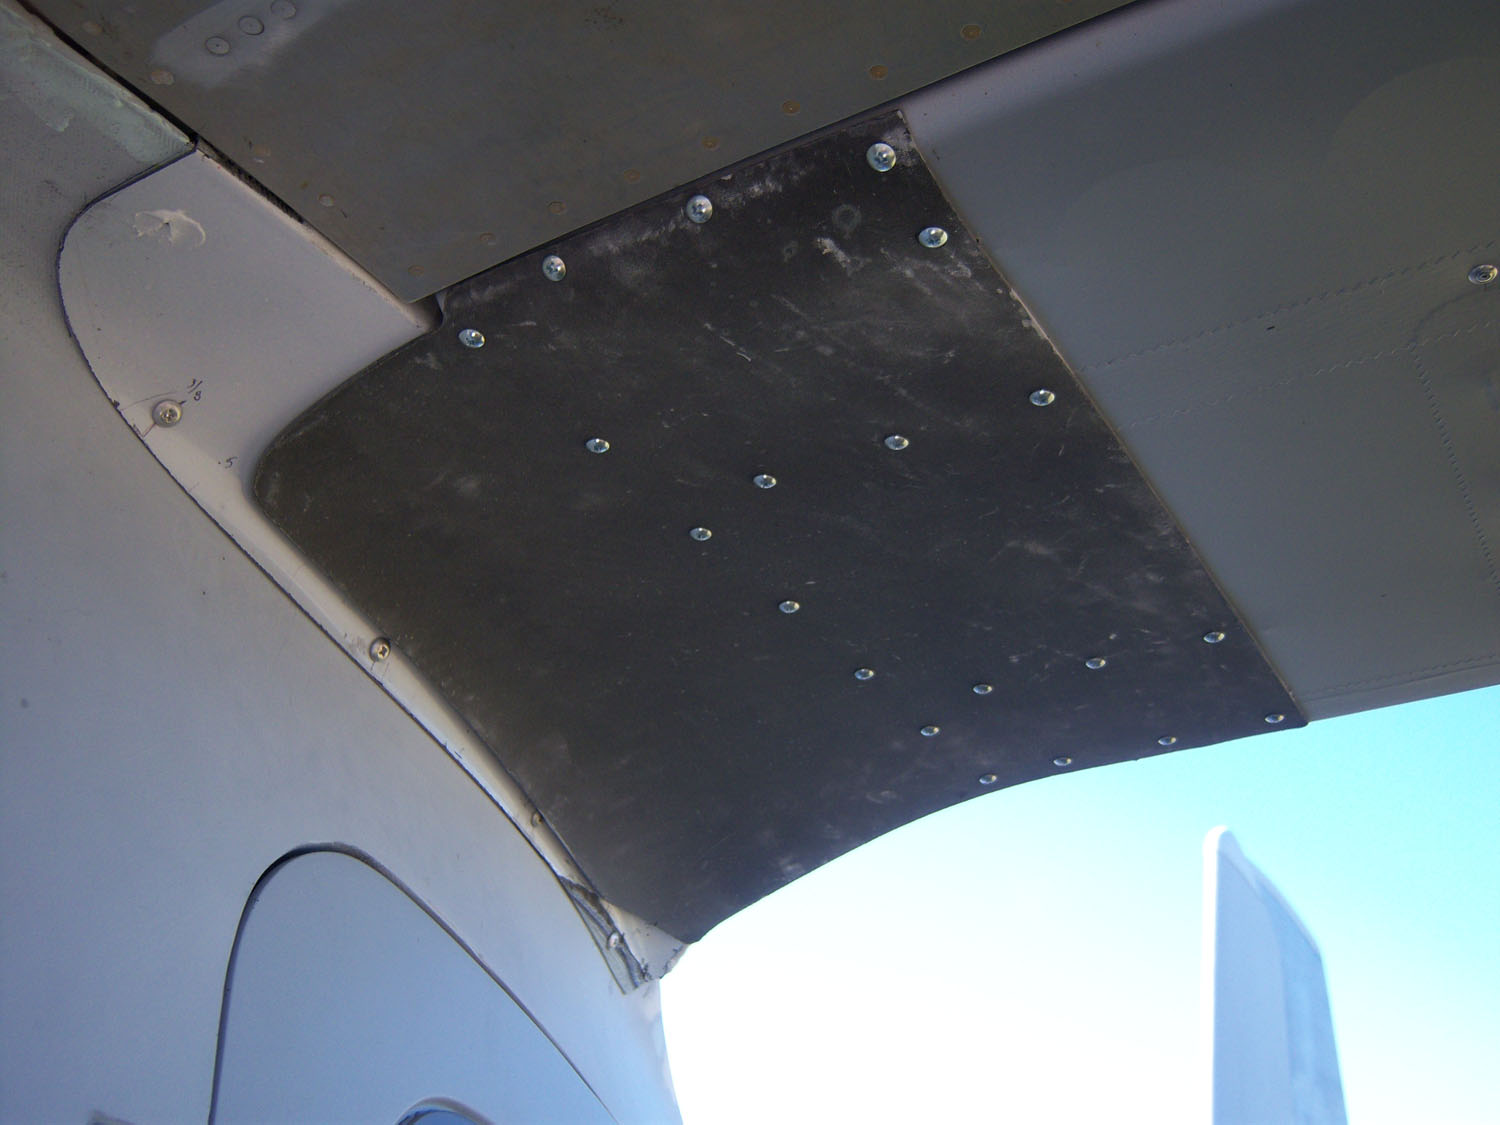
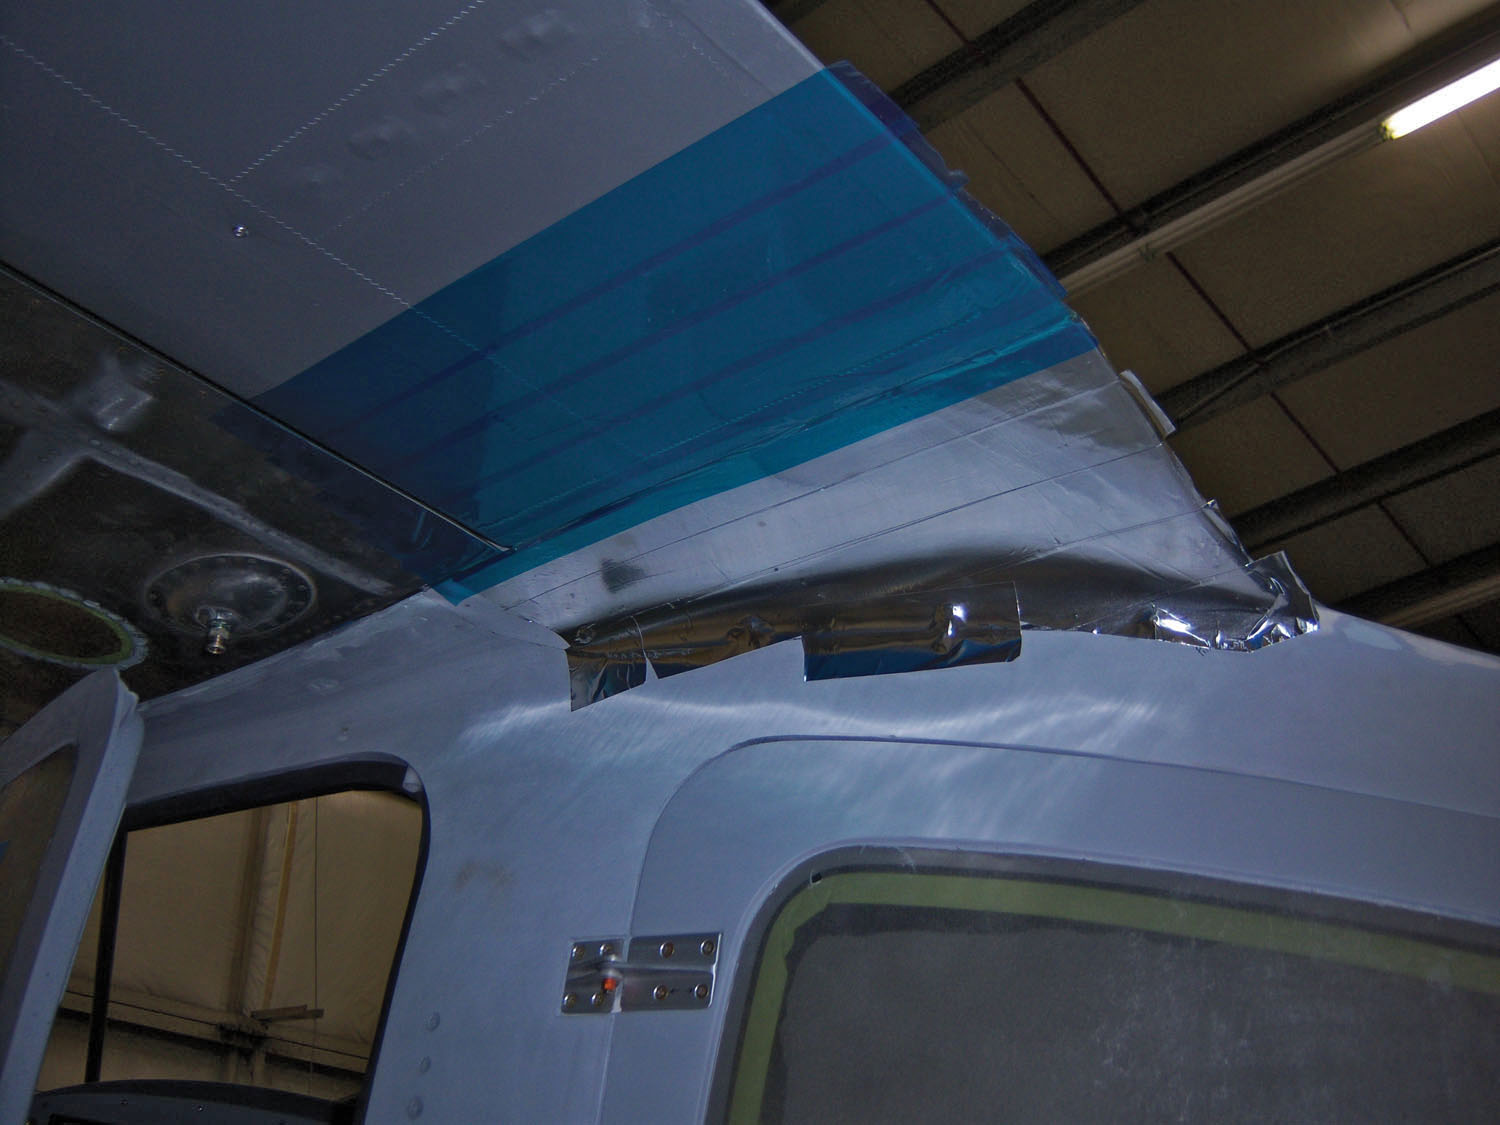
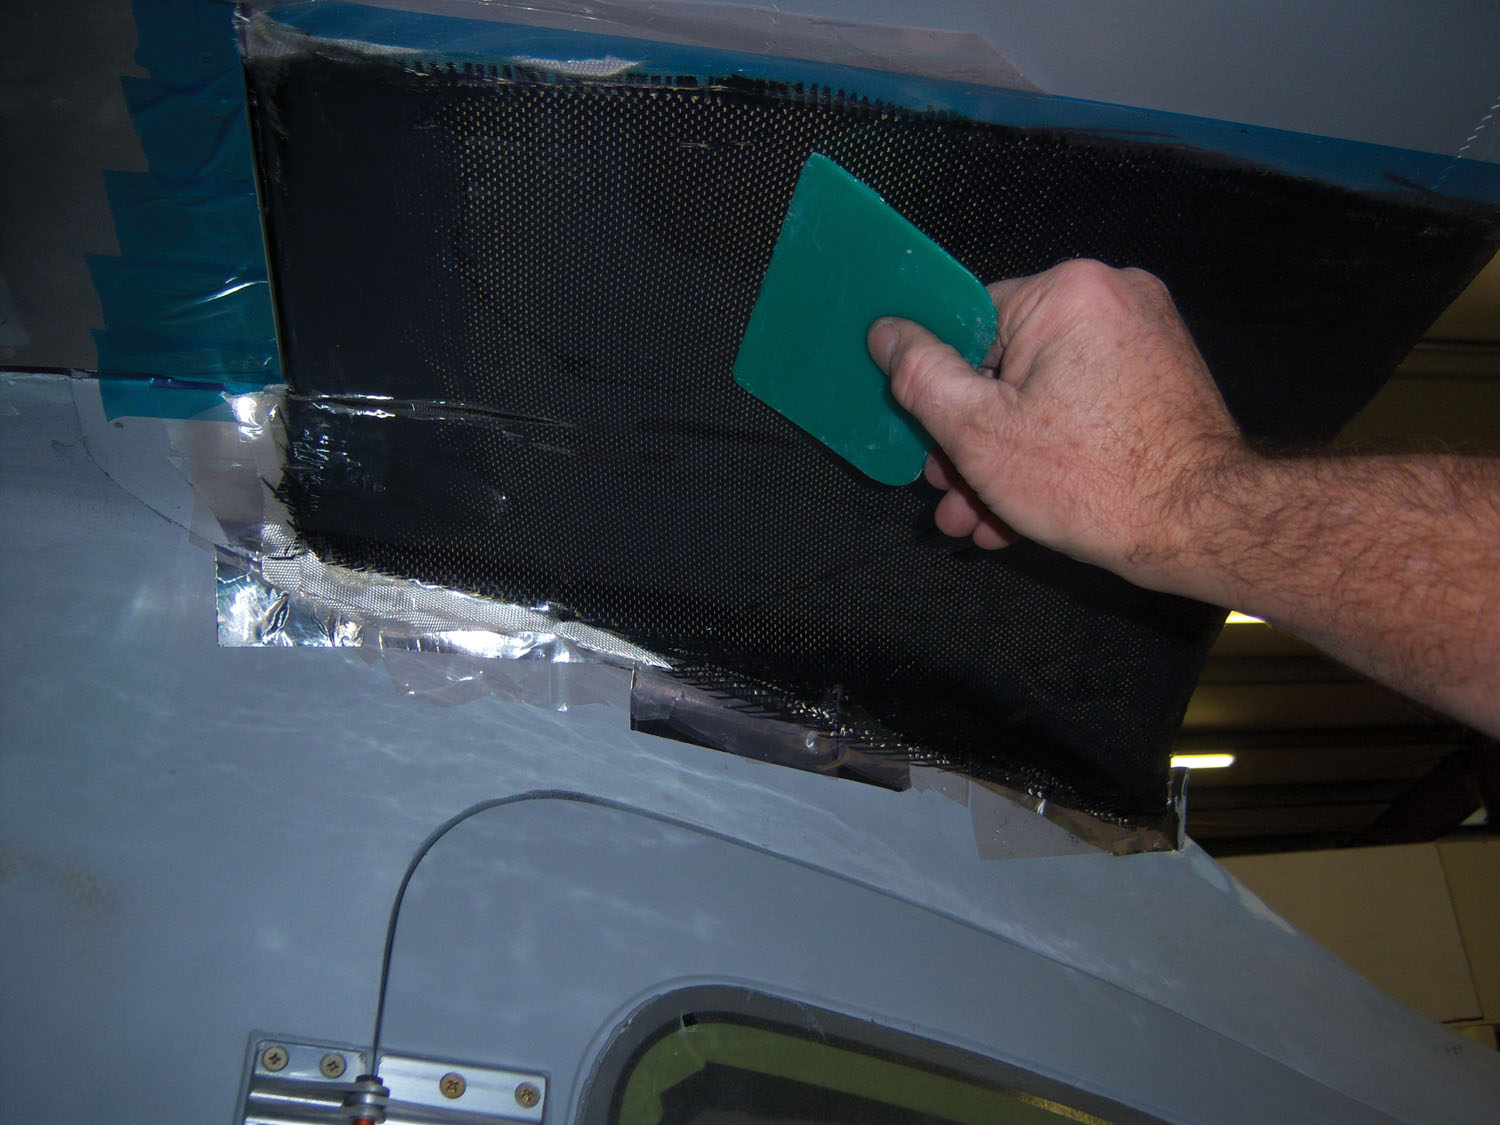
The flap close-outs fit completely flush to the fuselage hatch cover in flight and need to be trimmed to leave at least 3/8” gap with the fuselage or aft windows.
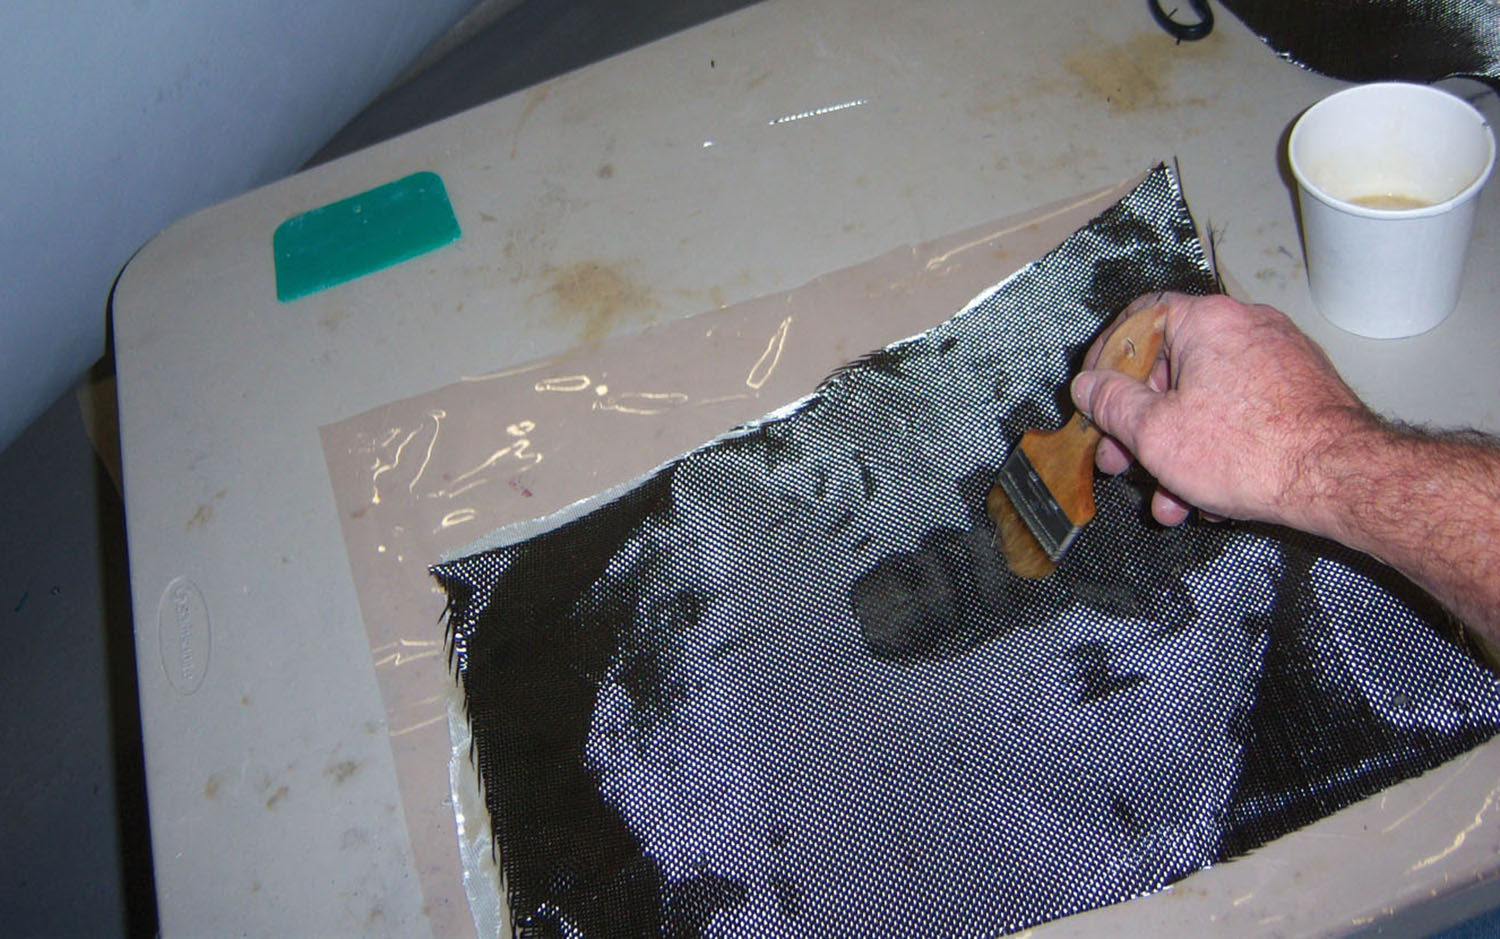
I made mine initially with 3 plies of carbon and two plies of fiberglass. They weren’t quite stiff enough, so I added 3 more plies of carbon fiber cloth.
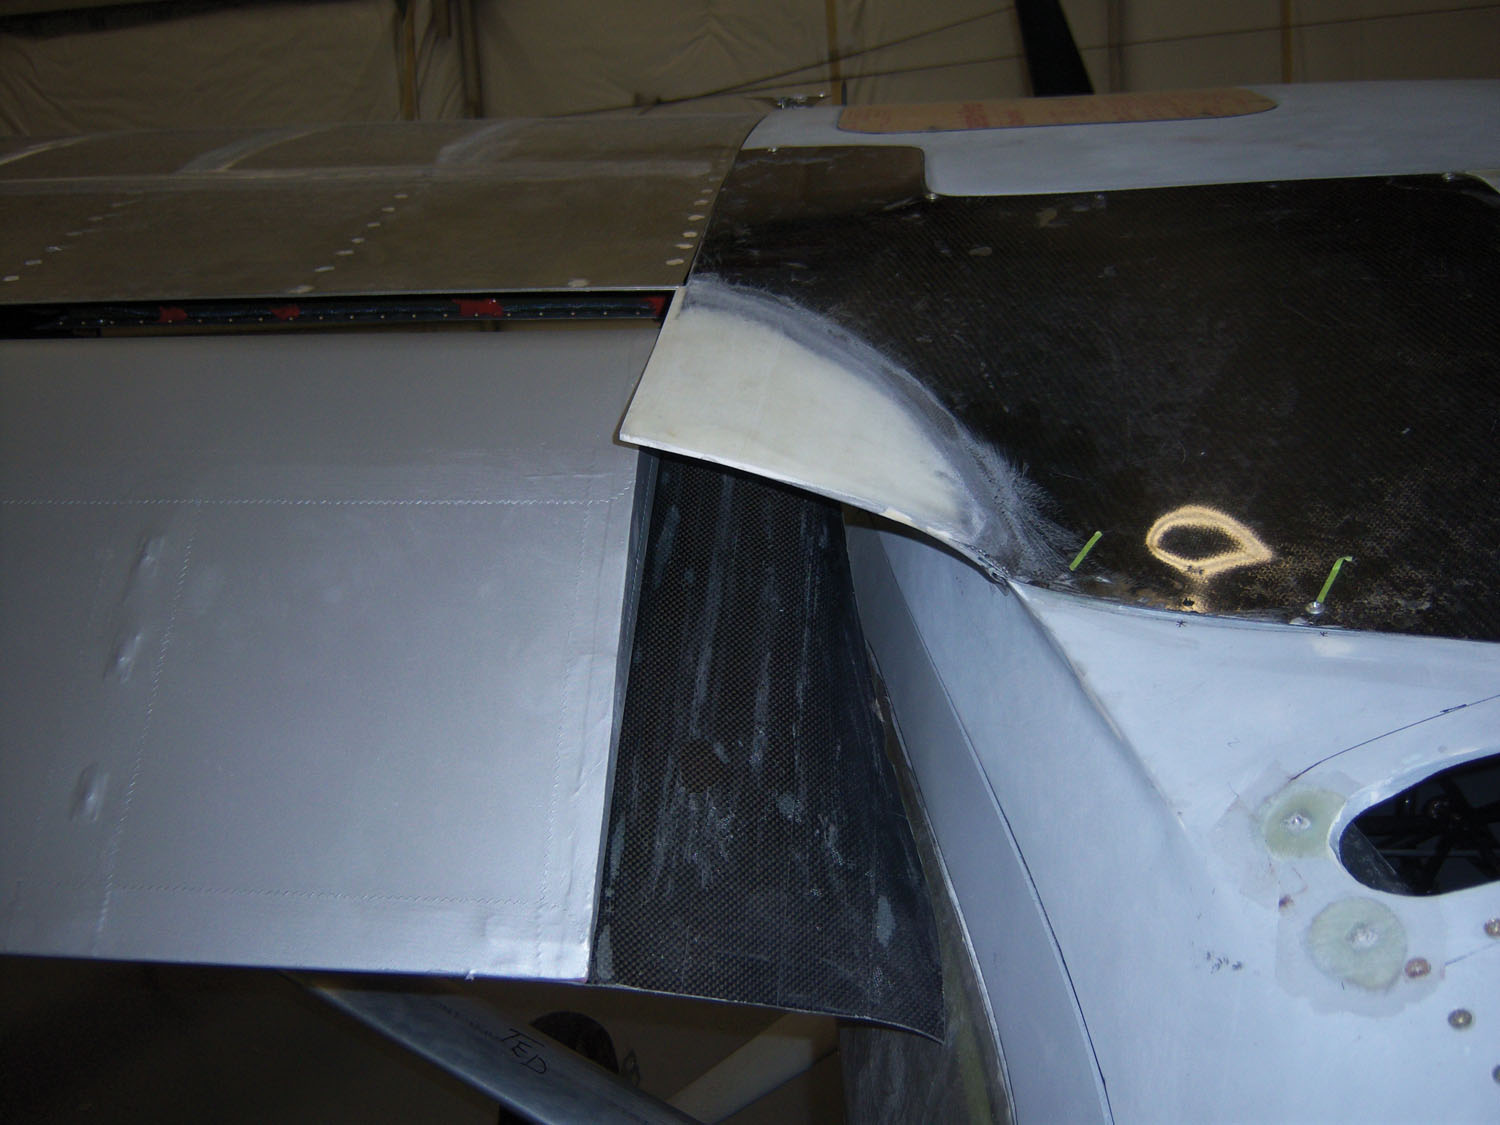
So, a total of 6 plies of 6-ounce carbon fiber cloth sandwiched between two plies of 7781 fiberglass cloth will provide adequate stiffness. I temporarily have some small self-tapping screws holding mine in place, but after paint I will use pull rivets to permanently attach them to the flap. Those who wish to preserve the wing fold will need to stay with PK screws and be careful each time they go on/off not to over torque them and strip out the skin holes.
It is important that the fasteners are located on the forward and aft flap spars to anchor well. The remainder of the fasteners are into the skin on the leading edge and inboard rib flange.
My stall speed with full flaps and 20” manifold pressure (dragging it in) is 34 knots I haven’t experimented much yet in this plane with short field landings, but with practice, I will be dragging it over the fence at 37-38 knots then standing on the brakes and skidding to a stop. Yee haw!
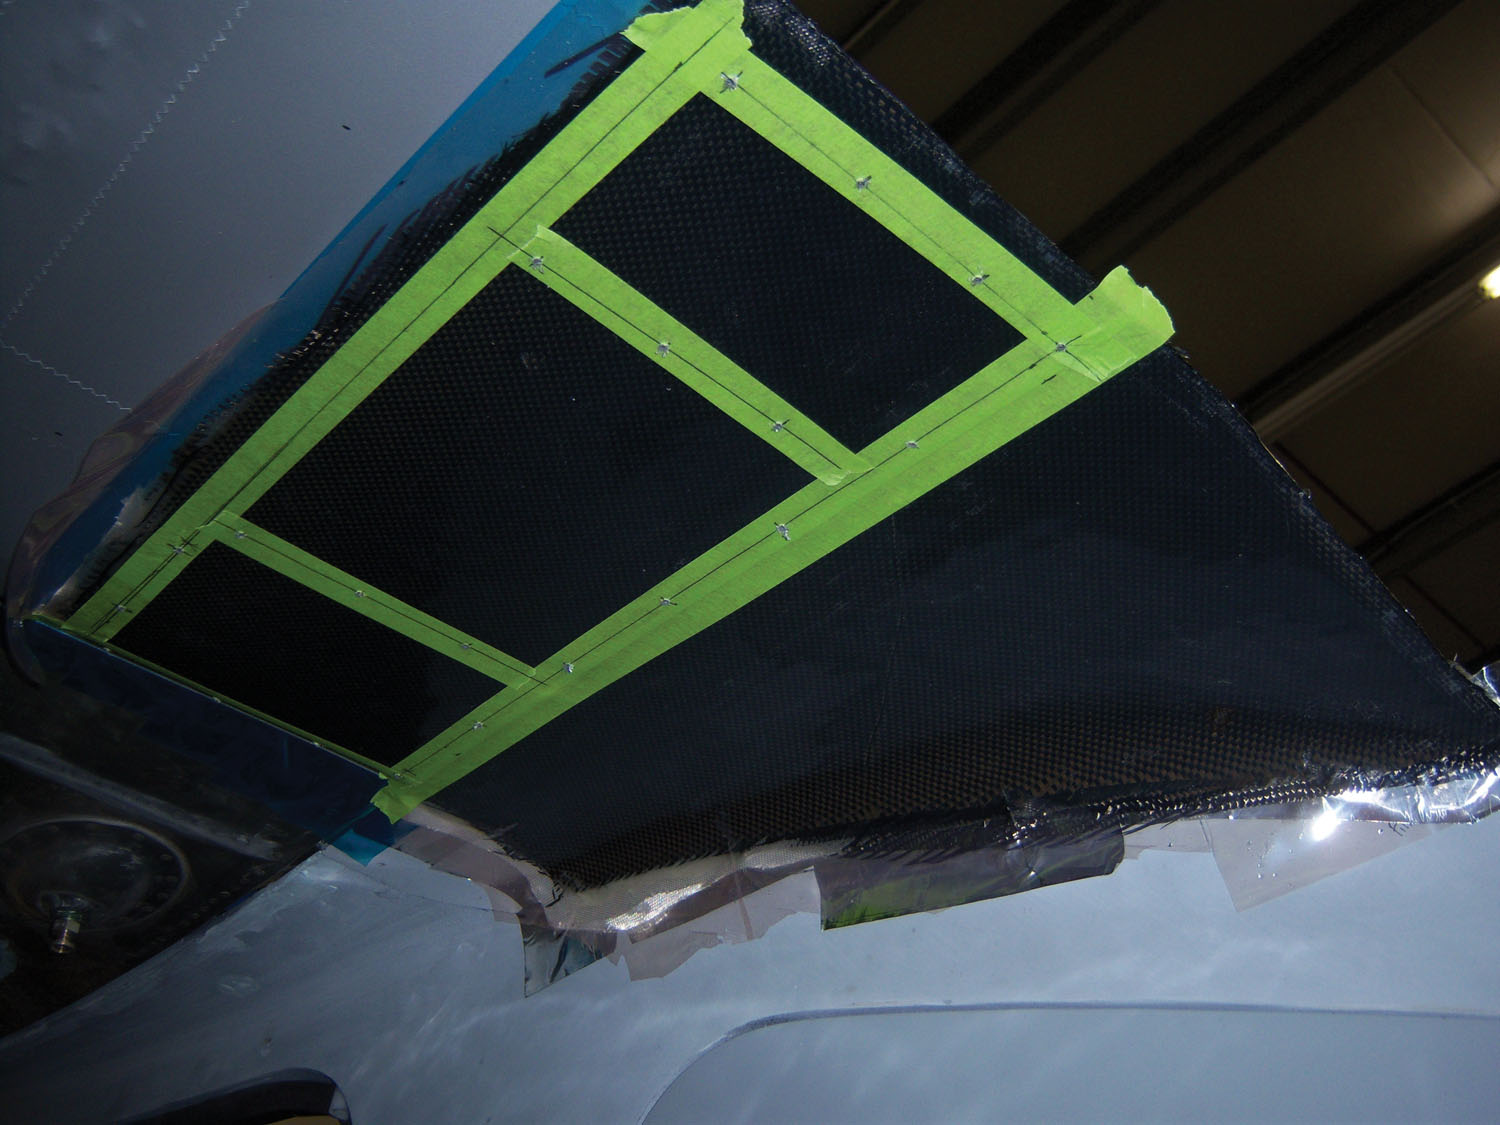
small, self-tapping screws. If satisfied with the results, I will permanently attach it with flush pull-rivets.


