 Riveting on the top skins: I used saw horses, carefully set up, to support the wings instead of putting them back in the wing jigs. I checked for twist often and clamped the whole thing together as well as I could to keep the wing from shifting. It worked out well as the wings, now mounted and flying have .15 degree of twist on the left and .05 on the right. More important is the angle of incidence of the wings when mounted. My cage attach points have .45 degree more on the right than the left. My left wing flies heavy and we are having a hard time getting it trimmed out. Will probably need tabs on an aileron and rudder. SHAI said that any difference between the attach points of less than 1 degree should not be noticeable. In my case, I think it is very noticeable and if it wasn’t such a tough job to get the aft pivot brackets off to modify them, that is what I would do. One washer at the top top of the the left bracket and one at the bottom of the right would take out about .30 degrees of the difference which would make a lot of my problems go away.
–Bill Jones
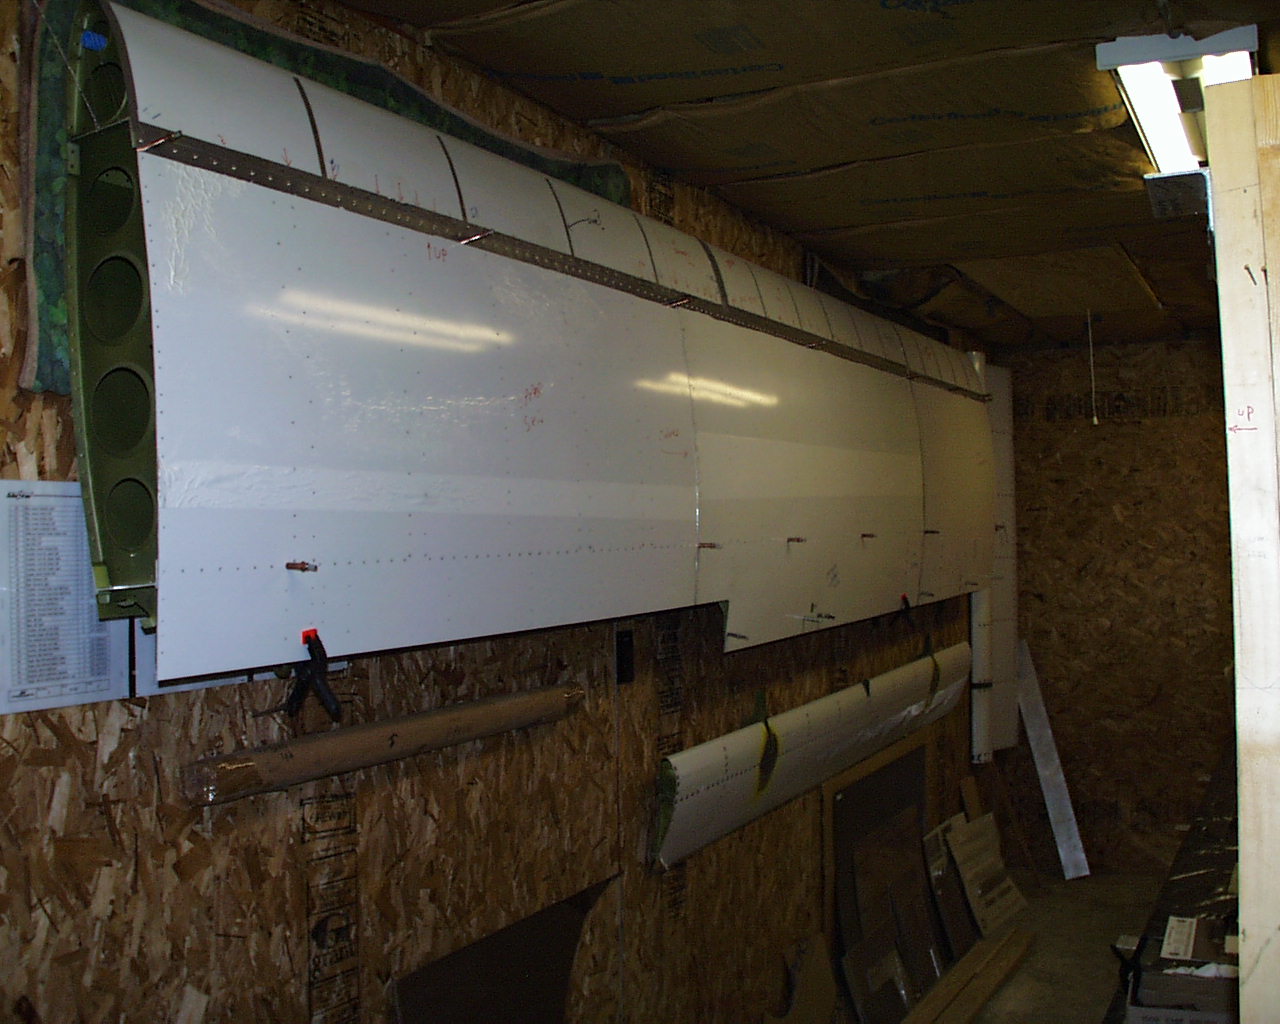
Riveting on the top skins: Once you’ve drilled the top skins in the jig your wing is set, and it is not necessary to remount it in the jig for installing the upper skins. I did mine on a pair of saw horses with about a 4 inch block of soft foam glued to the horses to protect the lower skins. Much easier than trying to lie under the wing on the bench and reach up inside to buck rivets. When first laid down on the horses my wing had a 1 degree twist. This went away as I installed the skins and they pulled the shape into its original form.
–Al Sibley
Riveting on the top skins: We have constructed 6 sets of wings so far and feel that it is necessary to reposition the wings back into the wing jigs prior to top skin application and riveting.
To rely on the clecos to hold proper alignment is asking too much. The other advantage of being in the jig is that as you start riveting the skins on you might experience a slight movement (ie twisting) of the wing due to a riveting process. If you remove the lower inboard spar attachment bolt(7/16) periodically during the process you can observe if the wings are trying to twist during the riveting process. Here’s the trick, if the spar attachment hole is slightly out of align when you pull the 7/16 bolt out during the riveting process you can compensate in the opposite direction as you continue riveting the skins and with a little luck you will end up with zero twist in you wings.
–Danny/Airlink
Riveting on top skins: The top skins are definitely a challenge. It is a two person job. The bucking is the most critical and needs someone that is very creative to get the bar(s) into many difficult locations. A lot of the top skin riveting is not a difficult job though. To begin we clecoed the top skin to the forward spar then curlled the skin back over itself and held it in place with three long strips of masking tape. We riveted the forward spar line then worked aft along the ribs and hat sections. As we progressed aft we adjusted the curl of the skin to give both the bucker and riveter adequte room to work. This technique worked to about two thirds of the way back to the aft spar. Then it is a matter of reaching in from the end of the wing as far as possible to buck and up through the inspection holes as far as possible. We had to use 22 cherry max pull rivets on one wing and 25 on the other where we could not get a solid buck.
–Bill Jones, #5186, N186GP


