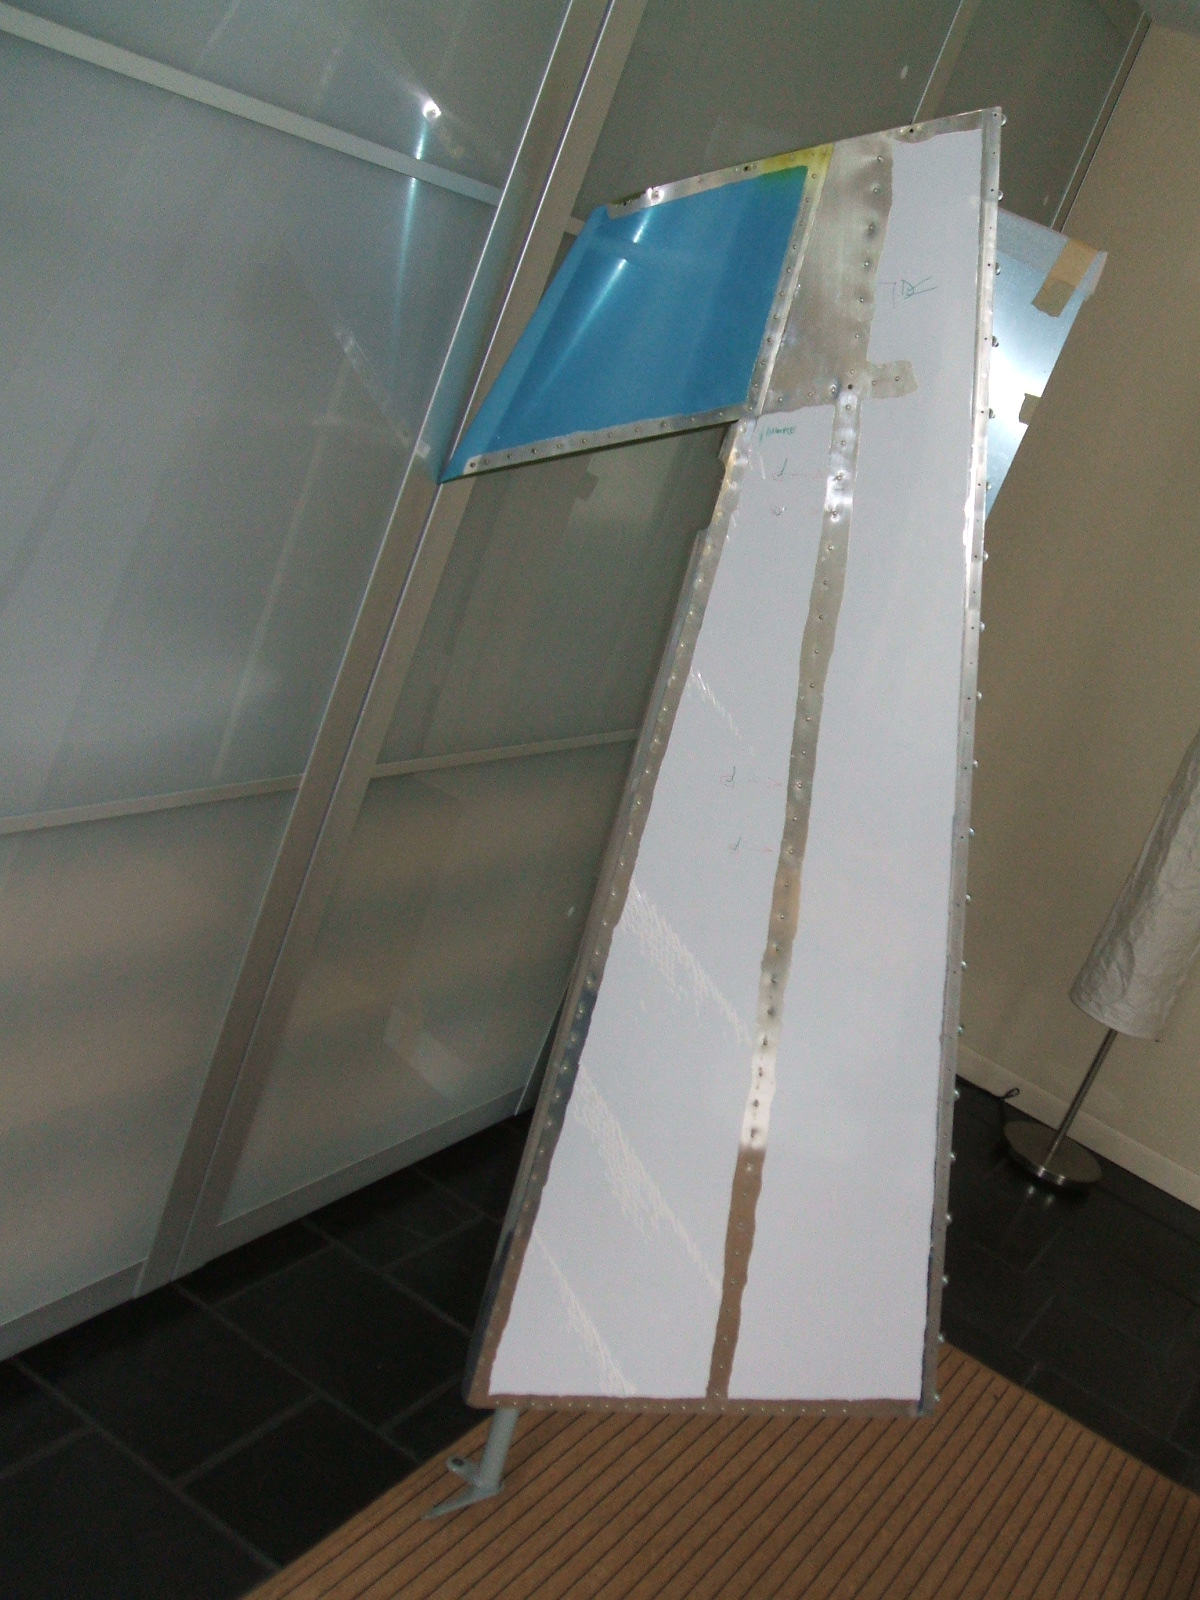
 Marking the rudder spar rivet line: When I set the rivet line on the spar, I ran a taut string under the top and bottom cleco’s and then “dusted” it with ZC primer (it was handy). I removed the string and had a nice straight line from top to bottom. I then just used my try-square to mark intersections at the with of the ruler (1-1/8″) and the layout was done. Checked to make sure the line fell on the center of the spar flange at the center and then drilled away. The ZC primer and the marks left by the permanent marker just wipe right off the fiberglass with a little Acetone.
–Mo Brooks
Rudder alignment: There was indeed a thread on this back in May, I think, and I was one of the respondents. The manual has you use the rudder as a jig to set the fore and aft, and up and down, position of the fin spar in the fin itself. To do this you have to join the fin spar, hinges and rudder temporarily. It was whilst doing this that I noticed that the leading edges of the rudder skin would contact the fin spar flanges well before the required 25 degrees of travel had been reached. There were two solutions- either trim the spar flanges (no!) or move the parts further apart by shimming under the hinge. I used an offcut of .125 aluminum from the rudder pedal supports. This was spot on and I finished with the fin trailing edge cut down to within about 1/16″ of the fin spar flange at the top of the fin. Of course ,this is not much use to you now, for which I am sorry. I cannot see any way you can move the rudder forward on its own, as mentioned in the above two solutions. How about a fairing of balsa on the rudder leading edge? You could cover it with a piece of plastic tape, and it would be nice and light.
–Chris Barnes, 5498, UK
Hanging the rudder: For those who haven’t hung the rudder per step 60 in the Fuselage Assembly section, the following may save some time and/or frustration.
The manual states to temporarily hang the rudder and “…this may seem like an insoluble puzzle…” In truth, the rudder can not be hung until the fuselage fin trailing edges are trimmed sufficiently.
Prior to working my edges, from the aft edge of the vertical fin spar to the aft edge of the fin I had more than 3/8″ at the top and more than 3/4″ near the bottom. Your finished product may be different, but at the top my fin spar and fin edges are now even, i.e. no fiberglass protrudes past the aft edge of the spar. Indeed, I had to add a .020″ shim under the top rudder hinge to move the rudder back a bit to get the 25 degree side to side rudder deflection. At the bottom of the fin spar, the fiberglass trailing edge is now about 3/8″ aft of the aft edge of the spar. Yours may well be different.
To save mounting and remounting the rudder to “creep up” on the final product, I suggest you mount the upper rudder hinge halves together on the rudder. Then position the rudder in place on the aircraft with the lower rudder hinge halves engaged. This will give you an idea of how far the rudder needs to move forward. Do this before step 59 that has you mount the upper rudder hinge to the fin spar.
Another thing to watch out for is the top of the fuselage fin above which the rudder overhangs. I chipped up my gel coat with early efforts to mount the rudder. Once the aft edges of the fin fiberglass are trimmed sufficiently (per above), the rudder will mount easily.
–Scott Fifield, #5334


