 The major benefit electric trim gives in my opinion (if you put the switch on the stick) is that it keeps the main flight controls in one hand leaving the other free for power, frequency, flap, etc., changes. The prototype flew for two years without the speed control (tiny black box with adjustable output) and on the demo flights most pilots “chased” the trim adjustment at cruise speed because it was on the fast side. When you got used to it the chasing went away but I love tiny trim movements to get that final adjustment at cruise. We installed the speed control box, slowed the motor down some and while the demo flights went better I also could “just tweak” the trim at cruise.
Jim Londo installed a miniature “fast/slow” toggle switch so he could choose to use the slower trim speed at cruise and fast trim at slow flight. Easy to do and helpful if you change speeds a lot. Easy wiring plan.
<<…Van’s sells two MAC controls… one for controlling from two sticks and… a “Servo Speed Control” which allows “adjusting trim servo speed.” It sets you back $39. Which one is recommended for the GS? Where will I end up mounting it? Will one fit and not the other? If anybody has a recommendation I’d love to know because I’m working on the Elevator and trim tab right now. …>>
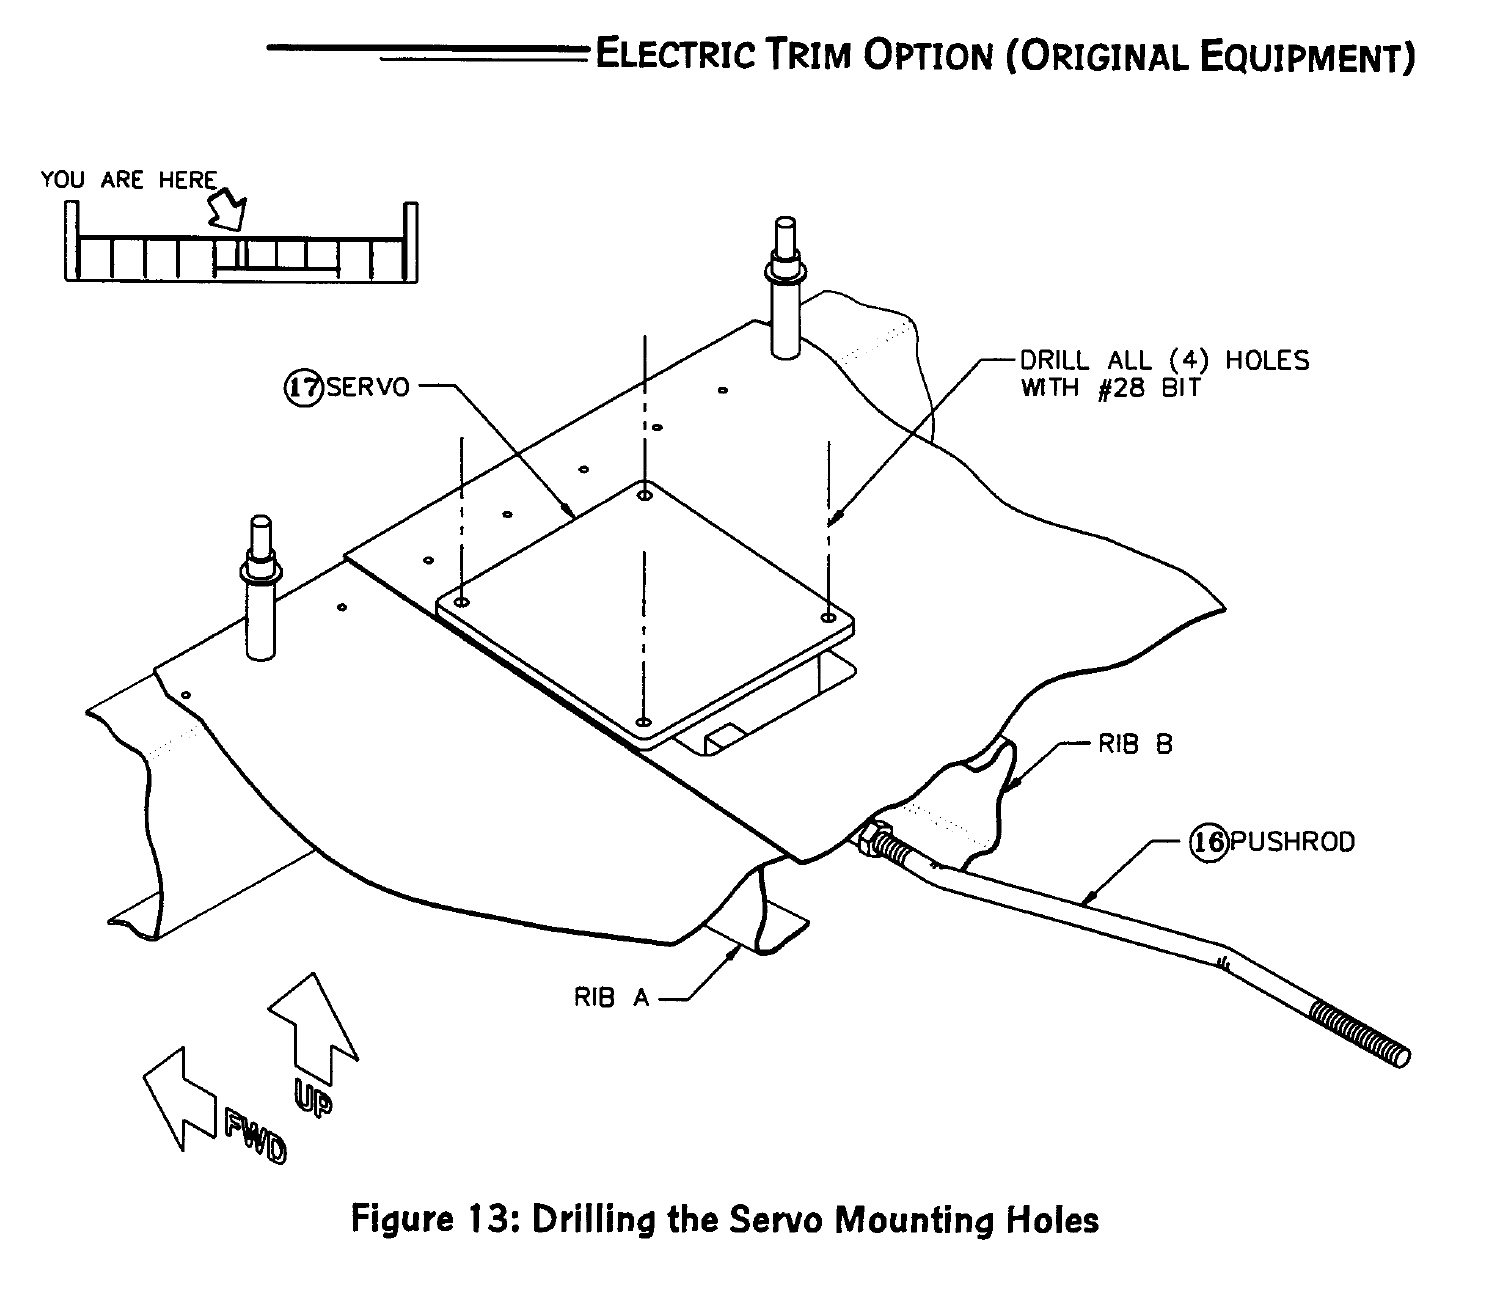
You want the Servo Speed Control to change the servo speed from fast to slower. It is small and was mounted under the instrument panel on the passenger side where I could get to it with a small slot screwdriver for ground adjusting the speed. If you wish the selector switch, Cliff in builder support at S-H has the simple wiring diagram for the manual, single pole, double throw switch and also another interesting idea, the flaps down, automatic micro-switch. No switches go in the tail (elevator), just the servo motor.


