Flap track guide hints:
- Rivet the flap track guide arms and reinforcement angles to rib pairs A & C and the Deployment arms (pair B) BEFORE final drilling of the unit and spar holes to size (before drilling holes through the reinforcement angles to the spar) This will avoid hole elongation and allow for more accurate final positioning, due to slight movement of clecoes during drilling.
- For riveting the Flap Track Guide Arms to the spar: Bolt them together with a #43 spacer with temporary AN3 bolts, using the 43 bushing as a spacer or cutting wood spacers to fit, ( a piece of plywood the approximate shape of the F.T.G. arms, to hold them in alignment during riveting.) THIS IS IMPORTANT. I HAD TO REMOVE ONE AND RE- RIVET IT BECAUSE THE HOLES WERE SO OUT OF ALIGNMENT. Dennis Hallman said his were so bad, he had to enlarge the holes in the front end of the FTGA’s when he went to mount his flaps, to get them to fit.
- Final riveting of the flaps. You will get a much smoother job of riveting skin to spar, and skin to aft ribs, if you stand the flap on its nose, vs having it flat on the table. You can get in to buck much easier. Also, the rivet spacing is such that in the outer edge ribs, you cannot buck the aft most rivet. Use a 3/32 ” pull rivet or drill out for APQ42 size pop rivets.
–Paul Hansen
Edge trimming: an easy way to trim the trailing edge of the stab, aileron, or flap trailing edge is to use a carpenter’s 6-inch block plane. It’s a quick way to trim off the excess and then final finish with a flat file.
–Roy Kokenge
Flap interference: Whilst many have been at Oshkosh enjoying themselves, I have been doing likewise checking out my first wing in preparation for riveting on the top skin. One fault I had noted in running the cables was that in holding the flaps up tight to tighten the retraction cable, the flap doubler was rubbing on the flap track. I was in a bit of a hurry, with help on hand to hang the wings and run the cables- hence the poor check at this time.
On the bench this weekend, I was able to inspect this more closely and was disappointed to find that my flaps weren’t in fact fully retracting due to the flap doubler and skin hitting the back of the flap track bracket. This assumes that to be fully retracted, the FLAP ROLLERS should be against the forward end of the slots in which the roller track. Not only retracted, but fully extended the lower skin and doubler was interfering also.This interference was to the extent of at least a quarter of an inch. So much for neutralising my ailerons, to the retracted flaps, to run their cables!
I started by checking the construction information in Vol I sec VII to check whether I had missed anything. The skins had been drawn tight round the nose ribs and my rivet lines on the main spar were within reason. The trailing edges did not meet exactly (1/16 to 1/8 difference) but nothing a file wouldn’t hide.
My problem turned out to stem from Steps 54 and 55 and I believe anyone still to build their flaps should take care.
The above steps instruct you to align the slots in the doublers with those in the skin. The problem is when these skin slots are too far forward as they were in my flaps – both top and bottom (suggesting that the cutout for them is not right). I had to remove over 1/4 of an inch on top and half that on the bottom to let the flaps lower and retract fully (rollers at the ends!)
In with a big rasp and file away – my neat slots are now stepped slots because once built and rivetted, you can’t get at the full slot because of the guide arms. The only consolation is that only the nosy will notice, and me, the builder, every time I do a pre flight!
This problem is easier rectified in construction and I believe the steps 54 and 55 should say “align slots in the doubler and skins, OR ensure the distances between the doubler slot and the roller bolt centres are for the top slot at least 6-3/8 inches and for the bottom slot at least 3 inches, whichever is the greater. Any protruding skin in the slot should then be removed”.(Note: these are from my “fix” and allow for approximately 1/16 + clearance – as the manual so often says, other GlaStars may differ, but this can be checked by measuring the flap track assemblies fitted to the wing-allowing for the roller diameter, of course). .
The above measurements are taken from the forward most hole in the guide arm to the top slot and the hole in the arm about half way out and on the bottom of the arm to the lower slot.
I would have preferred to have made the change at construction. Now hope I have enough adjustment in the turnbuckles to neutralise the ailerons.
The fun we amateurs have!! Would rather have been at Oshcosh yesterday than wasting the two hours fixing this blunder. With a bit of checking those still to complete this may save that time!
–Kiwi Pete
Flap skin holes: The manual calls for drilling the flap skins with a #40 drill along the spar, and for the top skin, a #30 drill along the nose and aft ribs. Later the skin is lifted and these holes are used with a #30 to drill through the skin and the doublers which are temporarily clamped to the skin. Finally both are cleco’d to the spar/ribs again and the spar holes reamed to #30 and the other holes reamed if a little off-center as some were. Consequently some of the holes are drilled three different times with a #30 drill and most twice. On the first flap some elongated holes resulted, almost entirely in the skins.
For the second flap I first drilled all the holes in the doubler areas to #40. The back drilling through the skin and doublers was also with a #40. The last drilling from the top used a #30 for final size. The result was all nice round holes.
–Bruce #5368
Flap cove skins: Have just prefabricated and fitted these. The manual is a bit vague in one respect – what clearance should be left round the flap tracks for movement of the guide arms which move through the curve of the cove skins in TWO places-top and bottom.
Rather than everyone having to refit their flaps as I did, I suggest at each track, a gap of 1/2 inch on one side and 3/4 inch on the other be left MINIMUM. The head of the bolt holding the spacer, bearing and nylon washers between the arms would then be fitted on the 1/2 in side, the castle nut and split pin on the larger side. Note, this may still require relieving for the end of the bolt which is plenty long enough, but a round file will do this and probably look better – if someone looks in there!
–Kiwi Pete
Flap nose ribs: One observation I should share on the flaps. I followed the instructions to the letter and corrosion proofed and riveted together rib pairs A, B & C prior to attaching them to the flap spar. I’d read ahead and made up some 5/8″ and 1/2″ spacers to bolt between these rib pairs while the skins were drilled in later step. However these spacers are not used in the step where these rib pairs are attached to the spar and their holes drilled to size. What I noticed is that the pre-drilled holes in the spar were too close together to have these rib pairs parallel to one another with the spacers installed. So I bolted the spacers in place (and, for pairs A & C, included another one at the base of the ribs where they join the spar) to hold them parallel, then clamped the assembly to the spar in such a way that the span-wise offset with the pre-drilled holes was split between the two ribs. The offset was small enough that when drilled up to #30 (extension bit handy), you get a round hole and parallel ribs. This could be important for rib pairs A & C which might otherwise bind on the flap tracks.
–Arlo Reeves
Flap bushings: be sure to check the GlaStar Vendor section of this website for Jim Miller. He makes slick flap track bushings affordably. It really smoothes out the flap action.
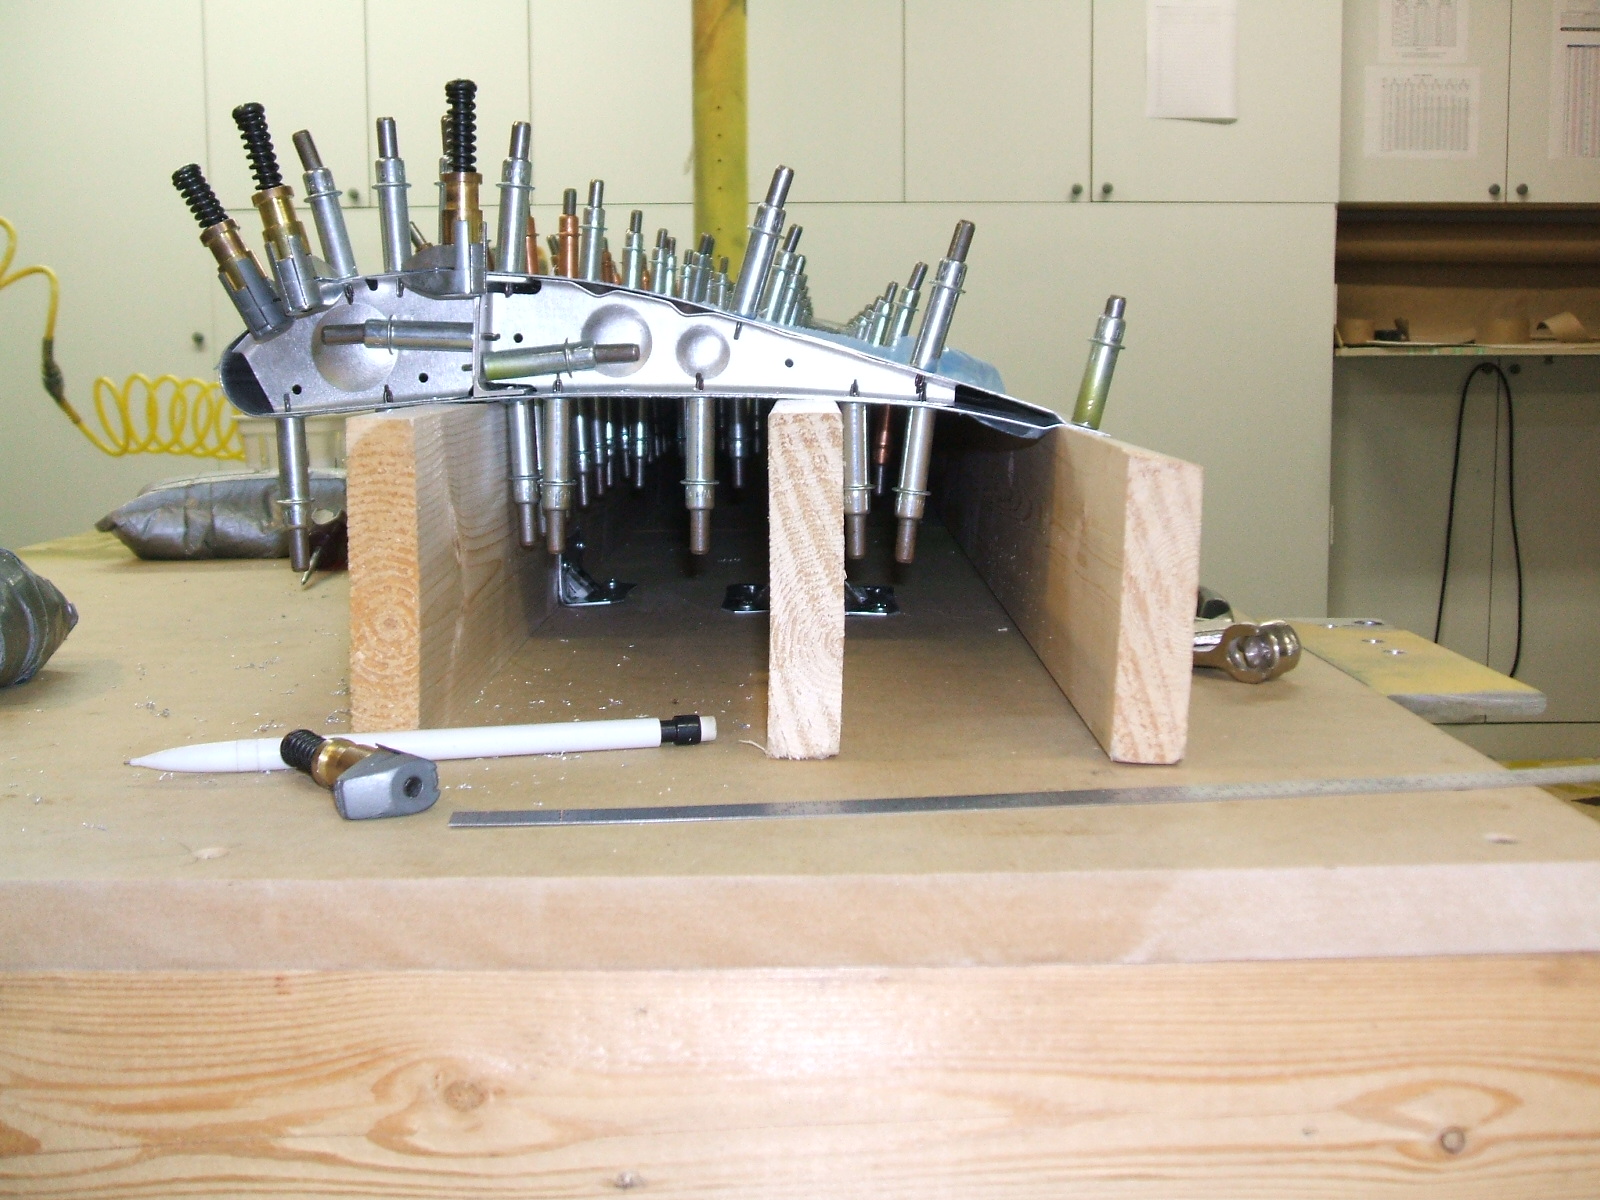
Riveting: When riveting the skins on the flaps and ailerons we clamped spar of the flap/aileron assembly to a length of 2×2 suspended between two solid attachment points. This allowed good access to the interior of the flap/aileron from below for bucking the rivets which would be difficult if riveted on a bench.
–Frank Miskelly #5577
Fitting aileron and flap skins: When I first tried fitting the left aileron skin I had trouble making it come out right. So I followed Jeff Liot’s tip in the latest GlaStar Flyer: “Stop! Think about what you are doing. Try something different.” You won’t find better advice anywhere.
My thinking produced the following idea, and it worked like a charm:
In the case of the aileron (which should work on the flaps), I marked the center of each edge of the skin on both the inside and outside. Then I had the Project Engineer (Bobbi) help me position the free (unclecoed) skin over the fastened skin, all the while lining up the two marks. With the two edges clamped together, all the holes and joggles lined up. And it took us less than five minutes to do. Previously I had spent a half-hour working by myself, and couldn’t get anything to lineup. In the case of the HS, you would need to do it with each skin. Having a reference in the center of the skin allows one person to apply the pressure in the center of the skin and hold it while the other person does the clamping. It may even be possible for one person to do this.
–Bobbi & Ric #5648 N954BR


