Assembly of the prototype GlaStar is proceeding smoothly and meeting our design goals and expectations. Each day we are more convinced that is going to be an exceptional product.
We are anticipating the airplane will be essentially finished, but not with sufficient time for much flight testing before we leave for Oshkosh. In any event, we will have the airplane on static display at Oshkosh and will complete flight testing and production readiness upon our return.
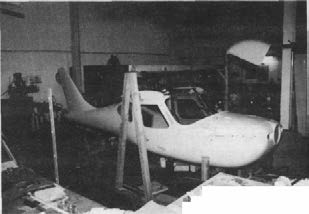
The GlaStar’s shape is very attractive. Most who have visited the shop have fallen instantly in love with it. Though the mission and performance of any product are the main selling points, good looks make it much easier to sell. The photo on this page shows the fuselage from a quartering front view. The nose looks a little bulbous (which it isn’t) and the vertical fin small, though it is actually quite large. Unless you come to Arlington in July, or Oshkosh in August, and see it in the flesh, you’ll have to wait for unobstructed side view photos to truly appreciate how nice this airplane looks.
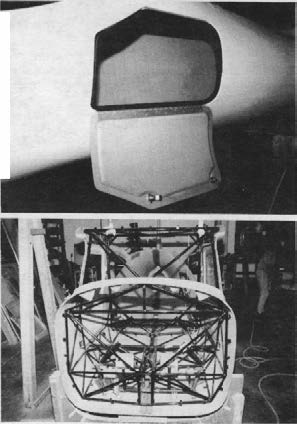
The cockpit is surrounded by a sturdy chromoly tube steel cage attached to the exterior composite shell with approximately 65 countersunk fasteners (AN509style). Attachment of the steel cage to the fuselage halves is approximately an eight hour task, followed by fiberglass laminating of the dorsal and ventral seams (1/2 hour each).
Considering assembly time, we are very excited about our results.
Much of the gains in this area will be a result of accurate jigging and manufacturing procedures. Certainly the aircraft’s simplicity plays a big part in the reduction of assembly hours, but we are examining each and every move the assembler needs to make. A major goal is to minimize or eliminate the need for making many measurements. Miss
measurements can lead to costly, time-consuming errors.
As an example, all wing spars and ribs ends are pre-drilled to allow quick assembly of the spar and rib frame structure. All wing skins will be CNC (computer
numerically controlled) punched (undersize) to a precise pattern for the assembler to use as a drill template.
Pre-forming of all ribs, stiffeners, brackets, and bellcranks will make wing assembly a very predictable, repeatable, and pleasurable experience.
Did I forget to mention the wings are made of metal? Yes, but before you pick yourself up off the floor, let me further mention that the stabilizers, elevator, rudder, flaps, and ailerons are also fabricated from high strength aluminum alloys. The GlaStar uses 2024 T3 skins varying in thickness from “.020 to .032”. Spars, brackets, and fittings are also made from 2024 T3 aluminum. Ribs and skin stiffeners are made from 6061 T6 aluminum varying in thickness from “.020 to .040”.
Why all the metal from a company who forged the pre-fabricated composites revolution? We found that metal two dimensional, constant cord shapes best met our design goal for a low cost, easy to assemble, lightweight structure. (Constant cord wings, flaps, ailerons, stabilizer and elevator require only one or two rib forming dies) We’ve used composite structure where it is most beautiful; on the fuselage, for both aerodynamic function and aesthetic appeal.
When a few of the initial GlaStar kits get into the hands of customers there will be a true appreciation for simplicity of the fuselage assembly. This especially is true for those with previous experience with any other type of kit plane.
Once the composite fuselage shells are mechanically attached to the steel cage, the assembly simplicity kicks into high gear. Imagine installing the main gear legs into precision reamed tubular sockets and dropping a single (yes, one) bolt into the upper end. Imagine installing the nose gear strut with only two pins. Sorry, it will likely take twice as long as the main gear installation, (twenty minutes rather than ten!). And then there is the nightmare of installing doors or canopies on any kit plane. Sure to be a 200 hour or better proposition right? Wrong!
GlaStar doors will be factory router trimmed to within 1/16″ border fit. The assemblers task will be to drill and install the machined aluminum hinges in place and assemble the door latch mechanism to the steel cage. My description is an over simplification, but certainly a mole hill of a job compared to what you’ve likely experienced before.
Seats, seat belts, control stick assembly, control pulleys, floorboards, instrument panel, rudder pedals, wing struts, engine mount, firewall, float fittings landing gear, flap handle, upholstery and more, all attach to the steel cockpit cage with bolt-in ease.
Actual assembly times will very according to customer experience levels and pace of work, but at the state we’re at now, we are convinced the GlaStar is going to be a very reasonable and pleasurable assembly project.
NOTE: Let me go on record light from the start to say that our goal is to have as low of an assembly time as possible. We’re actually set a lofty goal of 500 hours. If we don’t set our sights “low” enough we may miss out on half of the potential market niche we are pursuing with this product. It’s just a goal. We’ll know more once Stoddard-Hamilton assembles the first production kit and the ultimate proof will be once the GlaStar is in the hands of customers.
Simplification of the assembly manuals and a concise, high quality video supplement will be key to realizing our goal. Stoddard-Hamilton Aircraft, Inc. will begin assembly of a demonstrator GlaStar immediately following successful flight testing of the prototype GlaStar.
This procedure is rare in the industry as most kit aircraft suppliers devise kits and plans from a prototype. Stoddard-Hamilton will assemble a GlaStar from the first production approved drawings to screen out any errors or mis-fits and to carefully document the assembly procedures. All assembly manuals will be computer generated for efficient editing and revisions.
Other Features
Wide Roomy Cockpit
Forty four inches wide with large, deep side windows which are convex outward by 1-1/2 inch to allow superb side and downward visibility. The seat backs adjust independent of each other with 7″ of travel. As the seat back adjusts forward, the seating position moves upward as shorter pilots typically need to be closer to the rudder pedals and elevated in the seat. The seat backs also fold forward for easy access to the baggage compartment.
Huge Baggage Compartment
Just aft of the seats is an area large enough for a jumbo Coleman cooler, a two man raft and two pack frames. Behind that is another bay (nearly as large) for lighter, bulkier baggage such as sleeping bags, coats, tents, boots etc. with an external access door (see photo above). Without exaggeration, the baggage area is nearly as large as the cockpit. It is longer, but not quite as tall. Our initial specification sheet lists 125 lb as the baggage capacity, however, depending upon final weighing of the finished prototype and C.G. calculations, we may end up with 200+ lb of baggage capacity with more than enough cubic feet of space. Utility is high on our list for the mission of this aircraft.
Versatility in One
Airframe Each airframe will incorporate gear sockets for both tricycle or conventional (tail dragger) configuration. Float options will also be available with an 1,800 2,000 Ib. displacement float sometime next year.
Folding Wings. Reducing the Cost of Ownership
Folding the wing involves retracting the main spar pin with an overhead arm mechanism. The wing pivots of the rear spar fitting supported by the wing strut which remains in place. There will be no disconnecting of fuel lines or controls to accomplish the task. The cost of storing an airplane with a width of only eight feet is much more reasonable than one with a 35 foot span. It will be able to be trailered assuming we are satisfied with a horizontal stabilizer span of eight feet. (We’ll report more on this after flight tests this summer.) There are many more GlaStar features we will reserve for you to discover when you come to the Northwest EAA Fly In (Glasair Picnic) or Oshkosh.
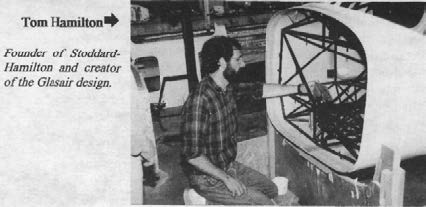
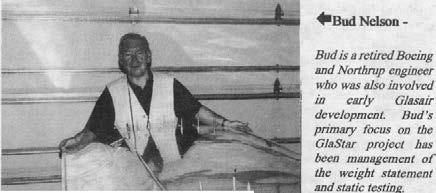
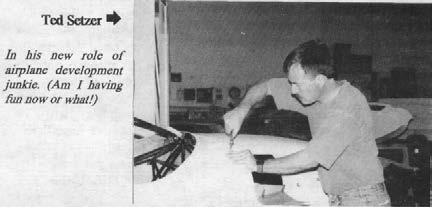
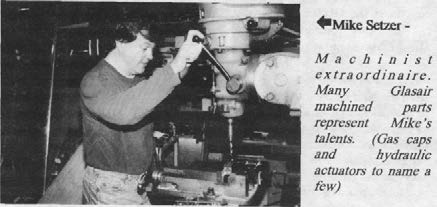
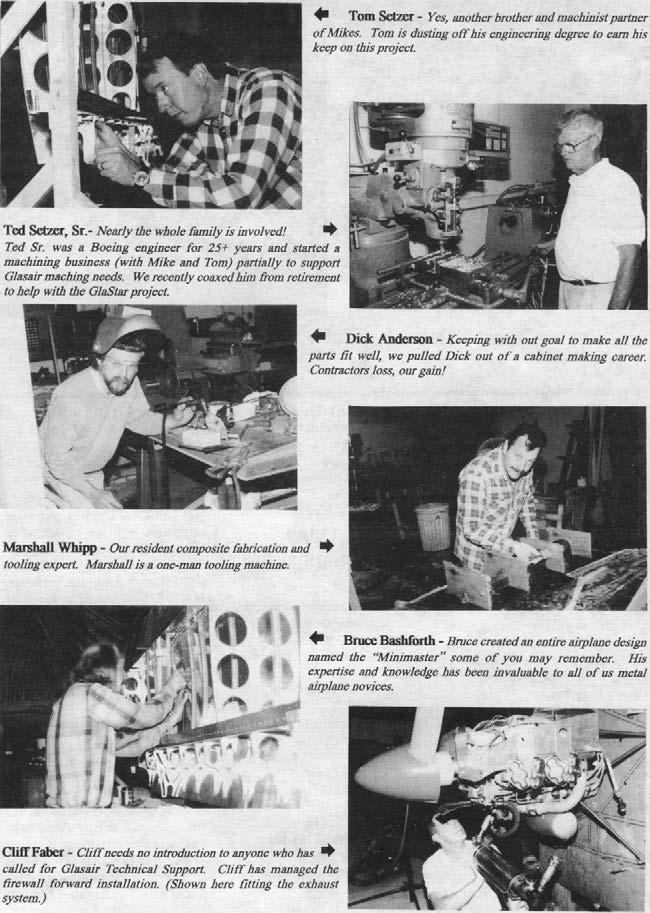
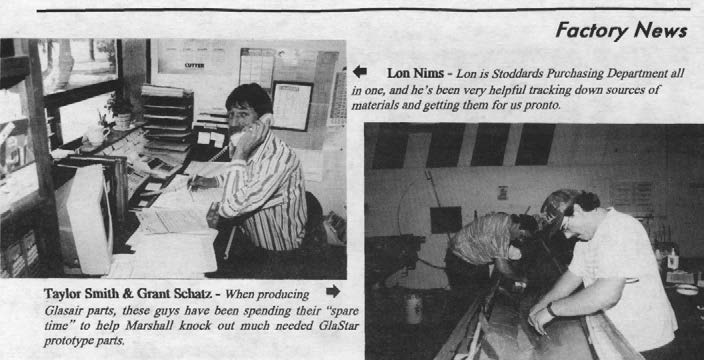
Here’s a brief introduction of those currently working on the completion of the GlaStar development.
Not Shown: Brian Costello and other Glasair Service Center personnel who will be fabricating and wiring the GlaStar instrument panel.


