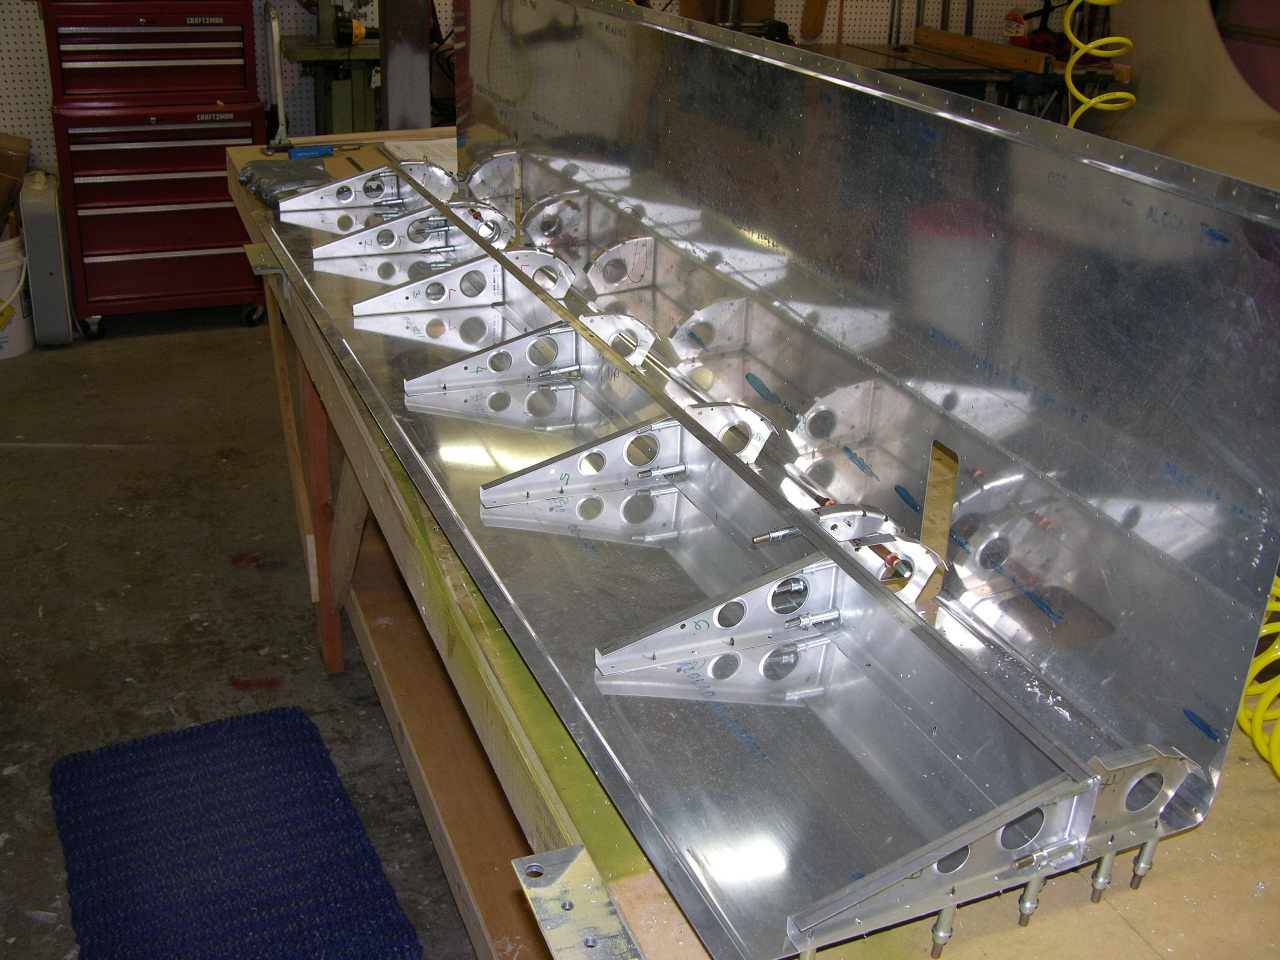
Fitting the aileron skin: In fitting the aileron skin, after clecoing the lower skin surface to the aft ribs, it is easier to turn the structure over with the upper skin surface against the bench to provide an evenly distributed force to the upper skin.
–Al Sibley
Aligning trailing edges: For aligning trailing edges of stabilizer, elevator, ailerons, flaps. Use padded spring clamps to hold skin together. Sign down along skin edge, through the space in the clamps to provide eye-sight visual straight alignment. You can get it very close to perfectly straight by tiny adjustments in the clamps and pushing & pulling the skins to allow for slippage. (All before drilling the trailing edges of course).
–Paul Hansen
Aileron spar holes: In building the 2nd Aileron, moving the rivet line 1/16 of an inch forward on the initial layout (bottom surface of aileron spar) made the building much easier. I didn’t have to fight the skin so much, and the trailing edges came out much closer to matching. (On the first one the top skin came up about 3/16″ shorter than the bottom skin.) One other change I made, was to put in 3/32 pull rivets on the 3 places on aileron spars where you cant get in to buck rivets, vs. drilling out to #30 and putting in larger rivets. Looks nicer too.
–Paul Hansen
Riveting: When riveting the skins on the flaps and ailerons we clamped spar of the flap/aileron assembly to a length of 2×2 suspended between two solid attachment points. This allowed good access to the interior of the flap/aileron from below for bucking the rivets which would be difficult if riveted on a bench.
–Frank Miskelly #5577
Fitting aileron and flap skins: When I first tried fitting the left aileron skin I had trouble making it come out right. So I followed Jeff Liot’s tip in the latest GlaStar Flyer: “Stop! Think about what you are doing. Try something different.” You won’t find better advice anywhere.
My thinking produced the following idea, and it worked like a charm:
In the case of the aileron (which should work on the flaps), I marked the center of each edge of the skin on both the inside and outside. Then I had the Project Engineer (Bobbi) help me position the free (unclecoed) skin over the fastened skin, all the while lining up the two marks. With the two edges clamped together, all the holes and joggles lined up. And it took us less than five minutes to do. Previously I had spent a half-hour working by myself, and couldn’t get anything to lineup. In the case of the horizontal stabilizer, you would need to do it with each skin. Having a reference in the center of the skin allows one person to apply the pressure in the center of the skin and hold it while the other person does the clamping. It may even be possible for one person to do this.
–Bobbi & Ric #5648 N954BR


