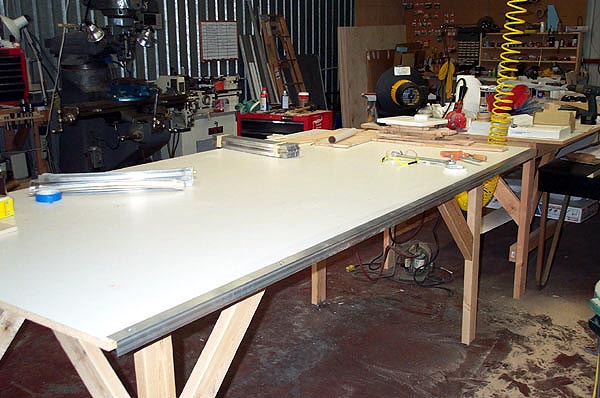
Here is how we trim wing skins at R&D Technical Services. Get your work table ready:
- Purchase a 1-1/4” x 1-1/4” x 1/8” piece of aluminum angle at your local Home Depot for about $10.
- With a router cut a 1/8” deep relief on the edge of your building table extending in about 1” from the edge of the table. This relief is cut to allow you to put the alum angle on the edge of the table and have the upper surface of the aluminum match the upper surface of the work table.
- Attach the aluminum angle to the table with countersunk screws spaced at about 12”-18” (Figure 1.)
Now you are ready to trim the wing panels
Advertisement
- Mark the panels with a small scribe line on each end of the panel
- Attach double-sided tape to the alum angle (Figure 2.)
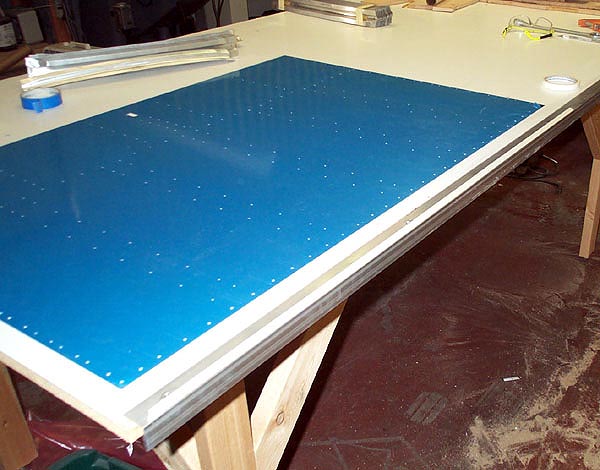
Figure 2. - Lay the wing skin on the table with the edge to be trimmed hanging over the edge of the alum angle (line up the scribe makes with the edge of the alum angle)
- Press the skin down on the double sided tape
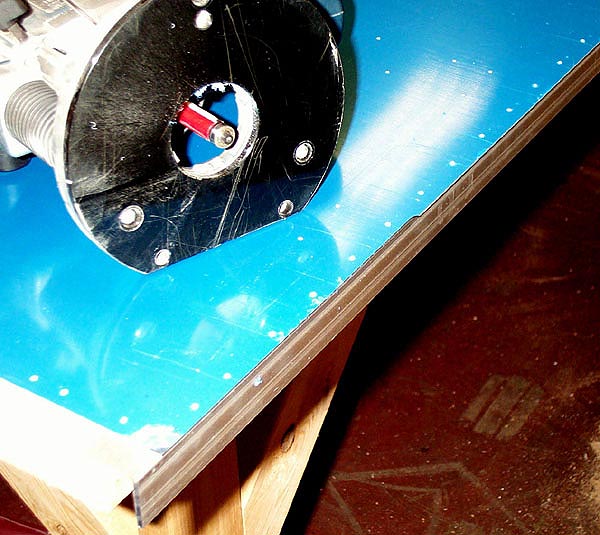
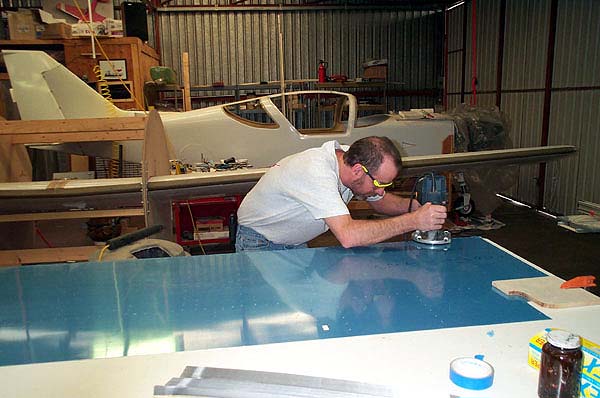
- Put a ½” straight router bit with a bearing in your router
- Adjust the router so that the end of the blade is just below the wing skin and the bearing is riding on the alum angle.
- Trim the skin. Start on the left and pull the router toward you. (Figure 3. and 4.)
That’s it, your wing skin is trimmed and the edge is a perfect cut that requires no deburring.
Derek Backus contributed to this article.


