You may have the best tools, but it’s knowing how to use them that makes you a craftsman – in this case our members describe how to improve your precision when laying out a hole location.
Accurate center-punching
Does this sound familiar: You just finished trying to center-punch a mark you can hardly see on the aluminum? You missed it by a little. Maybe it will be OK you say to yourself. Then you put your drill on the mark and after drilling you find the hole is way off centerline. The drill must have walked out of the center-punch.
Here is what I learned from my co-workers who hand drill holes exactly where they want them. I have made my aileron and flap bellcrank and pulley brackets this way.

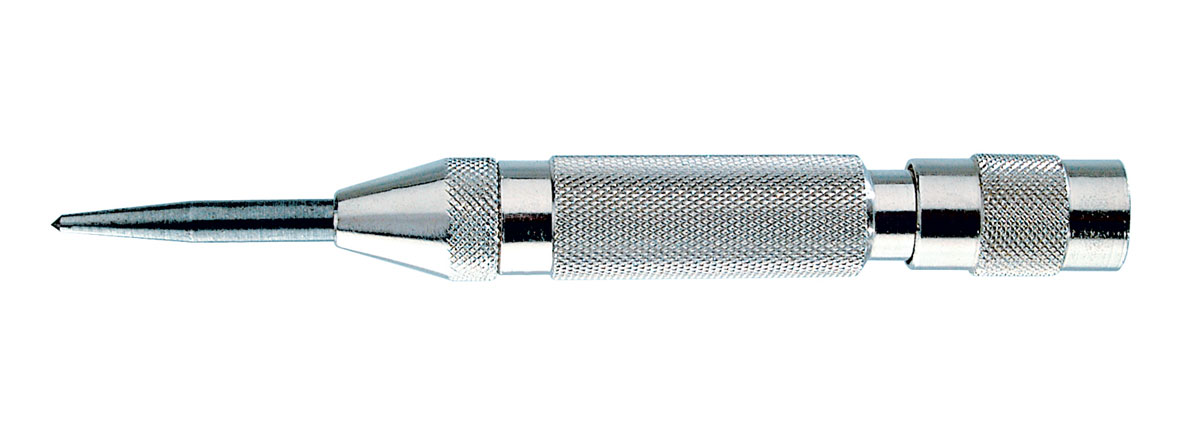
First coat the metal with a thin layer of “Dykem” layout fluid. This is a thin type of paint that once dry can be lightly scribed without hardly marking the material below. The lines show up nice and sharp. Second is to use a “bomb sight” or optical center-punch. This neat little device has a cylindrical optical magnifier sight with crosshair that sits in a holder. The holder with sight is placed over the scribe marks and held in position. The sight is then replaced with a punch and struck. Replace the punch with the sight and check your work. There should be a small center-punch exactly on the scribe mark. Third is to re-punch with a center punch to deepen the mark. The center-punch will sit exactly in the “bomb sight” mark. Last is to use a metal hand punch, usually called a “Whitney Punch”, which has a tip that will rest exactly on the center-punch mark.
A tool and die maker taught me to use Dykem and then “Feel” for the crosshairs. Believe it or not, with a light touch and a reasonably pointed center punch this works very well.
–Tom Lempicke
If you want to transfer the hole, simply clamp the punched part in position to the next part and using either a drill or the metal punch in the hole, transfer the center mark into your next part. Find the mark with your optical “bomb sight” and make a new center-punch mark. The hole will be exactly where you marked the scribe line. The size will be exactly the size of the punch. The marking fluid can be found in different colors, blue is common but it is hard to see the crosshairs in the optical center-punch. I recommend red or green if possible. The punches come in various fractional sizes but can also be obtained in some standard number sizes such as 30, 40 and No. 10. The disadvantages are cost and accessibility. The “bomb sight” takes about 1-1/2″ diameter to rest flat. The “Whitney Punch” needs about 1/2″ clearance to the edge and has about a 3″ reach. Some of this can be overcome by laying out lines on the outside surface of bent sheet metal rather than near inside bend lines. The cost is about $60 for the metal punch and $50 for optical punch. Some punch sets can be found for less and will work well on aluminum. One tool source is USATCO, Ph. USA/Canada (1-800-645-8180). I have seen the tools also listed in McMaster-Carr catalog.
This all may sound like a lot of fuss, but I find that with careful work and a few tools, I can make exact holes without worry of edge margin or oversize holes due to drill wobble. It also is fun to learn and do what the “experts” do with just a few interesting hand tools.


