Submitted by Al Sibley, GlaStar
I have finally arrived at what I consider an acceptable design for the installation of the Navaid AP-1 wing leveler servo box in my GlaStar.
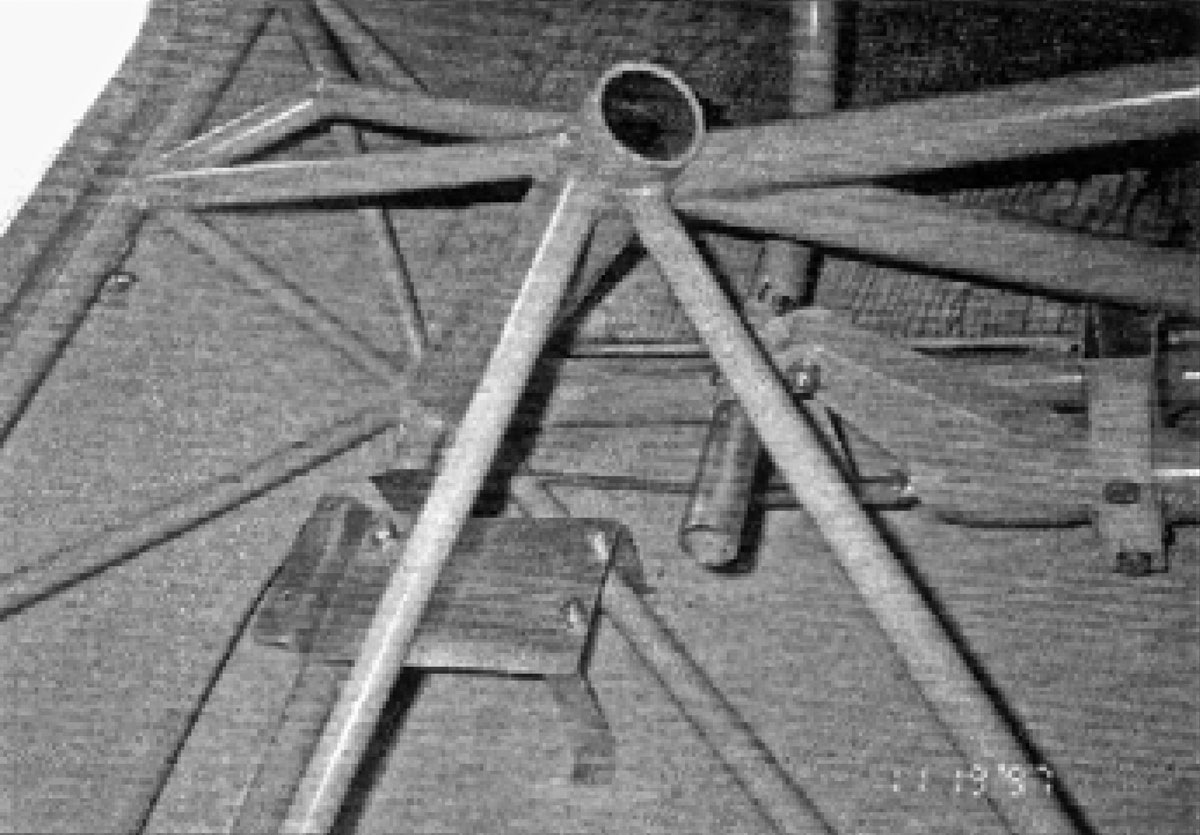
The servo is mounted on a simple plate that is rigidly mounted on top of the left-hand aileron forward fuselage pulley using the pulley mounting bolt and is supported at the inboard end by a simple ‘U’ bracket glassed to the fuselage lower skin. Photo 1 shows the mounting plate installed with the pulley on the pulley bracket and supported by the ‘U’ bracket. It is necessary file a notch in the mounting plate to provide clearance for the diagonal structural tube.
Of course, the servo could just as well be mounted on the copilot’s side of the fuselage, in which case the mounting plate dimensions would be reversed.
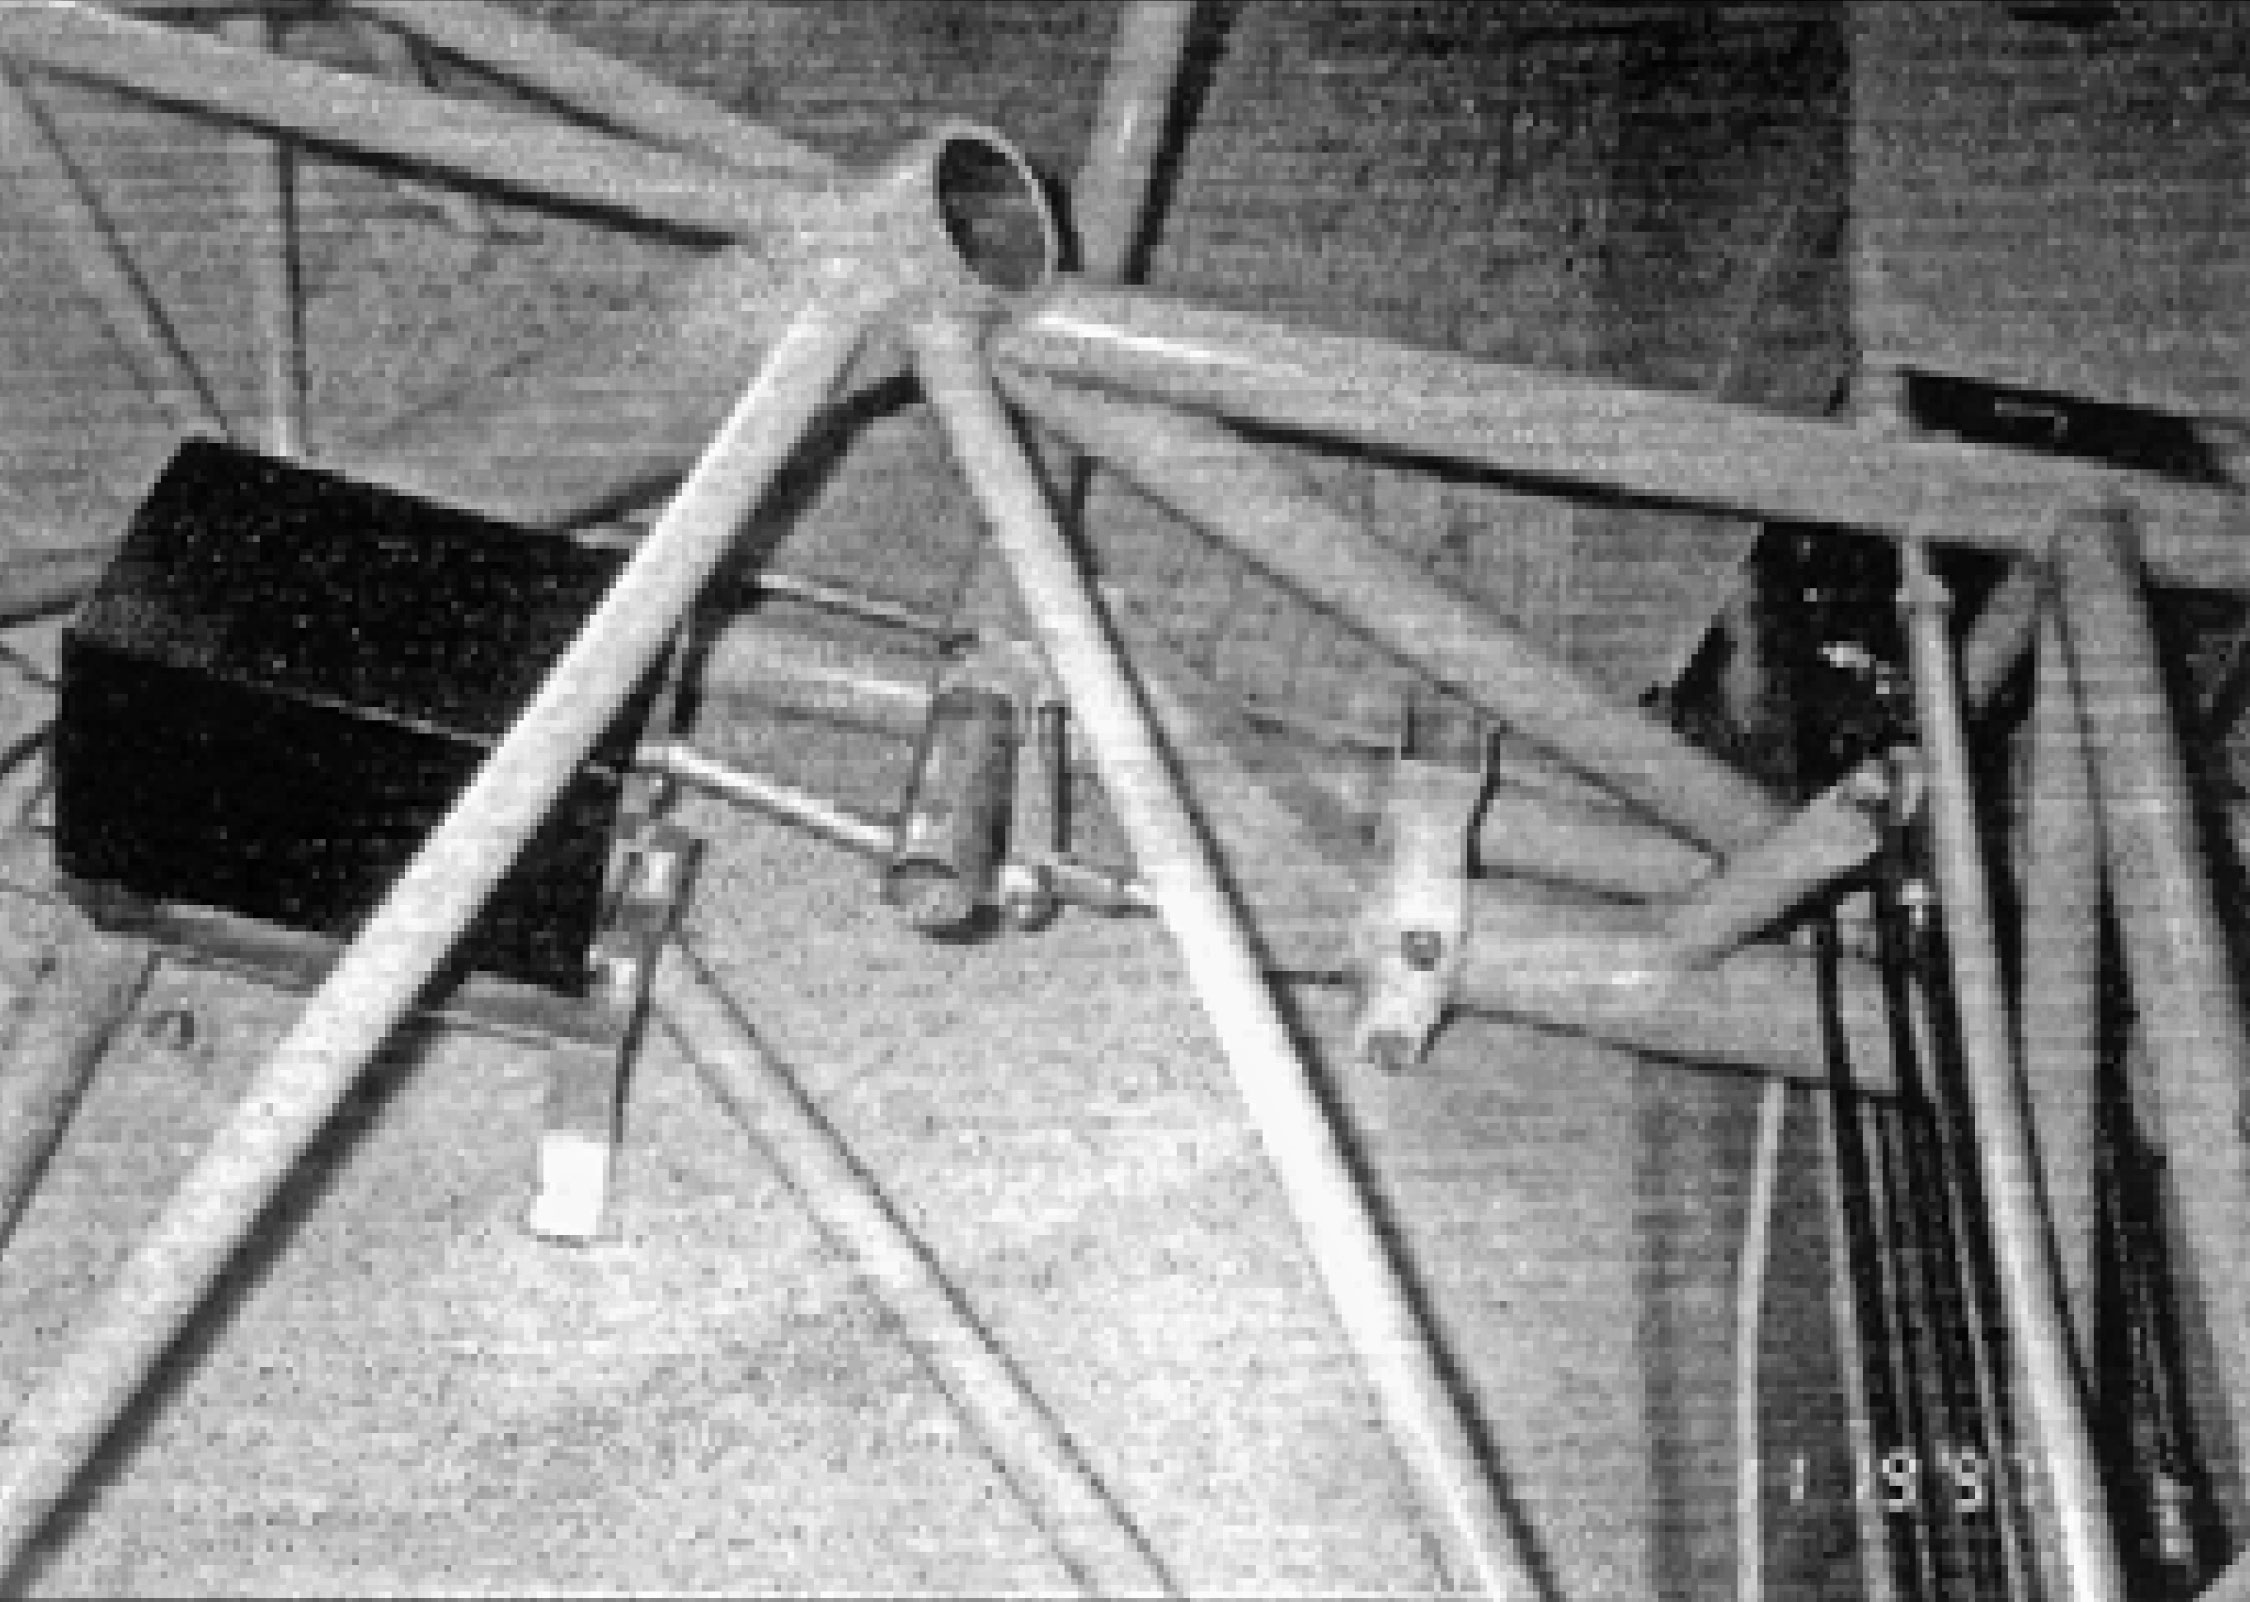
This installation allows the coupling of the servo pushrod directly to the control stick interconnect rod with no misalignment and well within the twisting limits of the rod-end bearings. Photo 2 shows the servo mounted on the plate and coupled to the interconnect rod. The slight angle between the pushrod and the interconnect rod is not enough to cause any kind of problem.
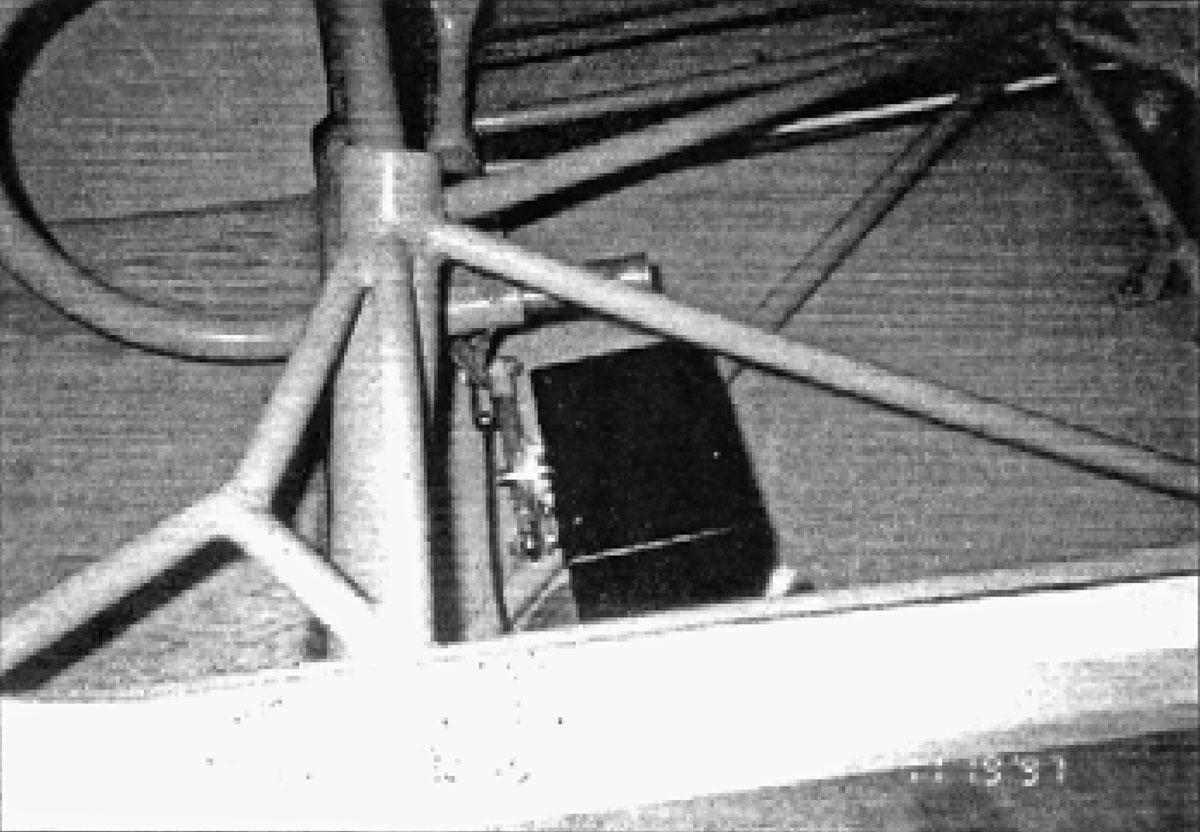
Photo 3 is a view looking inboard from the pilot’s side showing the coupling rod.
The installation requires that the clevis pin in the left-hand aileron cable attachment to the interconnect rod be replaced with an AN3 bolt of sufficient length to accommodate the servo pushrod rod-end bearing.
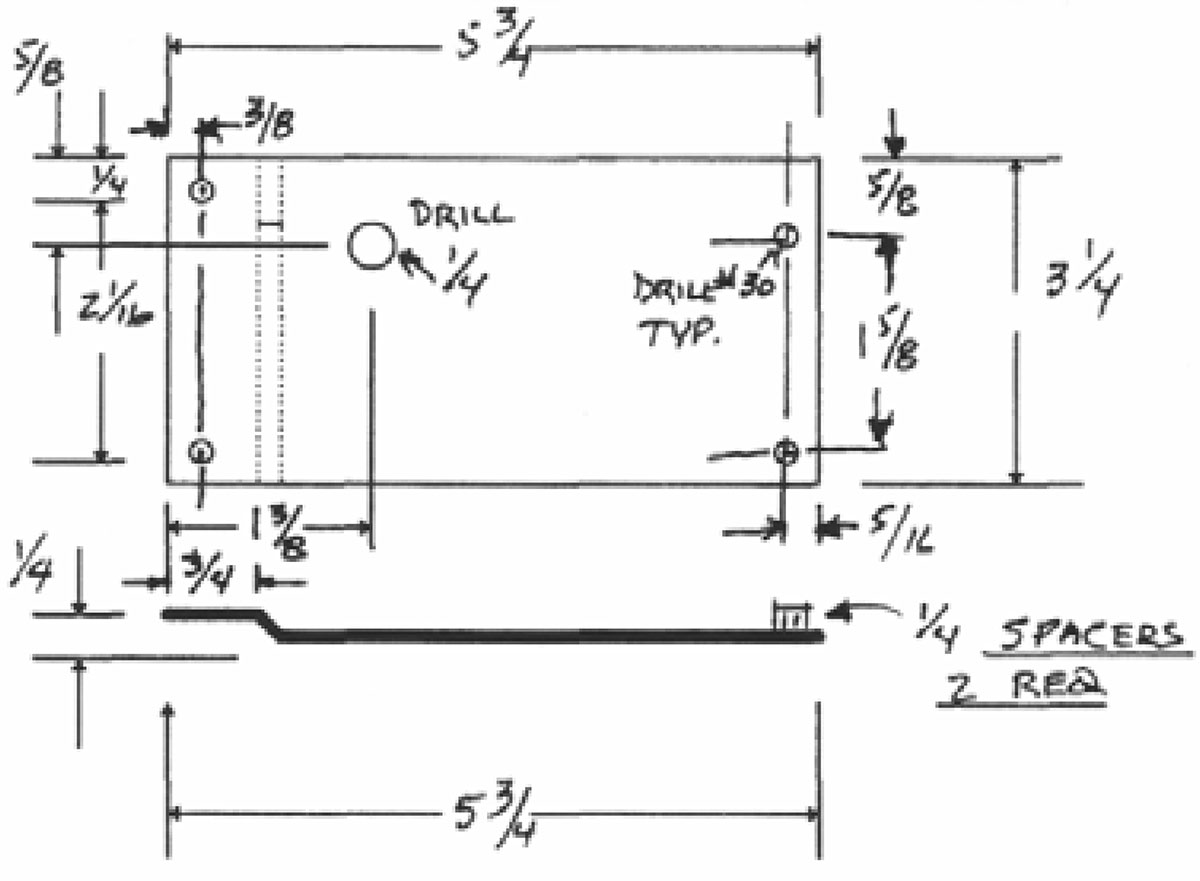
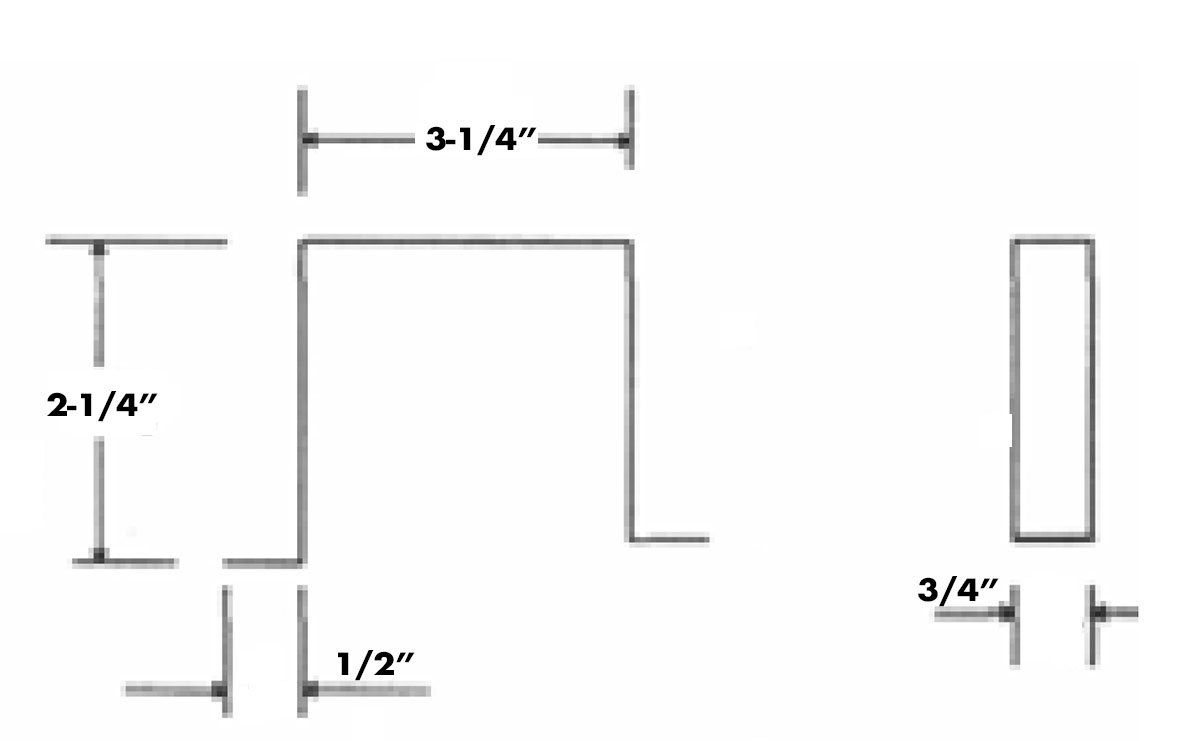
It is necessary to fabricate two parts as shown in Figures below—the mounting plate and the support bracket. I made both parts out of .040″ 6061-T6 aluminum sheet.
The mounting plate replaces one of the washers in the pulley mount assembly. Care must be taken in locating the remaining washers to make sure that the pulley is free to rotate and does not interfere with the cage tube just below the outboard edge of the pulley.
It is also necessary to replace the rod-end bearing supplied with the Navaid servo with one with a larger-diameter hole to fit the AN3 bolt.
My installation came out needing about a 6″ pushrod length between the servo arm and the interconnect rod. The limits of motion on the servo at the outermost hole in the arm almost exactly matches the cable motion in my aileron system—about 2-1/4″. I found no interference with stick motion with the servo mounted


