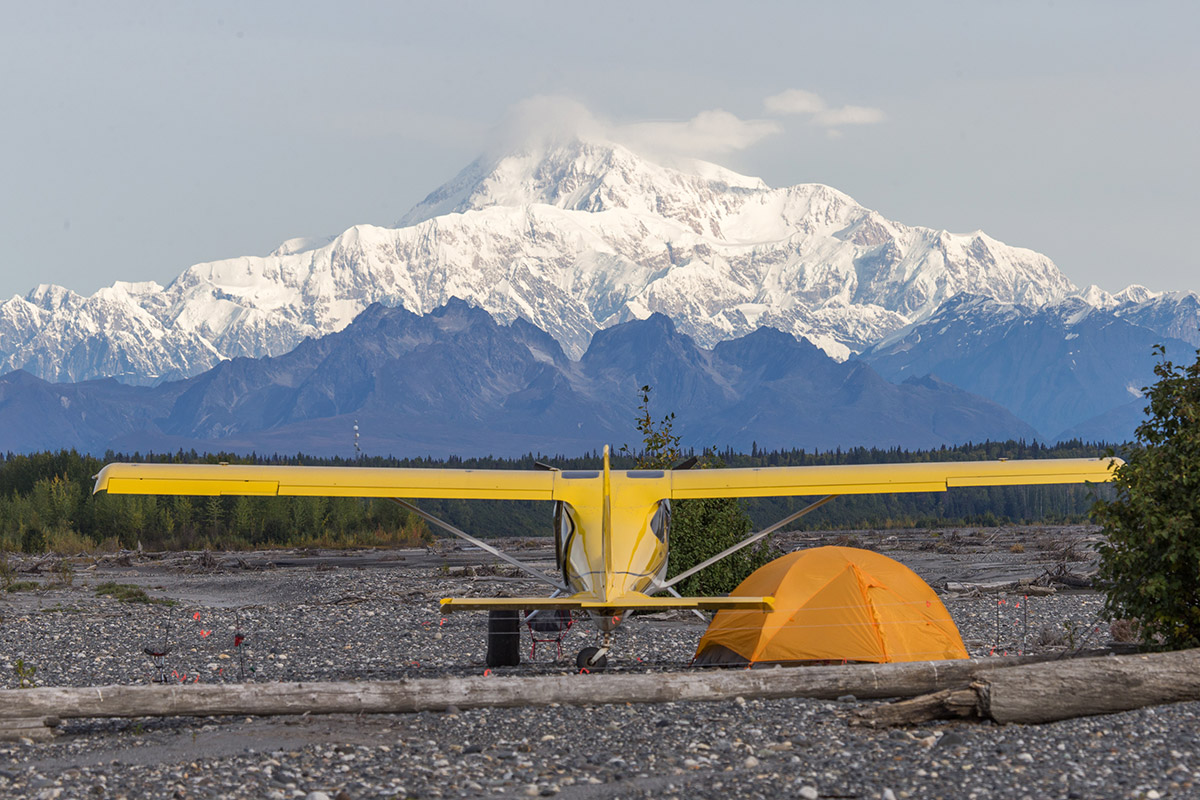
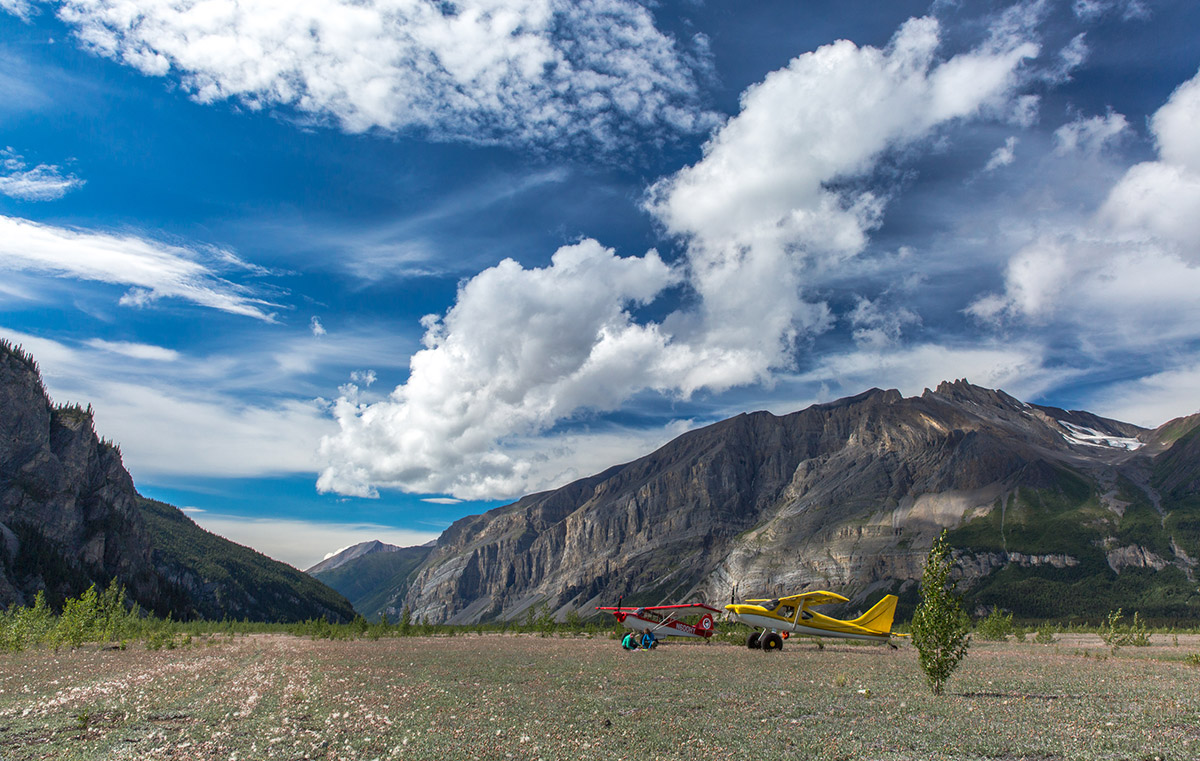
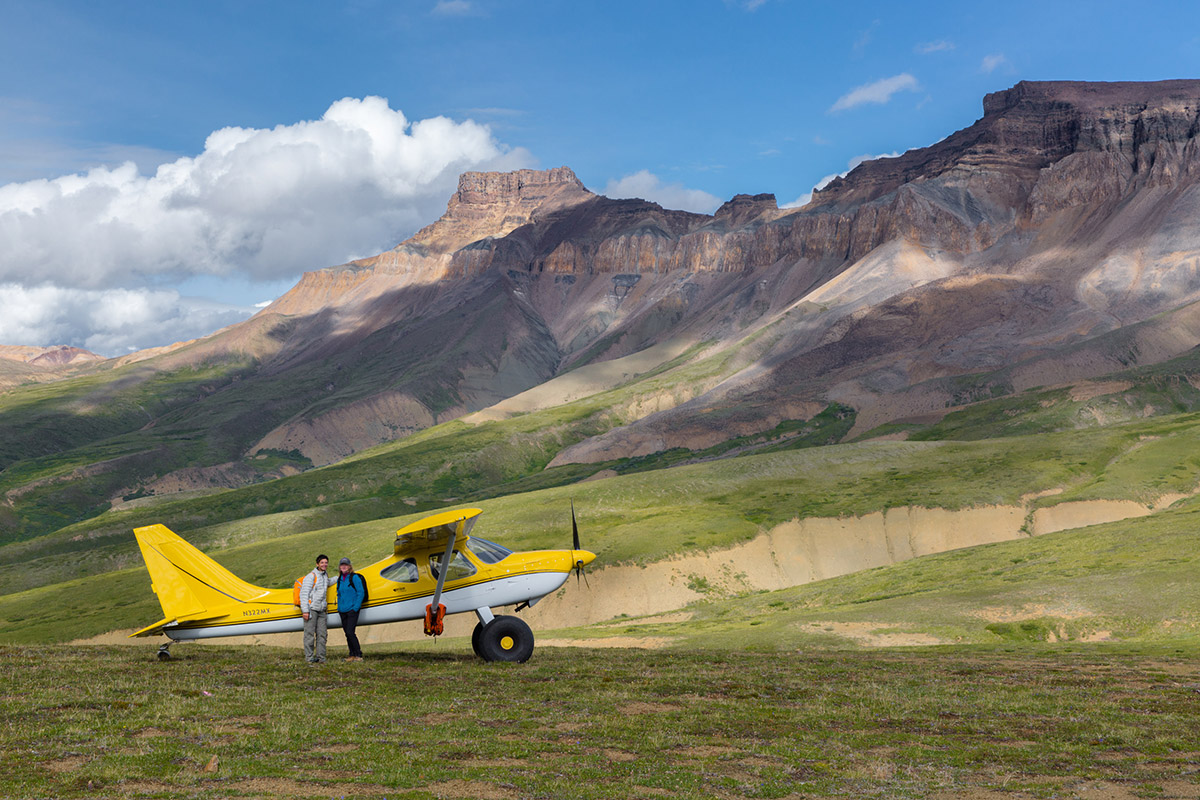
My wife Chris and I are based in Seattle and spend 4-6 weeks each summer exploring Alaska with our young daughter and a Sportsman full of gear. The airplane had just passed 1900 hours since I finished it in 2007. In the backcountry we’ve enjoyed following friends with Cubs and Huskies into unimproved strips, bars and beaches between about 700′ and 1000′ long, though we obviously can’t go everywhere they do with our higher stall speed. I generally feel comfortable taking the Sportsman anywhere I would take a light Cessna 180 and for the annual trip north it’s a nice bonus to cruise at 120 knots on 31″ Bushwheels behind our 180hp Lycoming IO-360.
For our missions the Sportsman has been a great compromise between short-field performance, speed, and load carrying ability. Between Alaska trips I’ve taken the airplane coast to coast in the Lower 48 twenty times on 6.00×6 tires with wheel pants. The only frustration we’ve had in all those hours has been with the length and flexibility of the landing gear, and last year we decided to improve that situation by installing a longer, slightly stiffer gear for backcountry ops.
With a 79″ 3-blade MT prop the standard gear put our prop uncomfortably close to the ground on 29″ Bushwheels, especially on hummocky terrain. Going up to 31’s helped a lot, but we still found ourselves operating with half the clearance you’d typically see in a SuperCub or Skywagon up north. With an expensive and relatively fragile propeller this led to a constant worry on the ground and a lot of effort when taxiing to keep clear of loose gravel, hummocks, weeds, etc.
With the standard gear the airplane sits in a very flat three point attitude on the ground. This meant that we couldn’t land as slowly as the wing would allow, because at minimum approach speeds and high AOA the tailwheel would hit the ground long before the mains- hard on the tailwheel and not a smooth way to return to earth. For the same reason, my takeoff roll was longer than necessary because I couldn’t get the plane pitched to a steep enough attitude to get off the ground at minimum airspeed.
We also encountered problems with the stiffness of the stock gear, especially fully loaded. The gear tended to flex a lot on rough ground, causing instability on rollout and substantial cracking all over the glass and foam fairings we installed with six layers of glass per the assembly manual.
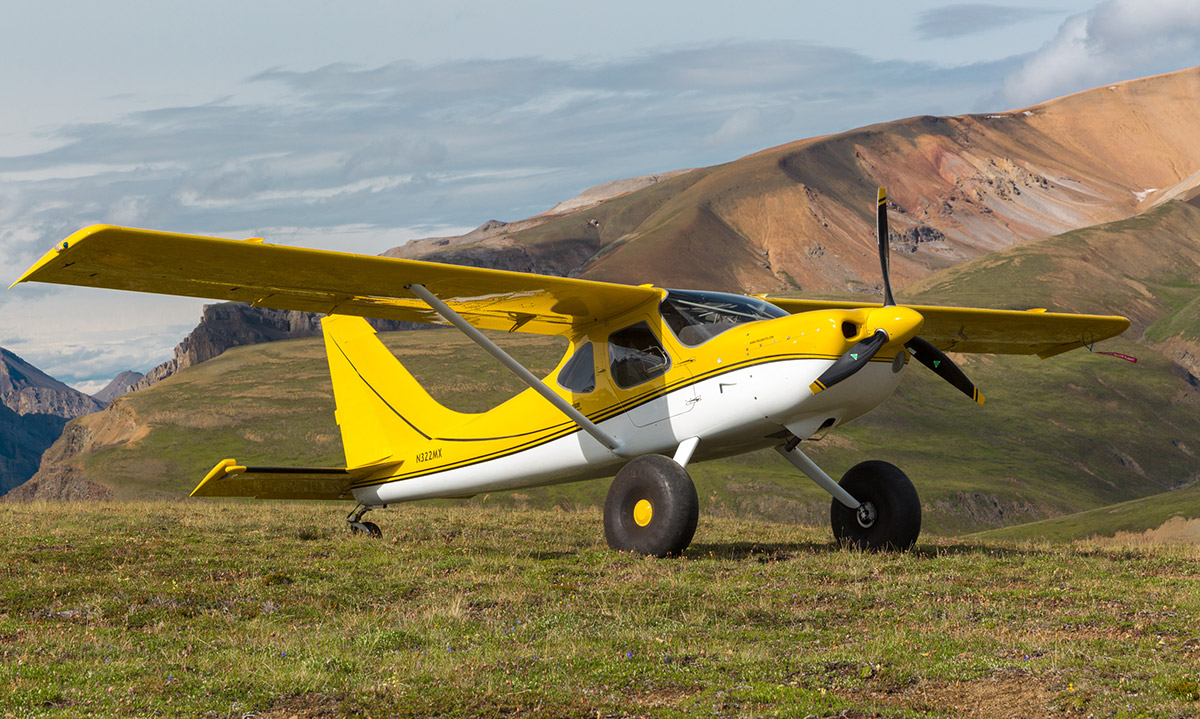
So I was intrigued when I heard about a GlaStar owner who had gear made that was both longer and stiffer. It seemed like potentially a perfect improvement to what has been otherwise an awesomely capable machine. The modified design is available from the same folks who make the standard Sportsman gear legs and instead of bending outward like a hockey stick to form an axle, it bends downward vertically at the end with a flat pad and bolt pattern to accommodate a standard Grove bolt-on axle. We worked with Richard Squires at Langair Machining, who was incredibly helpful through the process and drew up a design that added 4″ of vertical height at the axle and repositioned the spring taper to create a slightly stiffer leg. On top of that spring we fabricated the standard foam/glass fairing using a total of 4 layers of glass rather than the 6 we used in the original gear.
We have been thrilled with the results after about 120 hours of Alaska time last summer; here are some observations.
Installation
Not a big deal, but like any airplane project it took some time to go through all the steps. It did take a bit of careful work with emery paper to fine-tune the fit of the new gear into the cage sockets. Rather than imperfectly matching holes for the socket retaining bolt, I was able to drill and ream new holes offset by about 75 degrees for a new high strength NAS retaining bolt. Cobalt drill bits with an 135-degree split point made drilling the holes easy and fast with gear in place.
We ran into one clearance issue at the point where the inner diameter of the brake rotor turns upward into the rotor flange. With my Grove brakes this came uncomfortably close (.070″) to the convex side of the bend in the gear leg. I ended up machining a .125″ spacer to push the axle and wheel outboard for better clearance.
When the machined legs arrived the planform of the axle pad didn’t quite match the shape of the bolt-on axle where they meet. The gear leg was slightly narrower but it’s purely a cosmetic issue. If I had to do it again, I’d have the pad at the leg end shaped to match the grove axle pad perfectly. A friend recently sent a Grove axle to Langair for this purpose and I would expect future versions of the gear to match right up.
Weight
The new legs with fairings and all axle hardware in place ended up 3lb heavier (each) than my original gear. On my original legs I installed the optional boarding step, but this only served to crack the fairing more as passengers torqued it around the axle. After several resin injections on the old gear to re-bond the fairing to the leg I decided to eliminate the step for my second gear.
Performance
The new gear is stiffer but not by enough to create a harsh ride. It’s just enough to make the plane feel noticeably more stable when fully loaded. I was able to reduce the pressure in my Bushwheels by a few psi, letting the tires do more of the shock absorption which felt like a significant improvement. I now run the tires at 7-8psi off airport rather than 9-11 and get more cushioning without the airplane wobbling around on floppy gear.
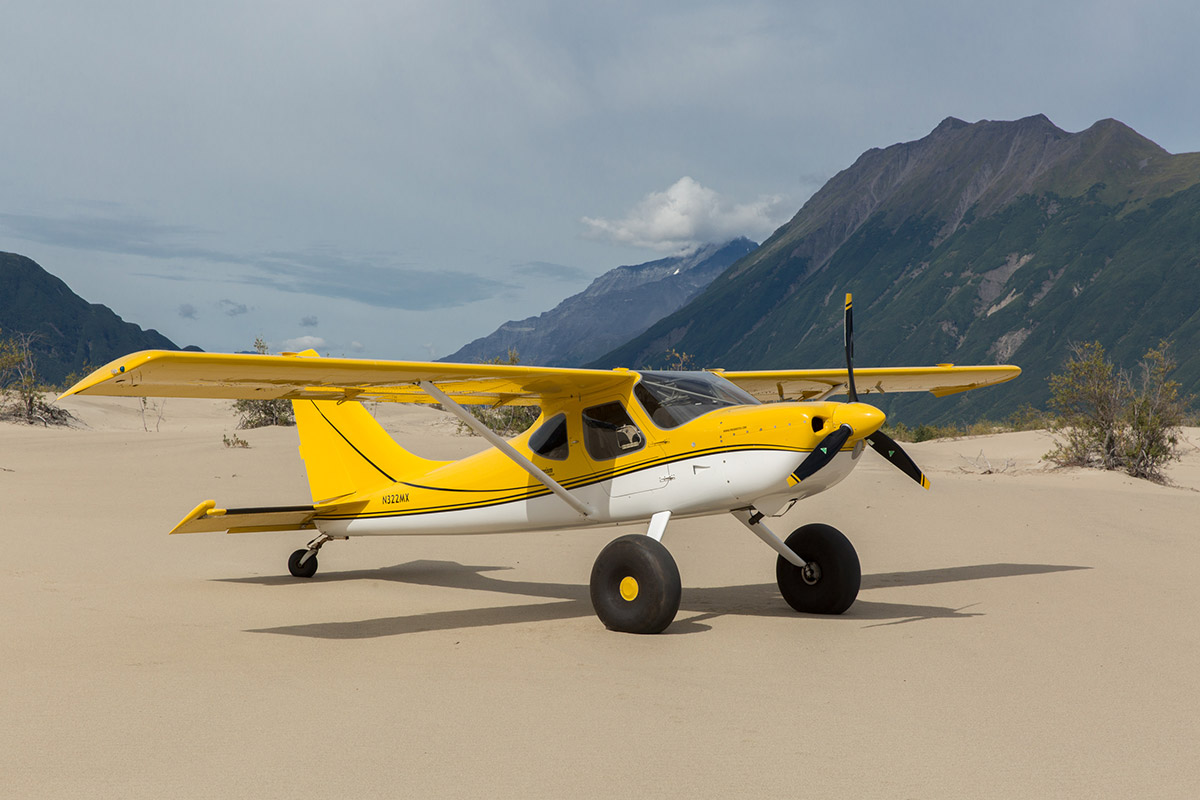
The additional poke adds substantial prop clearance to the point where I really don’t worry much about prop damage from weeds and gravel—this has been a fantastic improvement. Clearance with my 79″ prop is now 28-30+” depending on tire pressure .
The poke puts the nose a lot higher in the air, so even on 850’s you’ll have very little forward visibility over the nose. Not a big deal if you’re used to taildraggers, and pretty easy to get used to if you’re not. I just have to be more careful when taxiing, especially around obstacles that might be forward and to the right of the nose.
Getting up into the airplane might be harder for some as the seats are pretty far up there. We use the tire as a step and swing up and in while holding the V brace.
The higher AOA makes landings what they should be. I can approach behind the power curve in a three point attitude going almost as slow as the airplane will fly, then touch down with the tail just above the ground and immediately push up on the mains into a wheelie for visibility. The steeper attitude allows higher braking pressures as well, so I have been able to shorten my landing roll substantially and land shorter strips with more confidence.
On takeoff, the steeper ground attitude allows me to push the tail up immediately as the throttle goes forward. This protects the tailwheel, allows forward visibility, and lets me rotate sooner as I approach flying speed. Getting the tail up on the original gear was difficult and exposed both the tailwheel and the horizontal stabilizer to substantial abuse from loose rocks.
In cruise I’ve noticed a slight decrease in yaw stability, probably due to the frontal area of the Bushwheels being a little bit lower, a bit further forward, and about 1-1/2″ farther outboard. There is probably some additional drag from the new fairings which are about 3″ longer, but I haven’t noticed any impact on cruise speed.
The tires now sit another 1-1/2″ or more outboard of the propeller arc, so there is less chance for the tires to throw debris forward into the prop. After a month and a half over the past summer I had no new dings or abrasion on the back surfaces of the prop blades.
Would I do it again? Yes indeed. Anything that takes a little worry out of the equation while flying is good with me, and to us the new gear feels like a noticeable extra margin against poor judgement and bad luck. I’d originally planned to keep small tires and wheel pants on one gear, and Bushwheels on the other, but the steeper landing attitude feels so much better that the next project will be a retrofit of the 600 x 6 tires and wheel pants on to the new extended gear.

